
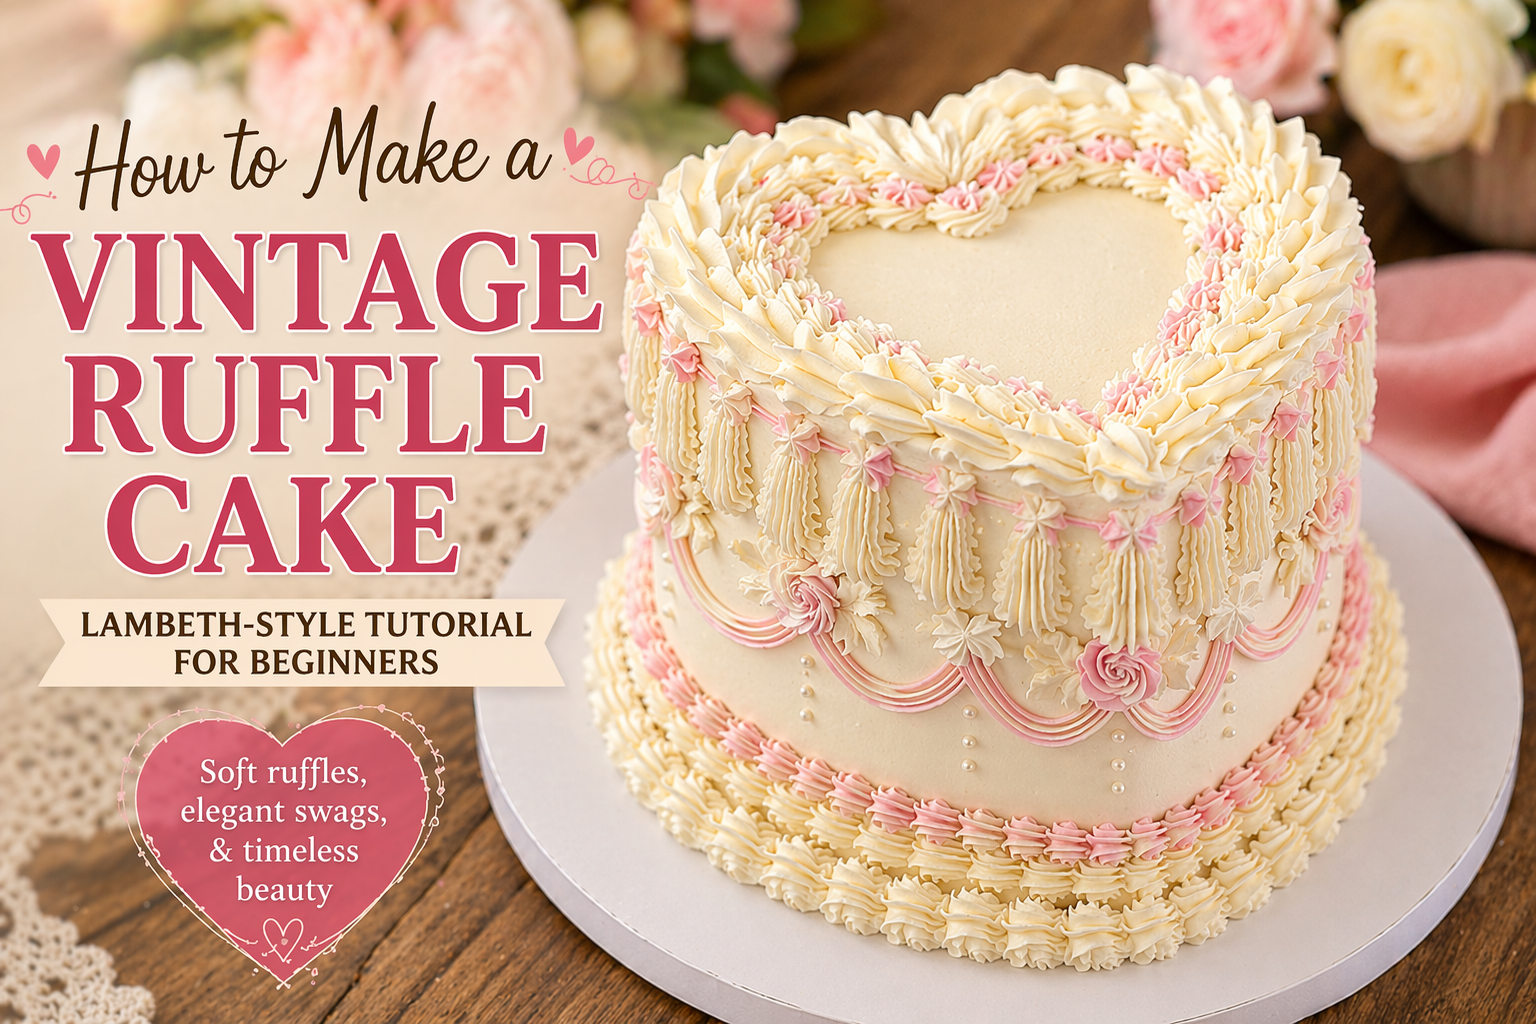
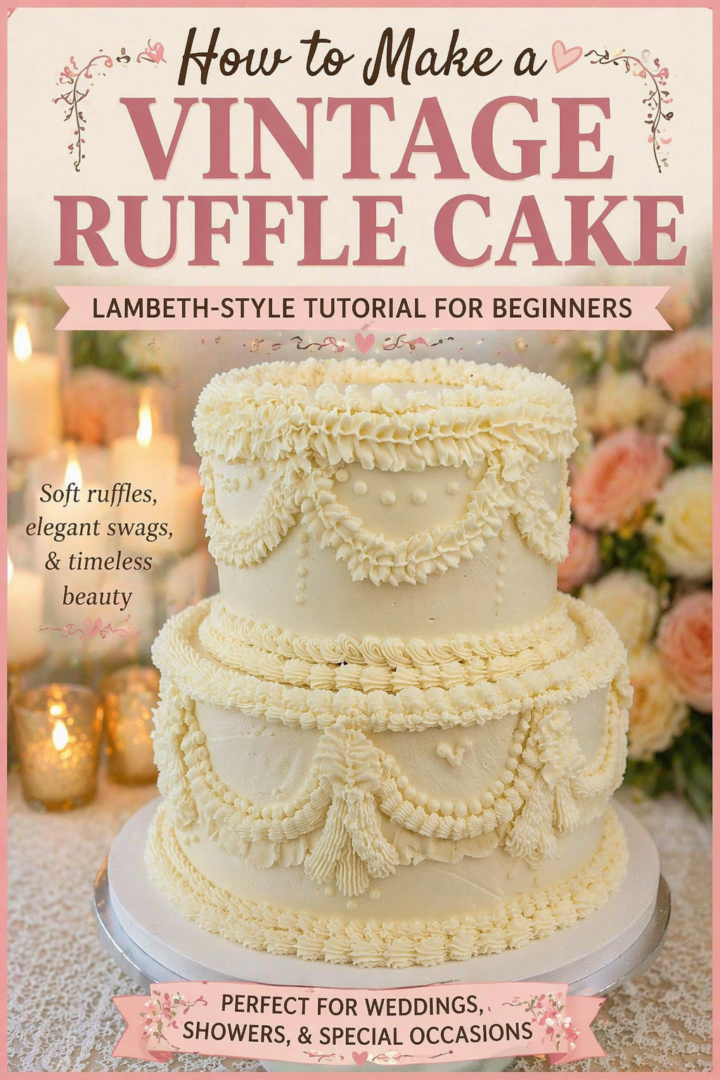
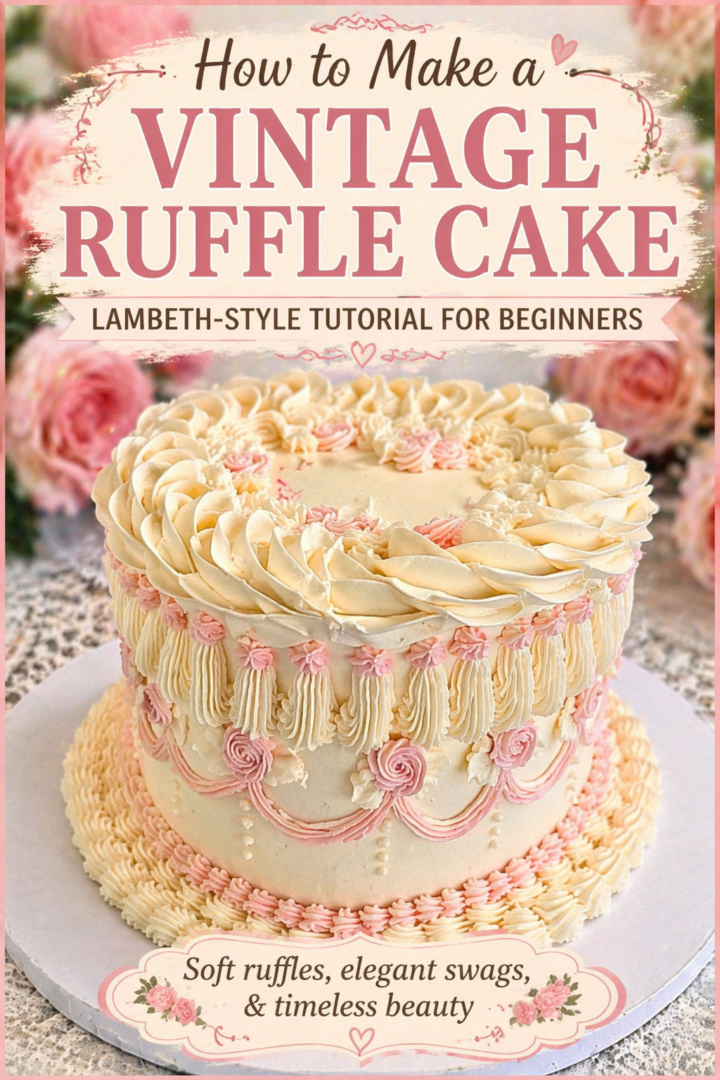
Learn how to make a vintage Lambeth-style cake with ruffles, swags, and soft piping details. This step-by-step tutorial covers tools, tips, colors, and flavor ideas for beginners.
A Trend I Didn’t See Coming (But Fell in Love With)
I’ll be honest—I didn’t grow up thinking I’d be making “old-fashioned” cakes.
Those over-the-top, heavily piped cakes with swags and ruffles? The kind that look like they belong in a different era?
And yet…here we are.
If you’ve been seeing vintage ruffle cakes all over Pinterest and wondering how to recreate that soft, romantic Lambeth-style look at home, you’re in the right place. In this tutorial, I’ll walk you through everything you need to know—from tools and piping tips to color choices and beginner-friendly techniques.
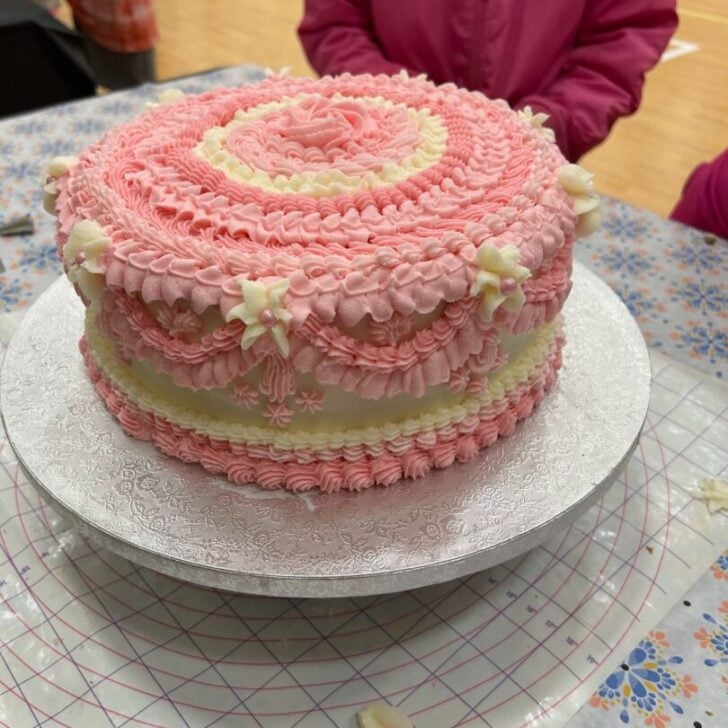
My First Lambeth Cake
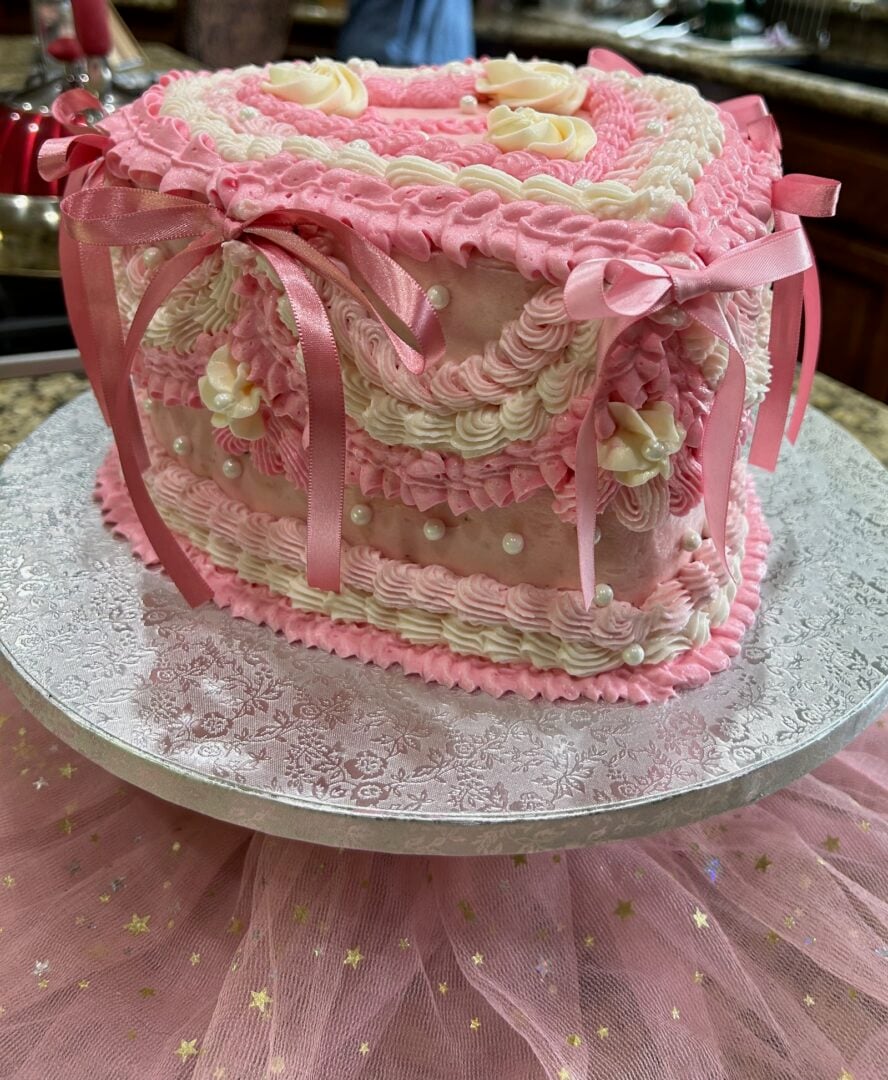
The first vintage-style cake I made was a pink heart-shaped cake, and I made it as a favor for a sweet young woman at our church. She was moving away, and her friends threw her a surprise birthday party—her last one with them before the move.
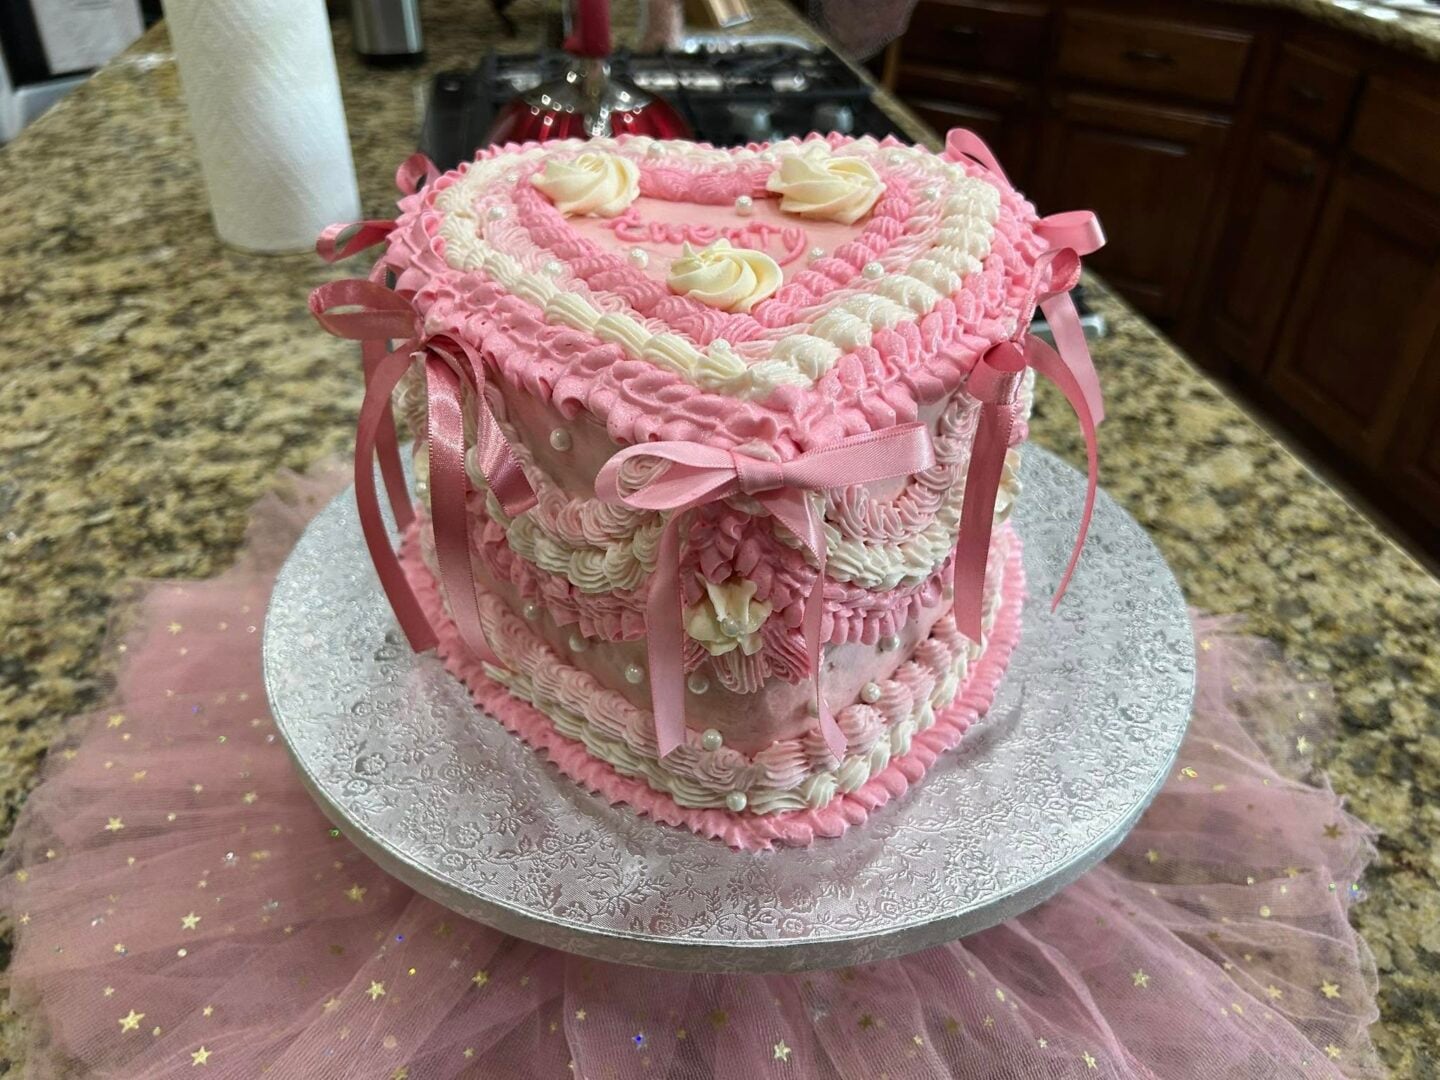
I remember feeling so nervous.
This was my first time attempting that Lambeth-style piping, and I wasn’t sure I could pull it off. There’s something about all those layers of detail that feels a little intimidating at first.
But once I got started? I was hooked.
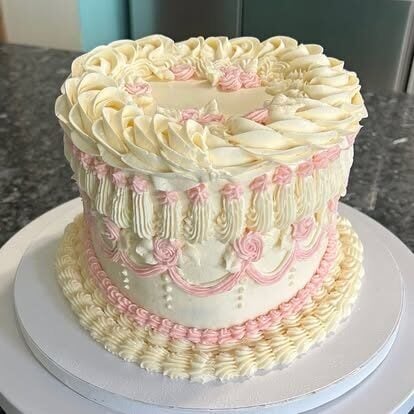
Not long after that, I made two more heart-shaped cakes for two of my teen/pre-teen granddaughters who were celebrating birthdays.
The first was ivory and soft pink, exactly what my twelve-year-old granddaughter asked for. I spent hours working on it because I wanted it to be perfect!
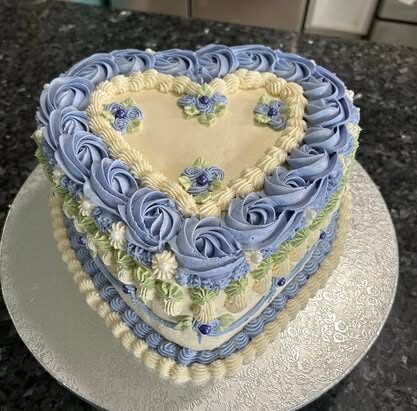
The second was for my fifteen-year-old granddaughter who loves all-things-purple, so I went with a lovely lavender and cream with the tiniest hints of soft green as accents.
Here’s what surprised me most… Both girls were absolutely thrilled.
I would’ve assumed girls that age might think these cakes were too “old-fashioned.” But nope. These vintage cakes are incredibly trendy right now, and girls of all ages are loving them.
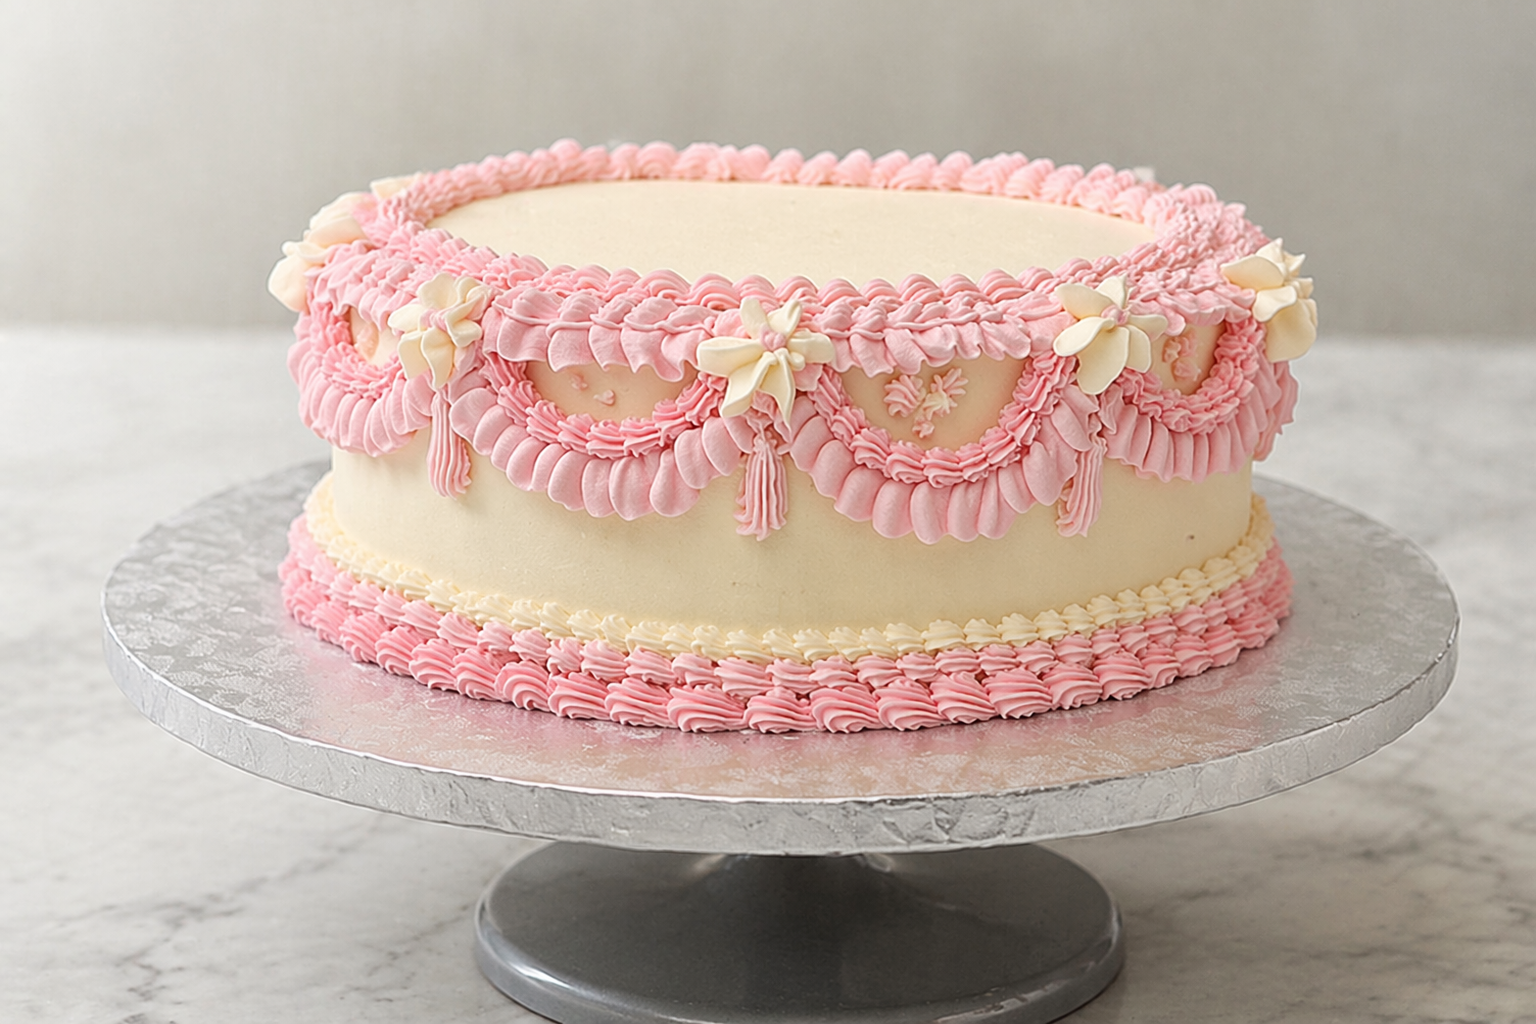
The white tiered cake you’ll see in this next picture was for a wedding in a downtown Houston warehouse venue—rustic, industrial, and very on-trend. And somehow, this elegant, vintage piping style fit perfectly into that modern setting.
That’s the magic of these cakes. They feel timeless—but also completely current.
See all of my cake decorating tutorials!
What Is a Vintage (Lambeth-Style) Cake?
This style originated from traditional European cake decorating techniques and is known for its ornate, layered piping and dramatic, over-the-top finish.
If you’re new to this style, here’s the simple version:
Vintage (or Lambeth-style) cakes are known for:
- layered piping
- ruffles and swags
- over-the-top borders
- romantic, elegant detail
They’re not meant to be minimal.
In fact, if you ever find yourself thinking "This might be too much. . ." you're probably doing it exactly right.
My Go-To Cake Base
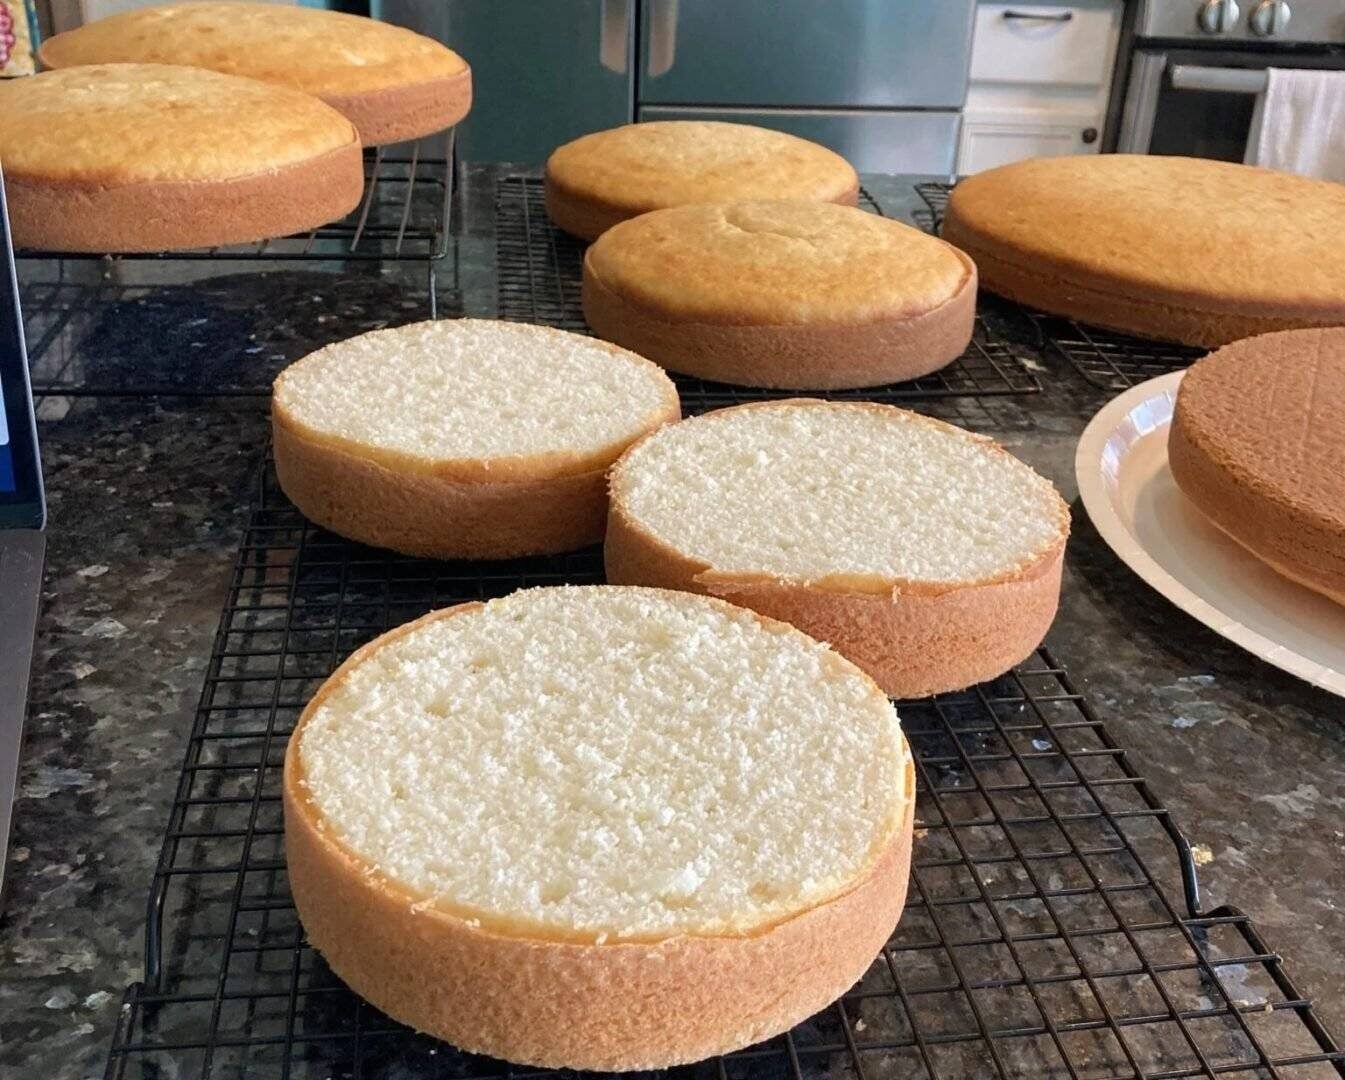
Most of my Lambeth cakes started the same way—with my
Best White Cake from a Mix.
It’s sturdy enough for stacking and shaping, but still soft and delicious. I use it for:
It’s one of those recipes I come back to again and again because it just works.
Buttercream Matters (More Than You Think)
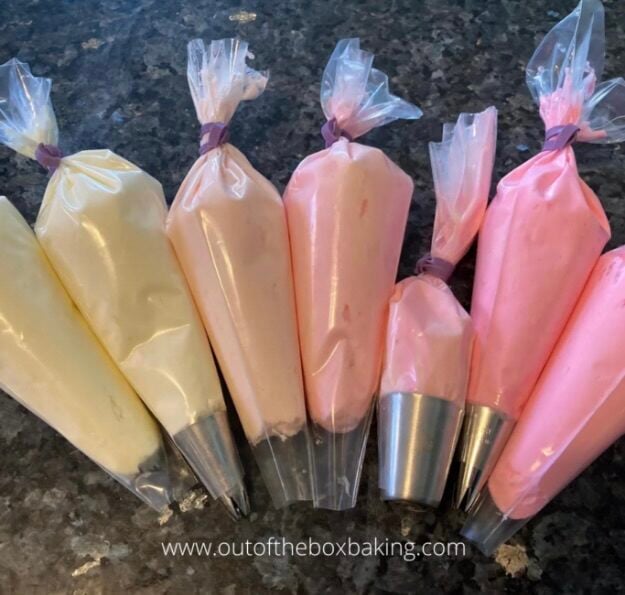
For these cakes, I actually use two different types of buttercream.
For the filling and crumb coat, I use my
👉 Dreamy Buttercream (which includes cream cheese)
But for the piping?
I switch to a decorator’s buttercream made with butter and shortening—no cream cheese. That way I get sharper defined edges.
Why the switch? Because when you’re piping ruffles, swags, and detailed borders, you need something that:
- holds its shape
- stays stable
- gives you clean, defined lines
That decorator’s buttercream makes all the difference. I usually make an extra batch just for piping.
Tools That Make This So Much Easier
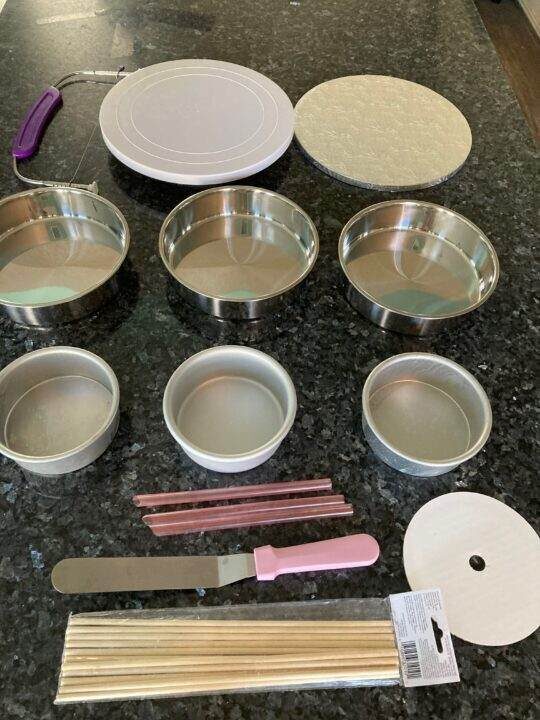
Before you start, it really helps to have everything ready to go.
Here are the basics I rely on:
- piping bags
- a variety of piping tips
- offset spatula
- bench scraper
- cake turntable
And let me say this clearly…
👉 A good turntable is a game changer. I use this one.
It helps you keep your piping smooth and consistent, especially when you’re working your way around the cake.
Piping Tips I Used (and Loved)
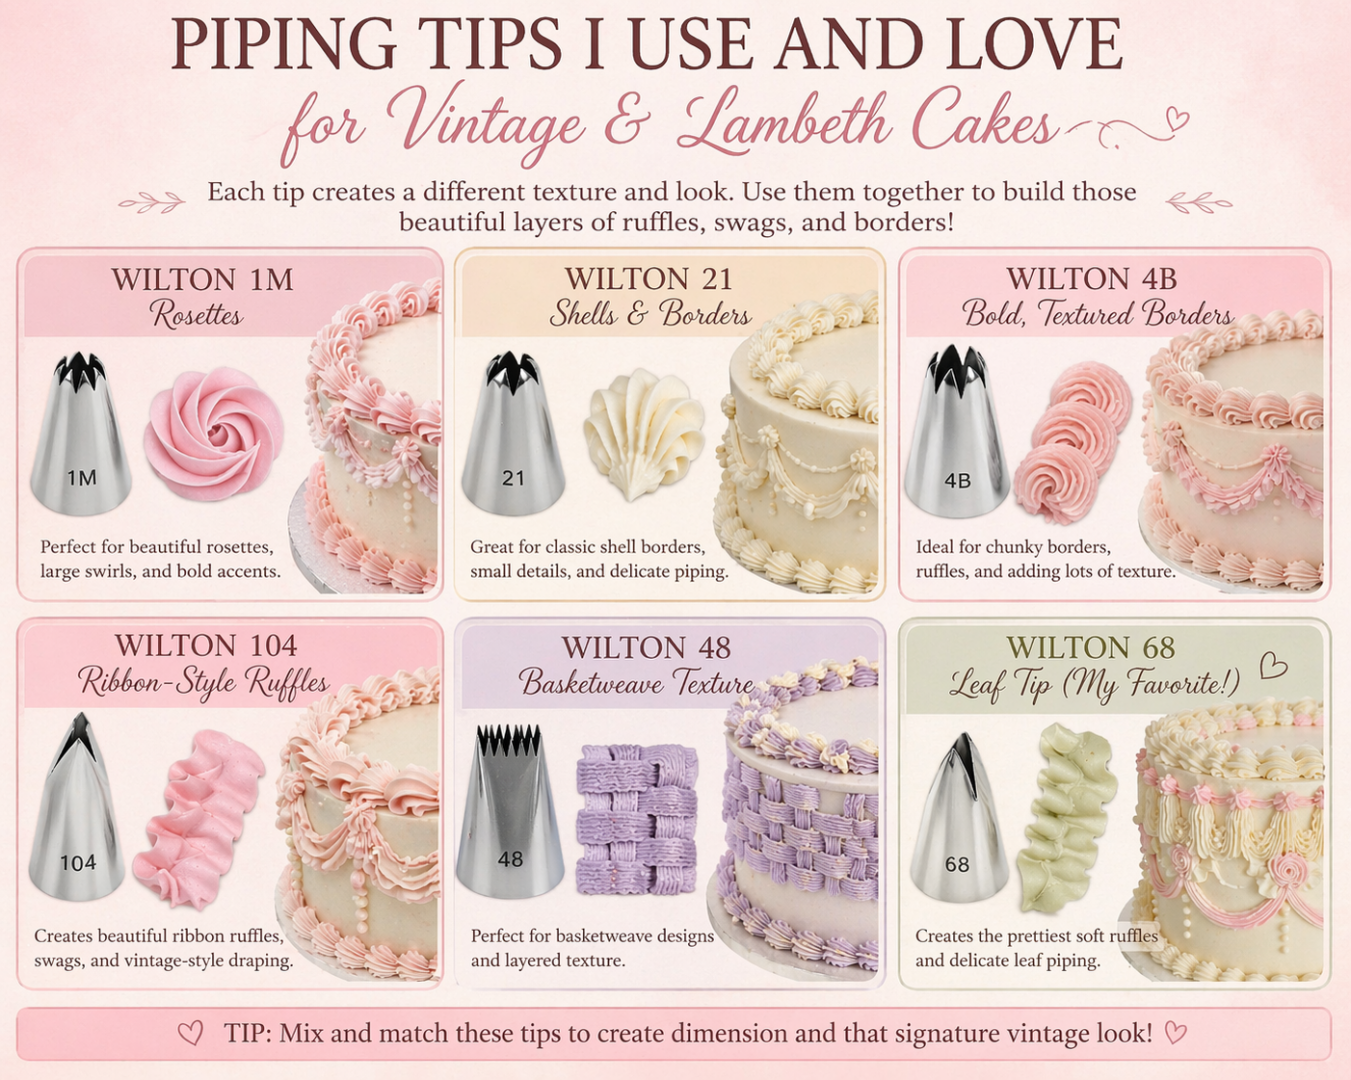
You don’t need a huge collection of tips—but having a few key ones will help you recreate this look.
Here are the ones I use most often:
- Wilton 1M – rosettes
- Wilton 21 – shells and borders
- Wilton 4B – bold, textured borders
- Wilton 104 – ribbon-style ruffles
- Wilton 48 – basketweave texture
And my personal favorite?
👉 Wilton 68 (leaf tip)
Even though it’s technically a leaf tip, it creates the prettiest soft ruffles. I used it throughout these cakes to get that delicate, vintage feel.
Choosing Colors (Keep It Simple)

One thing I learned pretty quickly…
👉 More colors does NOT mean a better cake. In fact, the opposite is usually true. Most vintage cakes stick to:
- soft pinks
- ivory or off-white
- gentle pastels
I recommend using no more than 2–3 colors per cake. Add too many more and it starts to look busy. Distracting.
I mentioned above the lavender cake that I made for my granddaughter. It was so fun to decide which third color to go with. I'm so glad I chose the soft green!
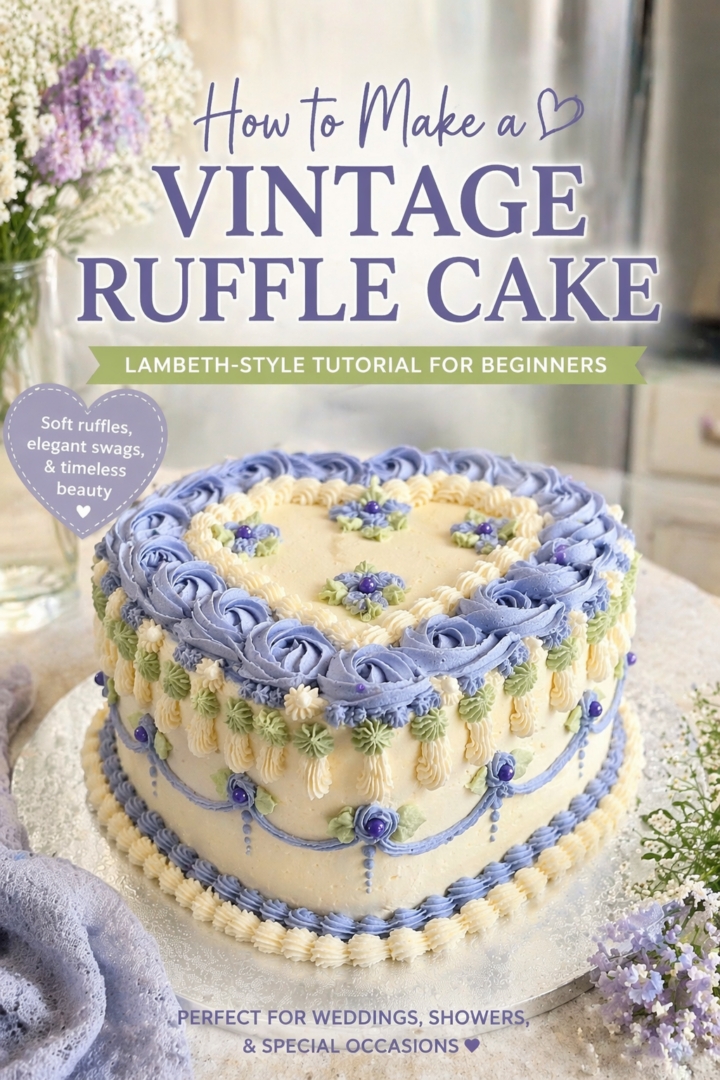
I just love the contrast between those three colors. I find it mesmerizing.
Here's another fun idea: Instead of adding more colors, try using different shades of the same color. That gives you depth without making the design feel busy.
For example:
- blush + soft pink + ivory
- all ivory with subtle variation
- lavender + cream
Sometimes, as in the case of the simple ivory wedding cake below, it's actually fun to go with one solid color throughout.
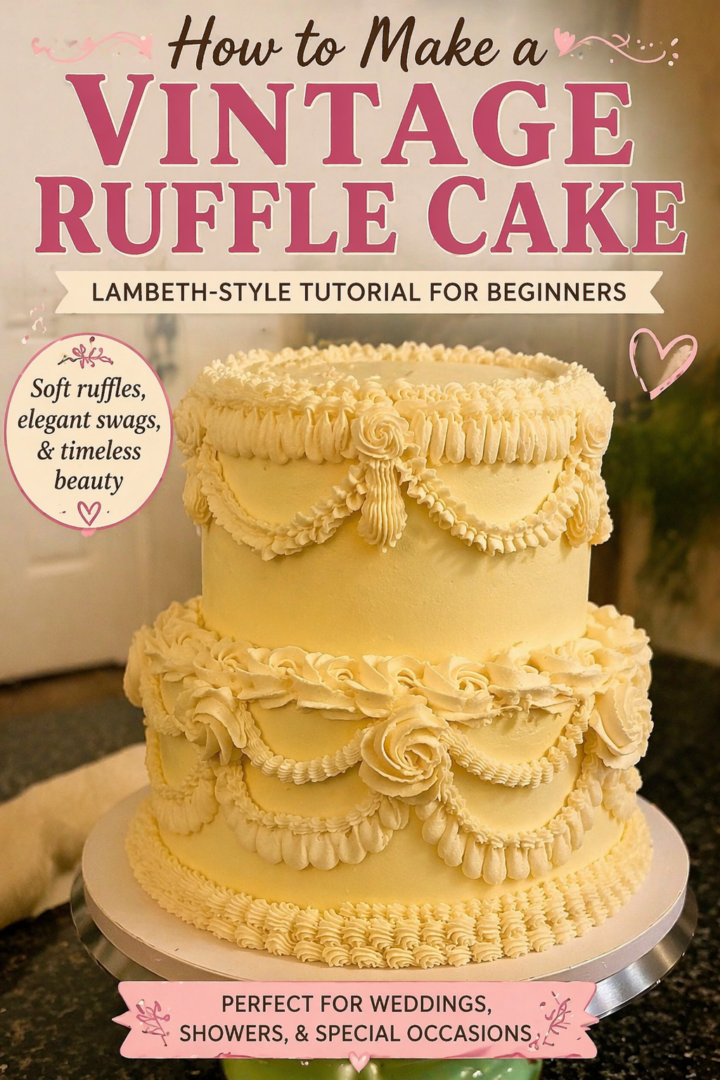
Even on an all-white (or ivory) wedding cake, slightly different shades in the swags can make everything pop beautifully.
How I Get Even Swags Every Time
Swags can be tricky…unless you have a plan.
Here’s my favorite little trick:
I use a large round cookie cutter as a guide.
- I mark the cutter with an edible marker so I know where the halfway point is
- I use only the bottom half of the circle
- Then I gently press it into the frosting to leave a light imprint
I repeat that all the way around the cake, lining it up as I go. Then I pipe directly over those lines. This approach gives you perfectly spaced, uniform swags without any guesswork.
Building a Tiered Cake

For my wedding cakes, I used a simple tiering method with supports between layers to keep everything stable.
If you’re new to stacking cakes, be sure to check out my full tutorial here:
👉 How to Tier a Cake
That post walks you through everything step by step.
Flavor Pairing: Why Strawberry Works So Well
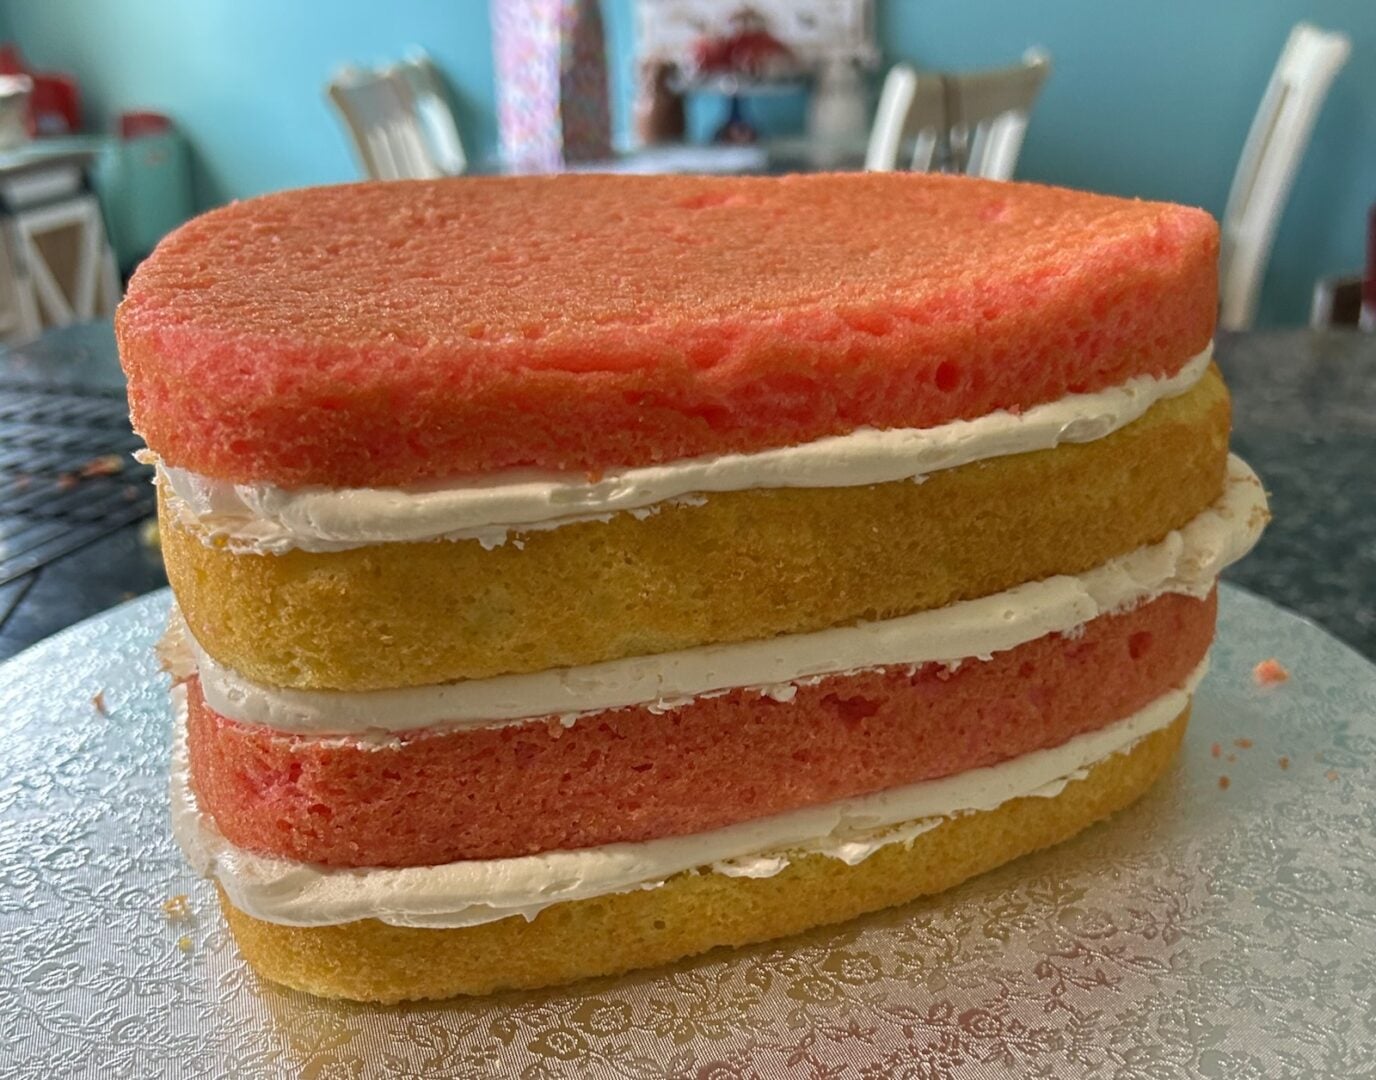
While the outside of these cakes is all about looks, the inside should be just as special.
One of my favorite fillings?
👉 Strawberry.
You can pair it with:
- white cake
- lemon cake
Either way, it brings a light, sweet, slightly nostalgic flavor that fits this style perfectly.
There’s just something about cutting into a vintage cake and seeing that soft pink layer inside. It feels just as pretty as the outside looks. And if you really want to wow your guests, layer strawberry with lemon cake, like you see in the picture above. This Strawberry-Lemonade cake is a personal favorite!
Finishing Touches: Pearls, Ribbons & Going “Extra”
This is where these cakes really shine.
Edible Pearls
They’re a simple way to elevate the design:
- tucked into swags
- added to rosettes
- dotted along borders
Ribbon
I’ll admit… The first time I added a silk ribbon to one of these cakes, I thought: "This is too much!" But that was kind of the point. These cakes are meant to feel romantic, detailed, and a little over-the-top. And the reaction? The girls absolutely loved it.
If You're New to Cake Decorating. . .
Start with one or two piping tips and a single color palette. You don’t need to master every technique at once. Even simple swags and borders can create a beautiful vintage look.
Don’t Be Afraid to Try a Vintage Ruffle Cake

If you’re feeling a little intimidated by all the piping, I get it. I felt the same way when I made that very first pink heart cake.
But here’s the truth: You don’t have to be perfect.
In fact, this style is surprisingly forgiving. The layers, textures, and details all work together to create something beautiful—even if each individual element isn’t flawless.
Start simple. Use a few tips. Keep your colors soft.
And before you know it, you’ll have a cake that looks like it came straight out of a bakery window.
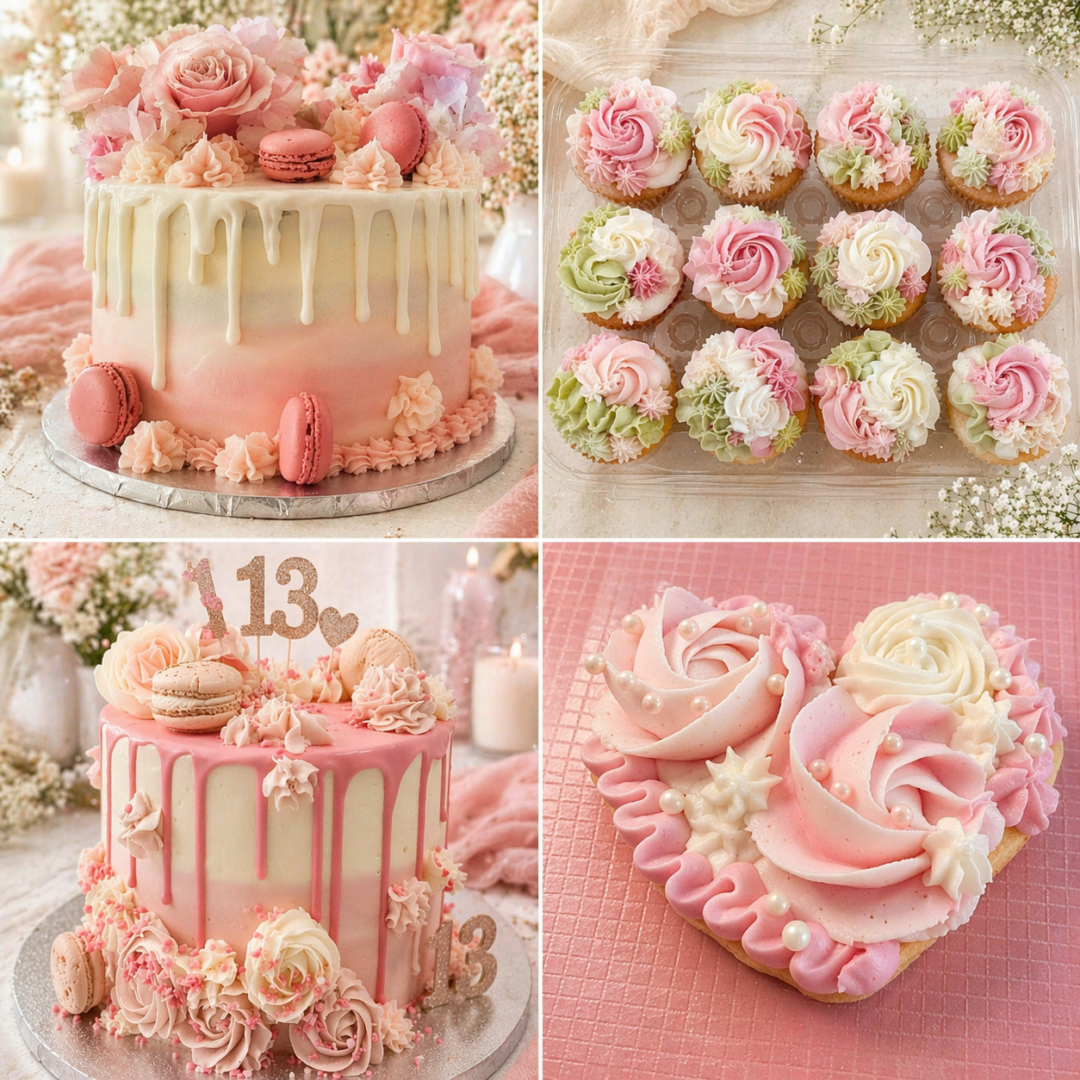
🎀 More Frilly & Feminine Cake Ideas
If you love this soft, romantic style but want to branch out beyond traditional Lambeth cakes, here are a few more ideas you might enjoy. Below, you'll find a few of my favorite soft, feminine bakes—vintage ruffles, pastel cupcakes, and romantic drip cakes that all share that same dreamy aesthetic.
If you love the soft, romantic look of vintage cakes, I'm convinced you'll enjoy these other designs. While they’re not all traditional Lambeth-style, they share that same “pretty and a little extra” feel that makes these cakes so special.
Follow the links to learn more!
💗 Ombre Cakes with Florals & Drips
These cakes combine soft blended colors with piped florals, macarons, and drips for a dreamy, modern look. They’re perfect for birthdays, showers, and special celebrations.
🧁 Girly Cupcakes with Mixed Piping
These cupcakes are decorated using a mix of piping tips and pastel colors—swirls, stars, ruffles, and leaves all working together in one design.
👉 They’re a great way to practice piping techniques on a smaller scale before tackling a full cake.
🍪 Decorated Sugar Cookies (Dress & Floral Designs)
These sweet little cookies are perfect for themed parties, especially bridal showers and birthdays. The soft colors and delicate piping details tie in beautifully with the vintage cake aesthetic.
🎂 Classic Drip Cakes with a Feminine Twist
Drip cakes don’t have to be bold and dramatic—they can also be soft and elegant. Add flowers, macarons, and pastel tones to create a more romantic feel.
If You Love These Girly Styles…
Be sure to check out more of my cake tutorials and recipes:
👩🍳 About the Baker
Hi, I’m Janice, the baker behind Out of the Box Baking. I’m a home baker who loves finding ways to make beautiful, delicious desserts without overcomplicating the process. While I enjoy scratch baking, I’m especially known for my doctored cake mix recipes that deliver bakery-style results with simple, approachable methods.
Over the years, I’ve made cakes for birthdays, weddings, church events, and (my personal favorite) my grandkids. There’s something incredibly special about creating a cake for someone you love—especially when it becomes part of a meaningful celebration.
These vintage-style cakes have quickly become some of my favorites. They’re creative, a little over-the-top, and surprisingly fun to make once you get the hang of the piping.
If you’re new to cake decorating, I hope this tutorial gives you the confidence to try something new. You might just surprise yourself.
Before you go. . .
Why not pin some photos to your Pinterest boards?
But God shows his love for us in that while we were still sinners, Christ died for us.
Romans 5:8 ESV