
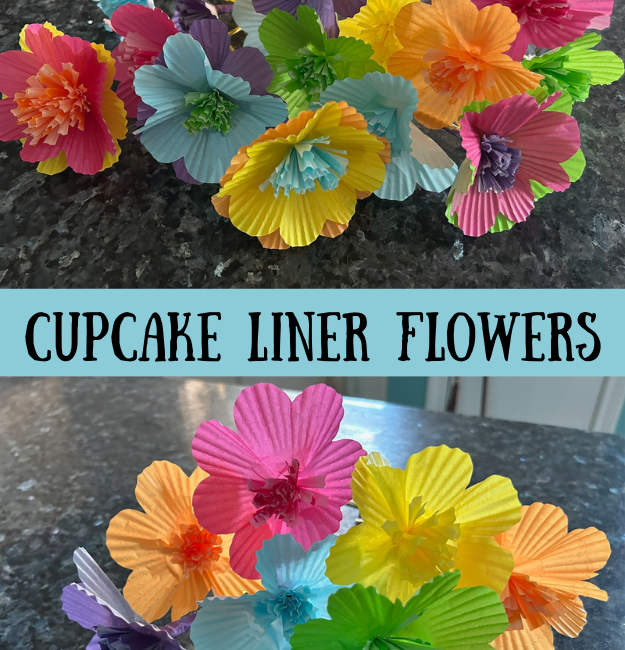
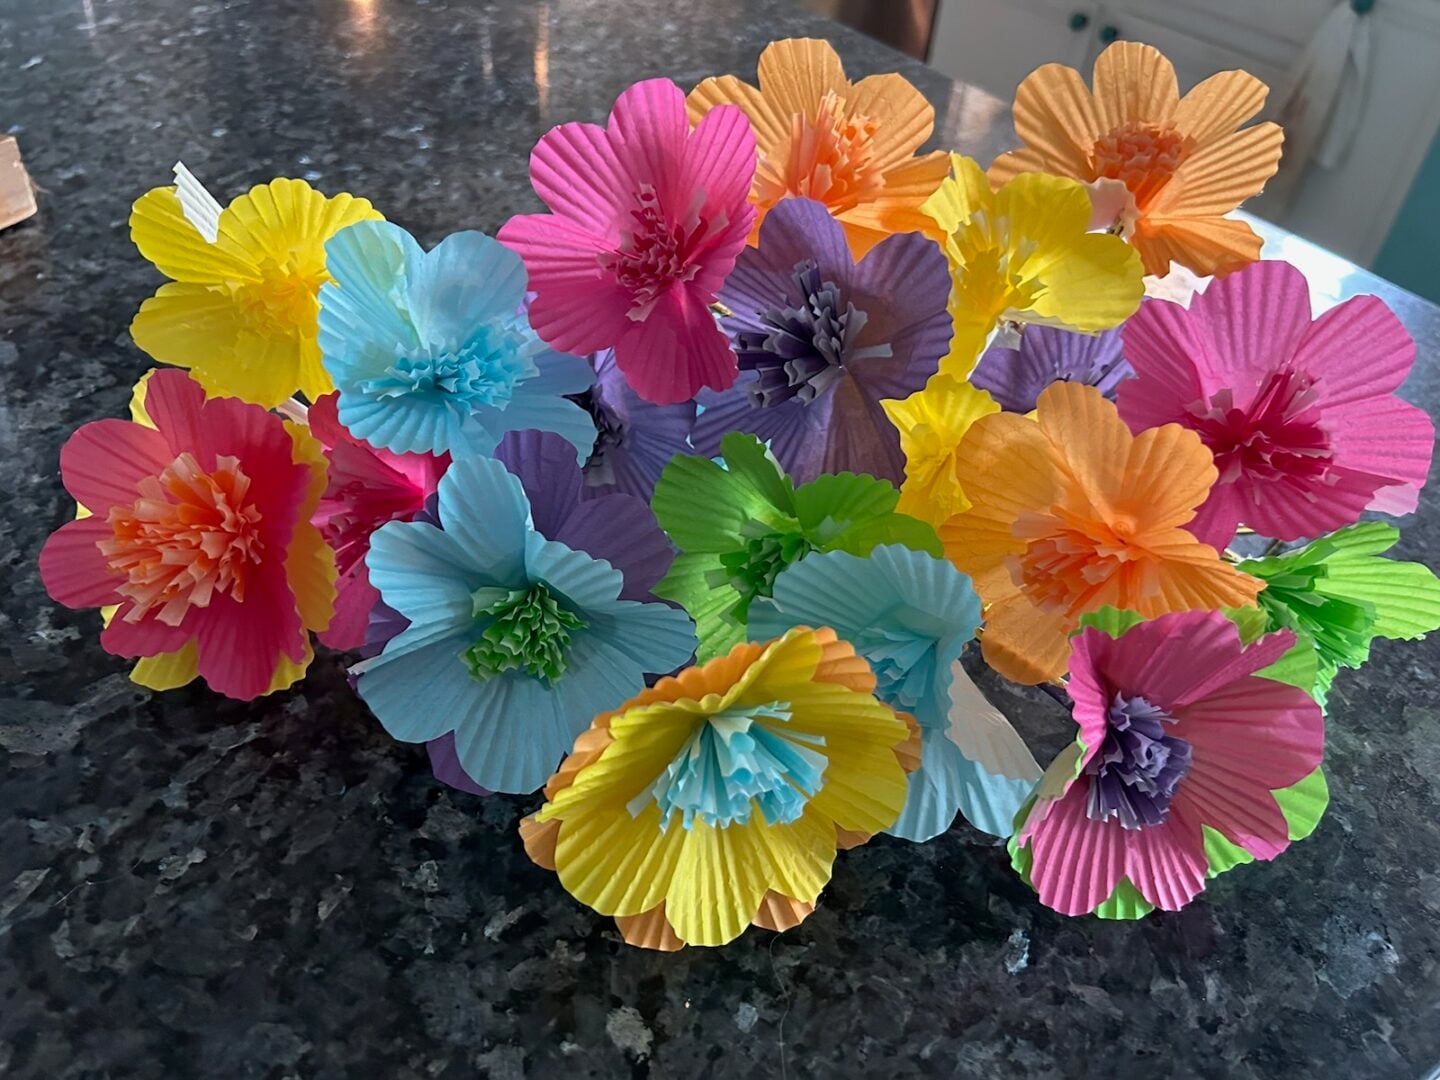
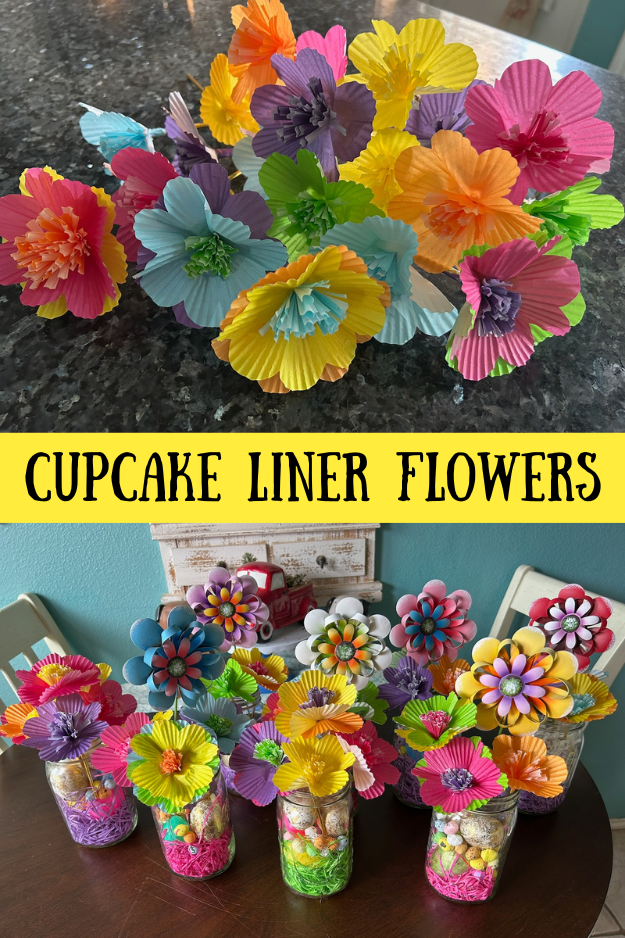
Learn how to make paper flowers from cupcake liners with this easy DIY tutorial! These budget-friendly centerpieces are perfect for Easter parties, kids’ events, and holiday decor.
How to Make Paper Flowers from Cupcake Liners
If you’re looking for a simple and affordable way to decorate for a party, these paper flowers made from cupcake liners are the perfect solution.
In this tutorial, I’ll show you how to make cupcake liner flowers step-by-step using supplies you probably already have on hand. These budget-friendly centerpieces are ideal for Easter events, kids’ parties, and holiday gatherings—and they’re just plain fun to make.
If you’re planning a full Easter celebration, be sure to check out my Ultimate Easter Desserts & Celebration Guide, filled with sweet treats, party ideas, and everything you need to make your day extra special.
My Paper Flower Journey
I needed silk flowers for Easter-themed centerpieces for a ministry event in the inner city… and didn’t have any.
But I did have a cupboard full of colorful cupcake liners.
If you’re anything like me, you’ve probably collected more liners than you’ll ever use—especially the thinner ones that don’t hold up well for baking. (You know the ones… they look cute, but they bleed through.)
So instead of tossing them, I decided to turn them into something beautiful.
Hey. . .desperate times, desperate measures!
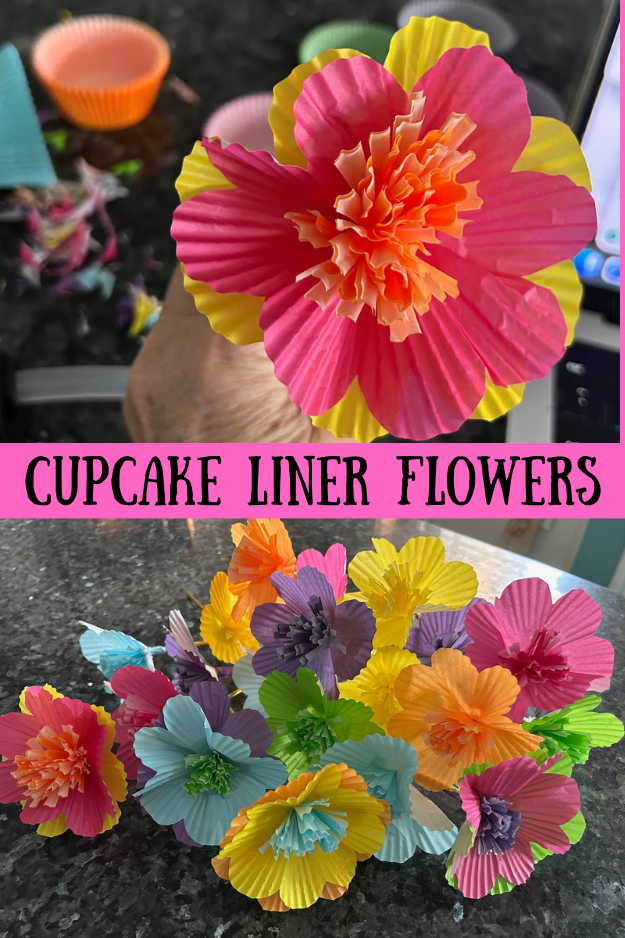
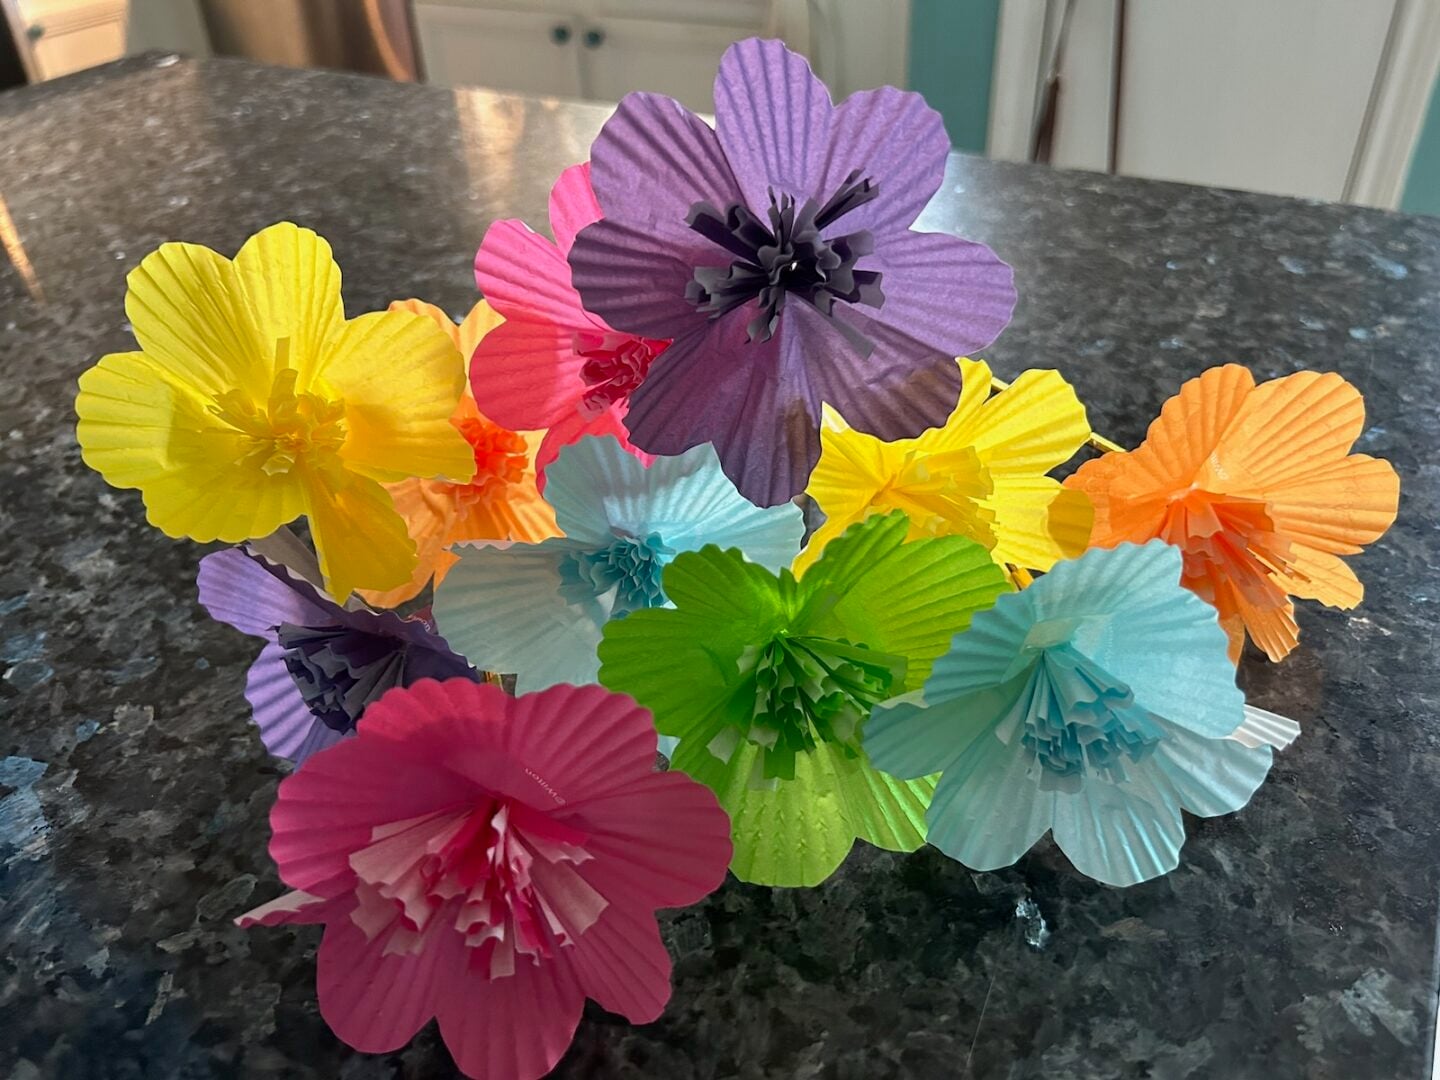
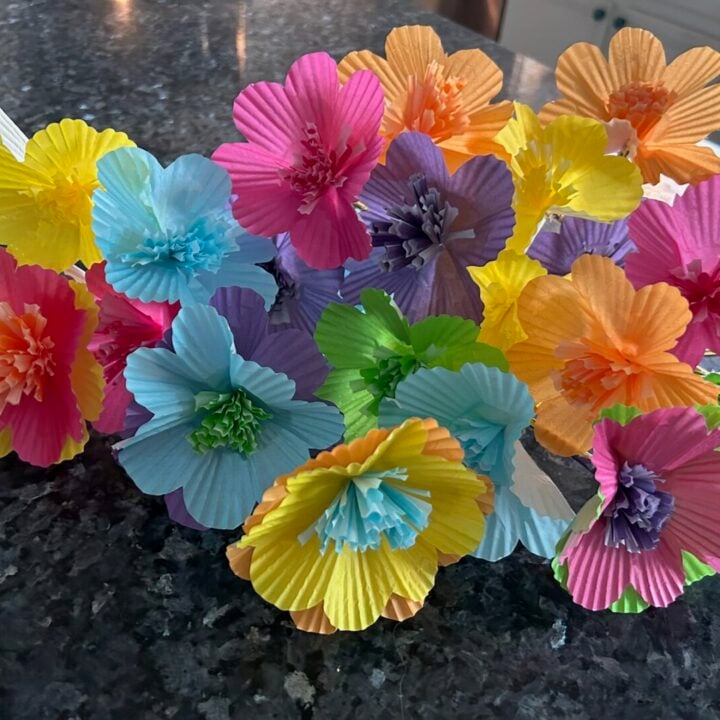
These cupcake liner paper flowers came together quickly, cost next to nothing, and made the sweetest centerpieces for our Easter outreach event. Even better? The kids loved them.
If you’re planning a party, need a last-minute decoration, or just want a fun craft, this one is a winner.
At a Glance
Skill Level: Easy
Flavor Profile: N/A – craft project
Options Included: Color variations, layered flowers, centerpiece ideas
Best For: Easter parties, kids’ events, budget decor, using leftover liners
Why Cupcake Liners Make Perfect Paper Flowers
Cupcake liners are already shaped with soft ridges that mimic flower petals, which makes them ideal for crafting. They’re lightweight, easy to cut, and come in a wide variety of colors—perfect for creating bright, cheerful blooms.
And here’s the bonus: those thinner liners that don’t perform well in baking? They actually work beautifully for this project. Their softness and flexibility make them ideal for shaping into delicate, realistic-looking petals.
So if you’ve got a stash you’ve been avoiding… this is the perfect way to use them up!
Supplies You’ll Need
- Cupcake liners (various colors)
- Straws (or lollipop sticks)
- Scissors
- Hot glue gun (or tacky glue)
How to Make Paper Flowers from Cupcake Liners
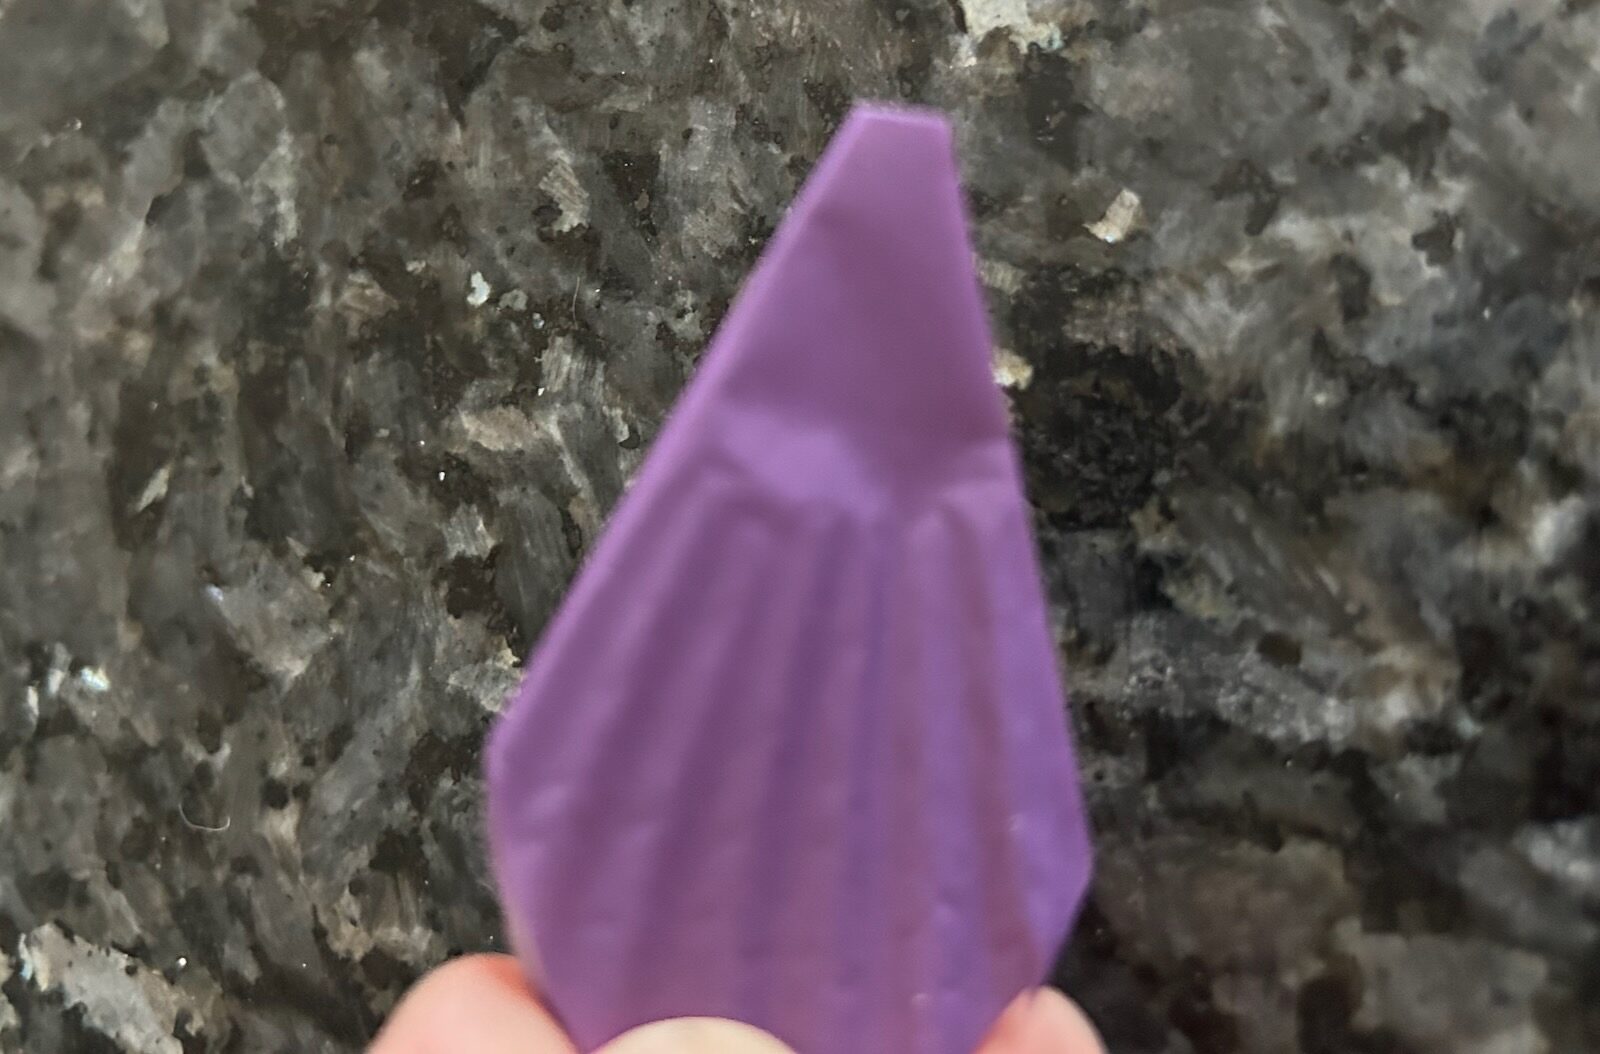
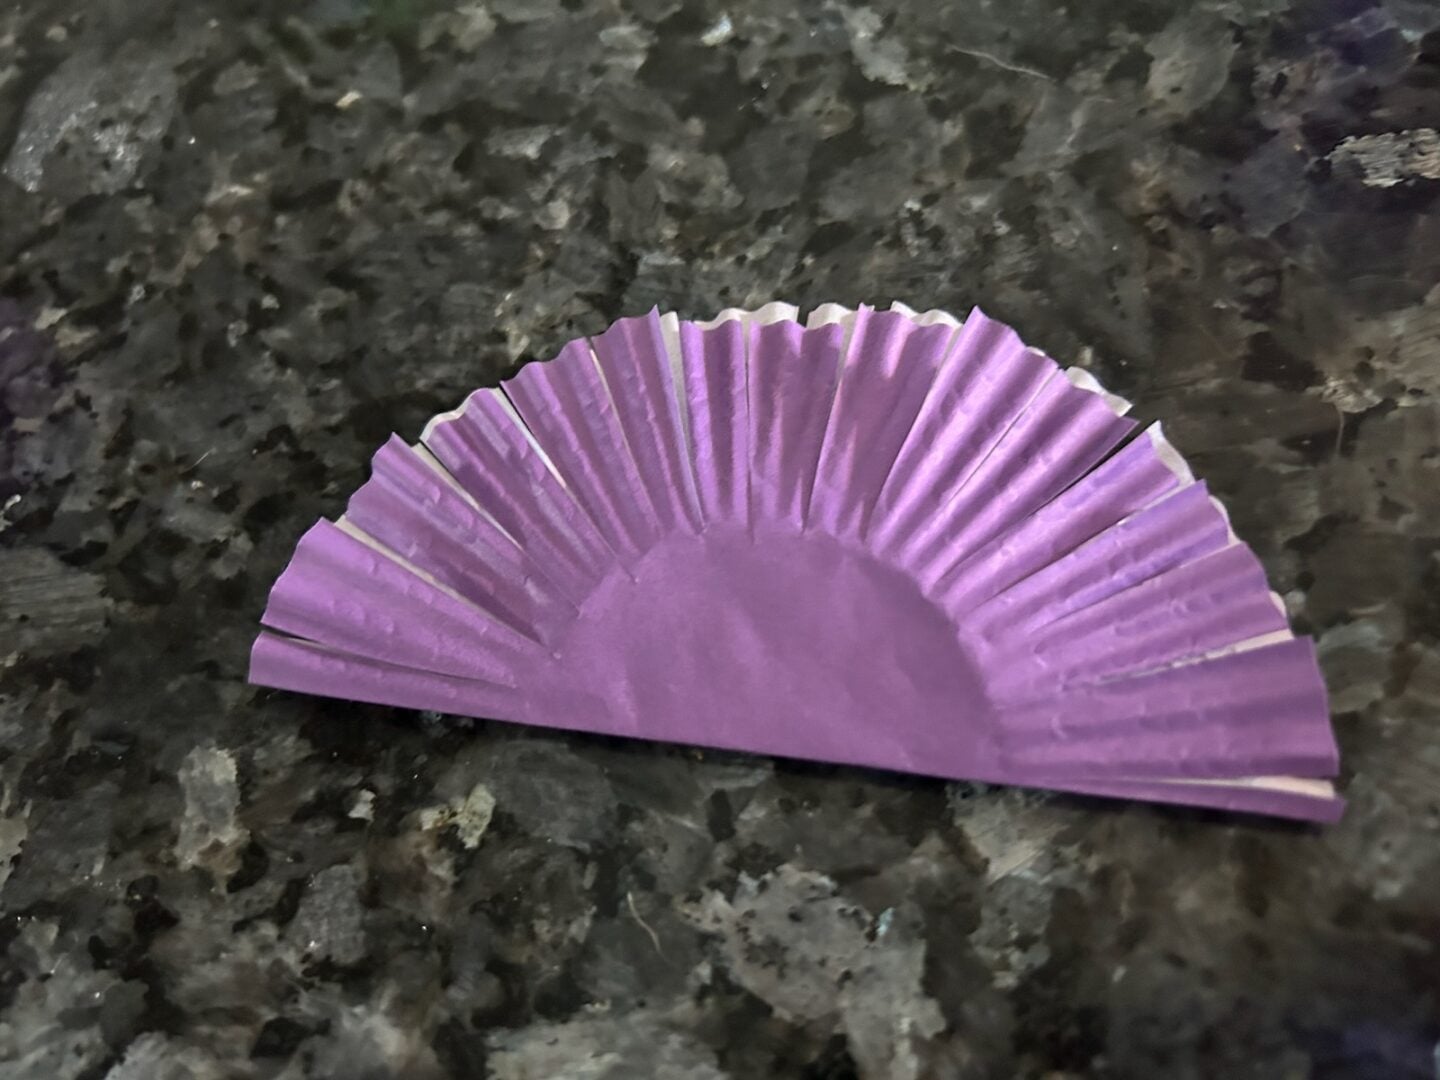
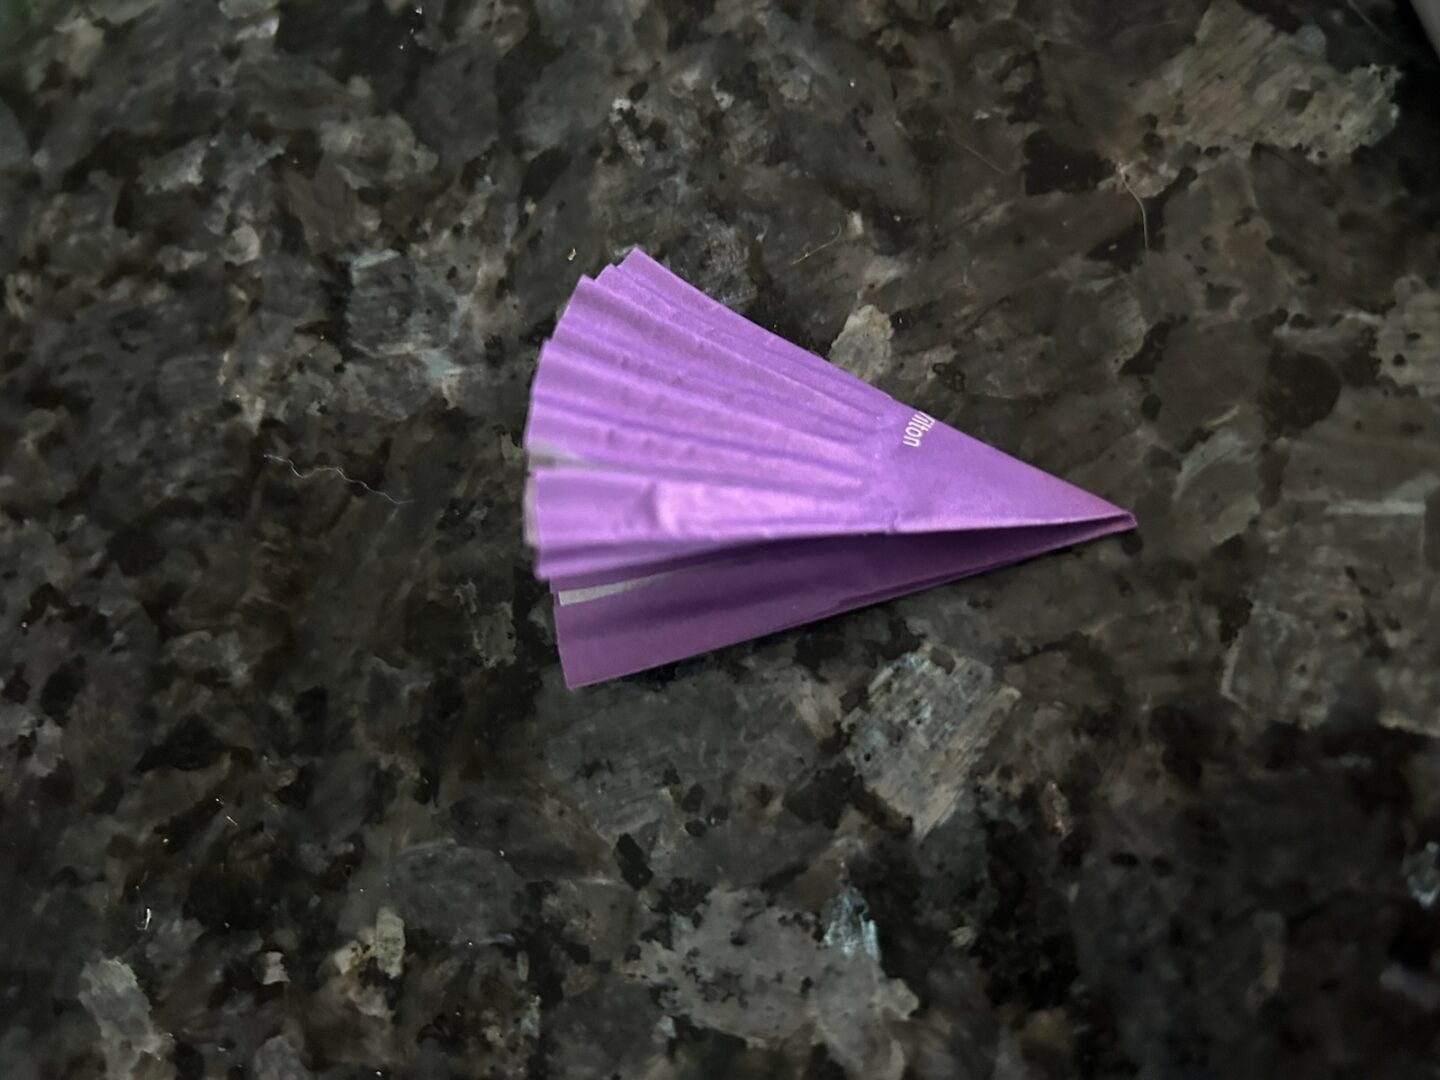
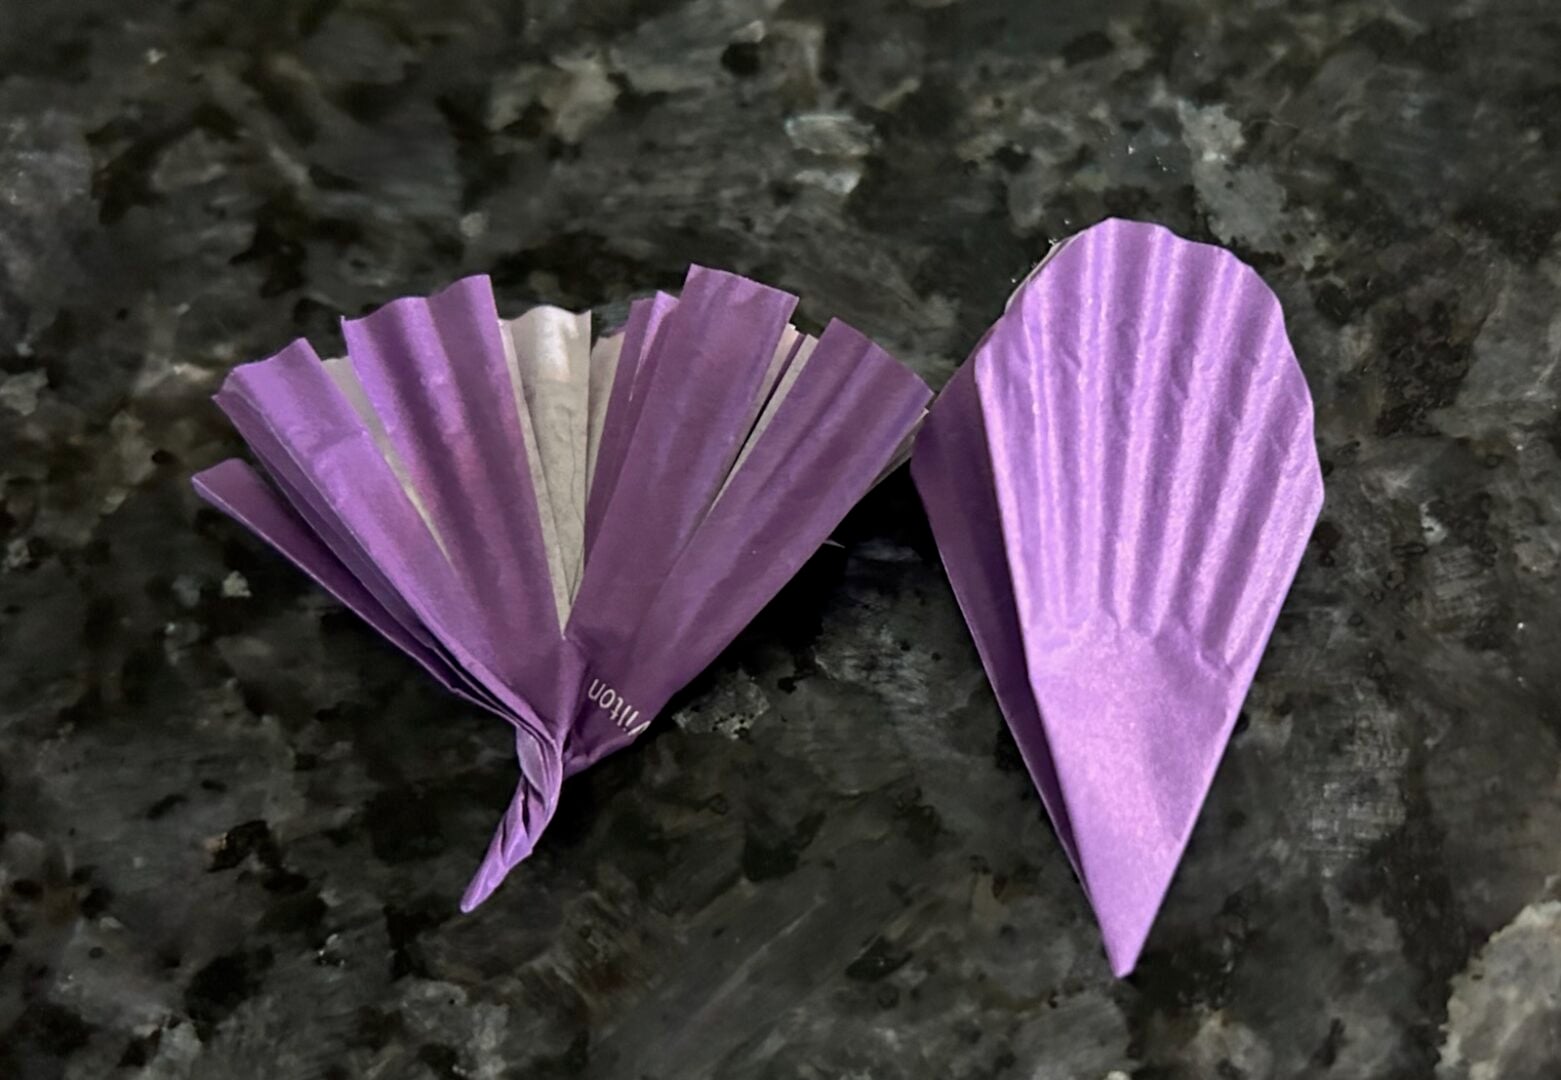
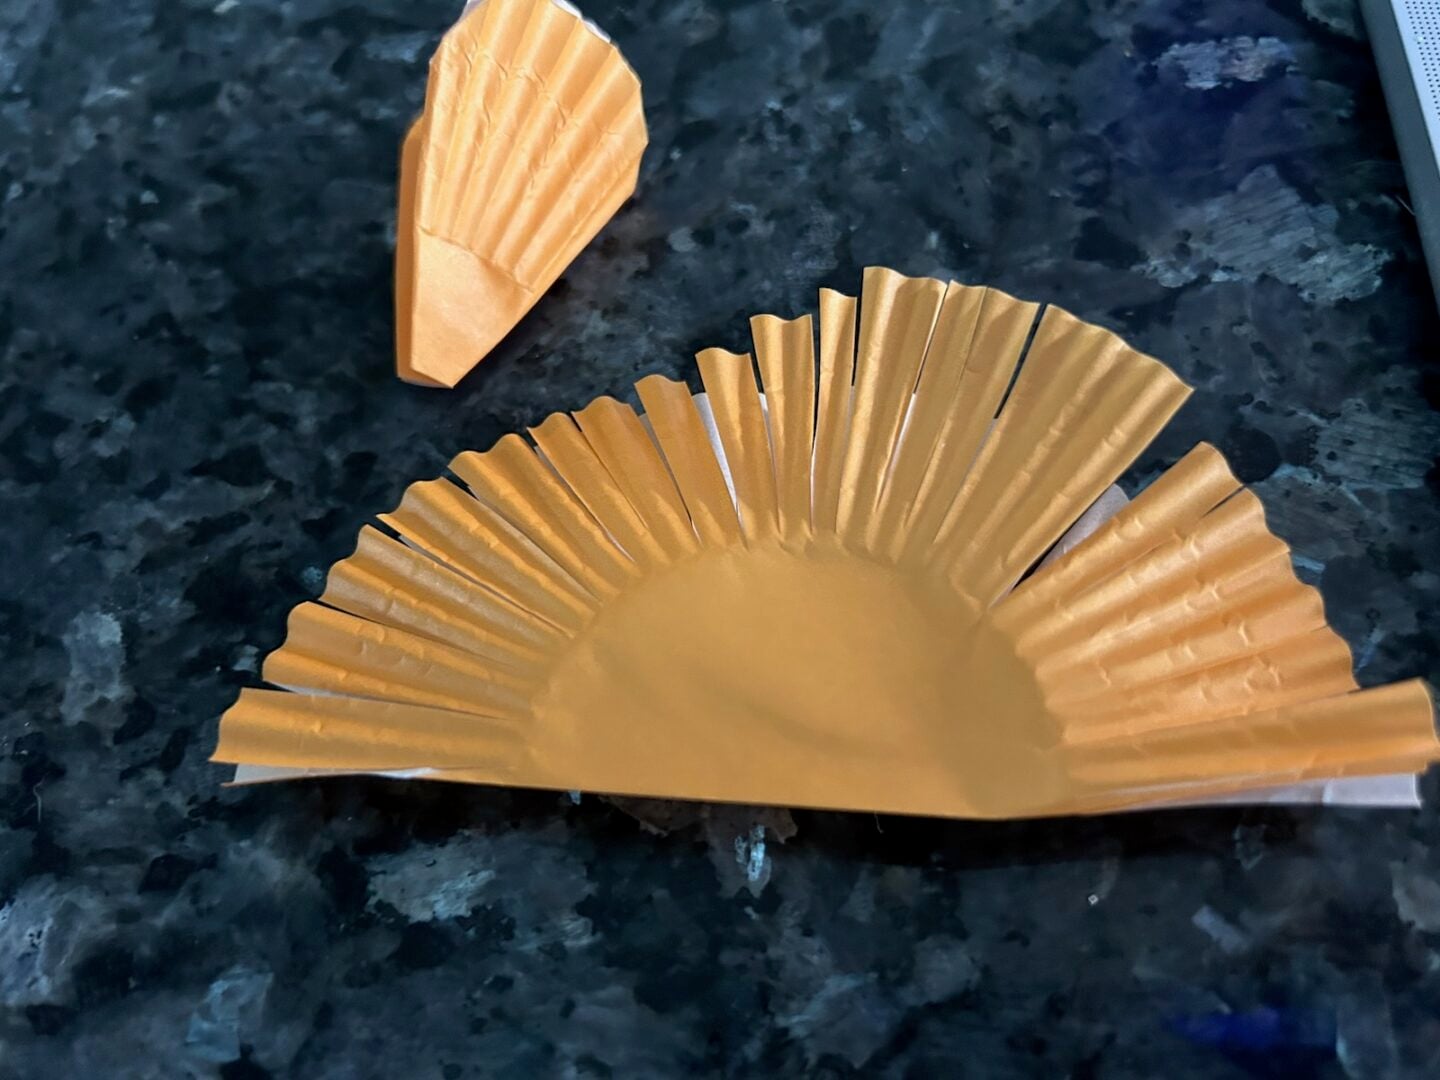
Step 1: Flatten and Shape the Liners
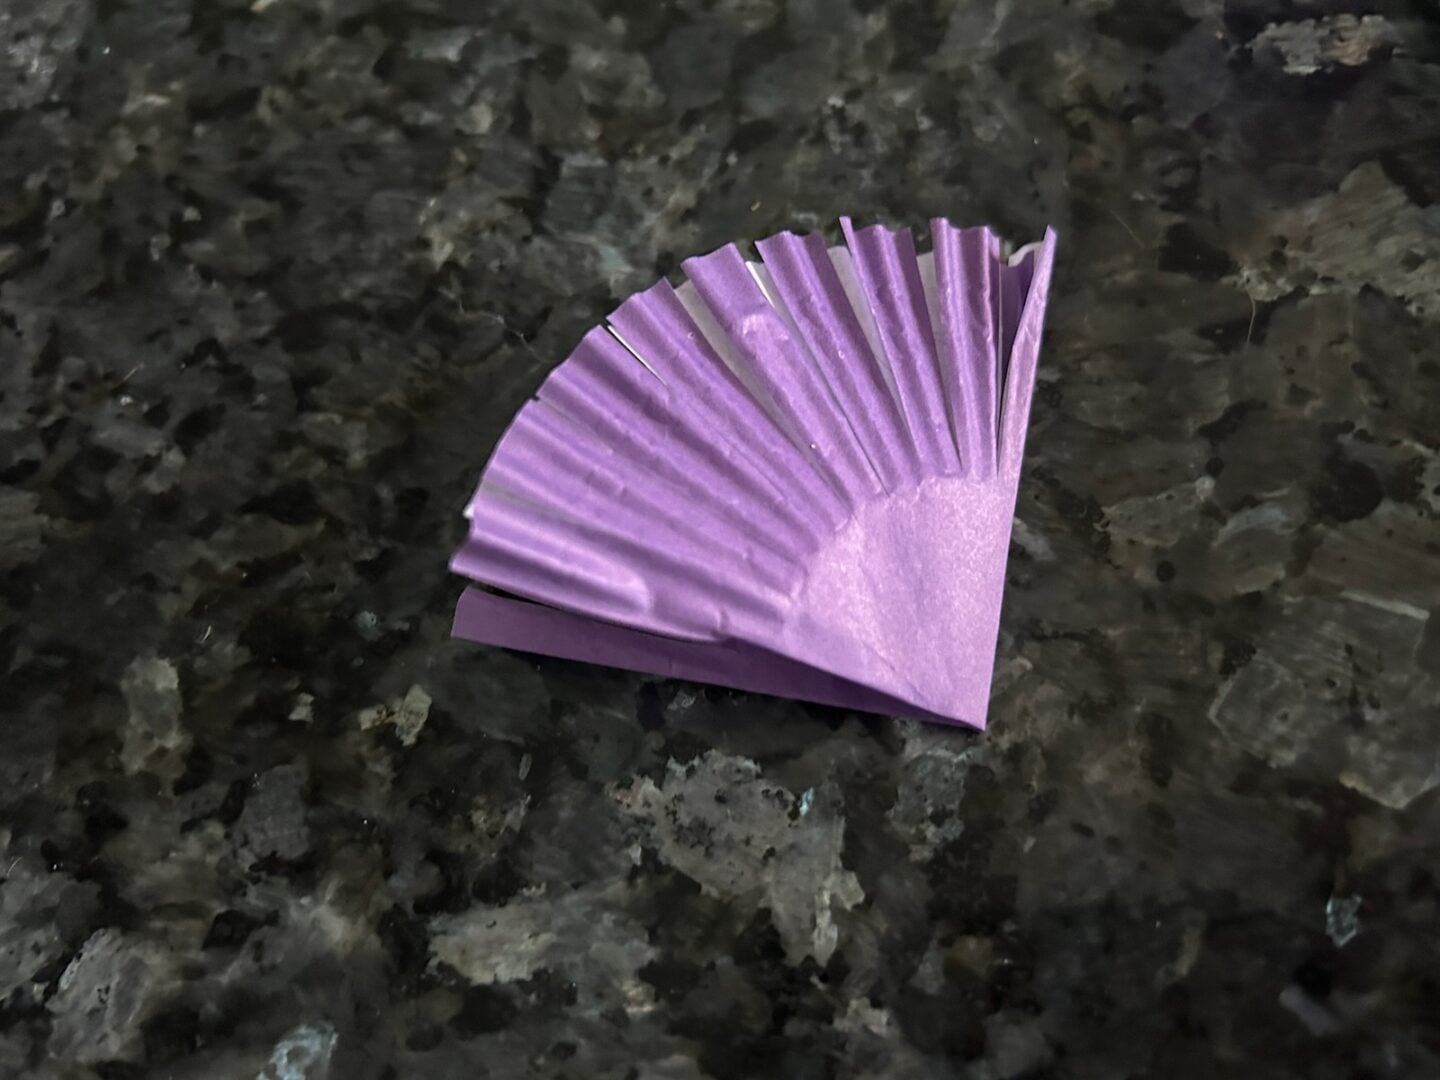
Flatten a cupcake liner and gently press it open. Fold it in half (inner side touching inner side). Now fold it again, this time into a triangle. Now fold it once more, making an even smaller triangle. Now trim the edges into soft petal shapes.
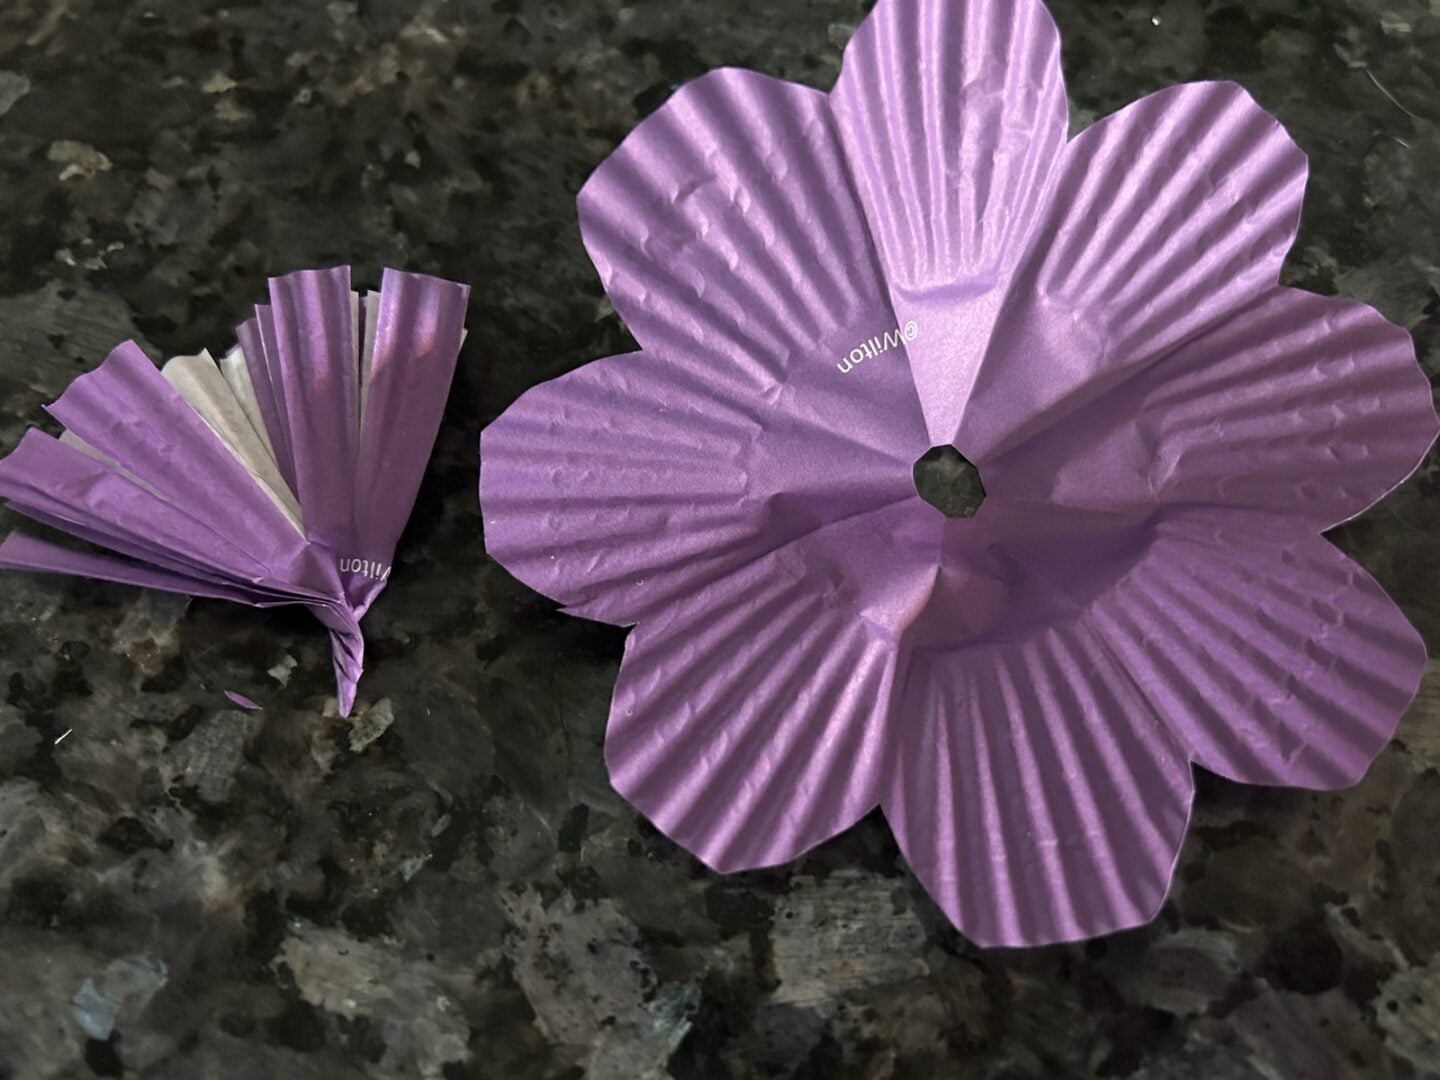
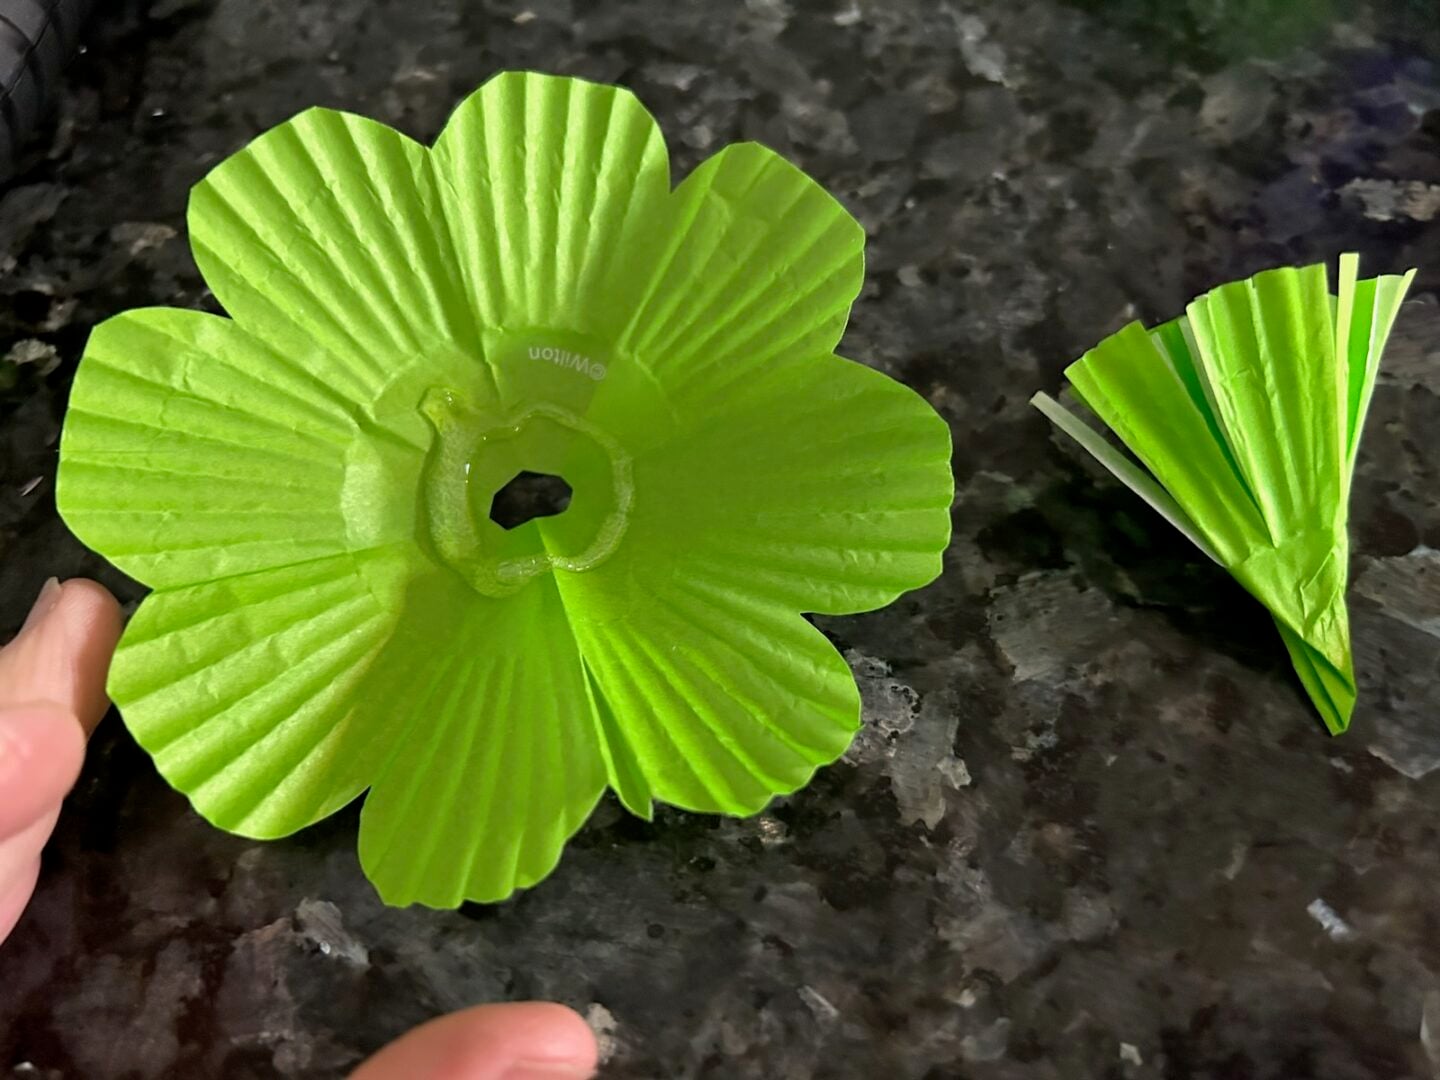
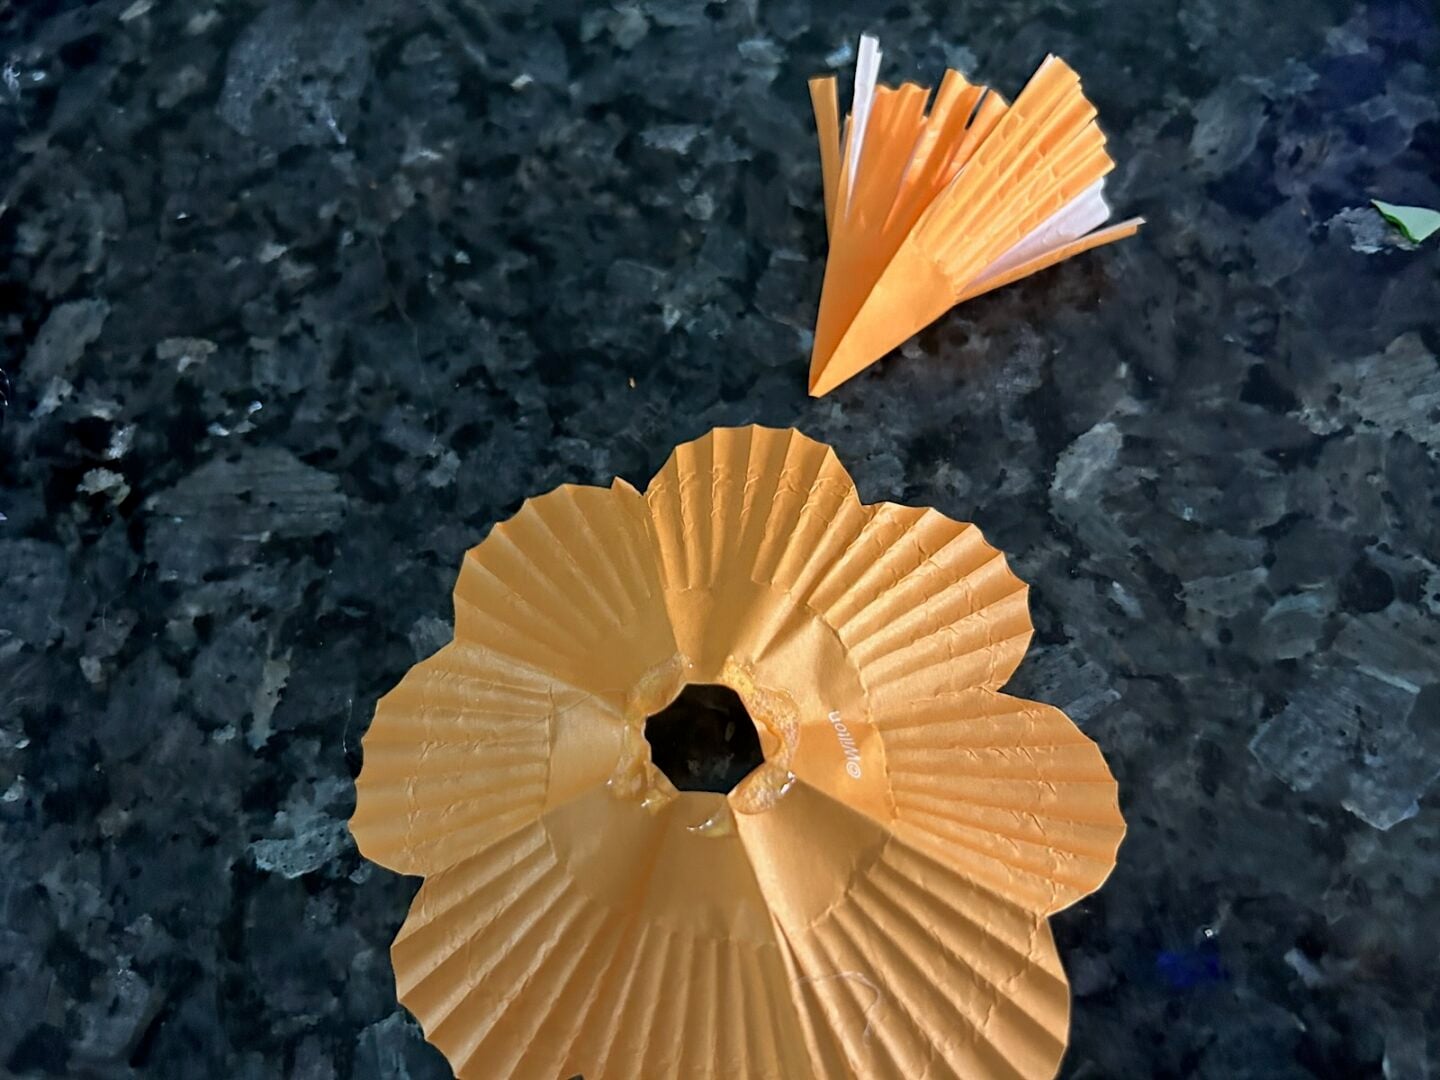
Step 2: Cut the Center Hole
Cut a small hole in the middle of the liner—just large enough to slide the center fringe through.
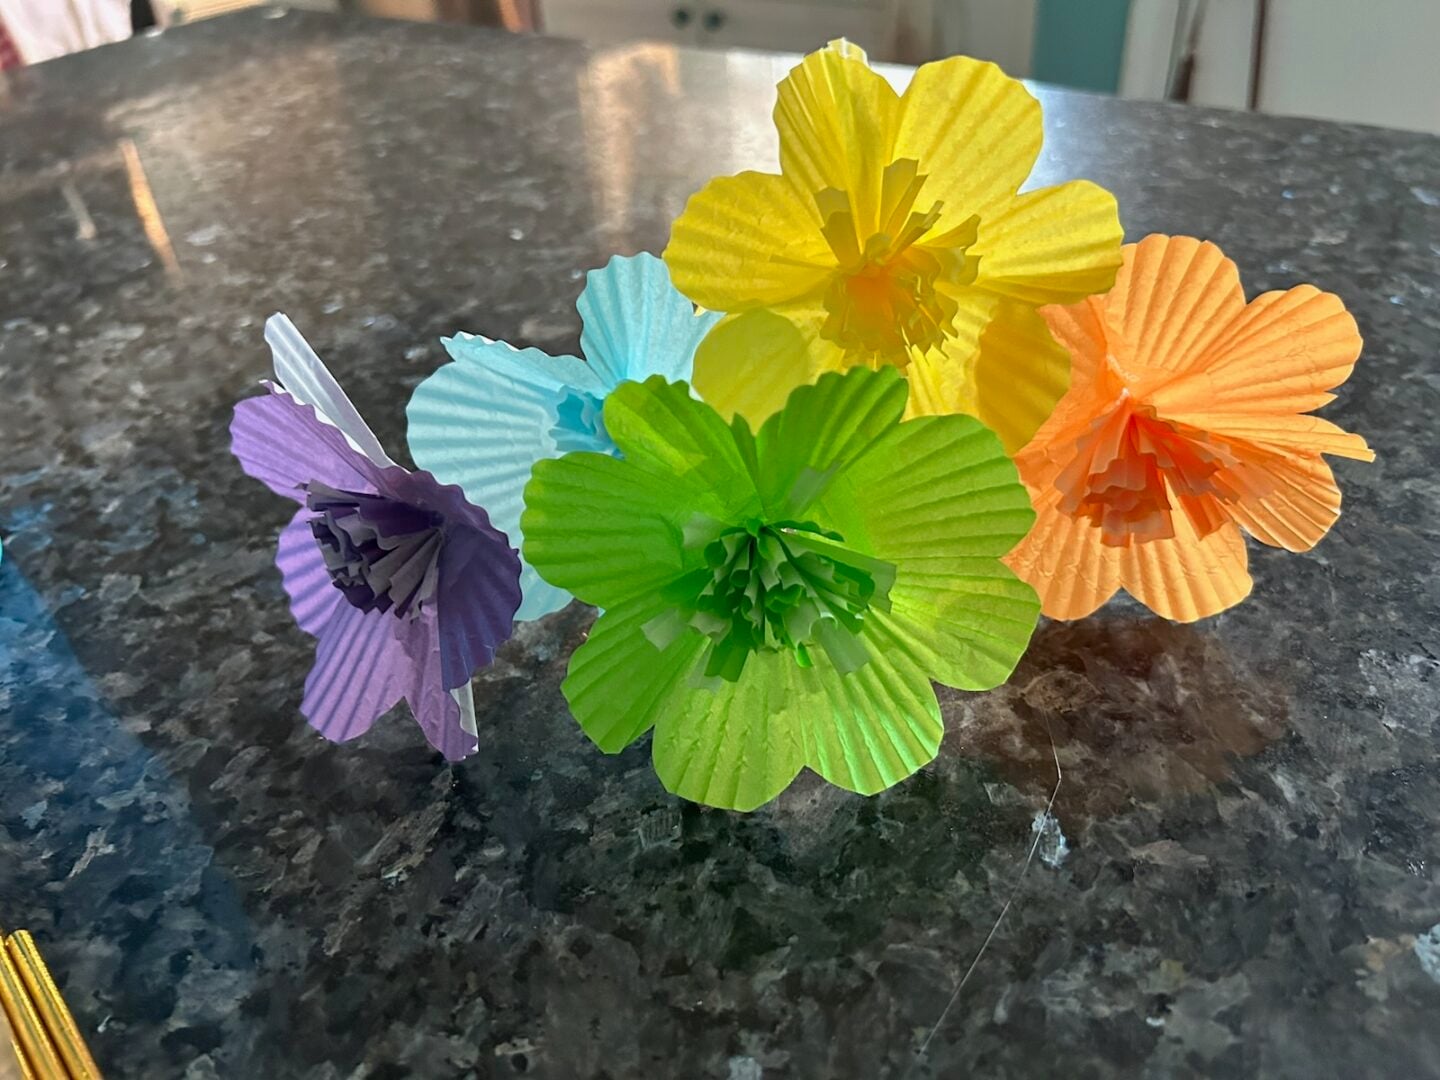
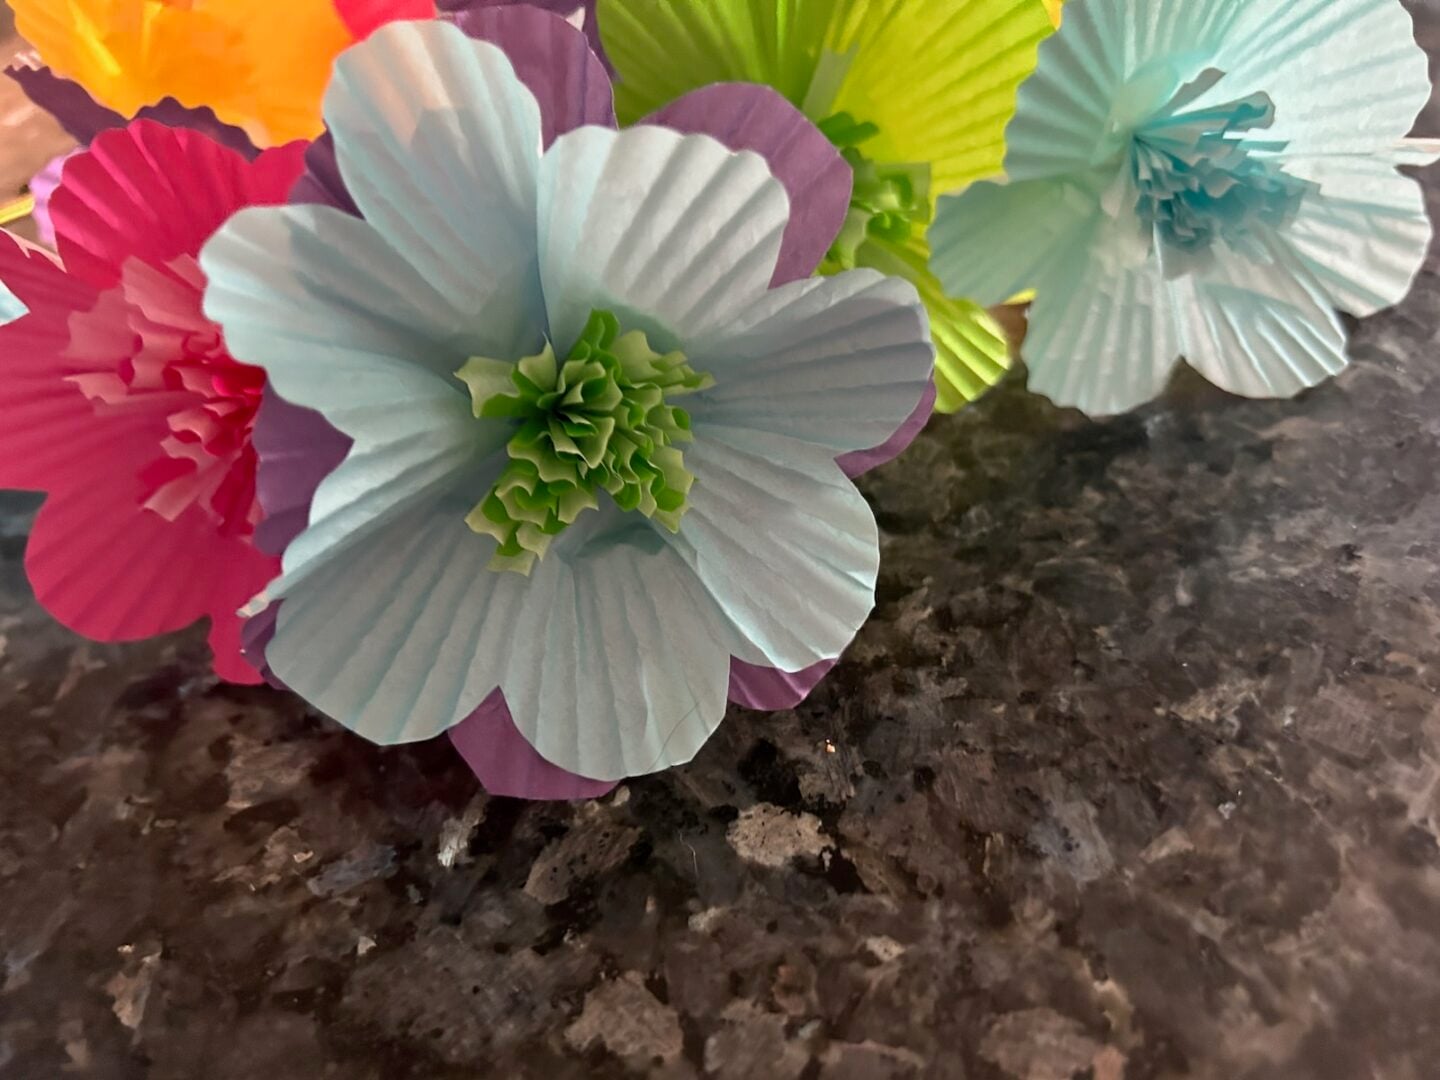
Step 3: Layer for Fullness
Stack two or three liners together to create a fuller flower. Mixing colors adds a fun, dimensional look.
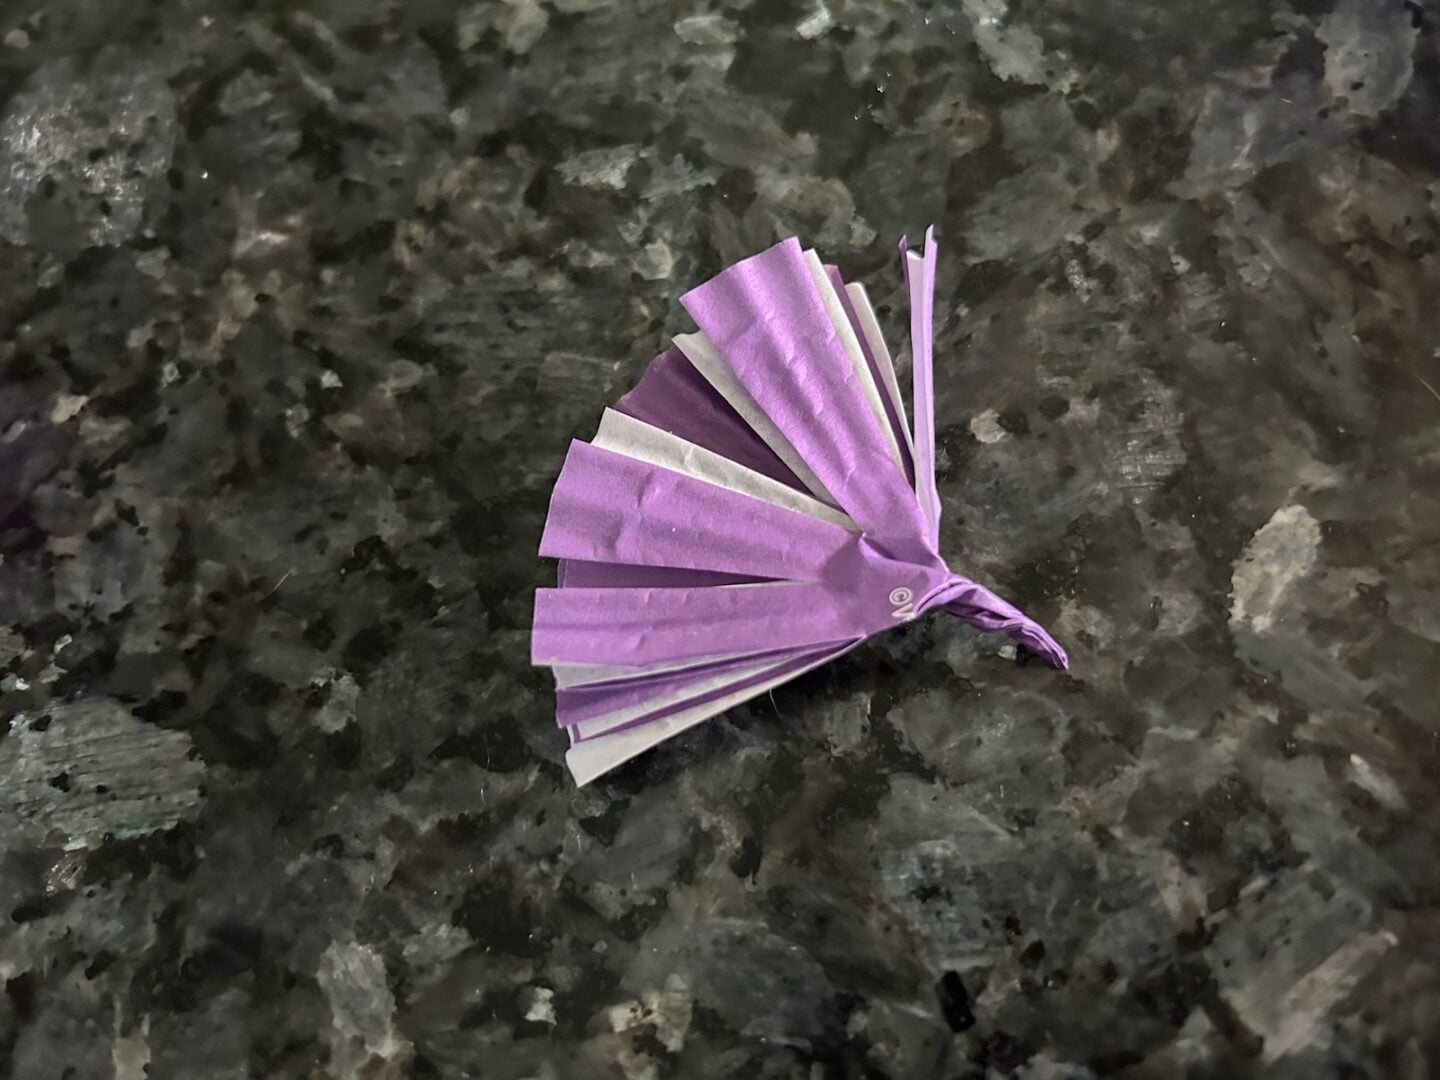
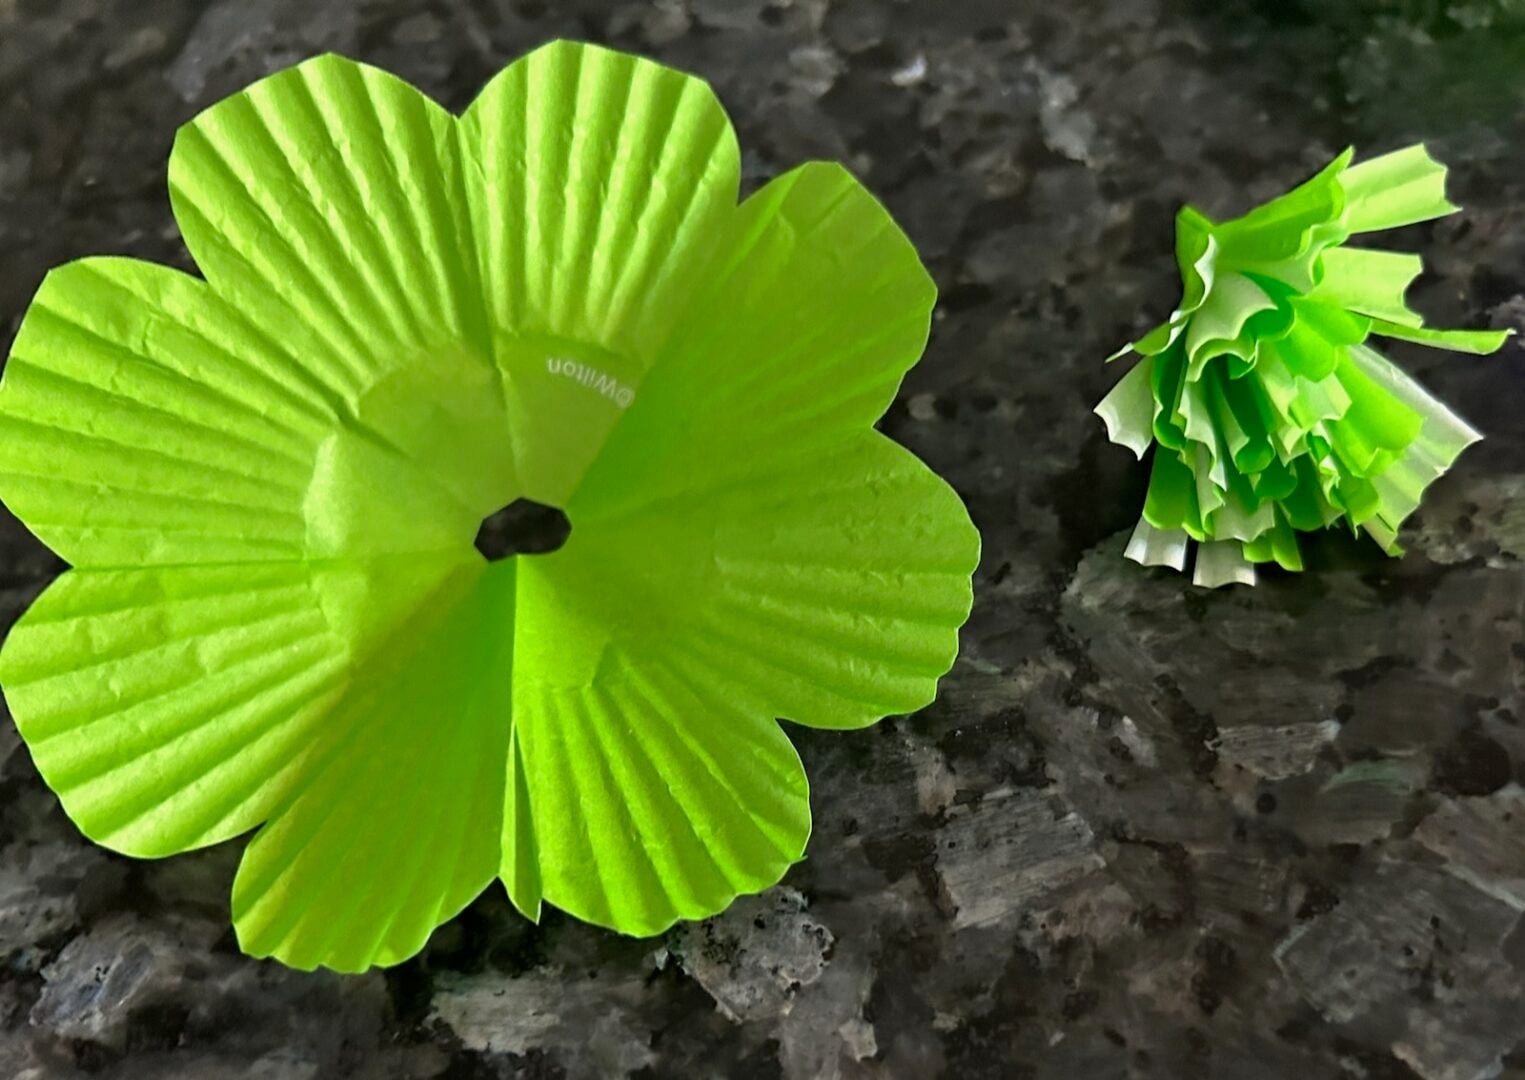
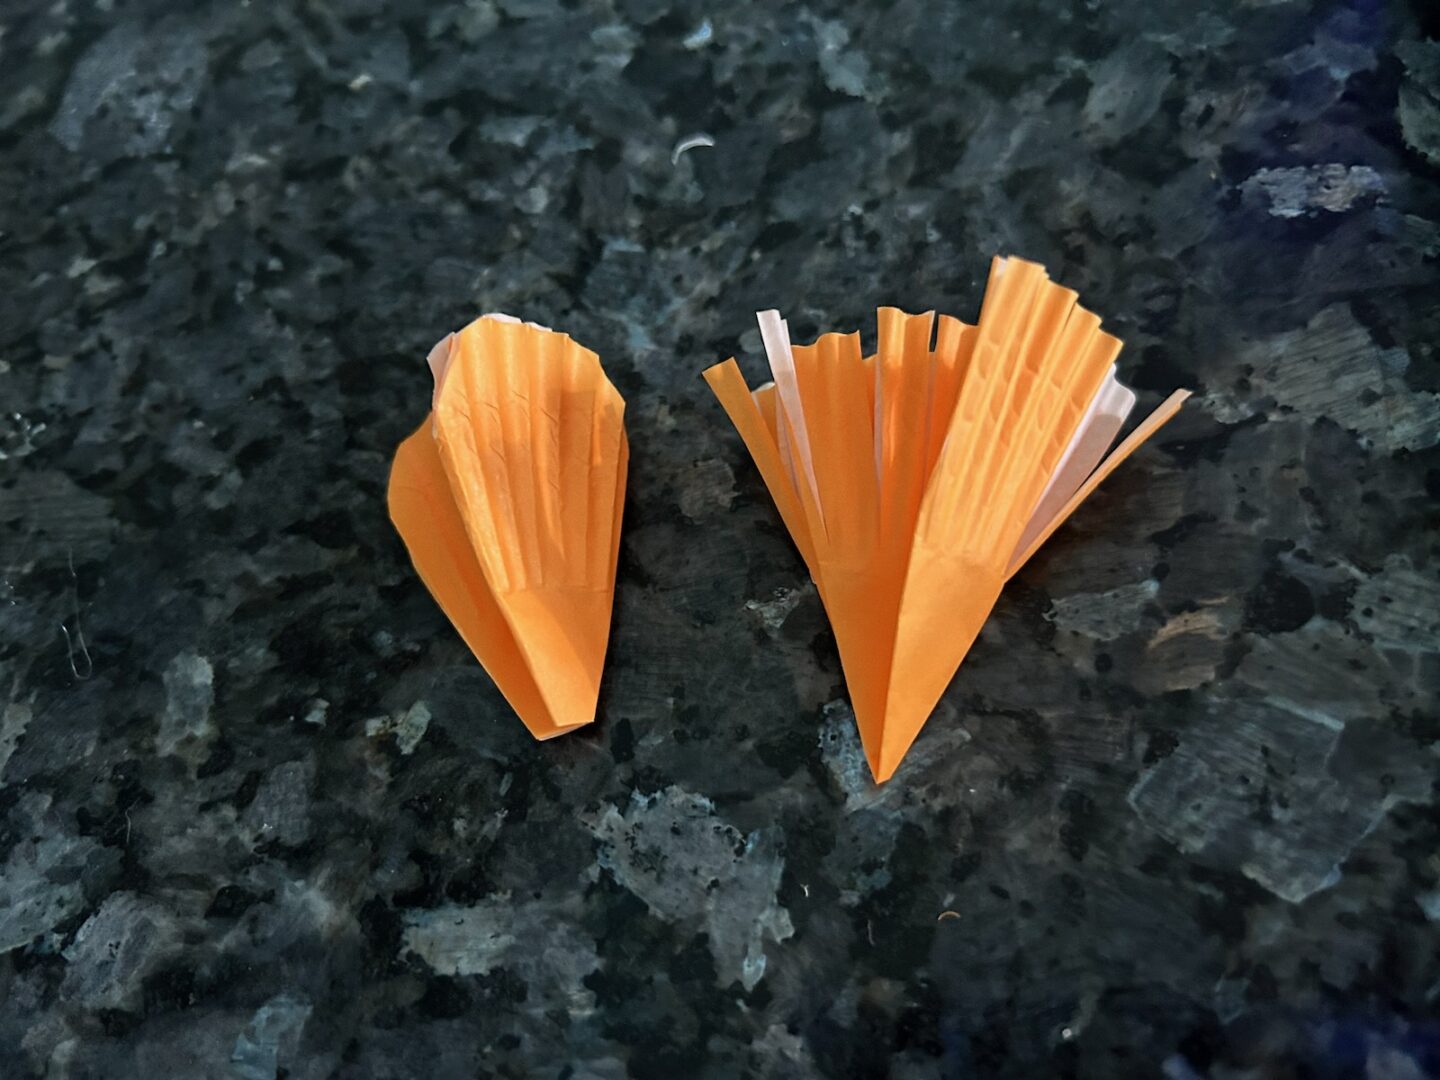
Step 4: Create the Center
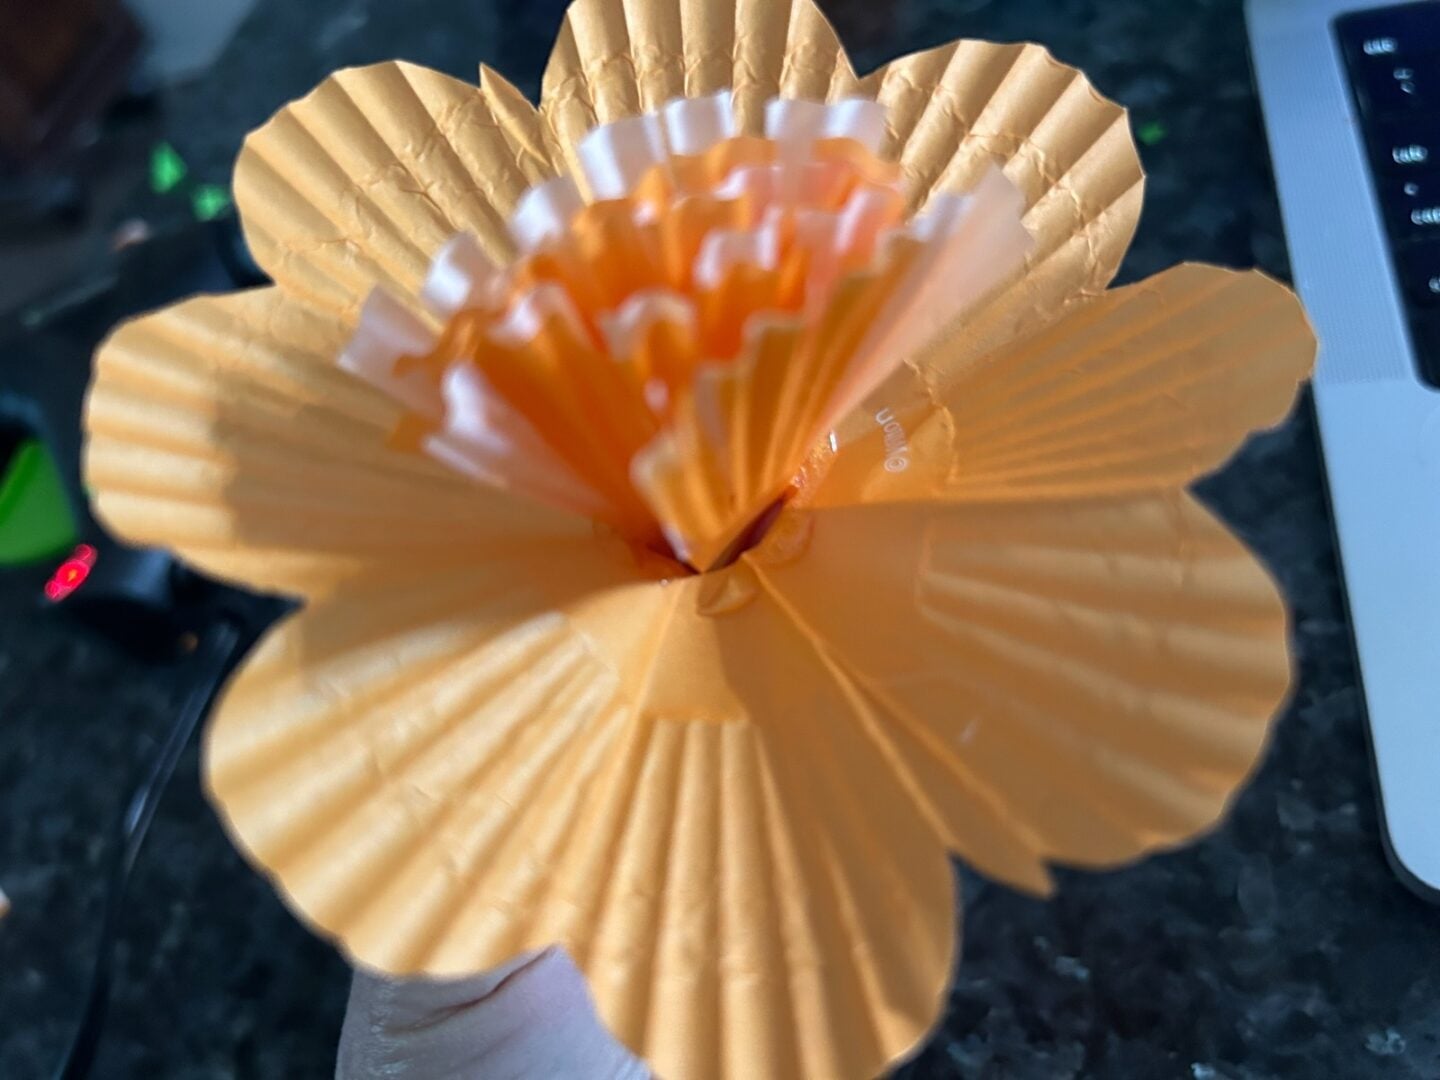
Take another liner and cut it into thin fringe strips as you see in the photo below. Roll it tightly into a small bundle to form the center of the flower.
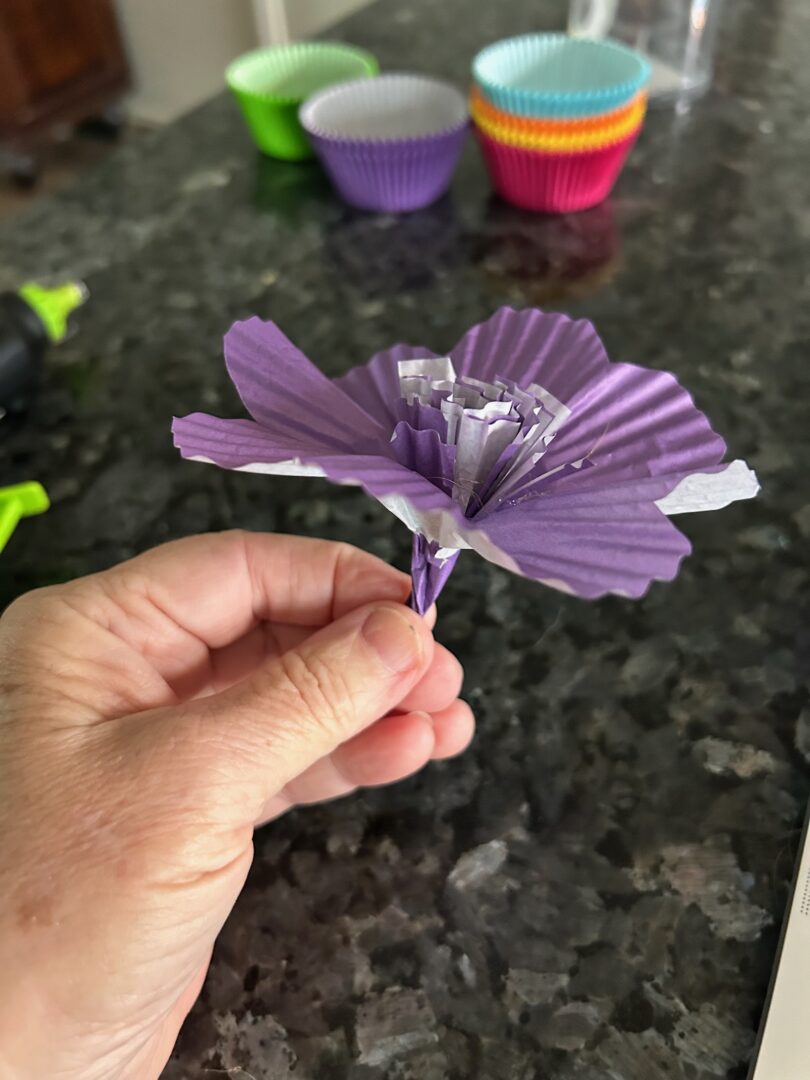
Step 5: Assemble the Flower
Push the bottom of the fringed piece through the center of your stacked liners. Use a bit of glue to secure everything in place, then glue it into a straw (stem) or to a lollipop stick.
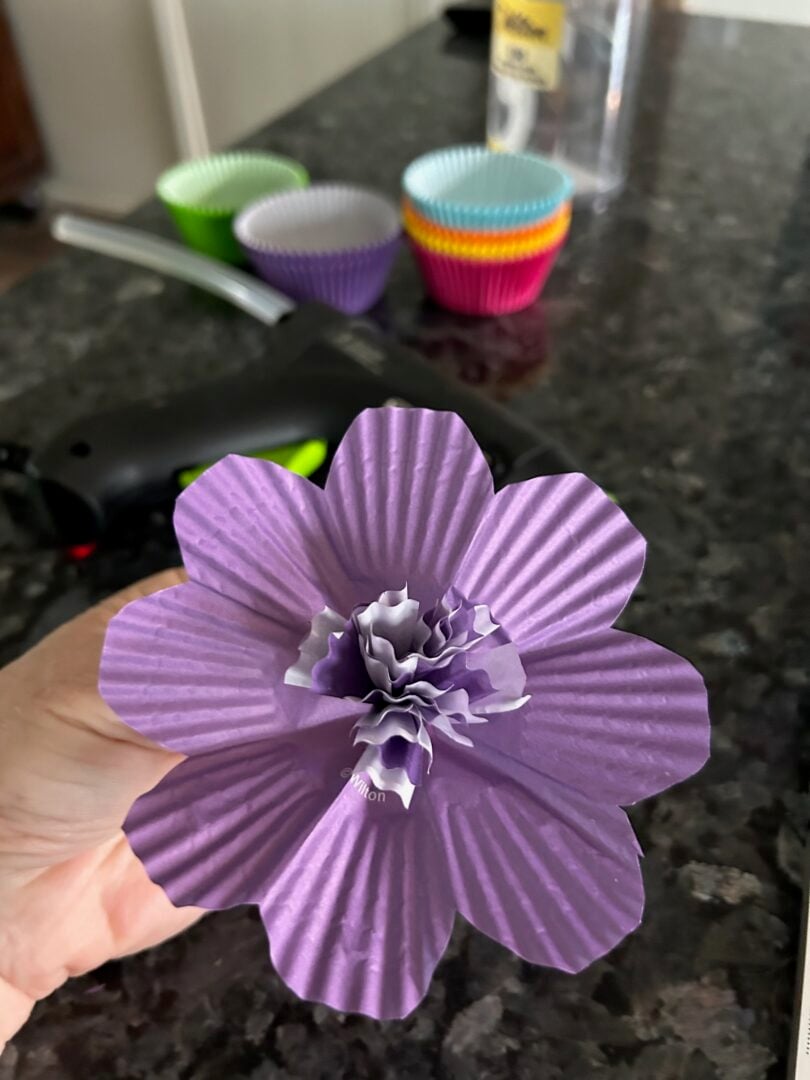
Step 6: Fluff and Shape
Gently pull the layers upward and fluff them to create a full, blooming flower shape.
Tips for the Best Results

- Use two liners for a simple flower, or three for a fuller bloom
- Mix bright colors for a cheerful, springtime look
- Crinkle the edges slightly for a more natural appearance
- Add a small dab of glue at the base to keep layers secure
- Don’t worry about perfection—each flower turns out a little different, and that’s part of the charm
Ways to Use Cupcake Liner Flower
These little flowers are surprisingly versatile! Here are a few fun ways to use them:
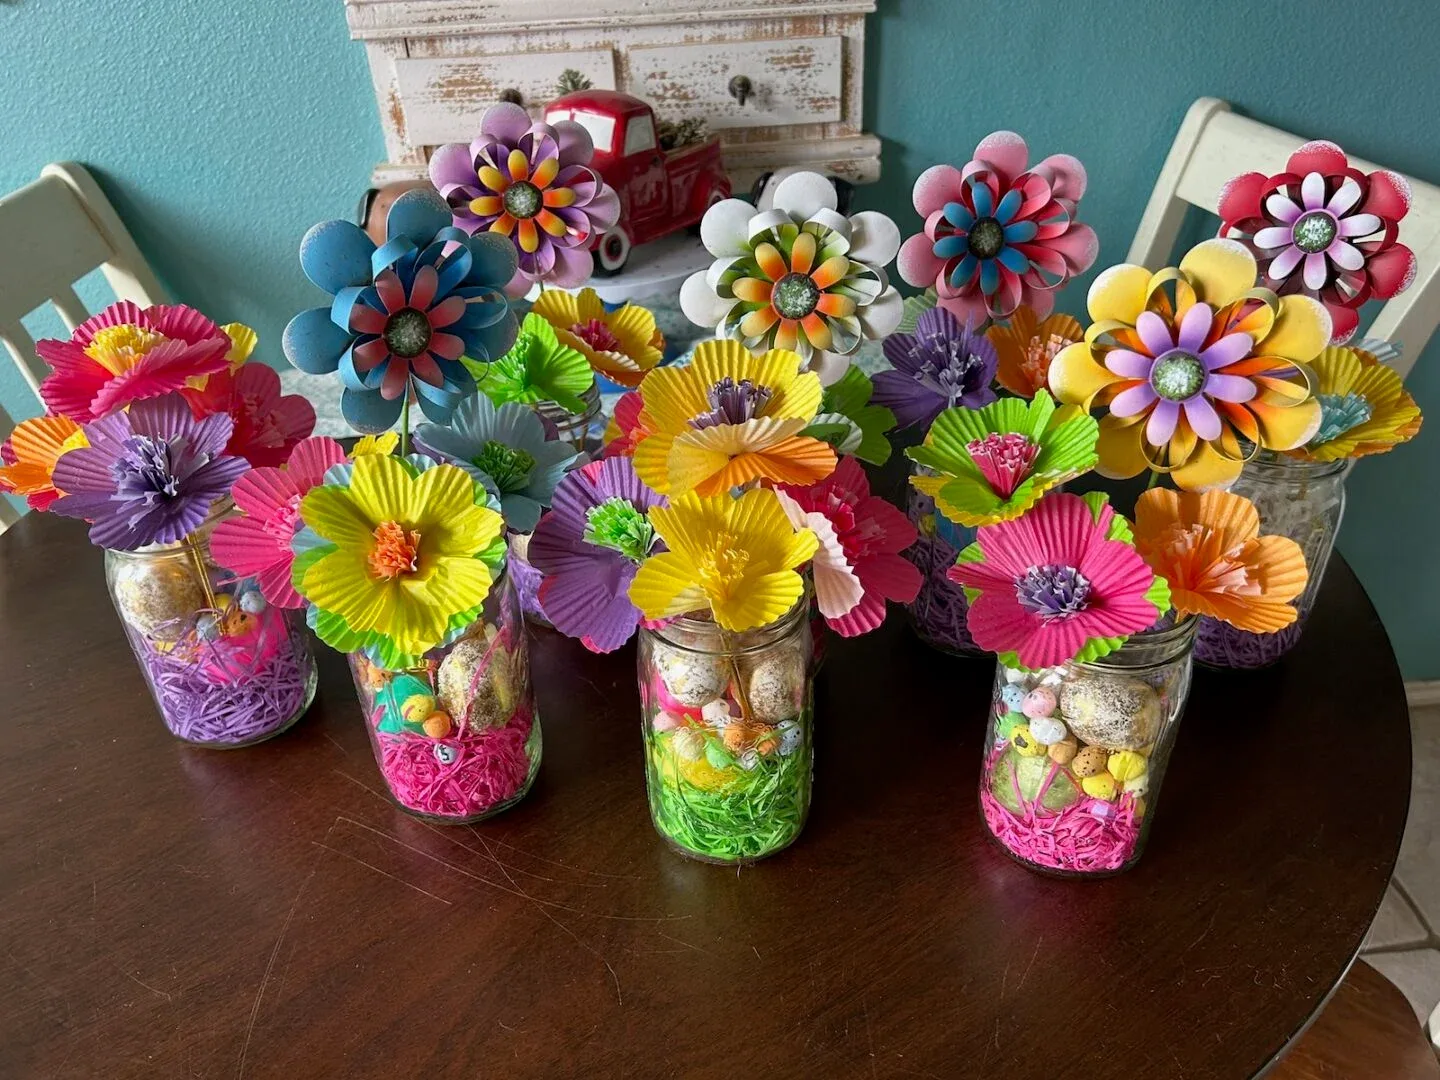
- Centerpieces for parties and events
- Cupcake toppers
- Table decorations
- Party favors
- Garland or banner decor
- Kids’ craft activity stations
For my event, I used them as in my centerpieces and they added such a bright, joyful pop of color to the tables.
Make It a Kids’ Activity
This is a fantastic craft to do with kids. Set out cupcake liners in different colors and let them mix and match to create their own flowers. It’s simple, low-cost, and keeps little hands busy while producing something truly adorable.
Can I Use These for Other Holidays?
Absolutely! One of the things I love most about these cupcake liner flowers is how easy they are to customize. Simply change the colors and patterns of your liners to match the occasion, and suddenly you’ve got a whole new look.
Use red, pink, and white for Valentine’s Day. Try pastels for Easter or spring parties. Go bold with red, white, and blue for the Fourth of July. Bright fiesta colors would be perfect for Cinco de Mayo, while orange, yellow, and brown would make these lovely for Thanksgiving. And of course, red, green, gold, or silver would be beautiful for Christmas centerpieces and holiday tables.
If you’re looking for more seasonal inspiration, be sure to check out my holiday and celebration ideas:
- Valentine’s Day: Check out our Ultimate Valentine Desserts Hub
- Fourth of July: Check out our 4th of July post!
- Thanksgiving: Enjoy our Thanksgiving Dessert Post!
- Christmas: See our Christmas Dessert Hub
- Cinco de Mayo: You'll love our Cinco de Mayo post!
If parties are your thing you'll definitely want to check out our Ultimate Party Planning Guide!
These simple paper flowers are a fun way to add color and charm to all sorts of celebrations without spending a fortune.
Final Thoughts
Sometimes the best ideas come from using what you already have on hand.
These cupcake liner flowers are proof that you don’t need to spend a lot of money to create something beautiful. Whether you’re decorating for a party, planning a holiday event, or just looking for a fun craft, this easy DIY is a great way to turn everyday supplies into something special.
And who knows—you might just start looking at your baking supplies in a whole new way!
Thanks for stopping by! Before you go, why not pin some photos to your Pinterest boards!

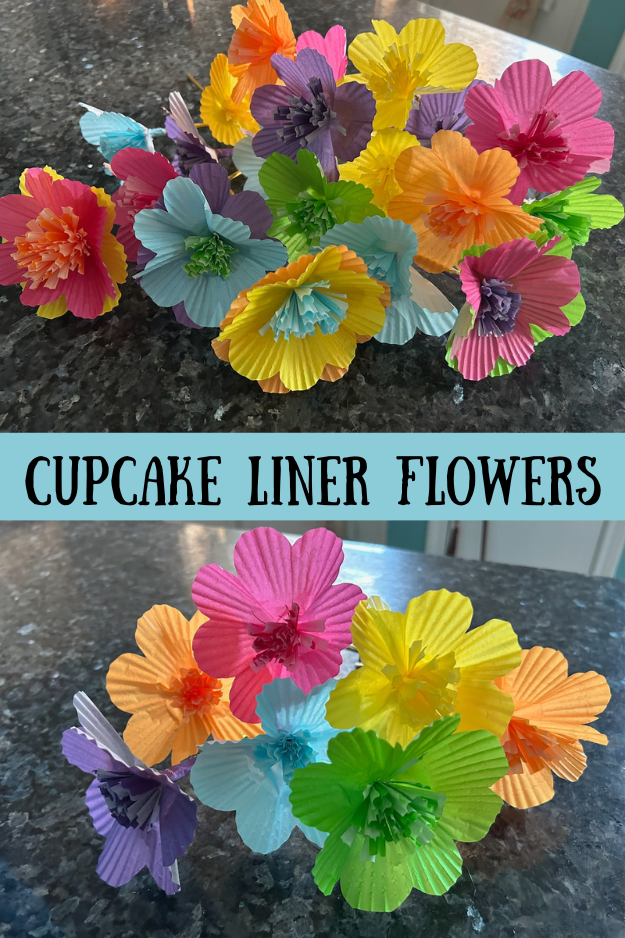
Cupcake Liner Flowers
Learn how to make paper flowers from cupcake liners with this easy DIY tutorial! These budget-friendly centerpieces are perfect for Easter parties, kids’ events, and holiday decor.
Materials
- Cupcake liners (various colors)
- Lollipop sticks (or straws)
Tools
- Hot glue gun and glue sticks (or tacky glue)
- Scissors
Instructions
Step 1: Flatten and Shape the Liners
Flatten a cupcake liner and gently press it open. Fold it in half (inner side touching inner side). Now fold it again, this time into a triangle. Now fold it once more, making an even smaller triangle.
Now trim the edges into soft petal shapes.
Step 2: Cut the Center Hole
Cut a small hole in the middle of the liner—just large enough to slide the center fringe through.
Step 3: Layer for Fullness
Stack two or three liners together to create a fuller flower. Mixing colors adds a fun, dimensional look.
Step 4: Create the Center
Take another liner and cut it into thin fringe strips as you see in the photo below. Roll it tightly into a small bundle to form the center of the flower.
Step 5: Assemble the Flower
Push the bottom of the fringed piece through the center of your stacked liners. Use a bit of glue to secure everything in place, then glue it into a straw (stem) or to a lollipop stick.
Step 6: Fluff and Shape
Gently pull the layers upward and fluff them to create a full, blooming flower shape.
So we have come to know and to believe the love that God has for us. God is love, and whoever abides in love abides in God, and God abides in him.
1 John 4:16 ESV
Janetta
Friday 3rd of April 2026
Those are adorable. I can't wait to make them. I'm also sharing your idea with my sister. Thank you for sharing!