Easy Homemade Honey Buns
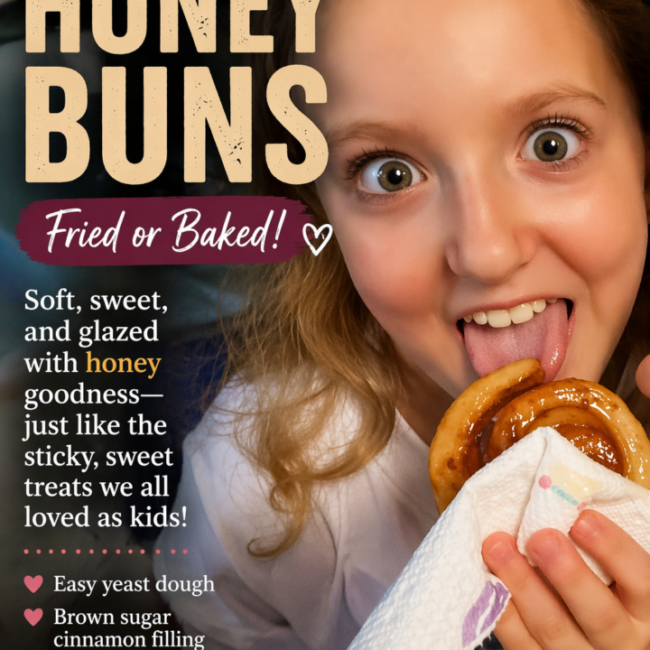
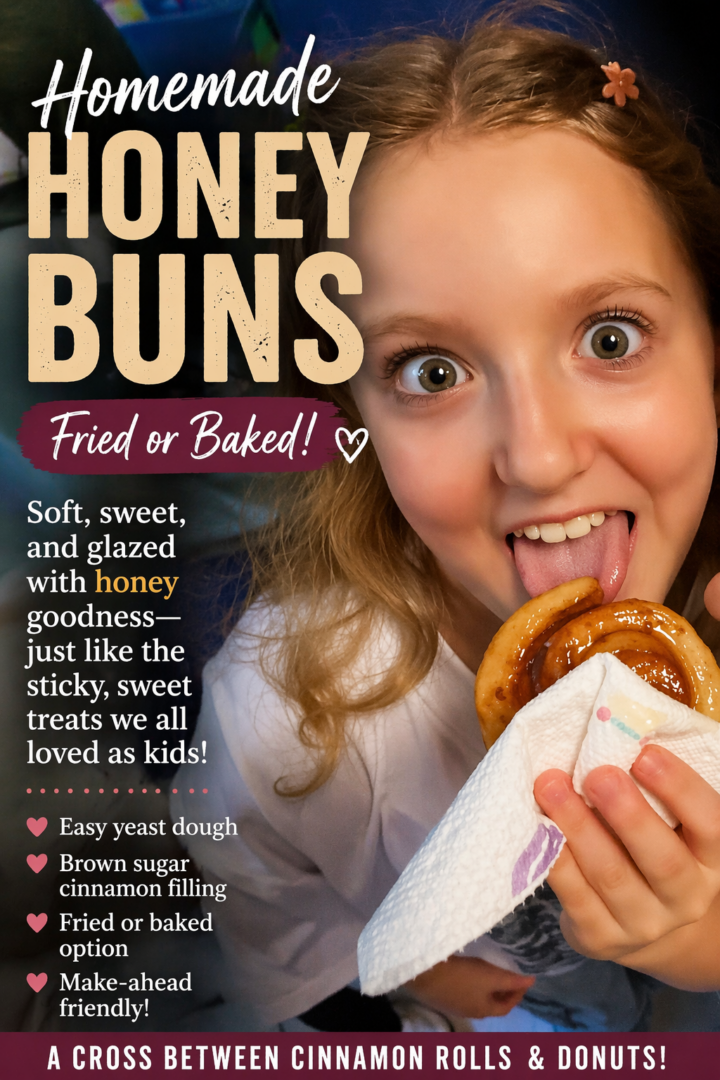
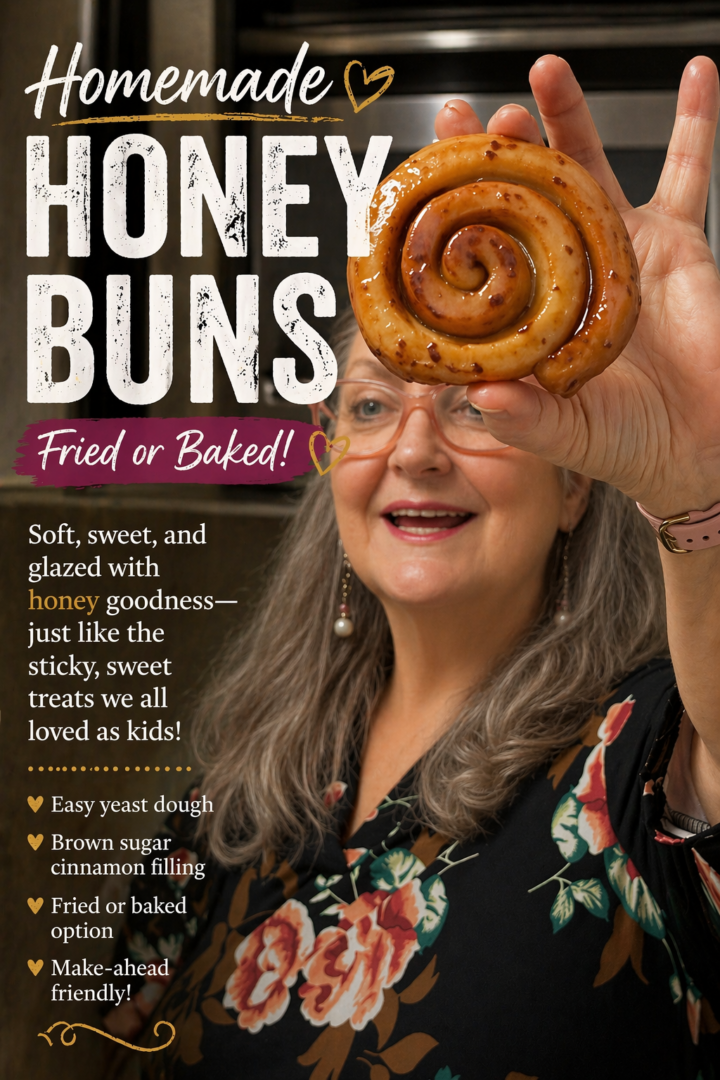
Make soft, homemade honey buns from scratch using a simple yeast dough and brown sugar cinnamon filling. Fry or bake them for a delicious treat that tastes just like a cross between donuts and cinnamon rolls!
If you love easy breakfast treats like this one, be sure to check out my full collection of breakfast bakes here.
👉 Check out my Breakfast Bakes Hub!
A Nostalgic Treat
If you’ve ever made homemade cinnamon rolls, you already have a head start on these honey buns.
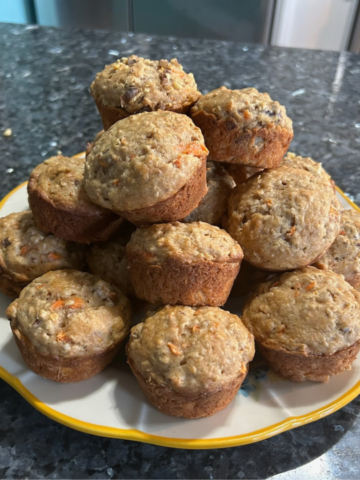
I recently tested this recipe with a group of students in one of my baking classes, and let's just say. . .they loved them.
Funny side story: I passed off my camera to one of the students to take pictures of the process and when I got my camera back there were over 50 hilarious photos on there, most of them of the students, not the honey buns. (Pic of my granddaughter used with permission!)
Not that I minded. She caught enough of the honey buns to present here, and that's what mattered. And (clearly) they had a lot of fun that day!
Why Honey Buns?
We've been doing a "bakes around the world" approach at the school this semester. We've baked all kinds of things from a variety of countries. I needed something from the Middle East and had planned to make my Honeycomb Buns (Roti Sarang Lebah).
As I looked over that recipe, I decided it was too complex for the younger kids. So, I switched it up and we made an old favorite, Traditional Honey Buns.
The kids flipped. . .in a good way. Everyone knows what Honey Buns are, of course.
My Honey Bun Story
The sweetest memory come back to me while making these.
Travel back with me, if you will, to 1975. The world was younger then. . .and so was I. I was only 16, in fact, and a sophomore at Memorial High School.

At my school, we had the regular cafeteria—but we also had a separate snack bar area where you could buy extra treats. And without fail, those cellophane-wrapped honey buns were always calling my name. You know the ones—slightly sticky, sweet, and impossible to resist.
Honey Buns = The Best Memories!
I don’t remember buying them at the grocery store but I sure remember standing in that lunch line, trying to convince myself I didn’t need one… and then getting one anyway. I was always “on a diet” back then, but those honey buns were a temptation I rarely turned down.
Side note: I wanted to look like 'Marcia, Marcia, Marcia!' from the Brady Bunch; hence my obsession with dieting. I also basked in the sun a lot back in those days, my skin often the color of these delicious honey buns. We can thank Marcia for that obsession, too!
Back to those Honey Buns
I can still picture unwrapping a honey bun at one of the outdoor picnic tables, that soft dough and sweet glaze still tacky to the touch.
I don’t even remember if they warmed them up for us—but I remember them feeling warm and fresh, like the best treat in the world in the middle of a school day.
As much as I loved those store-bought honey buns back then, I had no idea how simple they were at their core—or how closely they resembled something I was already making in my own kitchen. That’s when it really clicked.
🍯 What Are Honey Buns, Really?
Honey buns are surprisingly similar to classic cinnamon rolls, and you guys know I love those! I've got my original recipe, but I also got a sourdough discard version, a pumpkin spice cinnamon roll recipe, and even a canned biscuit version! (Talk about easy!)
The dough is these honey buns is similar--soft, enriched, and slightly sweet. You roll it out, add a cinnamon sugar filling, roll it up, and slice it into spirals.
The biggest difference is what happens next.
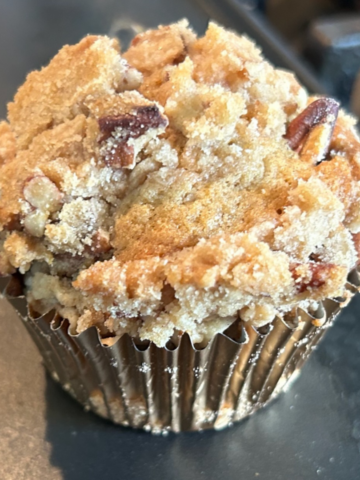
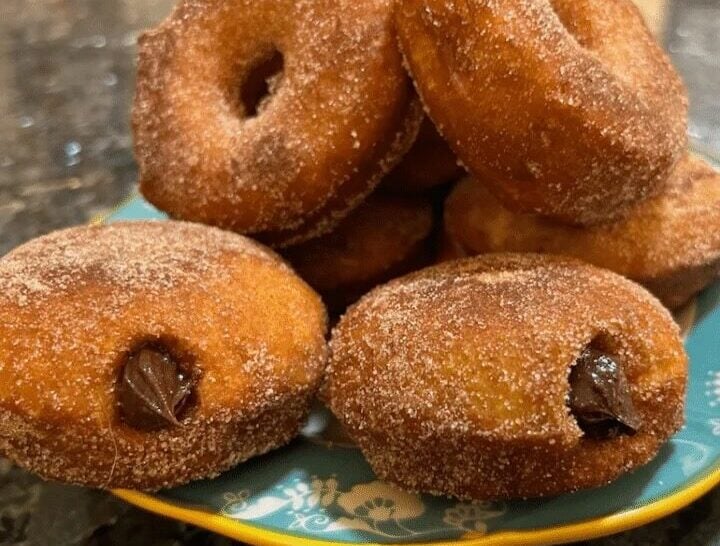
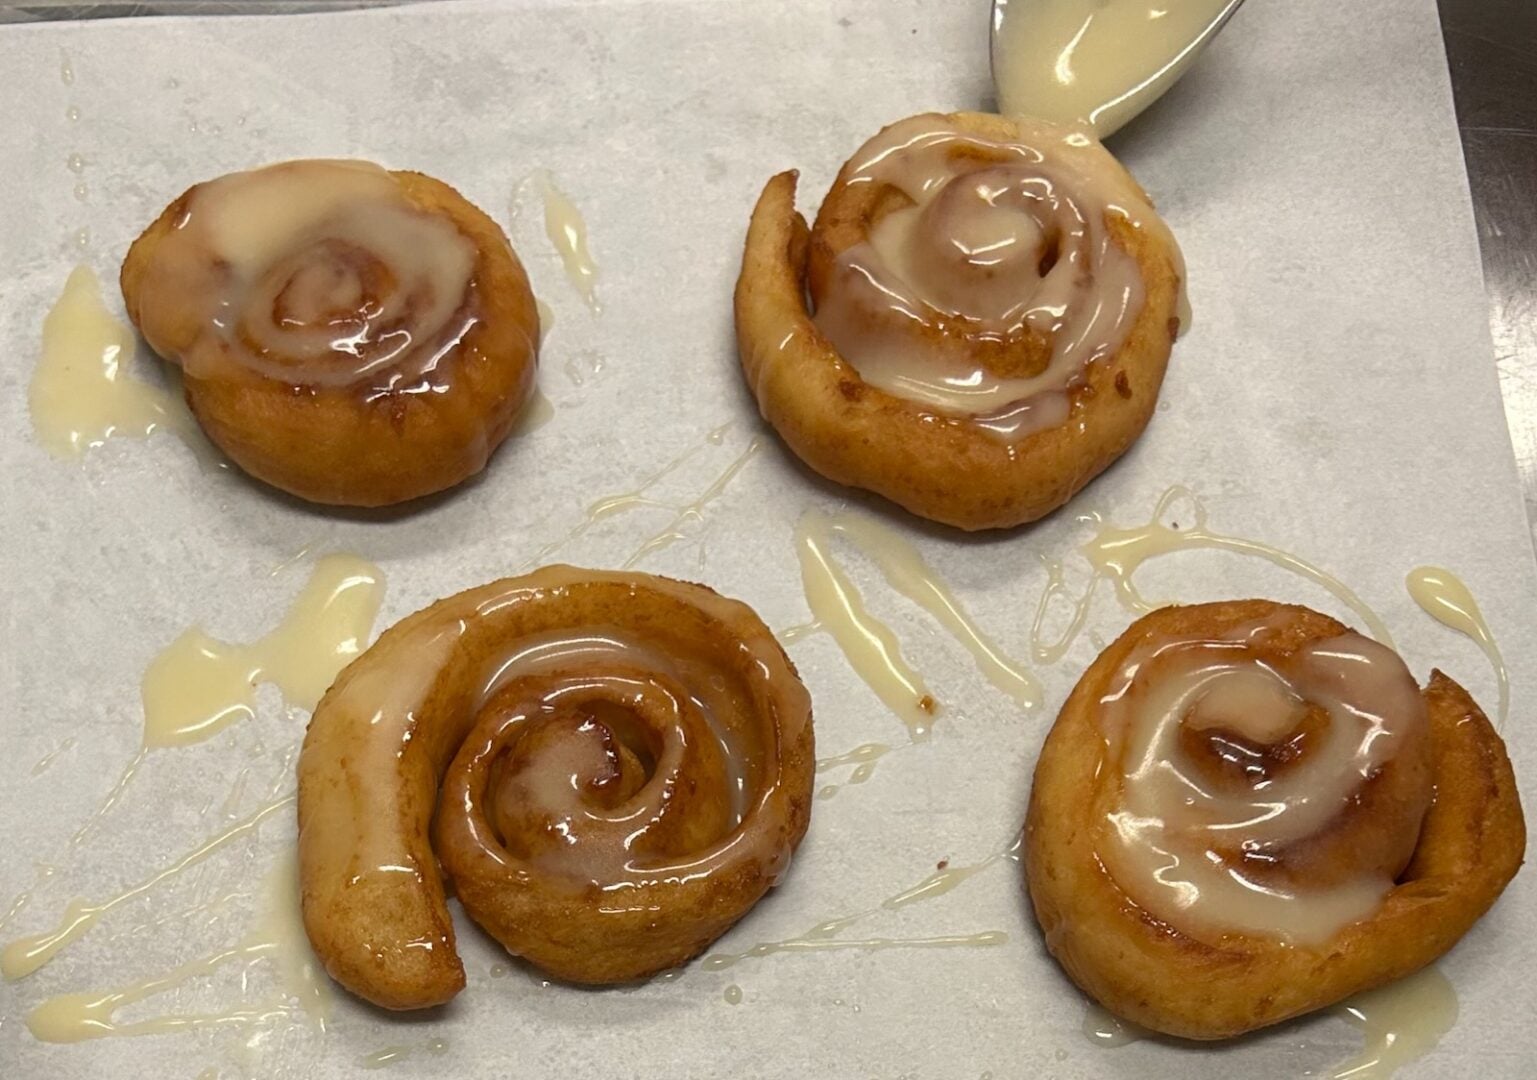
Instead of baking and frosting them, traditional honey buns are fried and finished with a light glaze, often made with a touch of honey. The result is a treat that’s slightly crisp on the outside, soft and fluffy on the inside, and lightly sticky all over.
If you love cinnamon rolls, think of these as their slightly indulgent cousin.
🍩 Honey Buns vs. Donuts
Honey buns and donuts also share a lot of similarities. Both are made with yeast dough, both are fried, and both have that light, airy texture that makes them so irresistible.
In fact, as I type these words, I'm having another flashback--this time to a Krispy Kreme shop in Missoula Montana. As I recall, we were headed back to my daughter and son-in-law's house after a full day's activities.
Even though it was super late at night, the light outside of Krispy Kreme was brightly lit, beckoning like a siren's song, signaling us to come inside and enjoy a hot-from-the-oil donut, dripping with glaze. Yum. We did just that. And man, I can still taste that donut now, all these years later!
My honey bun recipe gives you a similar experience, but with an added component: cinnamon.
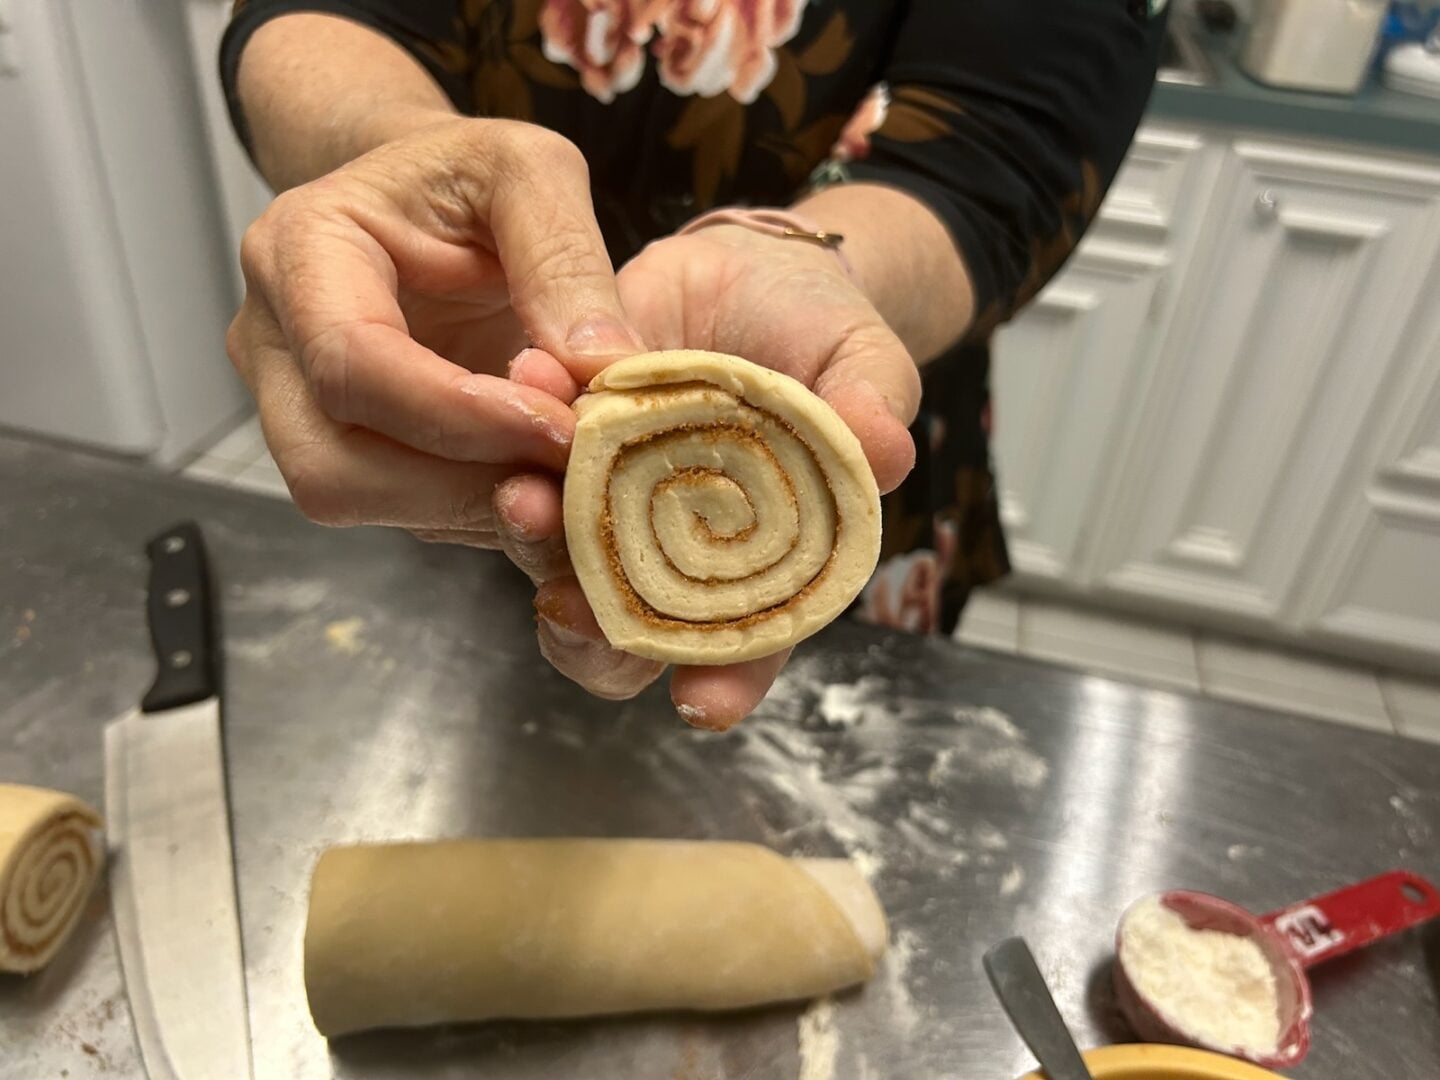
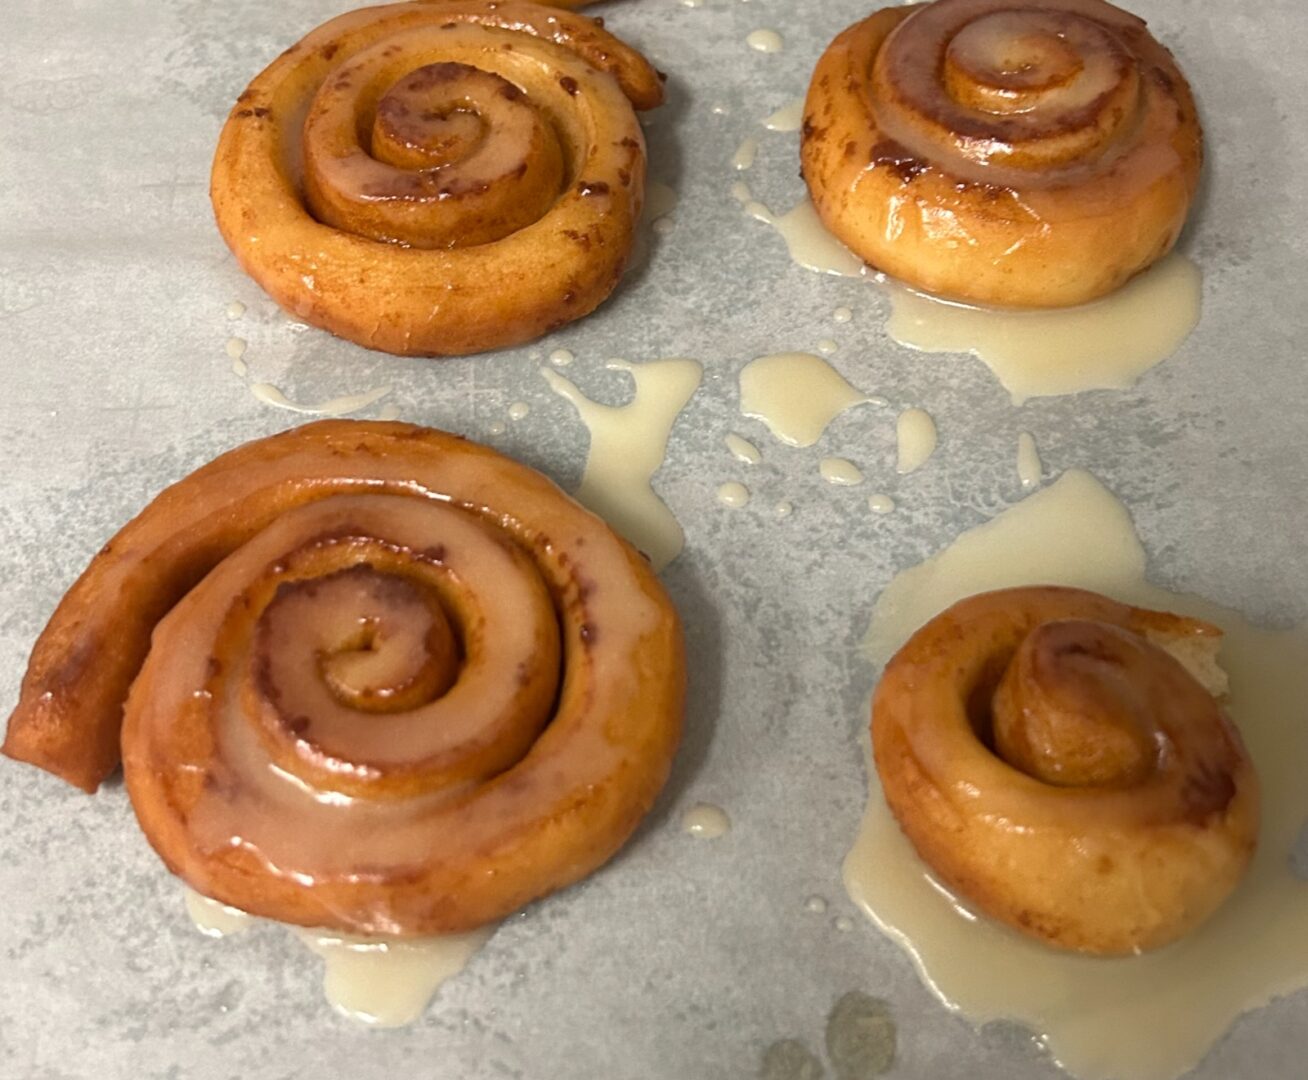
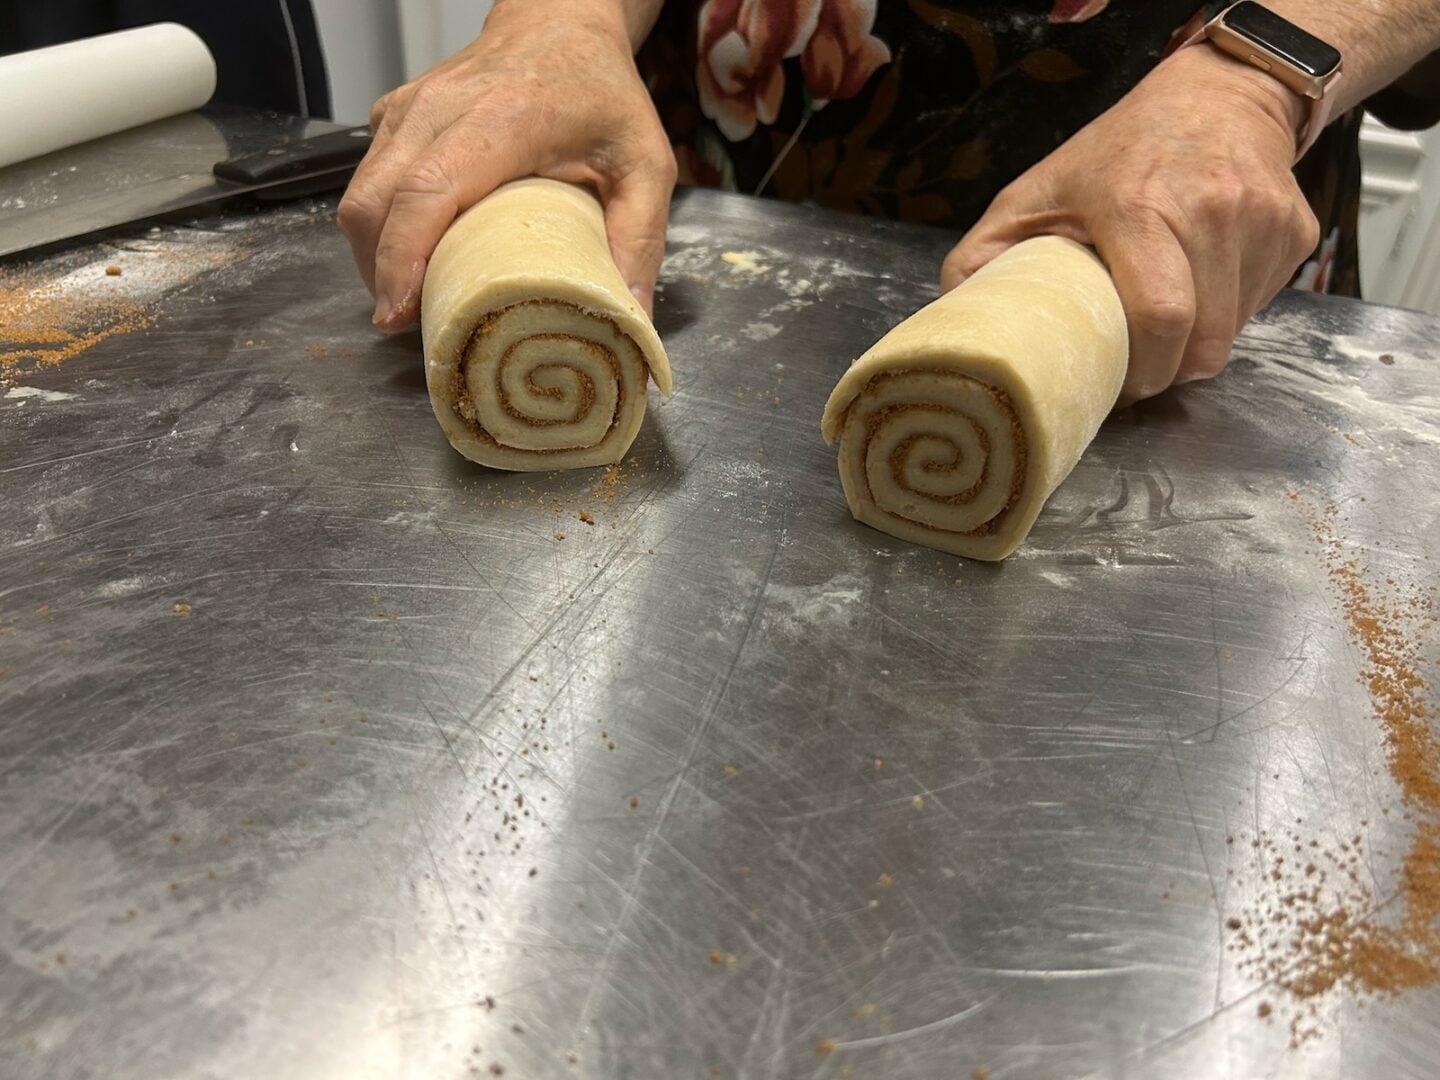
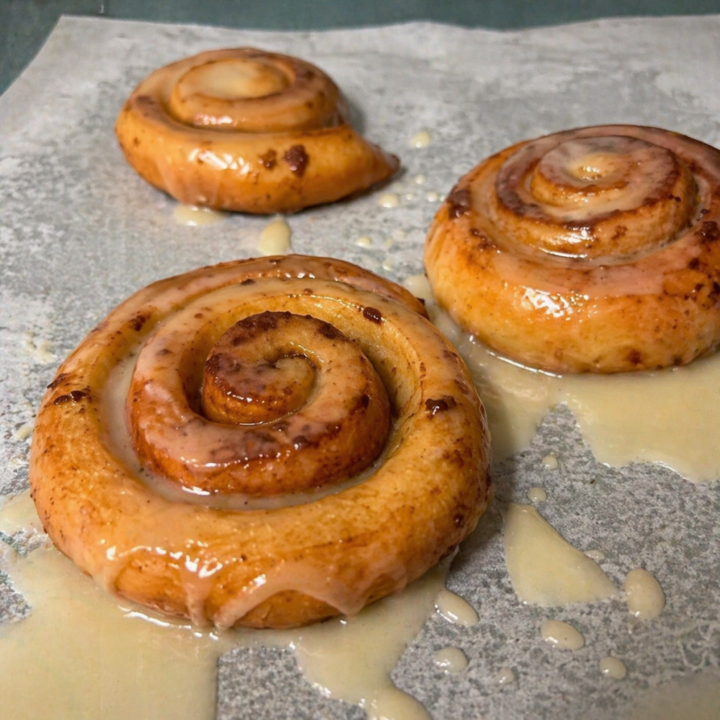
This delicious treat is rolled and sliced like cinnamon rolls, which gives it that beautiful spiral and layered interior. Donuts are typically shaped into rings or rounds and don’t usually have a swirled filling.
If you’re a donut fan, you’re going to love these. And if you’d like to try a classic fried donut, be sure to check out my recipe for those as well.
🍯 Why Honey?
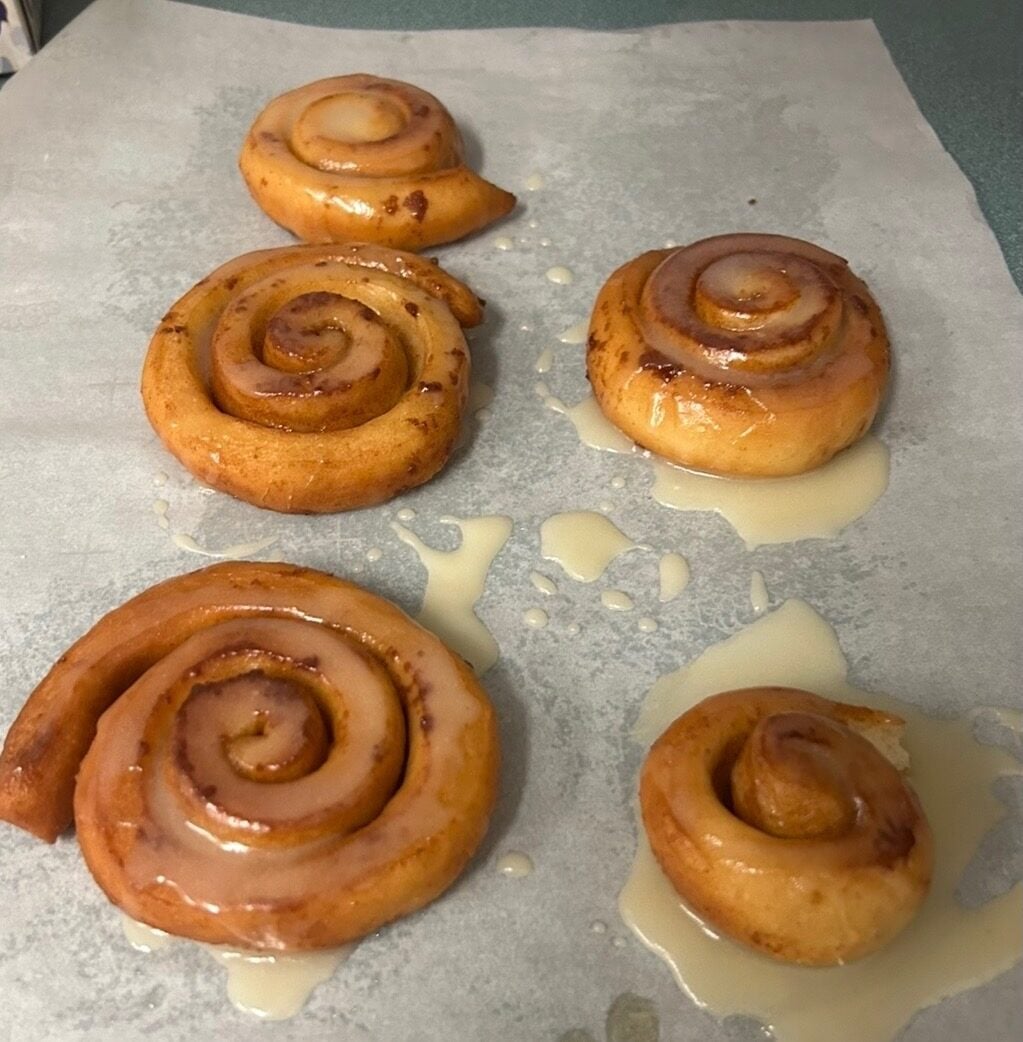
Now let's talk about what makes a honey bun, well, a honey bun! It's that glaze, y'all. It gives those light and airy buns their signature finish.
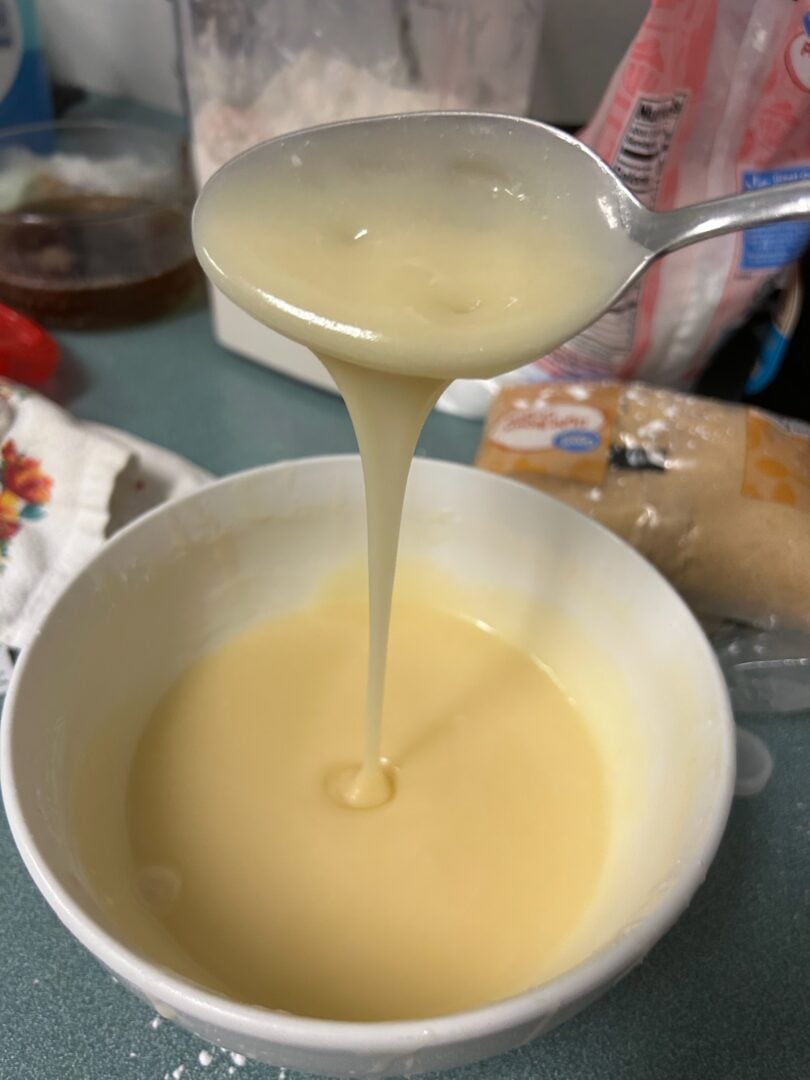
Unlike cinnamon roll frosting, which is thick and creamy, honey bun glaze is thin and light. It’s meant to soak into the warm dough rather than sit on top of it. Adding a bit of honey gives a subtle floral sweetness and that classic sticky finish so many of us remember.
⚡ At a Glance
Skill Level: Intermediate but beginner-friendly with guidance
Flavor Profile: Sweet, cinnamon-spiced, lightly glazed
Options Included: Fried or baked
Best For: Breakfast treats, baking classes, weekend baking
🧁 Honey Bun Ingredients
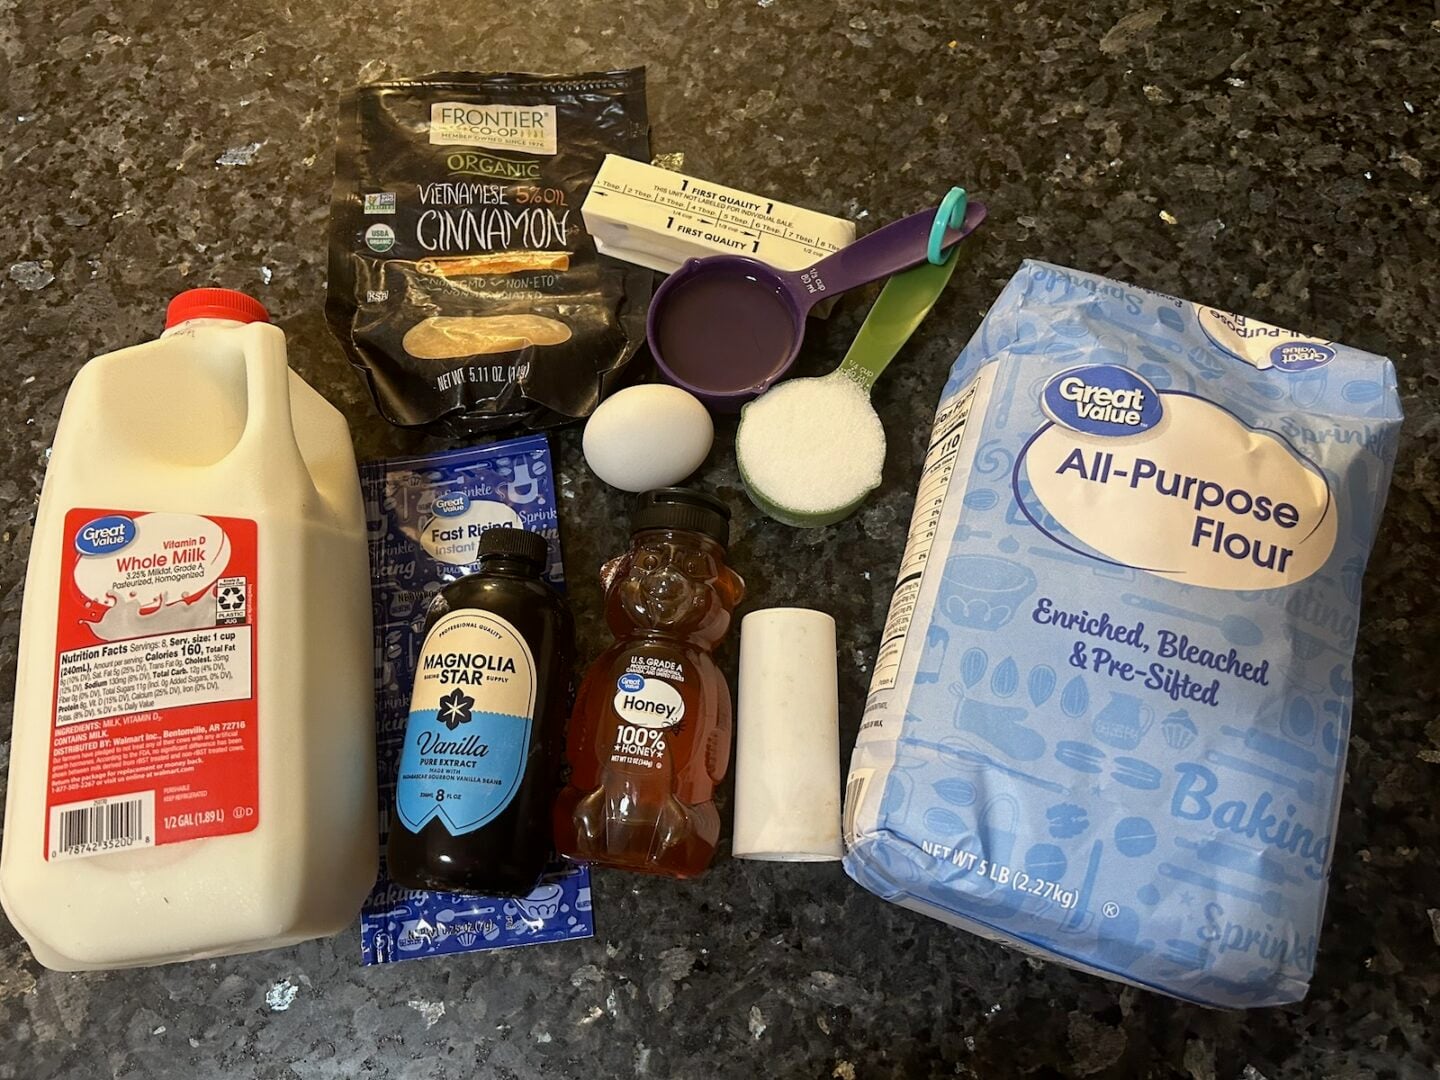
For the Dough:
- 1 cup warm milk (about 110°F)
- 2 ¼ teaspoons instant yeast (1 packet)
- ¼ cup granulated sugar
- 1 large egg
- ⅓ cup melted butter
- 1 teaspoon vanilla extract (optional)
- ½ teaspoon salt
- 2 ⅓ cups all-purpose flour
For the Filling:
- ½ cup brown sugar
- 1–2 teaspoons cinnamon
- 2–3 tablespoons melted butter
For Frying:
- Neutral oil (vegetable, canola, or peanut), enough for frying
For the Glaze:
- ½ teaspoon vanilla extract
- 2 cups powdered sugar
- 2–3 tablespoons milk
- 1–2 teaspoons honey
🍯 How to Make Homemade Honey Buns
Start by making the dough. In a large bowl, combine warm milk, yeast, and sugar. Add the eggs and oil, then stir in the salt. Gradually add flour until a soft, slightly tacky dough forms.
If you’re using a stand mixer, knead the dough for about 5 to 7 minutes until it becomes smooth and elastic. You do not need a full 10 minutes. That’s more than necessary for a dough like this and can actually make it a bit tough.
If you’re kneading by hand, plan on about 8 to 10 minutes. It will feel like a workout at first, but the dough will gradually become smoother and easier to handle. A good sign you’re done is when the dough springs back lightly when pressed.
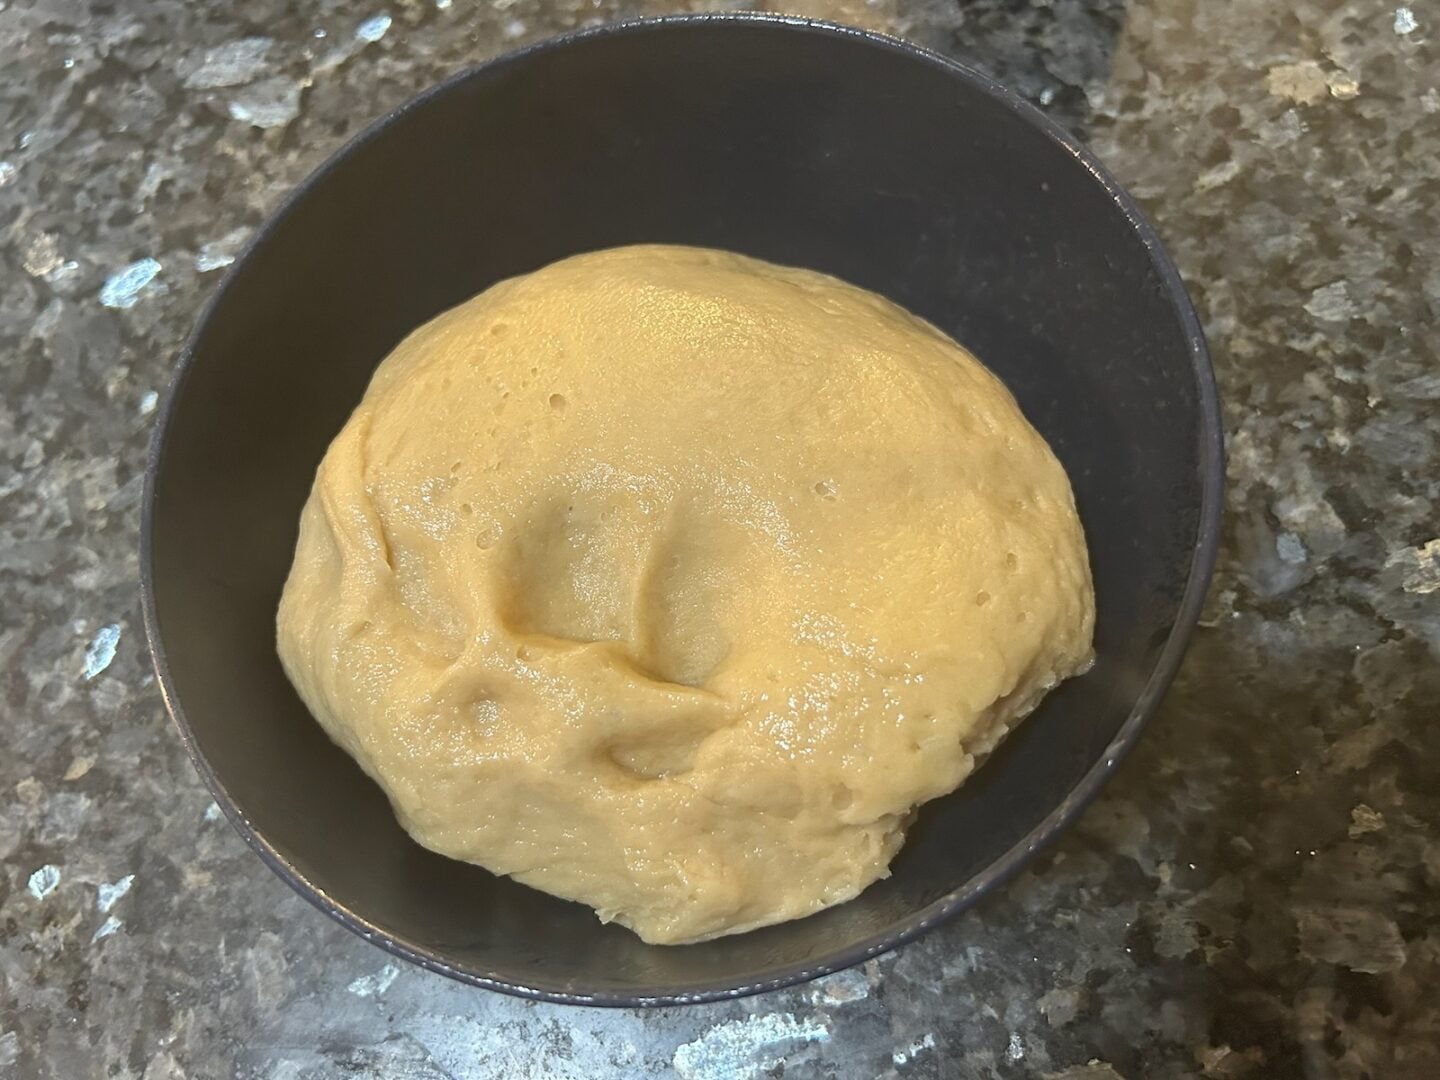
Place the dough in a lightly greased bowl, cover, and let it rise until doubled in size. This usually takes about an hour to an hour and a half.
If you want to make the dough ahead, punch it down after the first rise, shape it into a ball, cover tightly, and refrigerate overnight.
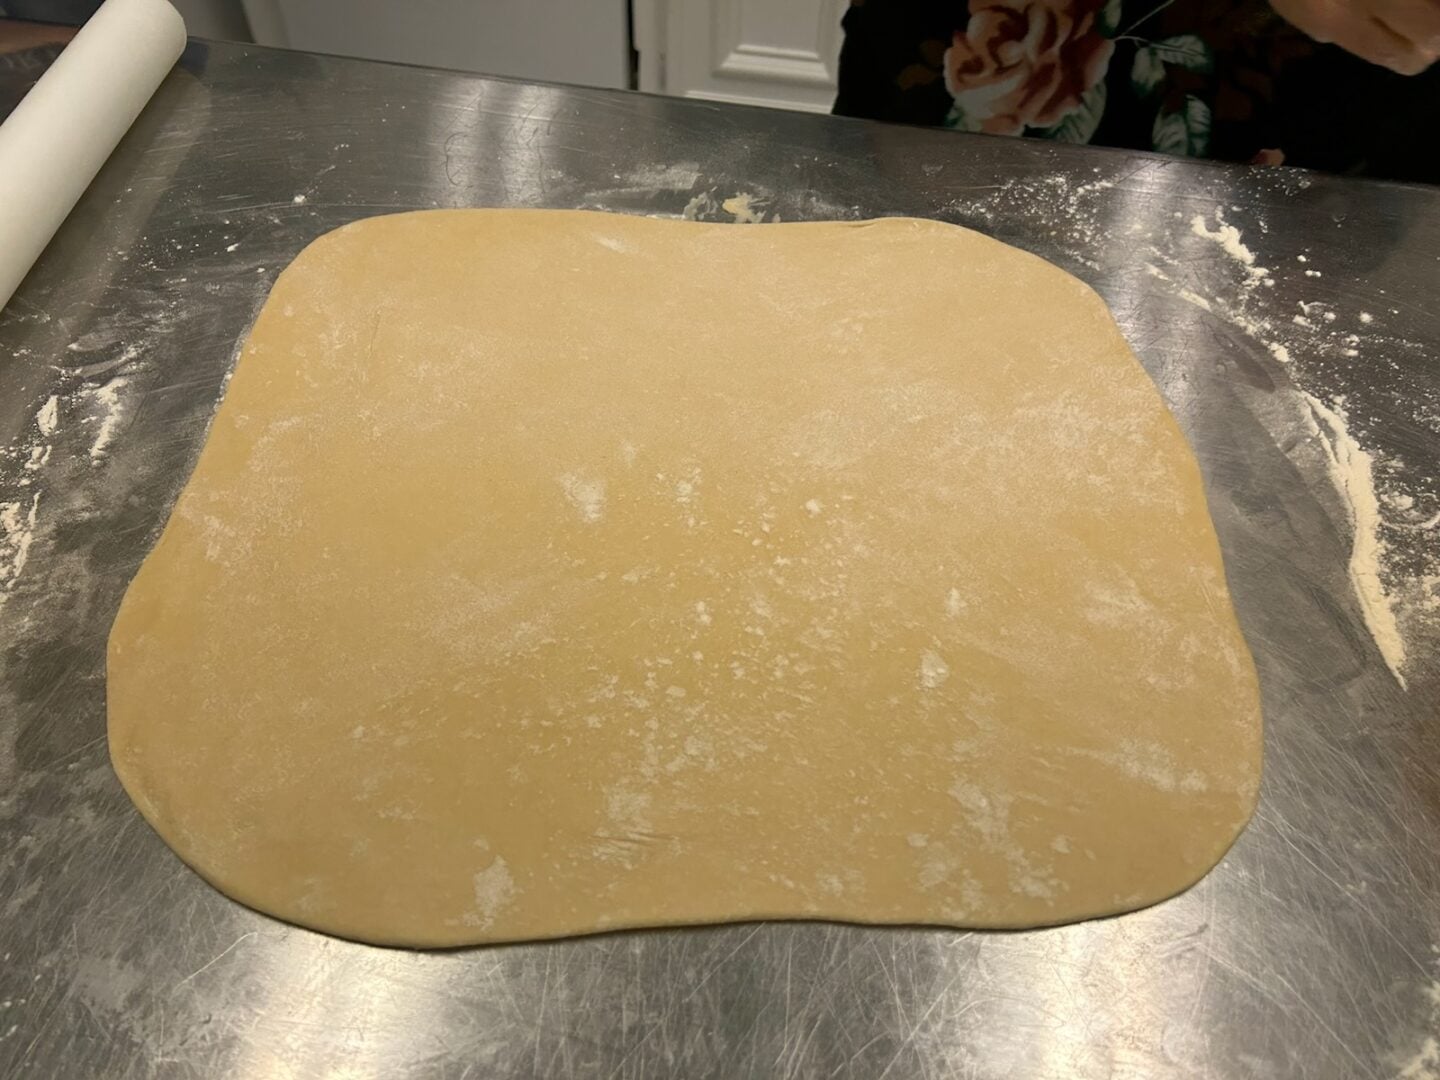
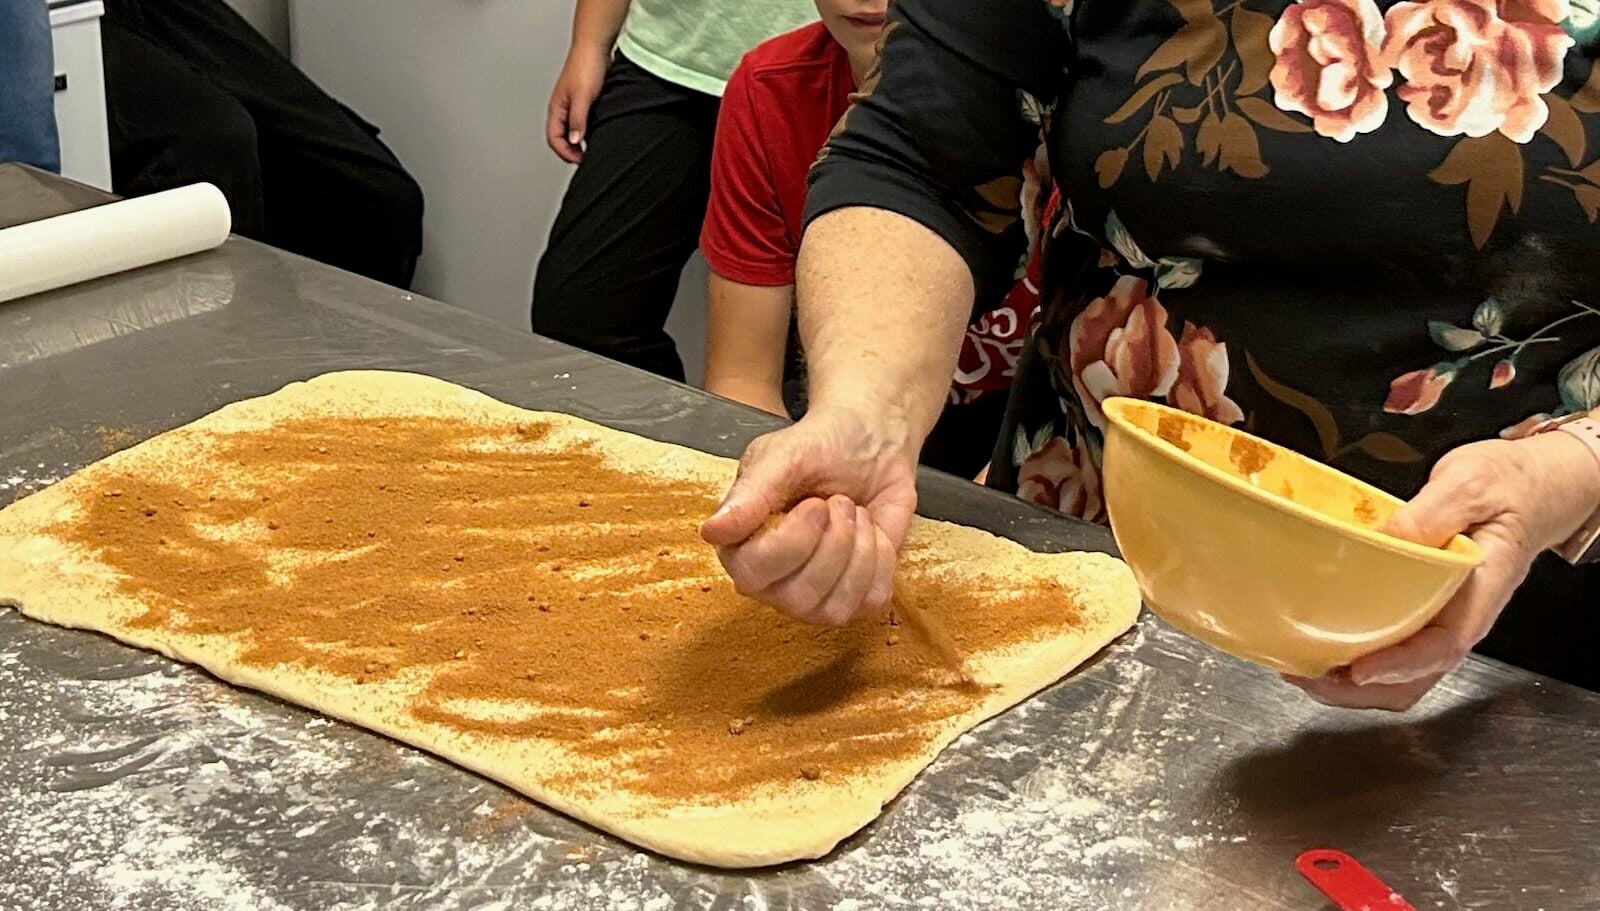
When you’re ready to continue, roll the dough out on parchment into a large rectangle.
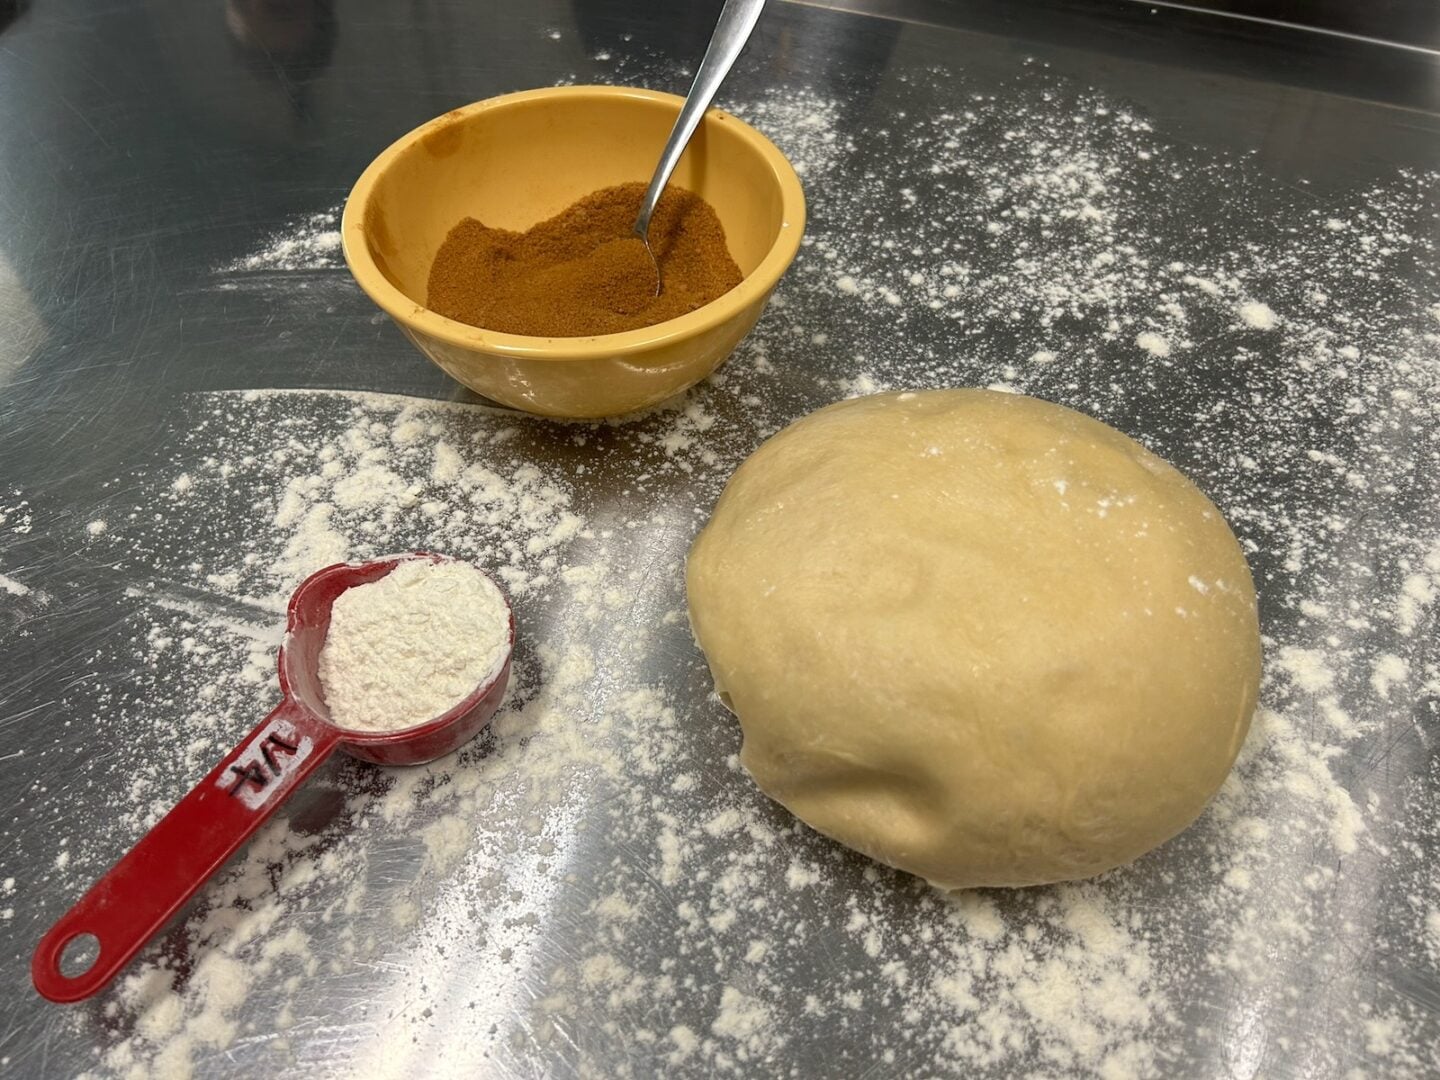
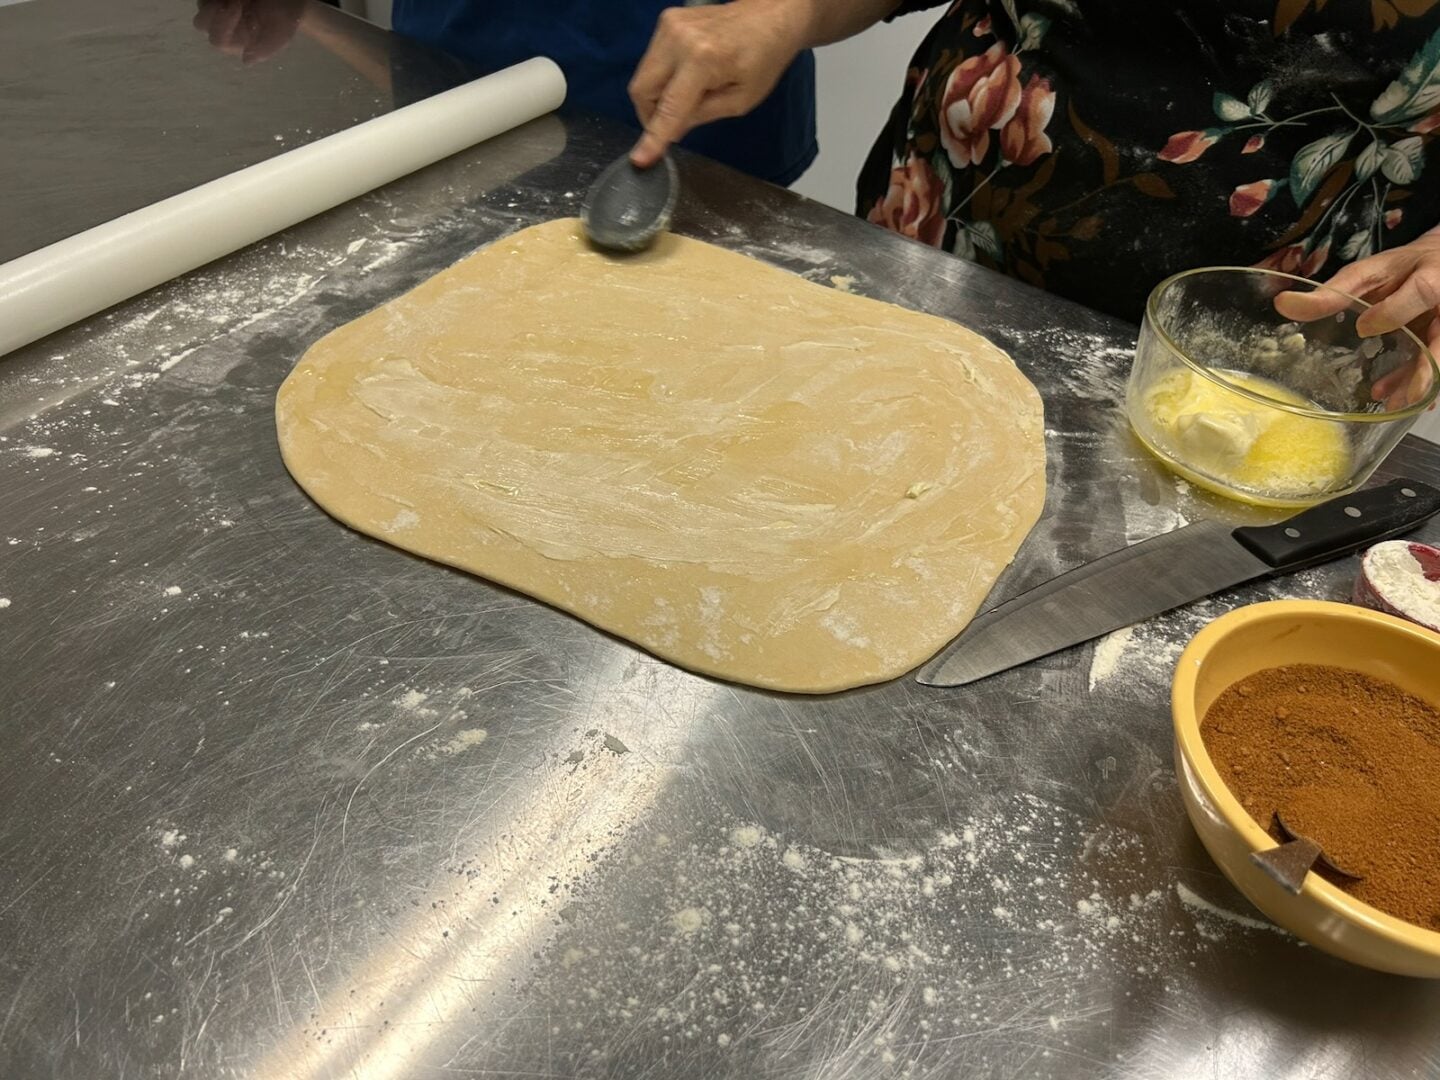
Brush with melted butter, then sprinkle evenly with brown sugar and cinnamon. Press the filling lightly into the dough.
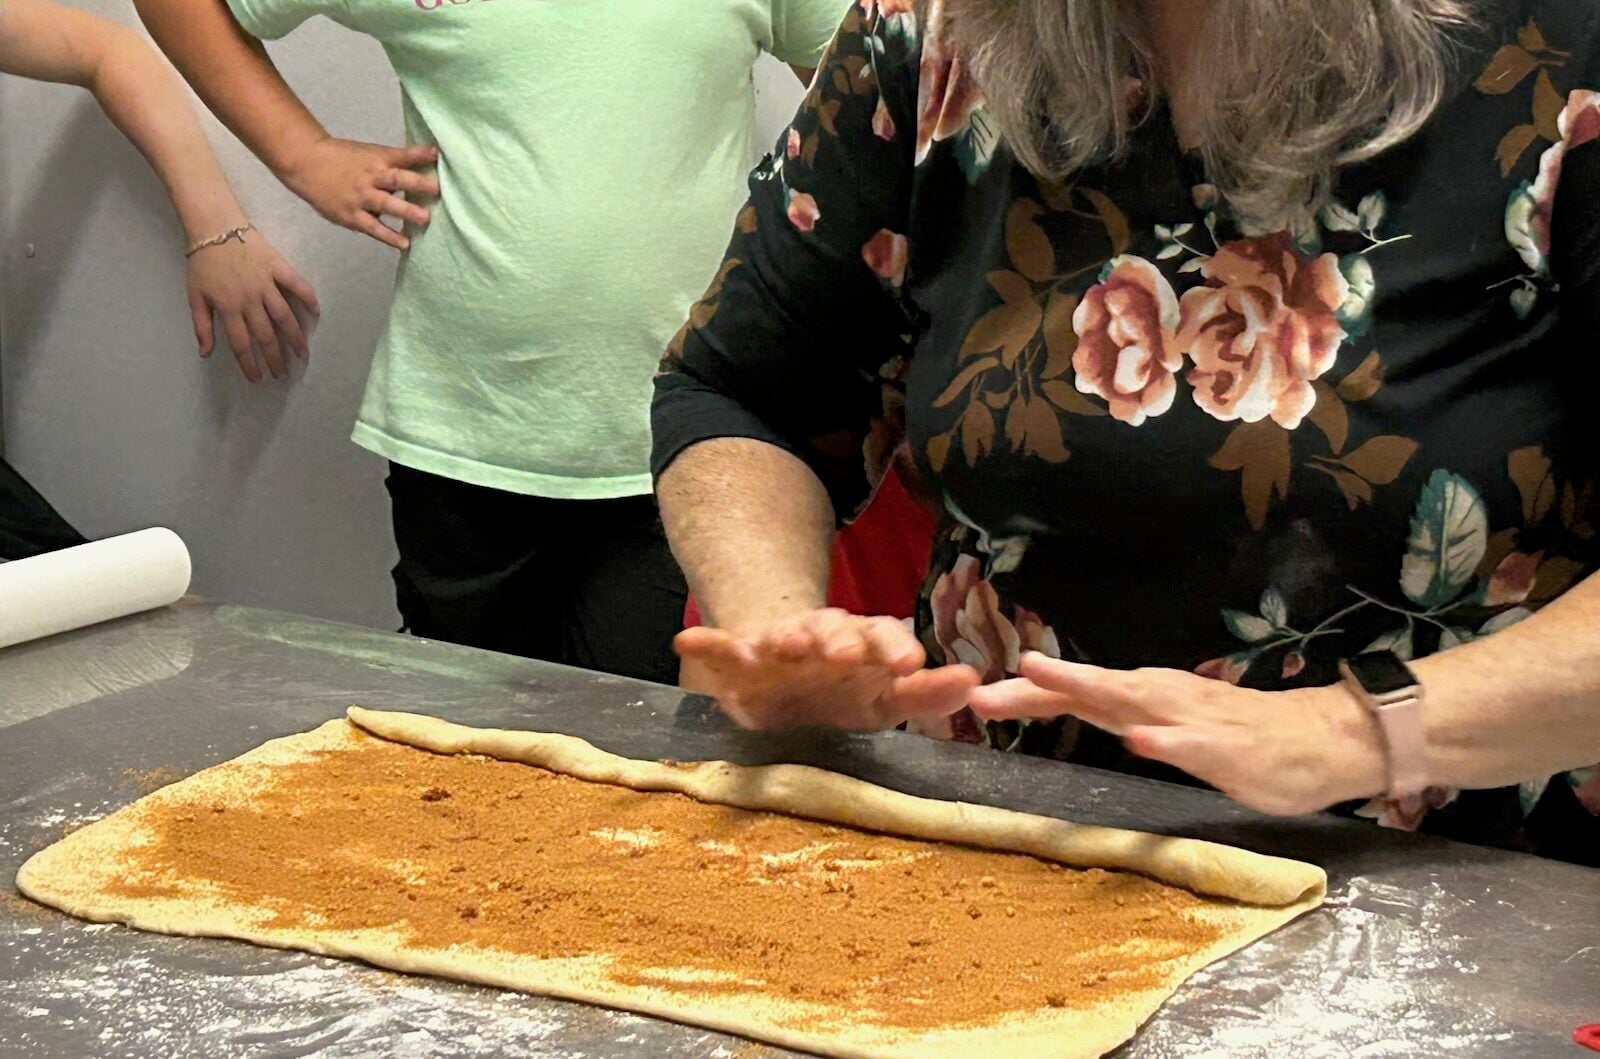
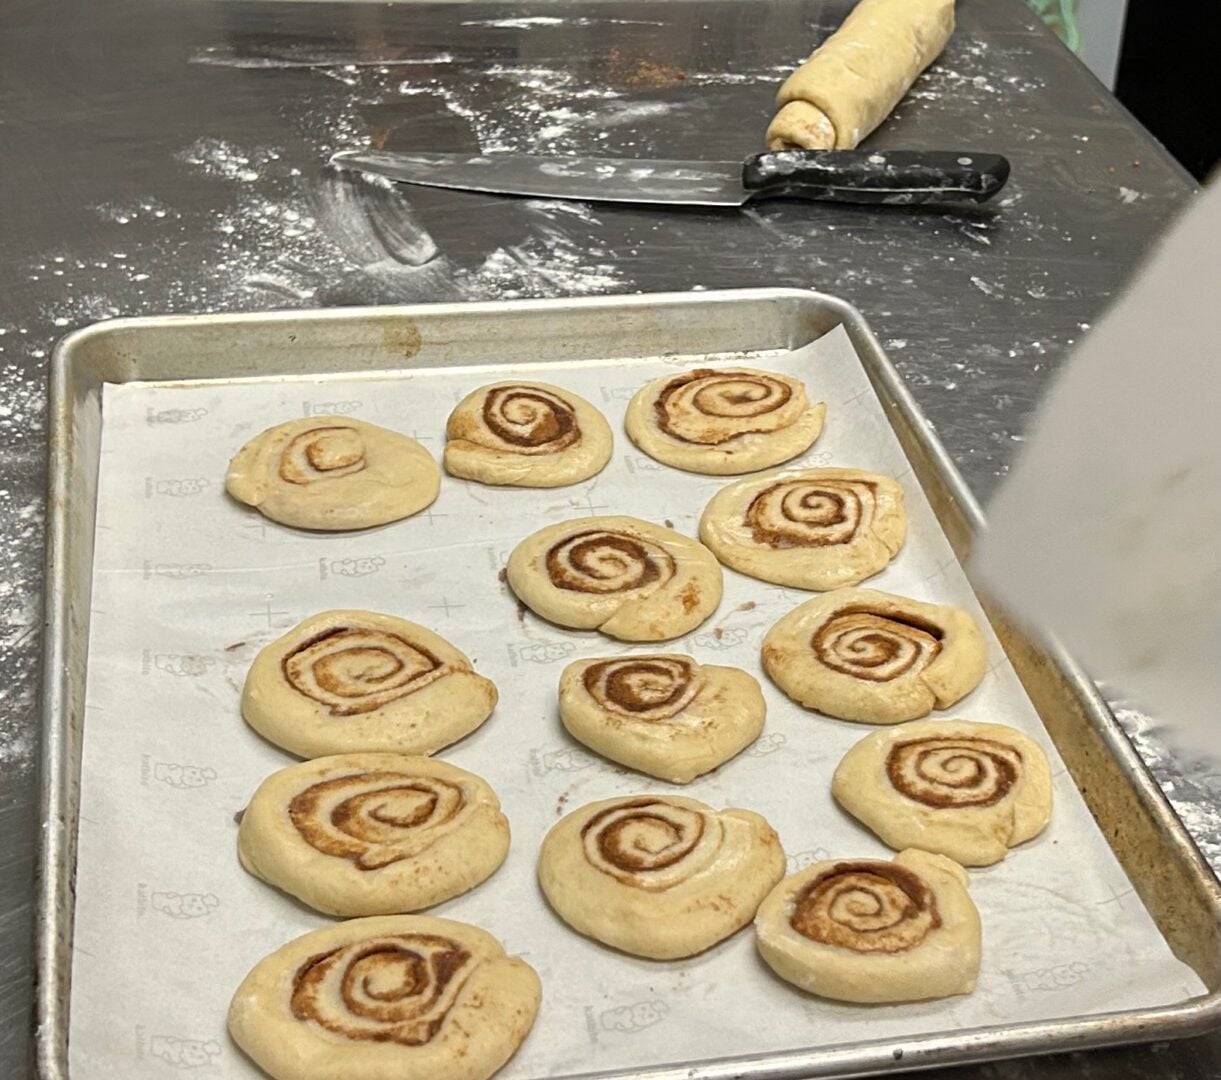
Roll the dough up tightly from the long side to create a log. Slice into pieces about ¾ to 1 inch thick for smaller, more manageable buns.
Place the buns on a tray and let them rest for about 15 to 20 minutes while your oil heats. This short rest acts as your second rise.
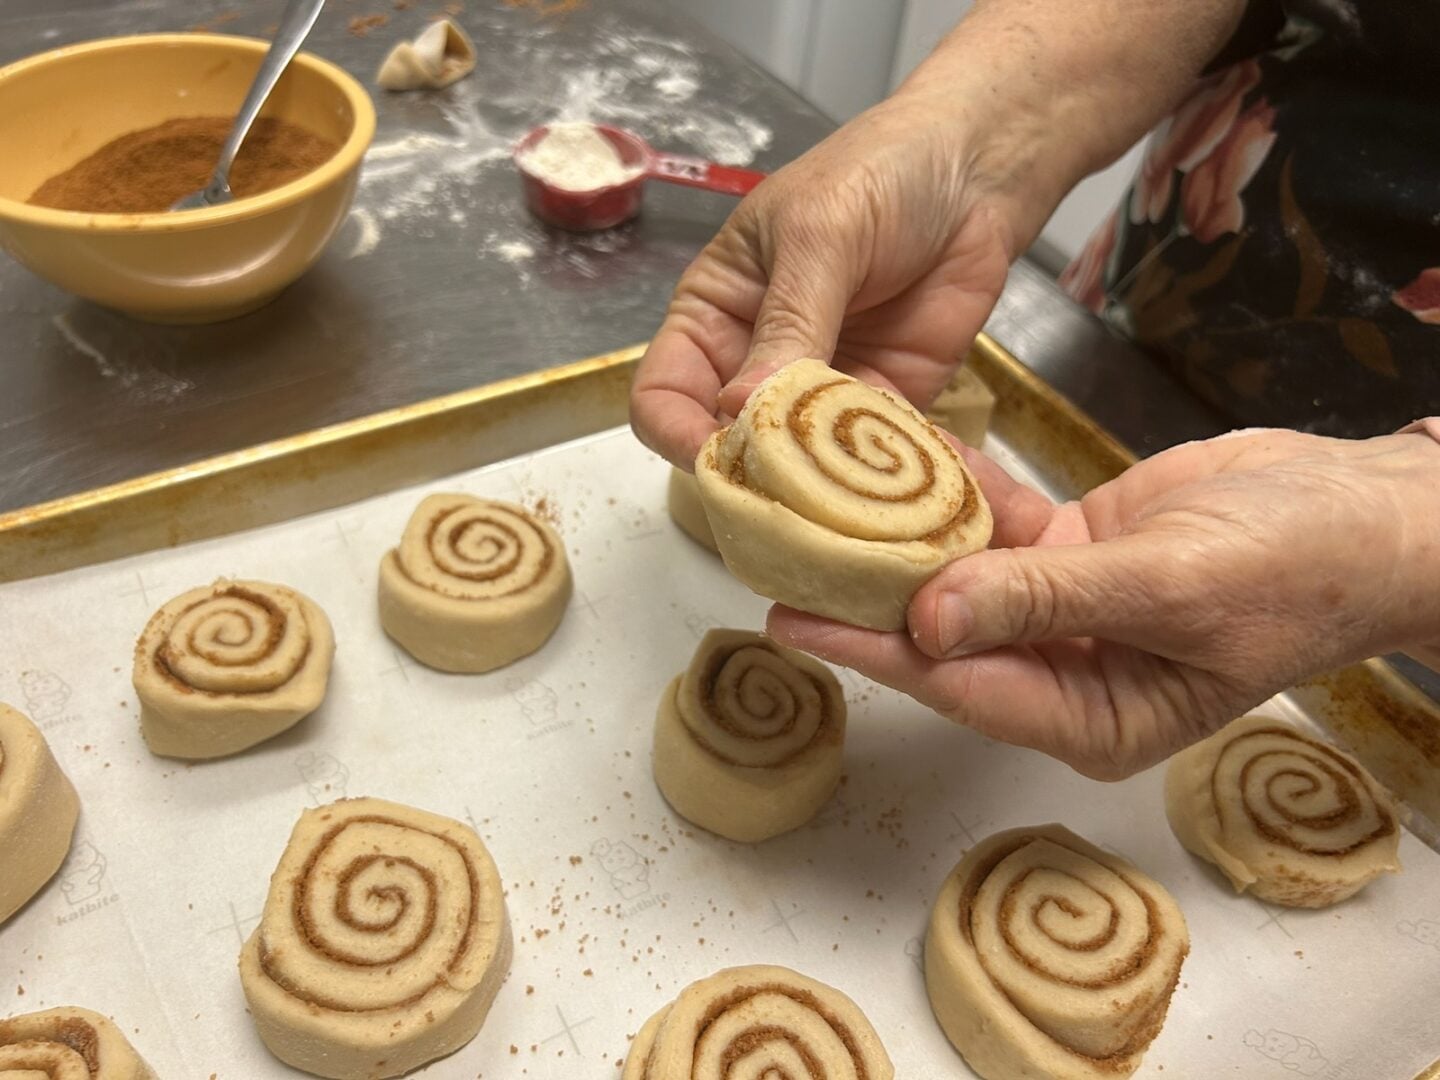
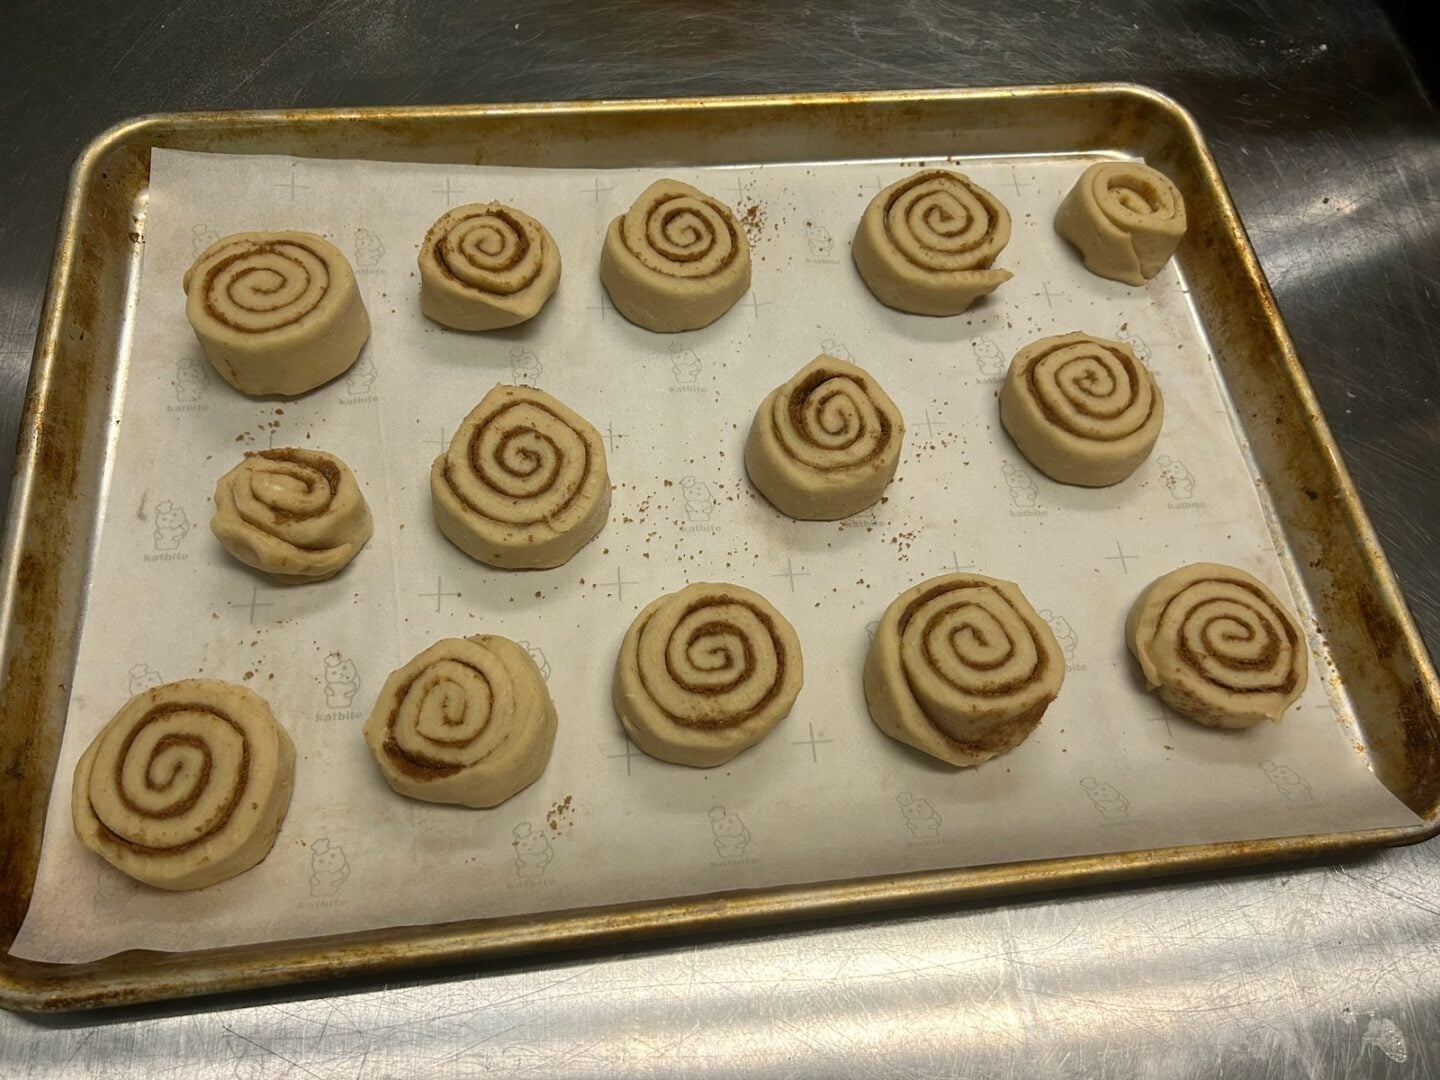
Place a piece of parchment paper over the tray and gently press down on the rolls.

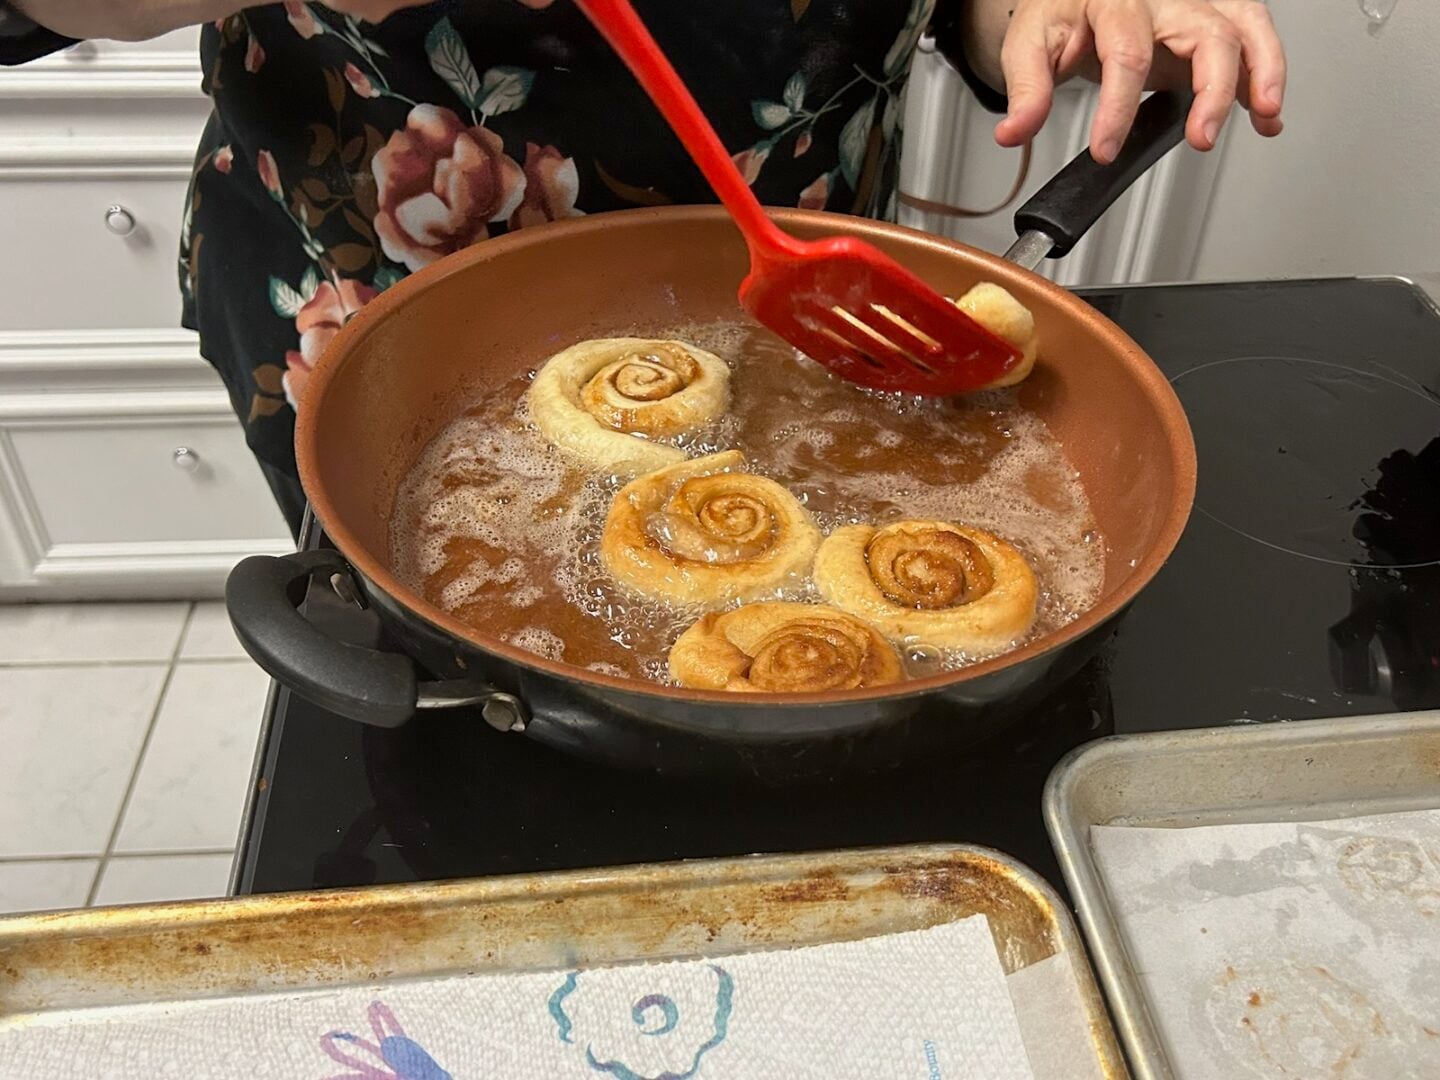
Heat oil to about 350 to 360 degrees. Fry the buns for 1 to 2 minutes per side until golden brown. Remove and drain on paper towels or a rack.
While still warm, drizzle or dip with glaze so it soaks into the layers.
🔥 Baking Option
If you prefer not to fry, you can bake these instead.
After slicing the buns, place them in a greased baking dish and let them rest for about 20 to 30 minutes. Bake at 350 degrees for 18 to 22 minutes or until golden.
They will be softer and more like cinnamon rolls, but still delicious.
✨ Variations and Flavor Ideas

This is where you can really make this recipe your own.
For a nutty version, add chopped pecans, walnuts, or slivered almonds to the filling before rolling. These add great texture and a slightly toasty flavor.
For an almond version, add a small amount of almond extract to the glaze and sprinkle the finished buns with sliced almonds.
If you’re a chocolate lover, Nutella is a fun option—but it’s best used after cooking. Adding it inside before frying can cause it to melt and leak into the oil. Instead, drizzle warmed Nutella over the finished buns or serve it on the side for dipping.
You can also experiment with fruit flavors by adding a thin layer of jam before rolling. Strawberry, raspberry, or apricot all work beautifully and give a slightly different twist on the classic.
For a honey butter version, skip the glaze and brush the warm buns with a mixture of melted butter and honey for a softer, lightly sweet finish.
These buns are as American as Apple Pie. And speaking of which, you can use apple pie filling as a topping on your honey buns. Just chop up the apples with a sharp knife before emptying them out of the can. The finer the apples, the better the outcome.
💡 Tips for Success
The dough should be soft and slightly tacky, but not overly sticky or wet. If it’s too sticky, add a bit more flour a tablespoon at a time.
Don’t overcrowd the pan when frying. Giving the buns space helps them cook evenly and prevents the oil temperature from dropping too much.
Smaller buns cook faster and are easier to manage.
Even if your buns don’t rise much during that short second rest, don’t worry. They will puff up beautifully once they hit the hot oil.
Keep a close eye on your oil temperature. Too hot and they’ll brown too quickly on the outside. Too cool and they’ll absorb oil and become greasy.
🧁 Keep Baking!
If you loved these homemade honey buns, here are a few more delicious recipes to try next:
🍩 More Sweet Breakfast Treats
- Easy Donuts Made from Canned Biscuits
- Easy Homemade Cinnamon Rolls
- Sourdough Discard Cinnamon Rolls
- Pumpkin Spice Cinnamon Rolls
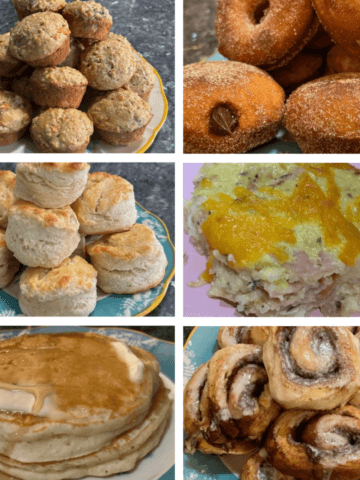
🍰 Easy & Crowd-Pleasing Bakes
🍞 Yeast Bread Favorites
✨ Final Thoughts
These homemade honey buns are one of those recipes that feel both nostalgic and brand new at the same time.
Whether you fry them for that classic texture or bake them for simplicity, they’re a flexible, forgiving treat that’s easy to adapt and fun to share.
And if you’re anything like me, they might just take you right back to a school lunch table and a sweet, sticky moment you’d almost forgotten.
Thanks for stopping by! Before you go, why not pin some photos to your Pinterest boards?
👩🍳 About the Baker
I’ve been baking from scratch for years, but I also spend a lot of time teaching others how to bake in real-life settings, often with limited time and lots of eager hands in the kitchen.
This version of honey buns was developed with that in mind. I wanted a dough that was forgiving, a method that could be prepped ahead, and a process that would work smoothly whether you’re baking at home or in a classroom.
Easy Honey Buns
Make soft, homemade honey buns from scratch using a simple yeast dough and brown sugar cinnamon filling. Fry or bake them for a delicious treat that tastes like a cross between donuts and cinnamon rolls!
Ingredients
- For the Dough:
- 1 cup warm milk (about 110°F)
- 2 ¼ teaspoons instant yeast (1 packet)
- ¼ cup granulated sugar
- 1 large egg
- ⅓ cup melted butter
- 1 teaspoon vanilla extract (optional)
- ½ teaspoon salt
- 2⅓ cups all-purpose flour
- For the Filling:
- ½ cup brown sugar
- 1–2 teaspoons cinnamon
- 2–3 tablespoons melted butter
- For Frying:
- Neutral oil (vegetable, canola, or peanut), enough for frying
- For the Glaze:
- 2 cups powdered sugar
- 2–3 tablespoons milk
- 1–2 teaspoons honey
- ½ teaspoon vanilla extract
Instructions
1. Make the Dough: In a large bowl, combine warm milk, yeast, and sugar. Add the egg, melted butter, and vanilla extract (if using). Stir in salt. Add flour and mix until a soft dough forms.
2. Knead the Dough: Knead by hand for 6–8 minutes or with a stand mixer for 4–6 minutes, until smooth and elastic. The dough will be soft and slightly tacky.
3. First Rise: Place dough in a lightly greased bowl, cover, and let rise until doubled, about 1 to 1½ hours.
4. Make Ahead (Optional): Punch down dough, shape into a ball, cover tightly, and refrigerate overnight.
5. Roll and Fill: Roll dough into a rectangle (about 10x14 inches). Brush with melted butter and sprinkle evenly with brown sugar and cinnamon. Press lightly into the dough.
6. Shape: Roll up tightly from the long side. Slice into ¾–1 inch pieces.
7. Second Rise (Short Rest): Place buns on a tray and let rest 15–20 minutes while oil heats. Place a piece of parchment paper on top of the tray and gently press down to slightly flatten them before cooking.
8. Fry: Heat oil to 350–360°F. Fry buns 1–2 minutes per side until golden brown. Remove and drain on paper towels or a rack.
9. Glaze: Whisk glaze ingredients until smooth. Drizzle or dip warm buns so the glaze soaks in.
Baking Option
Place sliced buns in a greased baking dish. Let rest 20–30 minutes.
Bake at 350°F for 18–22 minutes or until golden. Glaze while warm.
Notes
💡 Notes
This is a softer, richer dough thanks to the butter and egg
Dough will be softer than traditional donut dough—this is normal
Smaller buns fry more evenly and quickly
Oil temperature is key for proper texture
Buns will puff in the oil even with a short second rise
Glazing while warm gives that classic sticky finish