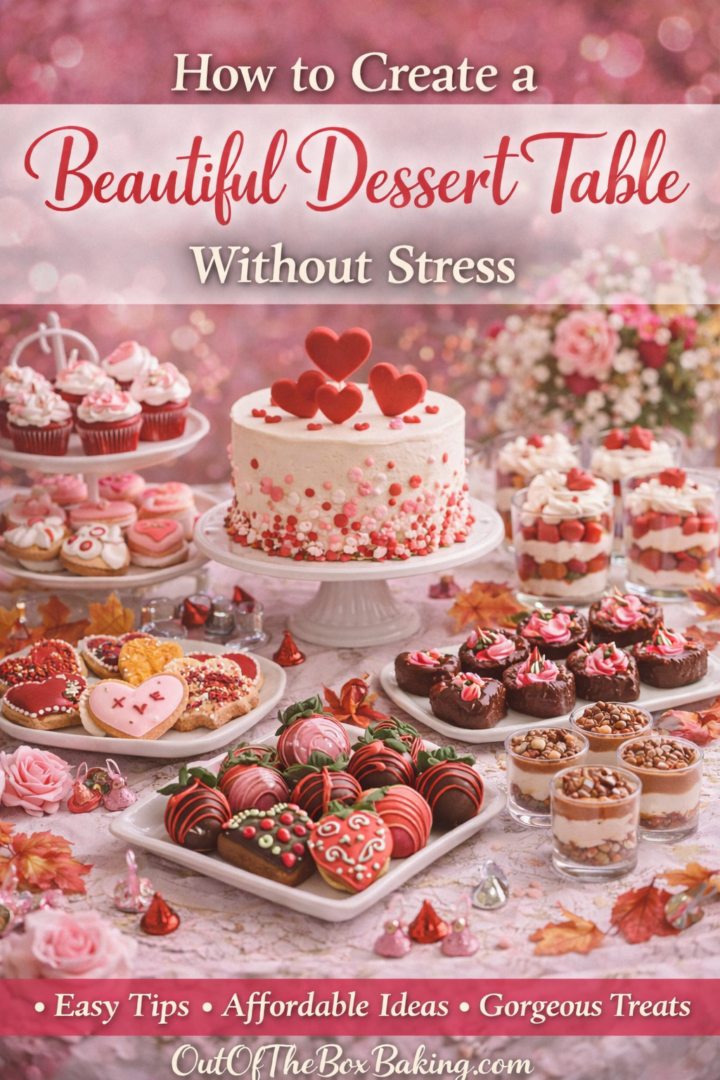
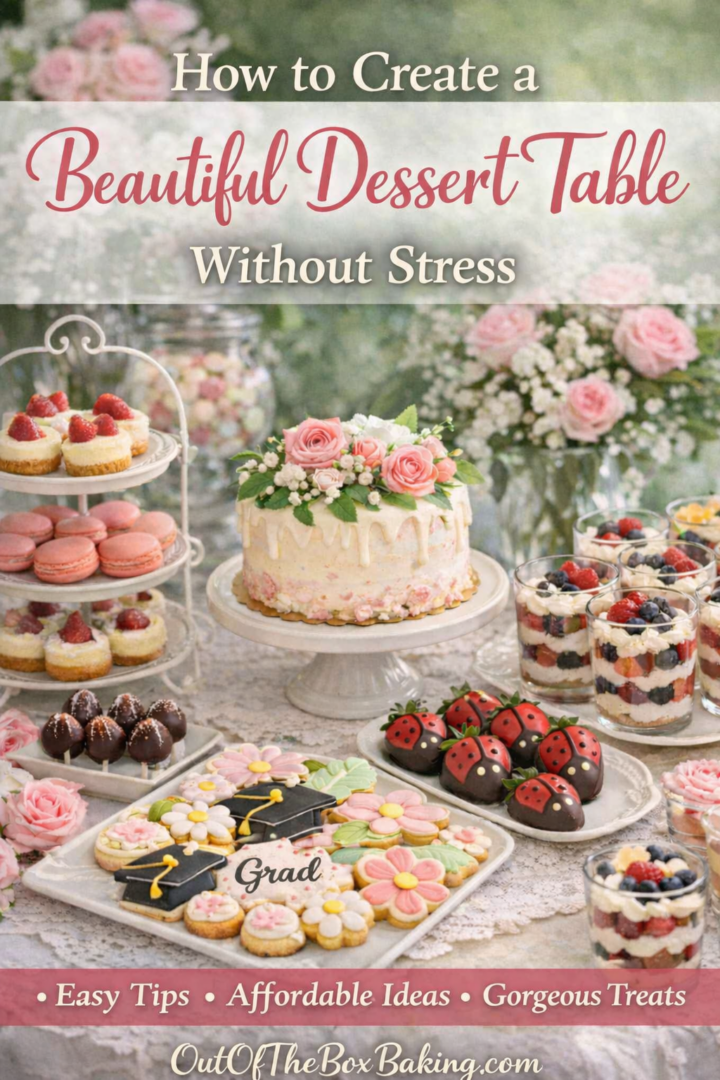
How to Create a Beautiful Dessert Table (Without Stress)
Create a beautiful dessert table without stress or overspending! Learn what desserts to serve, how to style your table, and simple tips for stunning results every time.
The Dessert Table: Every Party's Centerpiece!
I’ve been in party planning mode for over 20 years now—ever since my four girls started getting married. And one thing has remained consistent through every single event:
There’s always a dessert table that needs to shine.
And somehow, I always seem to be the one pulling it together.
Over the years, I’ve learned a lot—not just about what works, but about what doesn’t. I’ve seen people get overwhelmed before they even begin, assuming they need to spend a fortune or create dozens of complicated desserts just to make things look beautiful.
But here’s the truth:
You don’t need more. You just need a plan.
Let’s build a gorgeous dessert table…without the stress (or the hefty price tag).
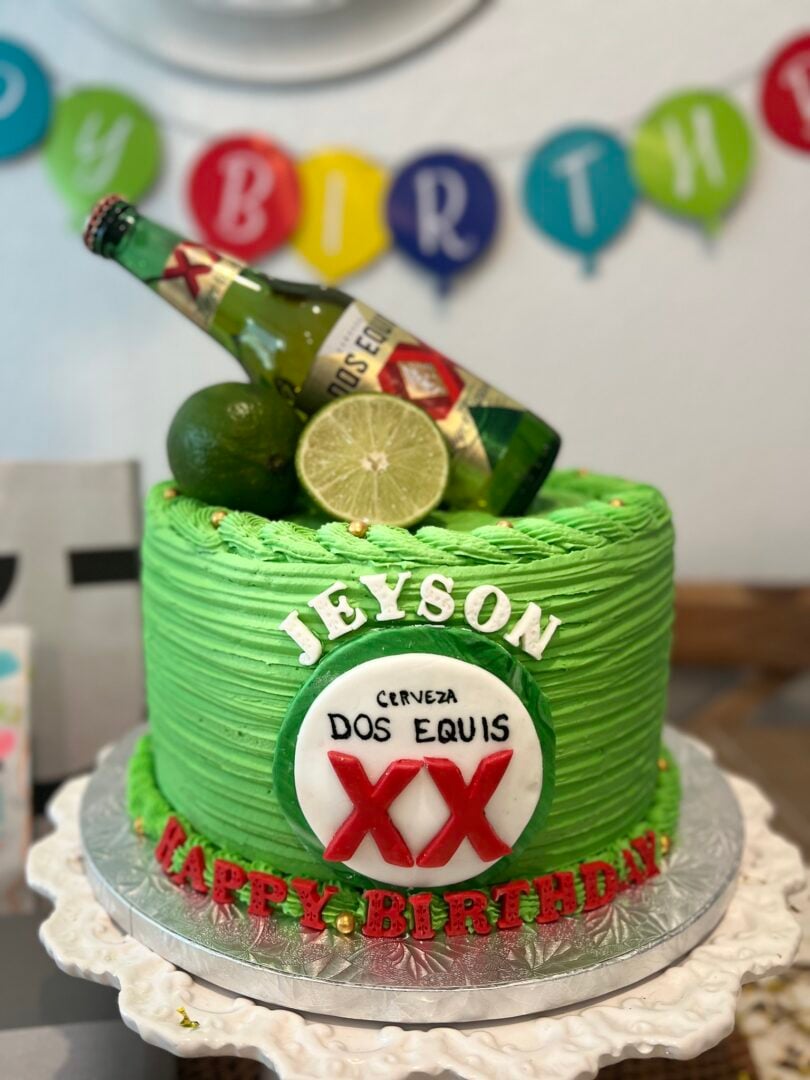
🎯 Start With the Theme
I always say this: If I know the theme, I can pull off any event.
Hawaiian luau? I immediately know the colors, flavors, and decorations.
Garden party? Bring on the florals and soft pastels.
Italian feast? Think rich desserts and elegant touches.
You get the idea.
I think this goes back to my daughters’ weddings. Each one had a completely different feel:
- A Valentine’s weekend wedding with an Italian flair
- A summer garden-party celebration
- A Hawaiian luau theme
- And a more traditional wedding that blended it all together
Once the theme is set, everything else becomes easier—from the desserts you choose to the way you display them.
✨ How to Make a Dessert Table Look Stunning (Without Spending a Fortune)
Over the years, I’ve had to learn how to make things look beautiful on a very tight budget. Sometimes it comes down to presentation—and a few key items that elevate everything on the table.
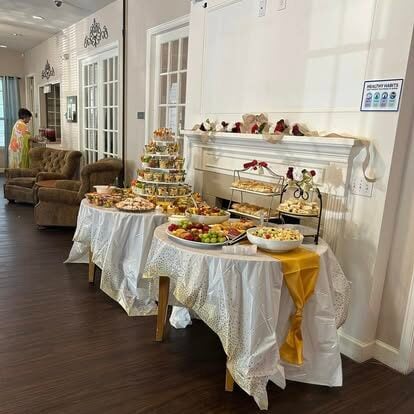
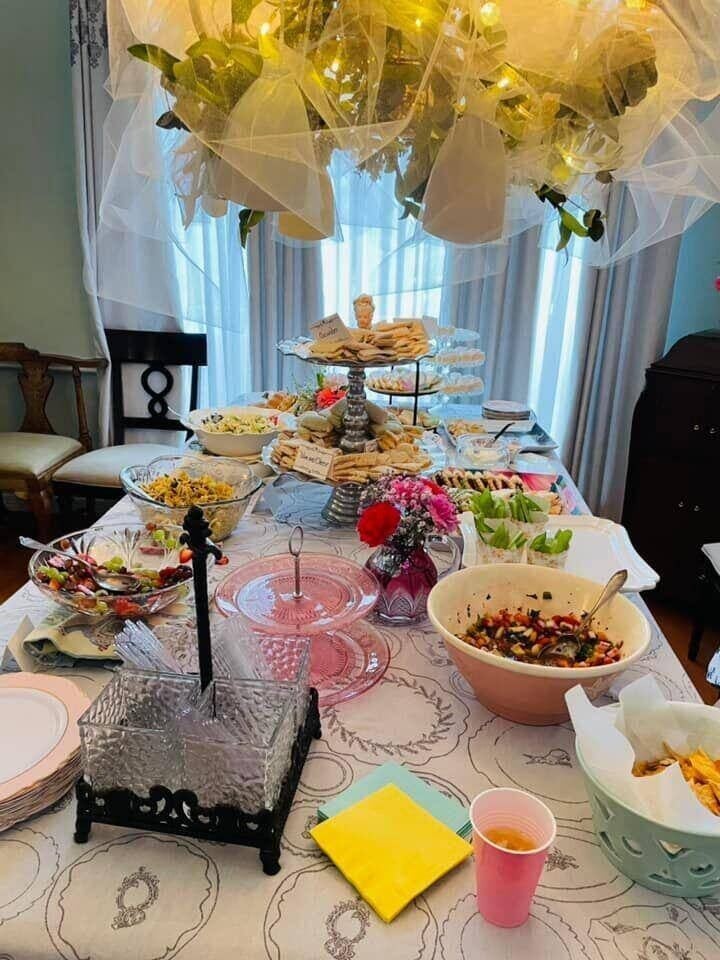

Here are my go-to tricks:
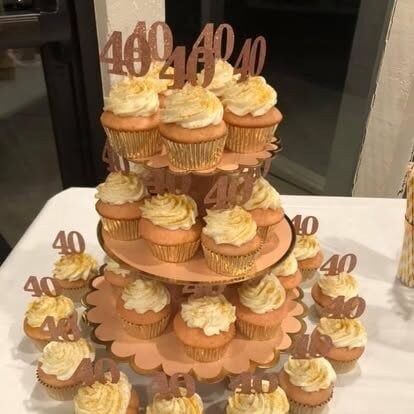
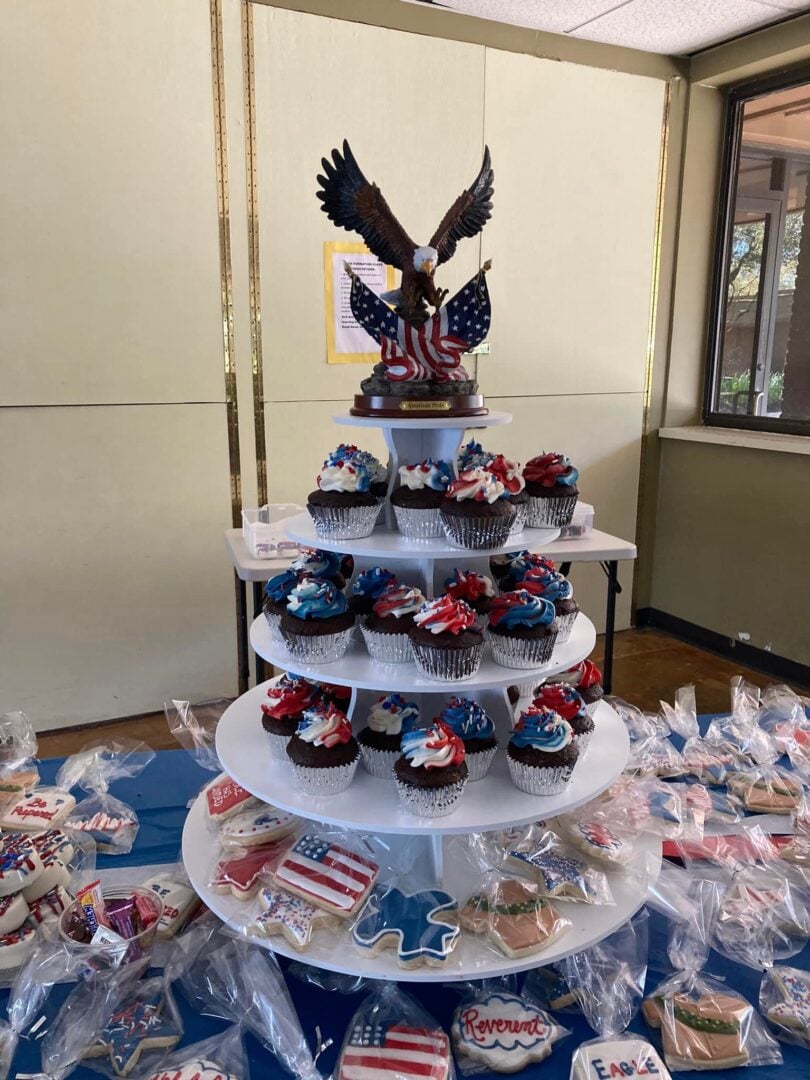
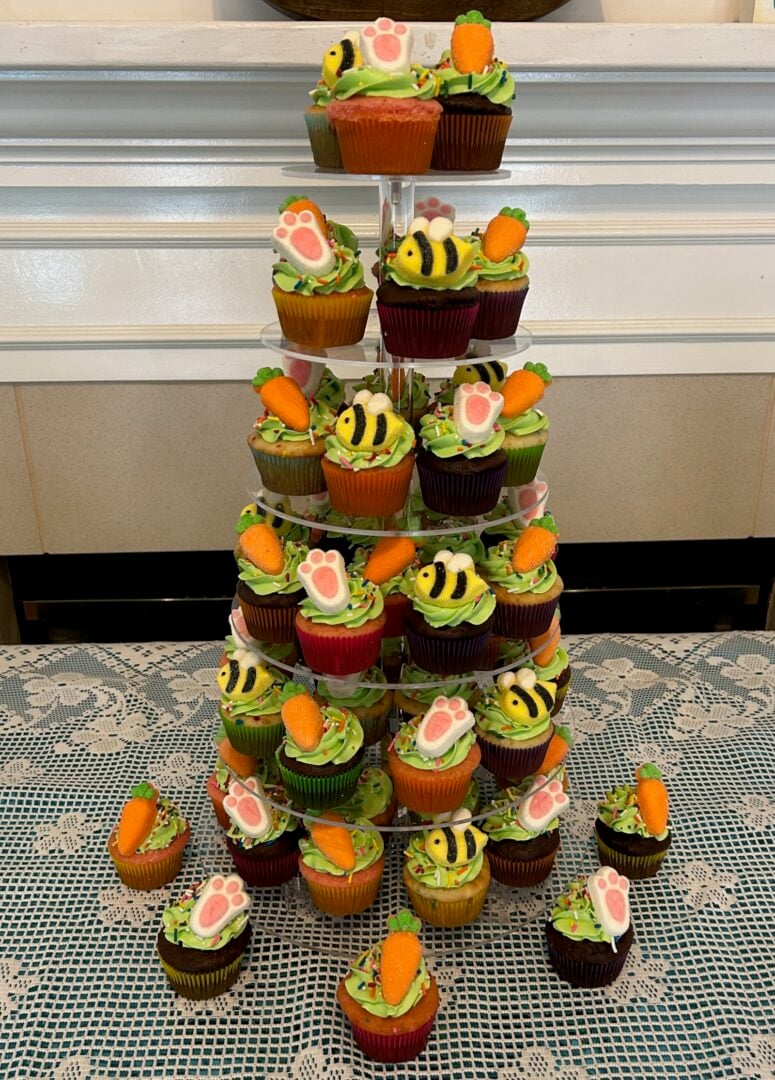
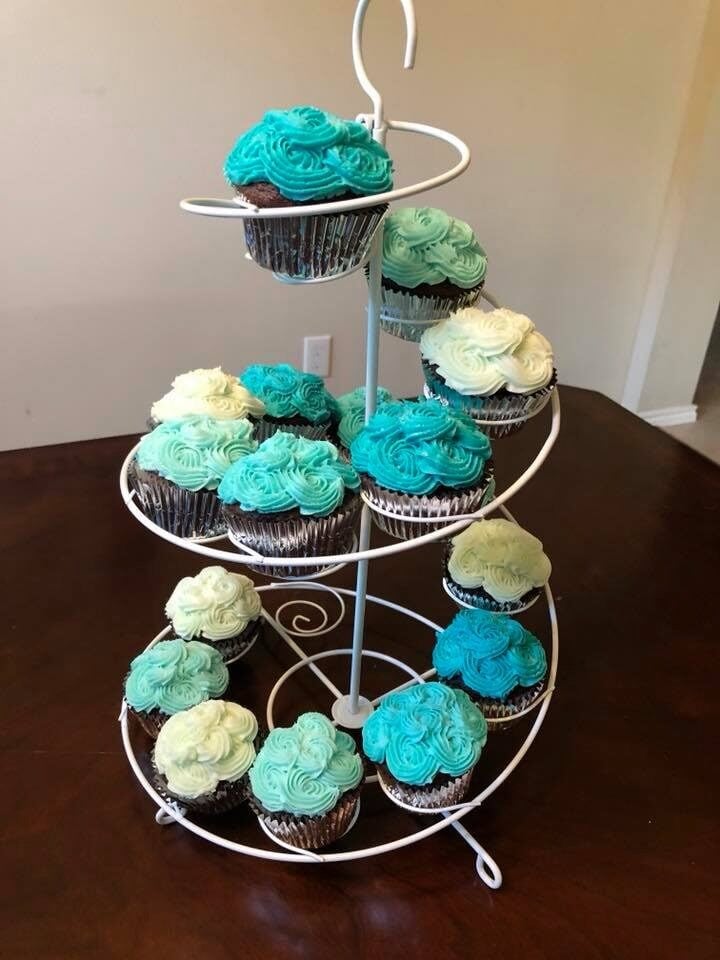
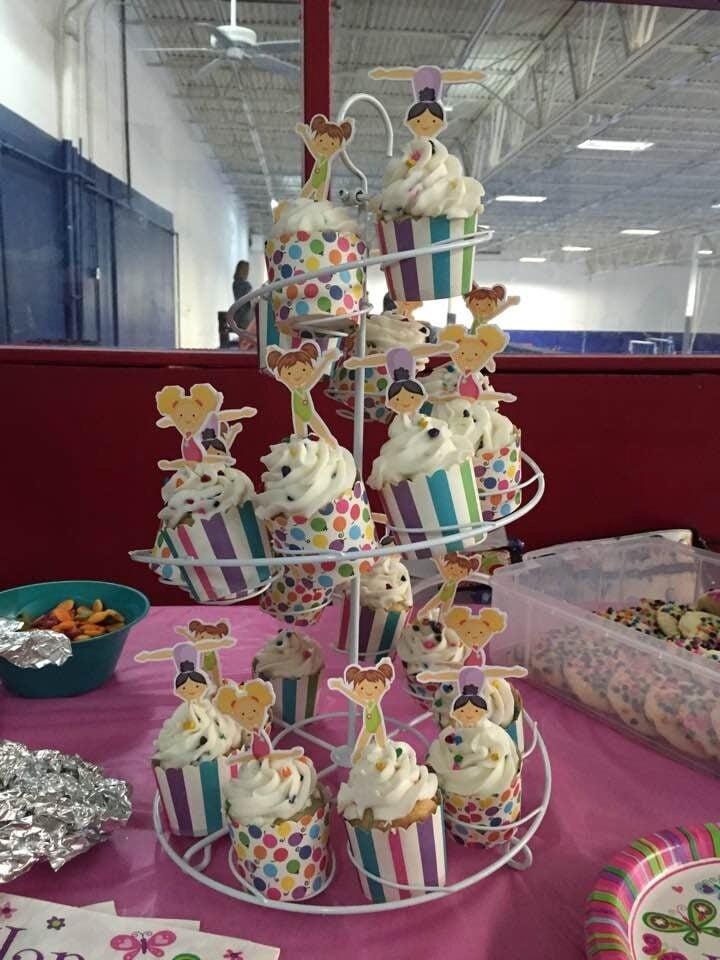
- Tiered stands
These instantly add height and elegance. Even simple items like cookies or fruit look special when displayed this way. - Use different heights
Don’t have a tiered stand? No problem. Use boxes under tablecloths to create levels across your table. - Layer fabric
I love using lace tablecloths over solid-colored ones. Sheer fabric draped across the table adds softness and texture. - Use what you already have
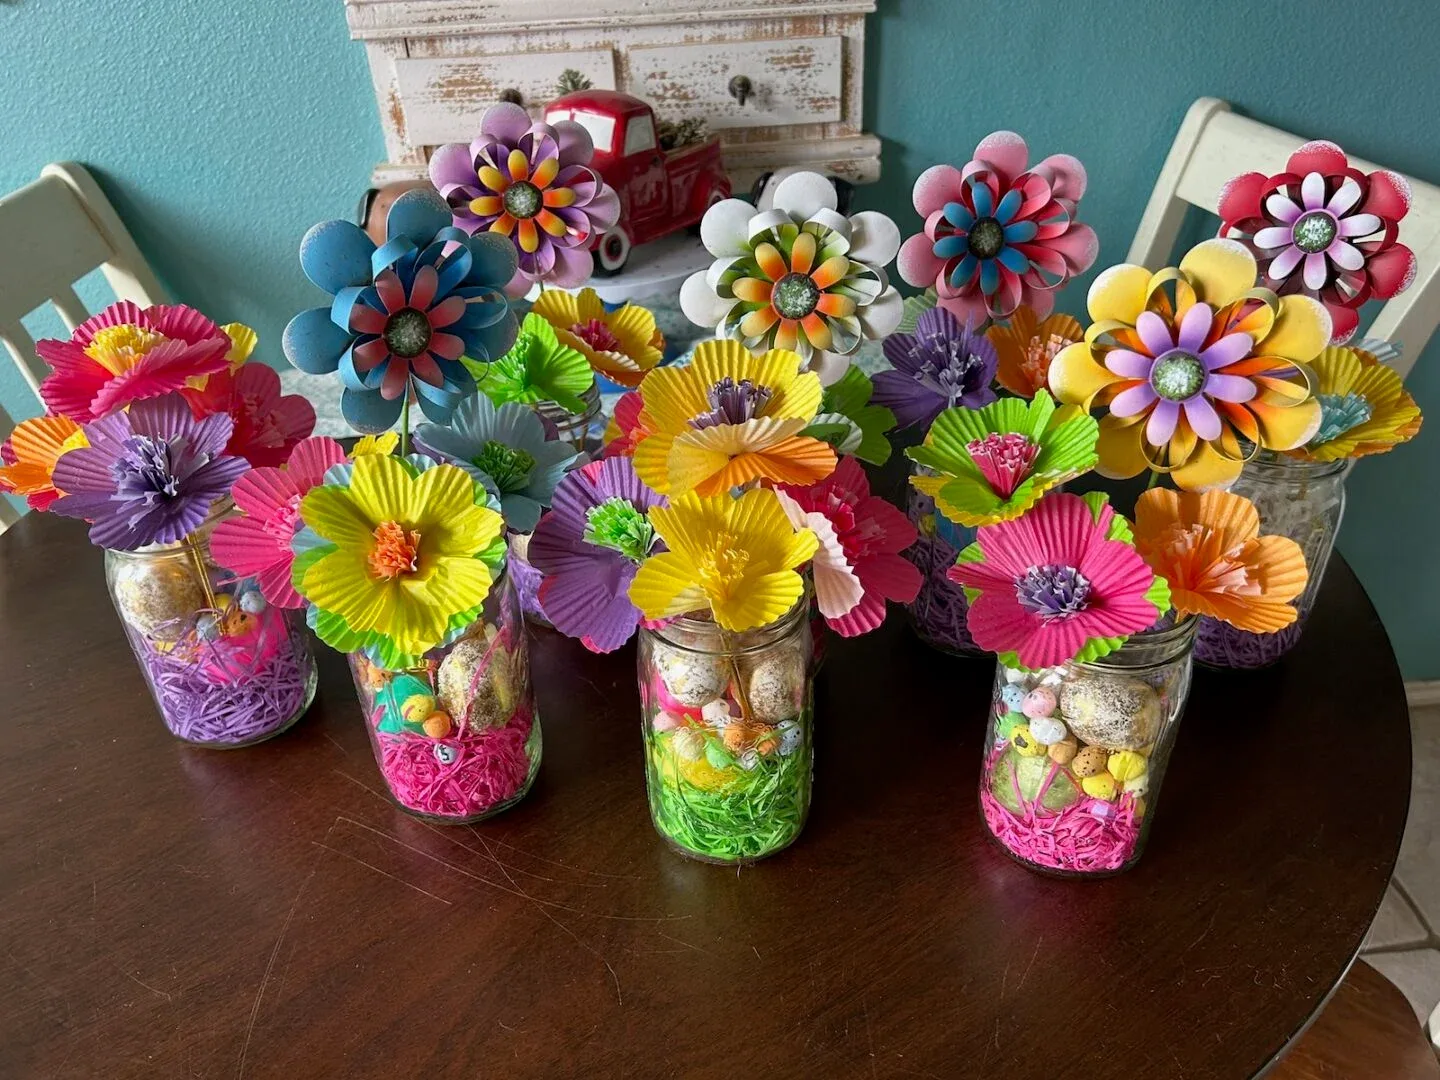
I’ve used my personal cookie jar collection as centerpieces more times than I can count. People always assume I bought them just for the event! - Mason jar centerpieces
These are one of my favorite budget-friendly tricks. Fill them with seasonal items—Easter grass, flowers, even cupcake liners—and you’ve got an instant decoration.
Here’s the key:
👉 It doesn’t have to be expensive or complicated to be beautiful.
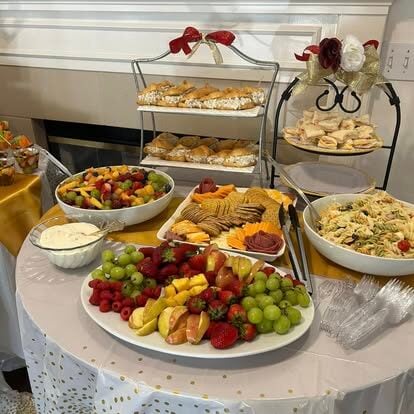
🍰 What to Serve on a Dessert Table
When it comes to dessert tables, most people assume they need a huge variety of complicated desserts to impress guests. But that’s simply not true.
Some of the most beautiful tables I’ve ever created had just a handful of thoughtfully chosen items—presented well.
The goal isn’t more. The goal is intentional.
Think in terms of balance:
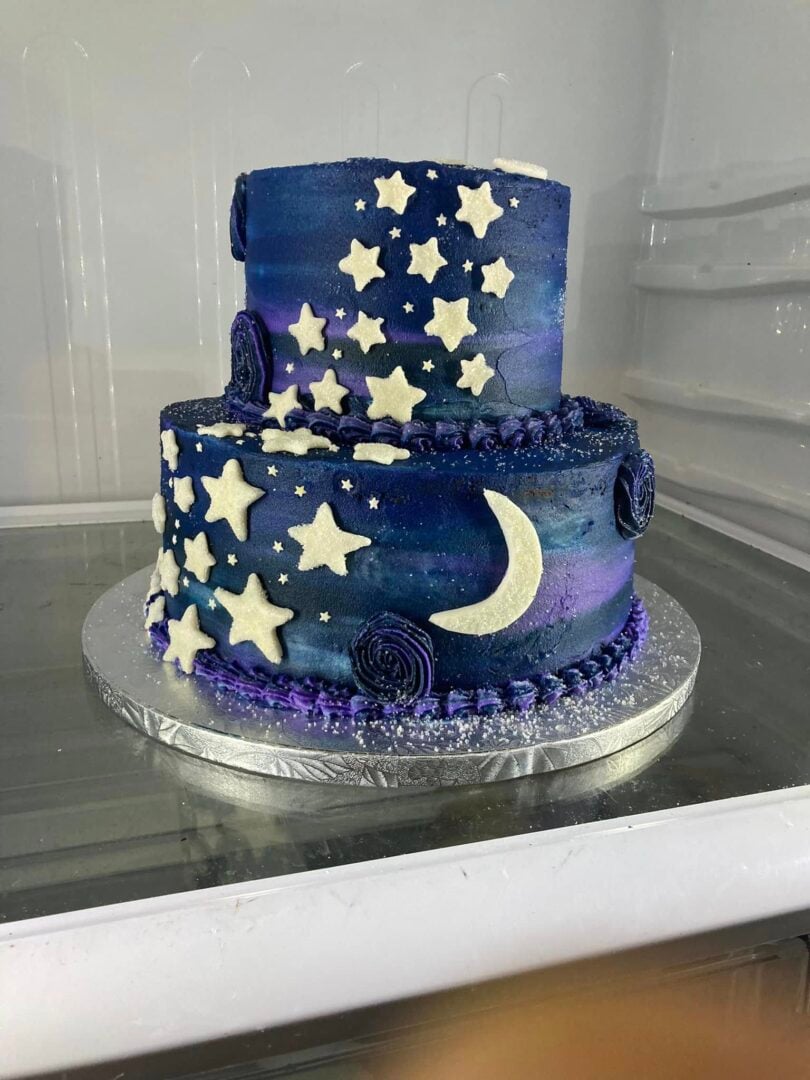
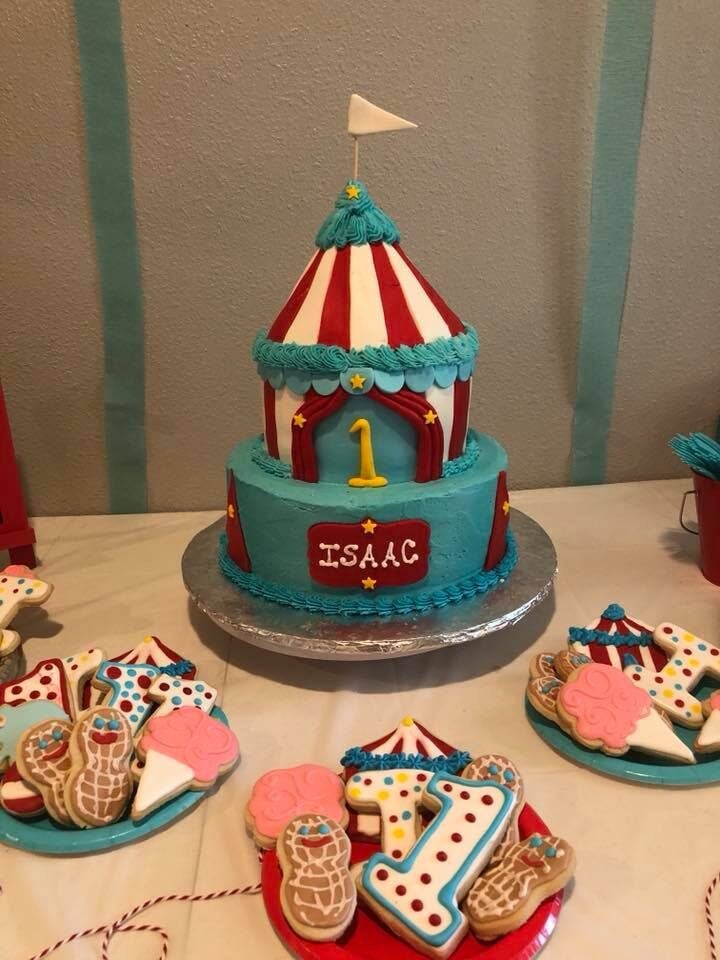
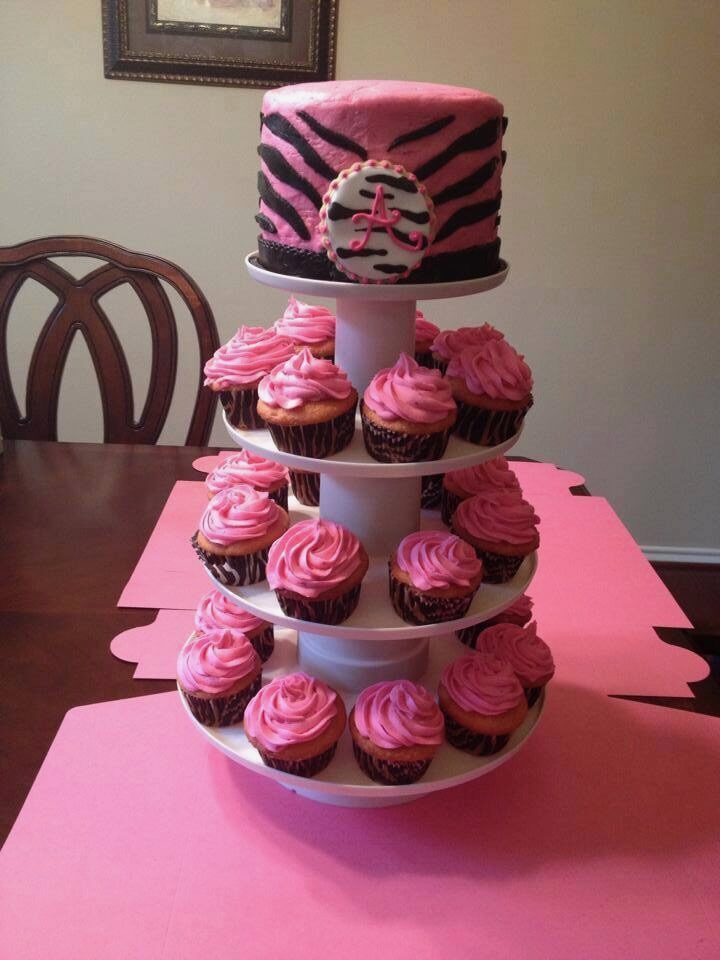
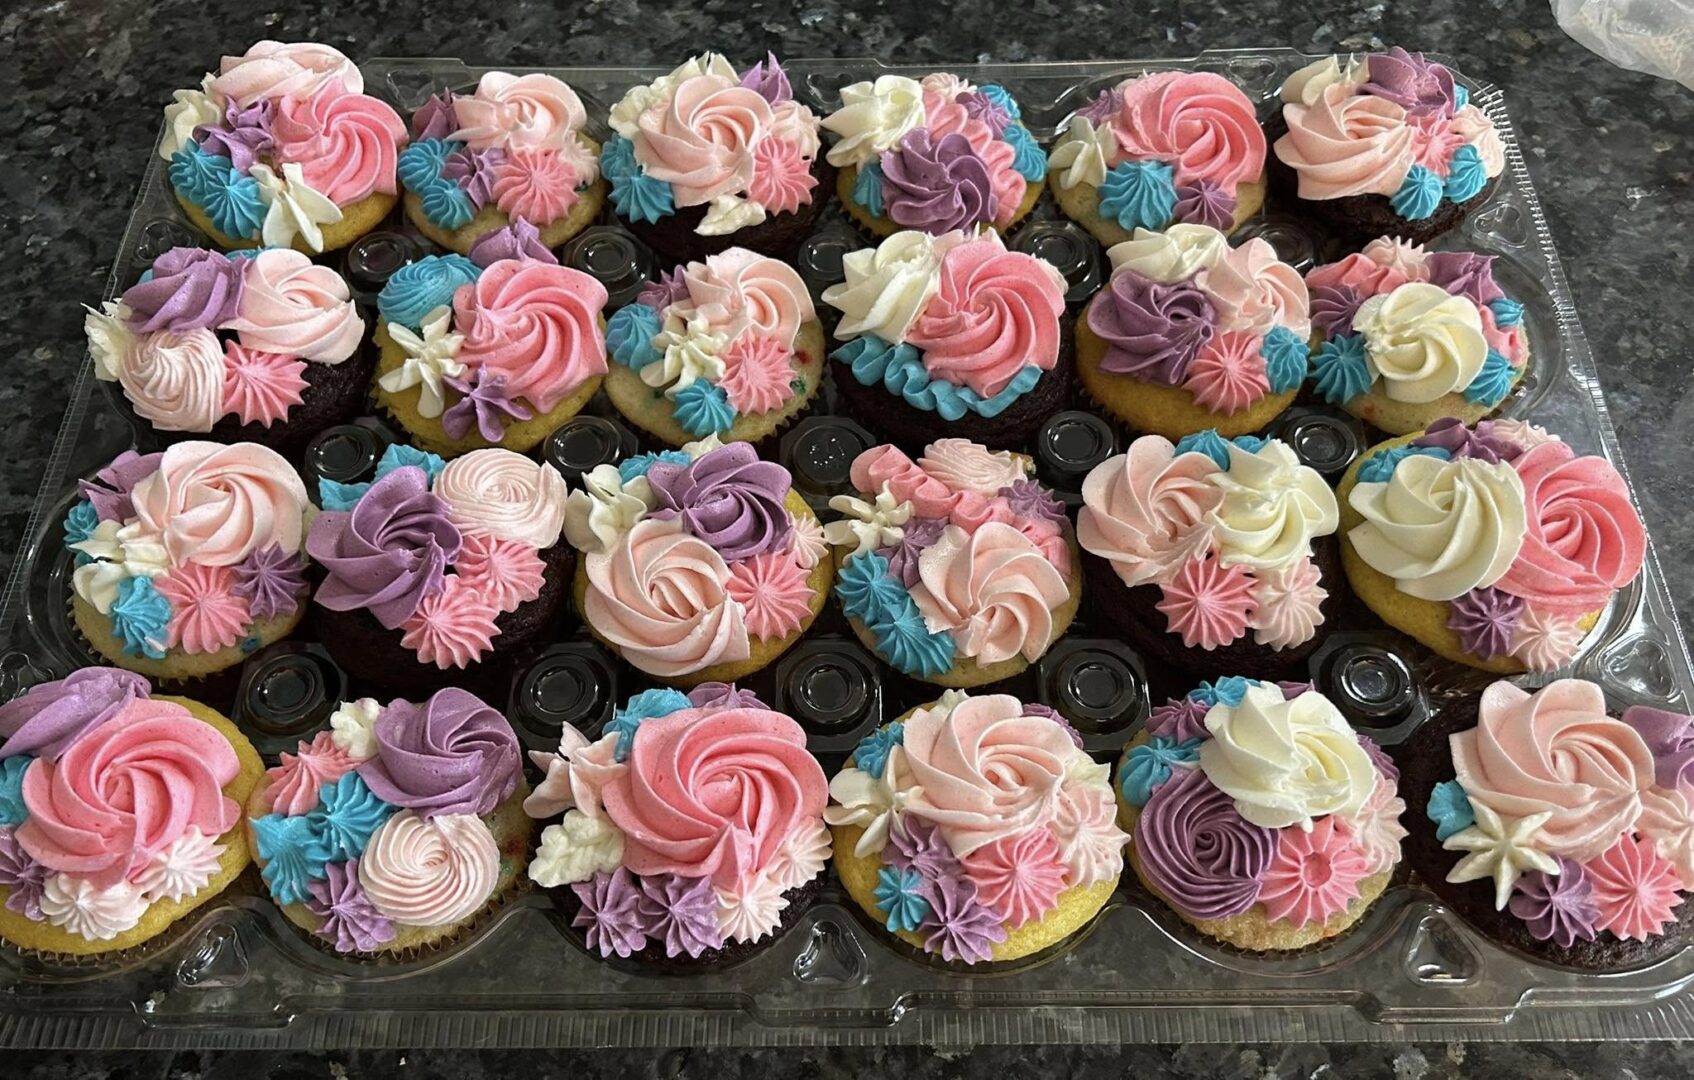
- One standout centerpiece (cake, cupcakes or cookies, usually)
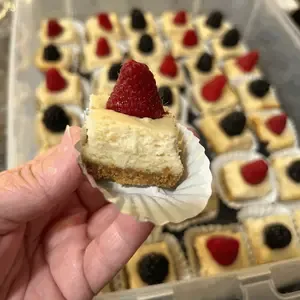
- A few supporting desserts (mini cheesecakes, brownies, bars)
- A couple of easy extras (cake balls, truffles, candies)
That’s it.
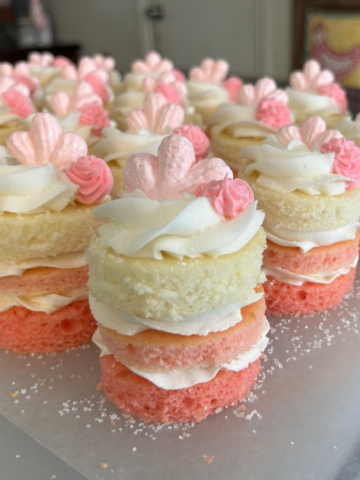
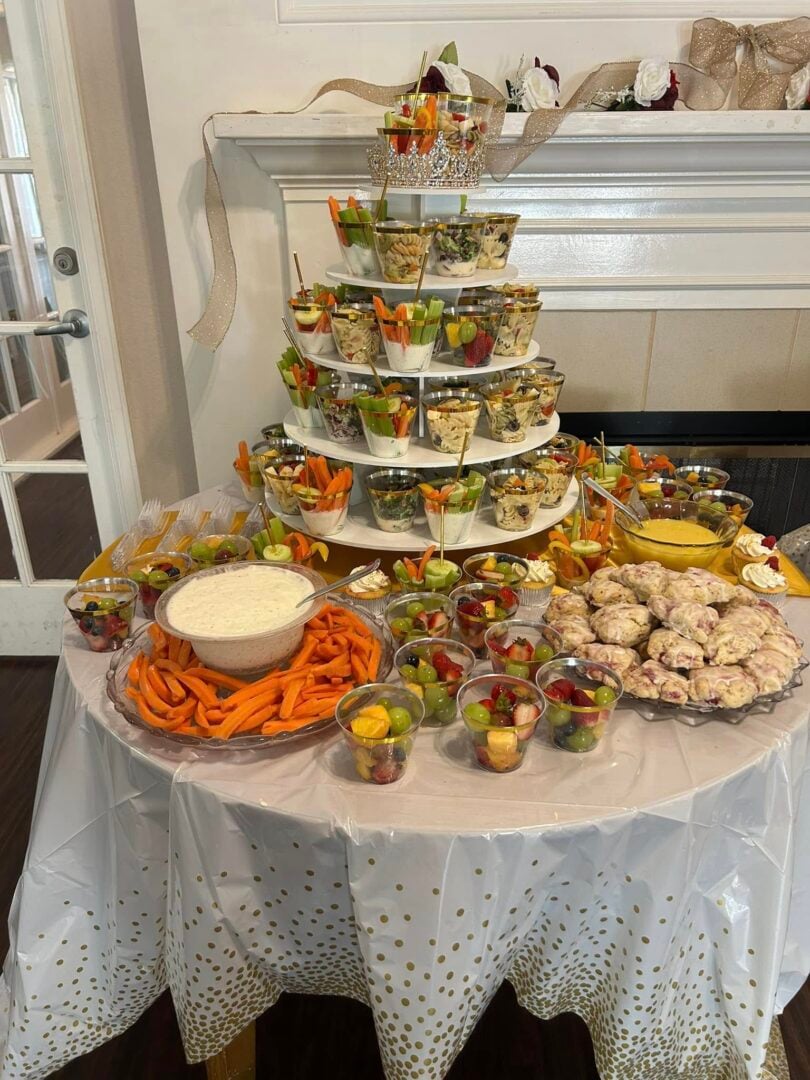
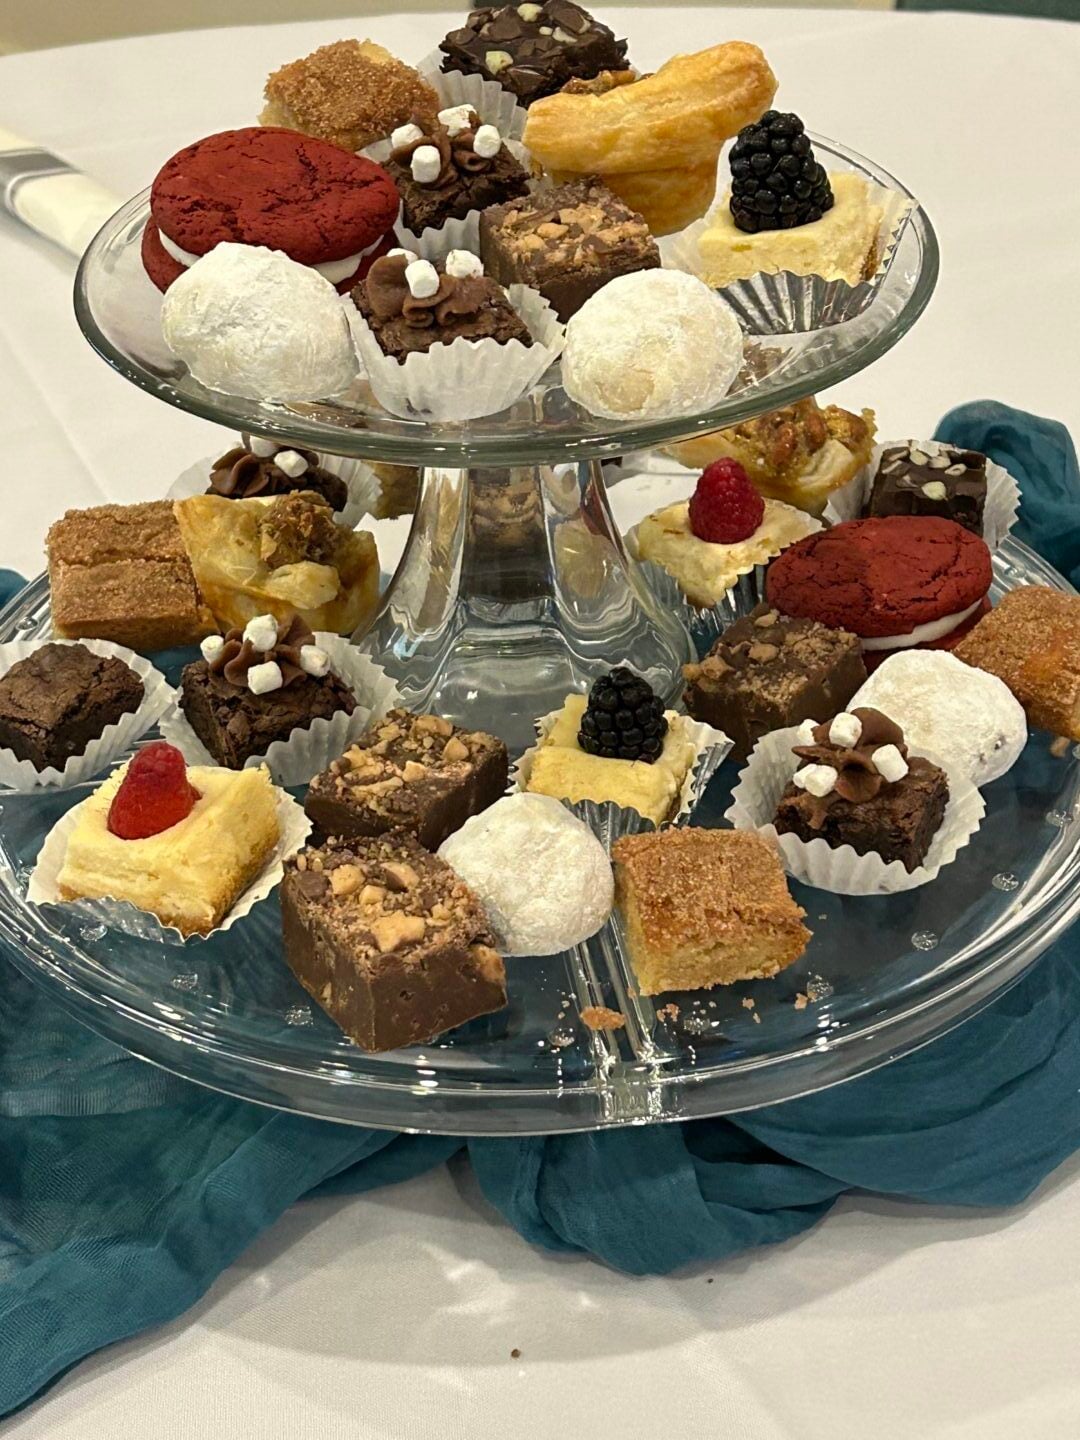
Let's Talk Tiny

The longer I bake for events, the more convinced I am that "tiny treats" are the way to go, especially when you're setting up a full table of desserts.
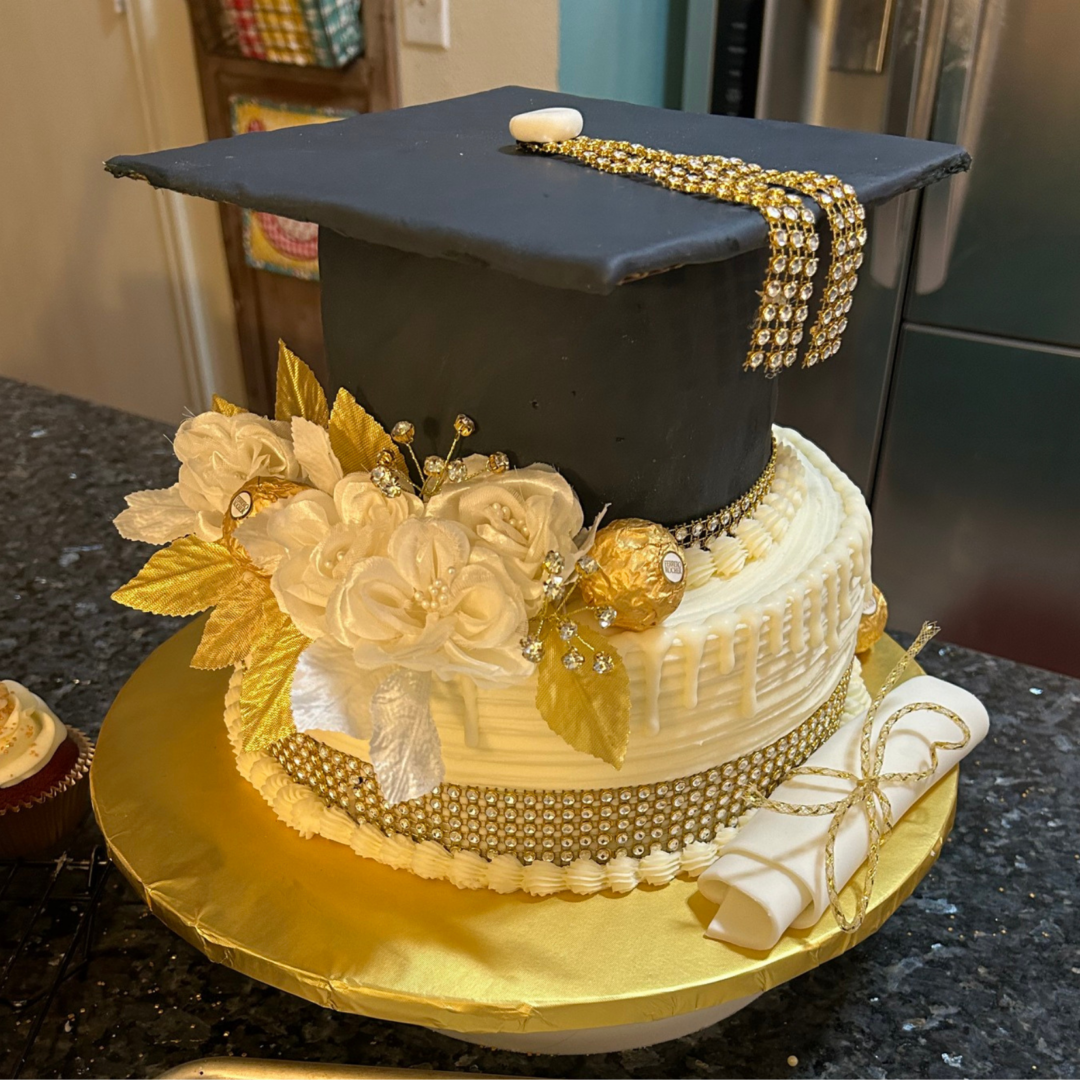
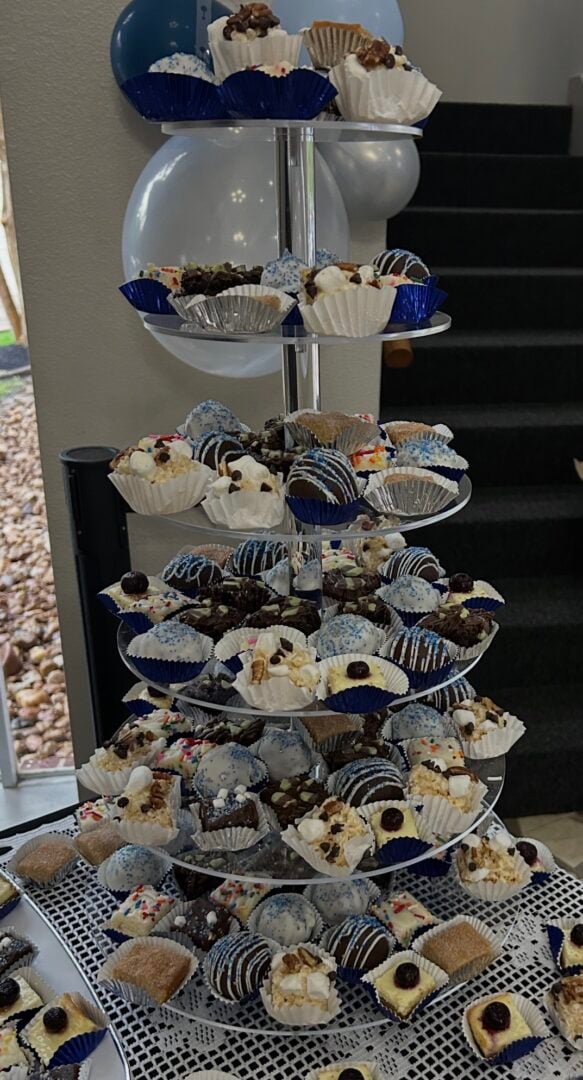
I recently donated baked goods for a graduation event at a local Christian school and decided to go tiny. I baked all of the following recipes for the event and cut everything into tiny squares, then placed them in individual mini cupcake liners. I color-coordinated the cupcake liners to match the school's colors, (blue, white, and silver).
- Mini Layer Cakes
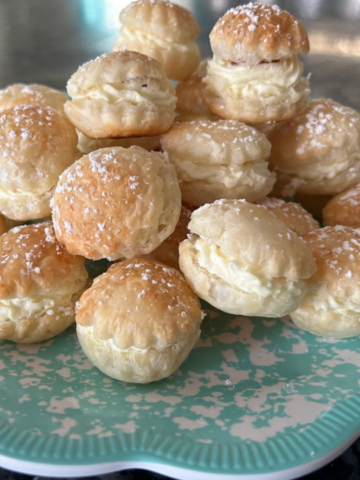
- Cake Mix Petit Fours
- Easy French Macarons
- Elegant Meringue Rosettes
- Strawberry Cake Pops
- Oreo Cake Balls/Truffles
- Red Velvet Truffles
- Hot Cocoa Fudge
- Cheesecake Bites
- Rocky Road Rice Krispy Treats
- Mint Chocolate Brownies
- Lemon Oreo Truffles
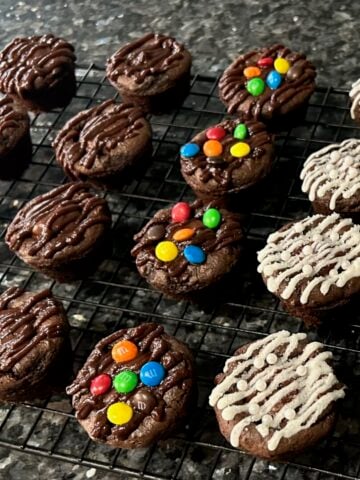
- Brownie Bites
- Brownie Bottom Turtle Cheesecake Bars
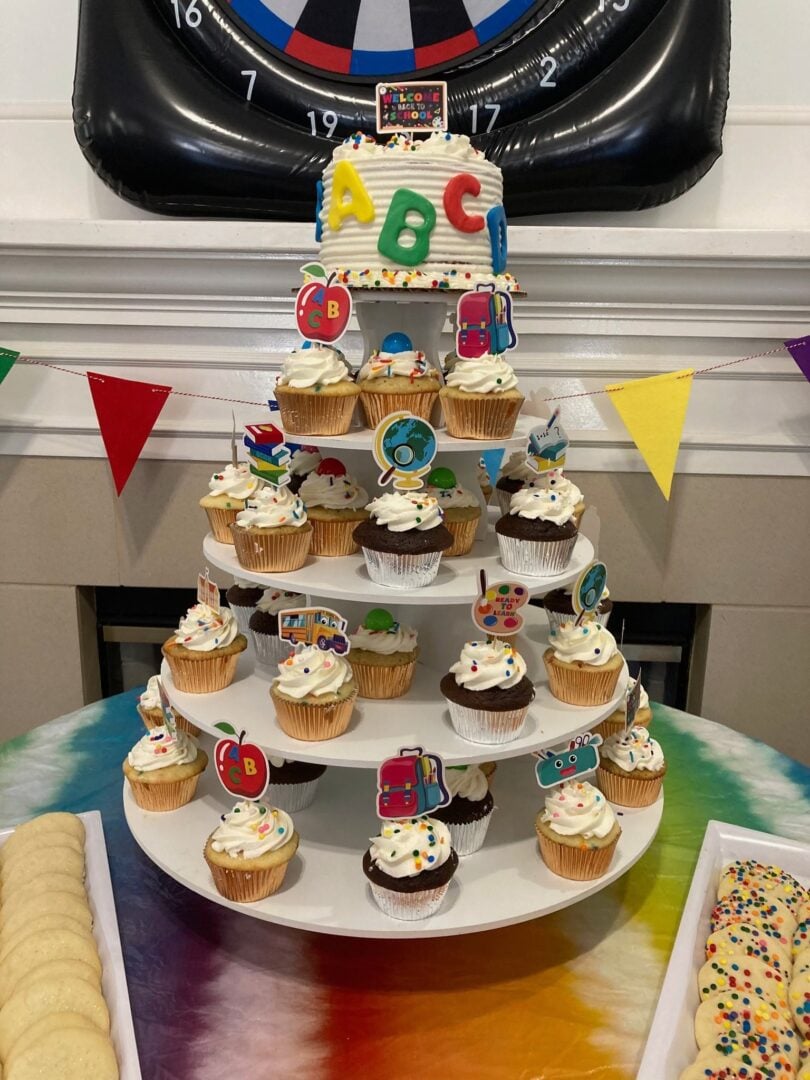
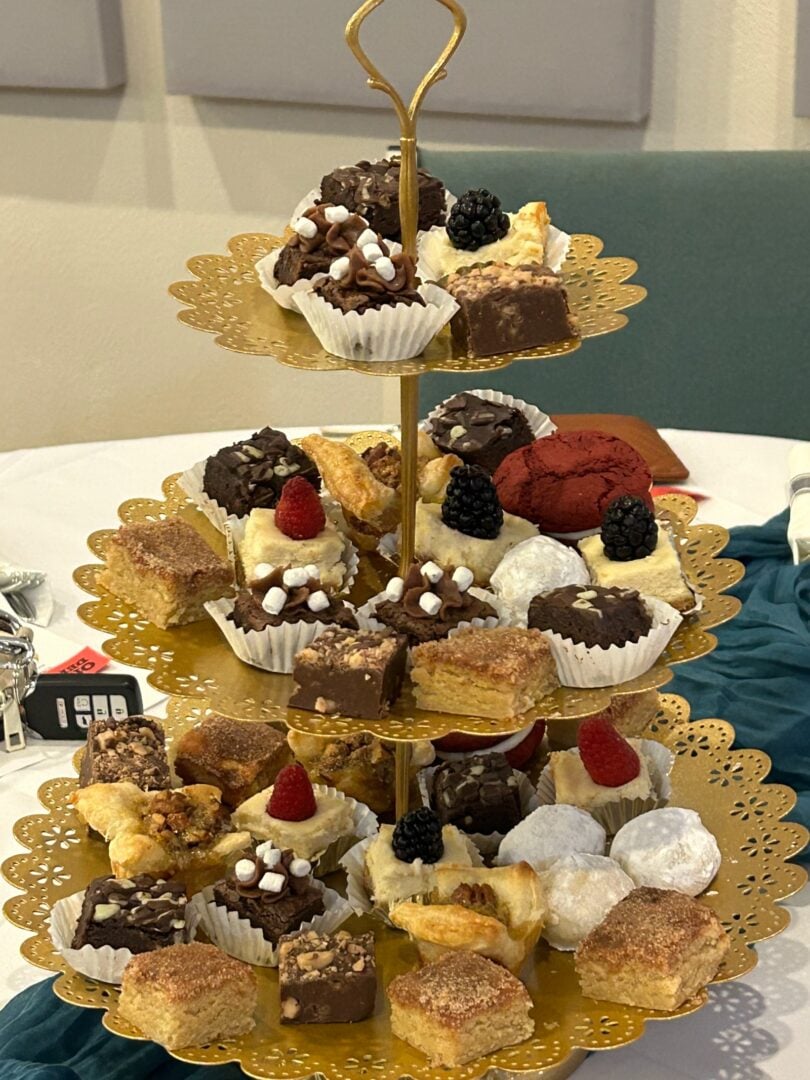
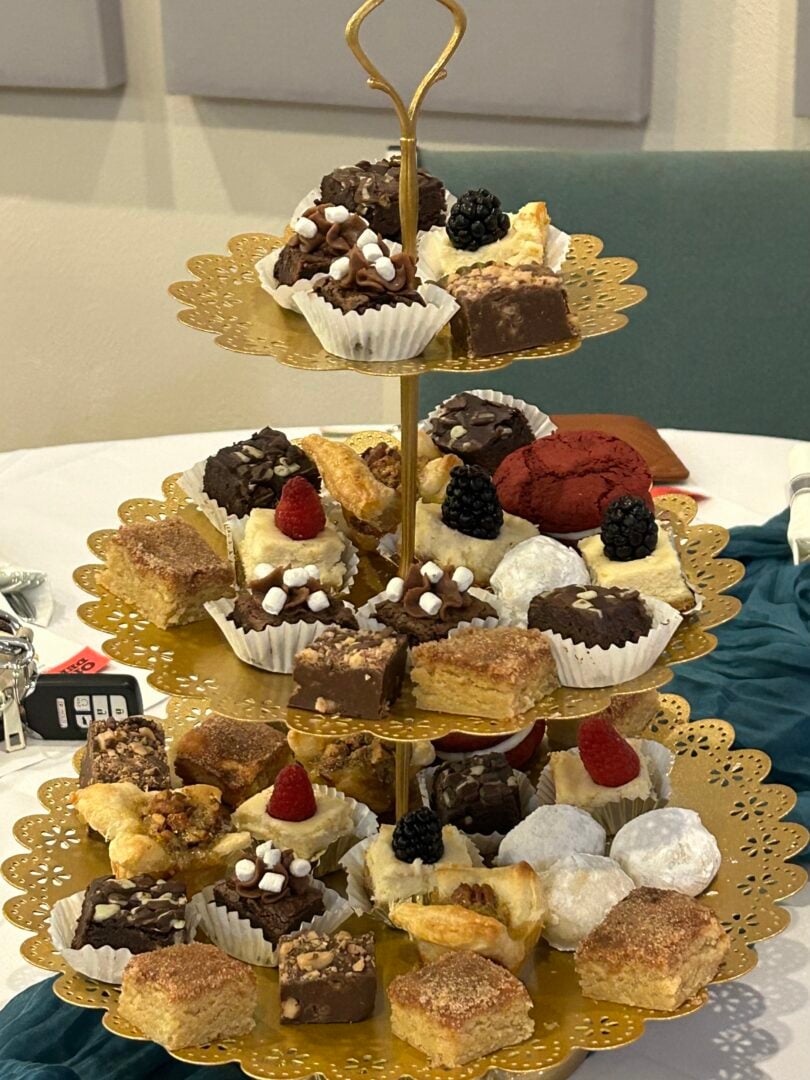
I have a lovely clear stand, six levels high, and it was perfect to stack these mini treats on. I also used a second tiered stand, this one smaller. And the rest of the bitty-treats were placed on a platter or even scattered across the (well dressed) table.

You can see the results for yourself. And here's a fun tidbit: this table was wiped clean by night's end. The desserts were popular with the crowd and disappeared in a hurry.
Note: I believe this is because these tiny treats are so easy to grab-and-go. No cutting. No mess. No plates required.

🍰 The Simple Dessert Table Formula
Here’s a Simple Formula That Always Works:
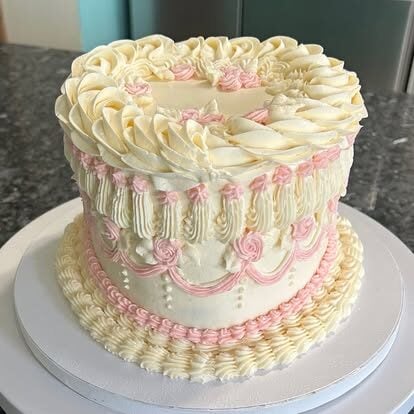
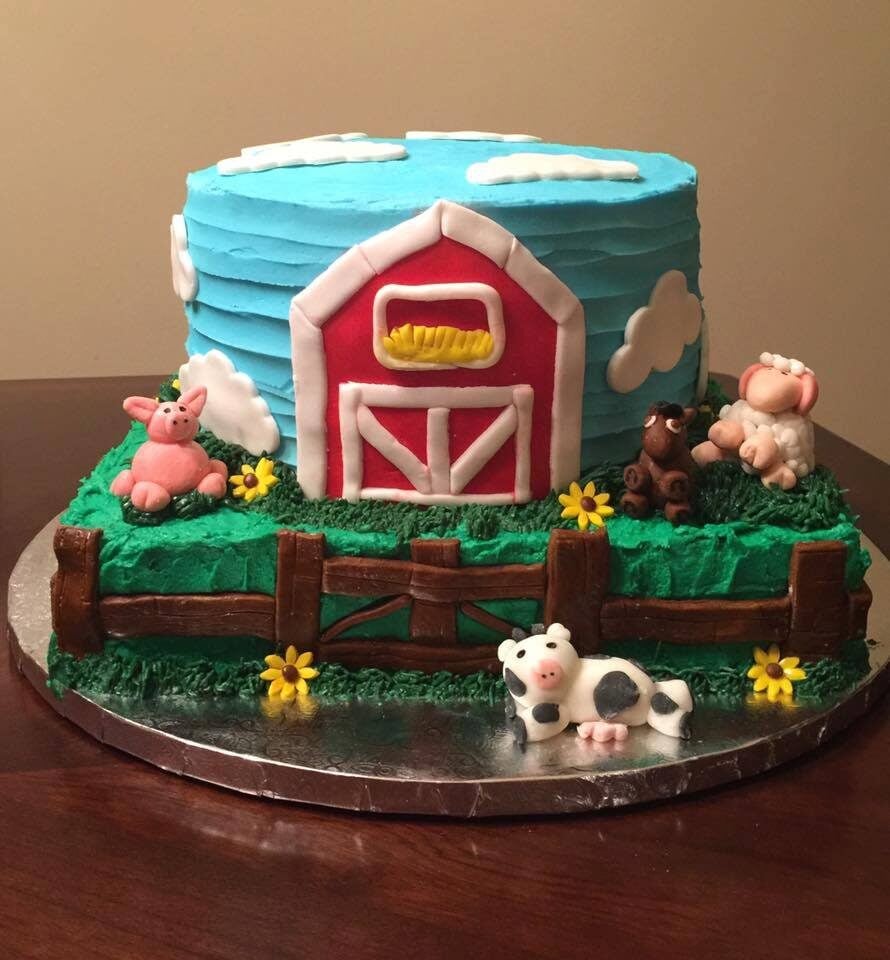
🍰 1 Main Dessert (Your Anchor)
Every dessert table needs a focal point—and in my experience, that’s almost always the cake.
It doesn’t have to be massive or bakery-made to be impressive. A simple cake on a pretty stand can completely anchor the table.
You have options:
- A single-layer cake with beautiful (or colorful) frosting
- A two-tiered cake (check out my DIY tutorial on how to tier a cake)
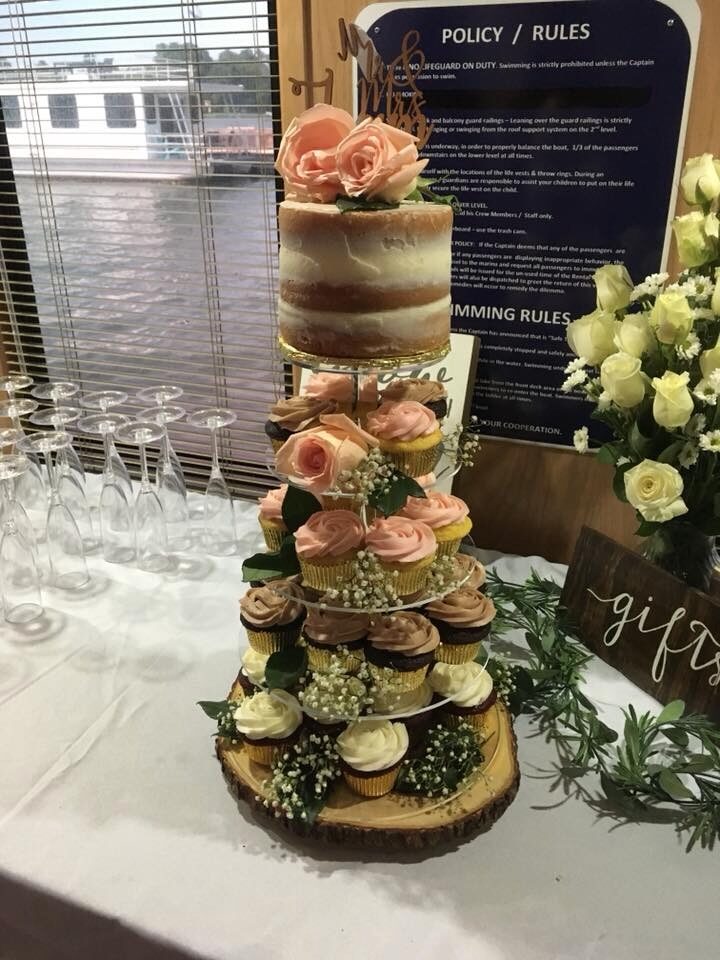
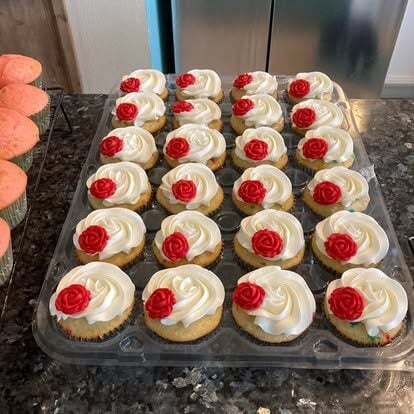
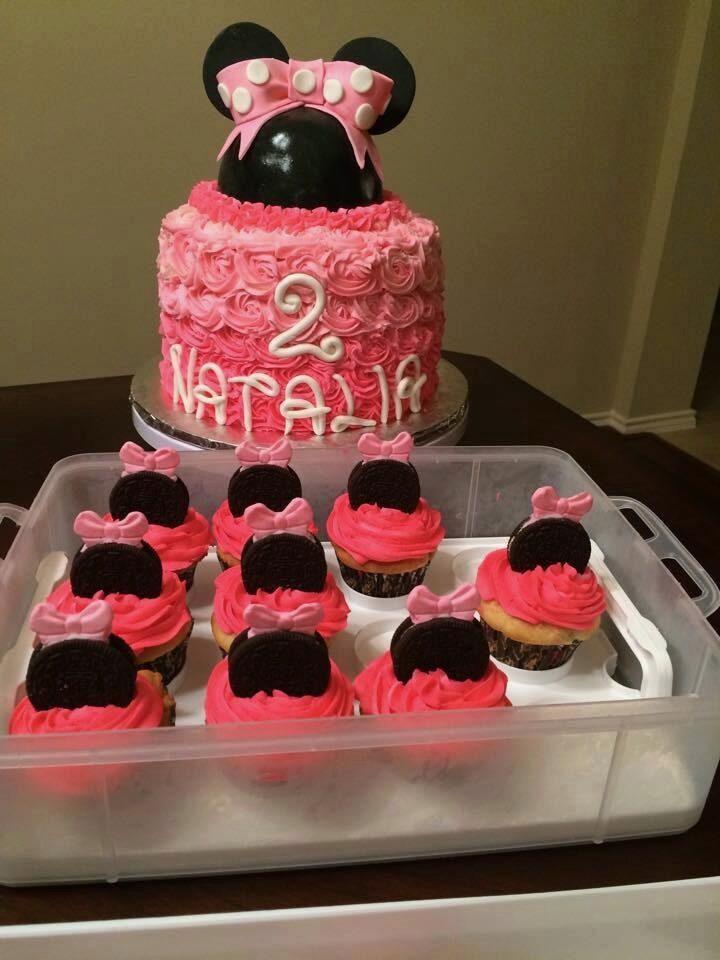
- A small display cake with matching cupcakes for serving
If you’re looking for an easy shortcut, don’t underestimate a doctored cake mix. With a few simple tweaks, you can turn a basic mix into something that tastes completely homemade. (See my guide on how to doctor a cake mix.)
And of course, frosting matters! A great buttercream or cream cheese frosting can take your cake to the next level.
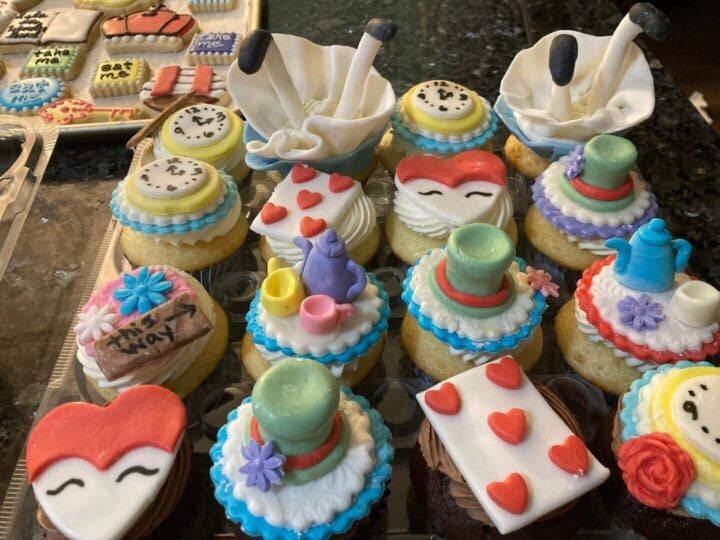
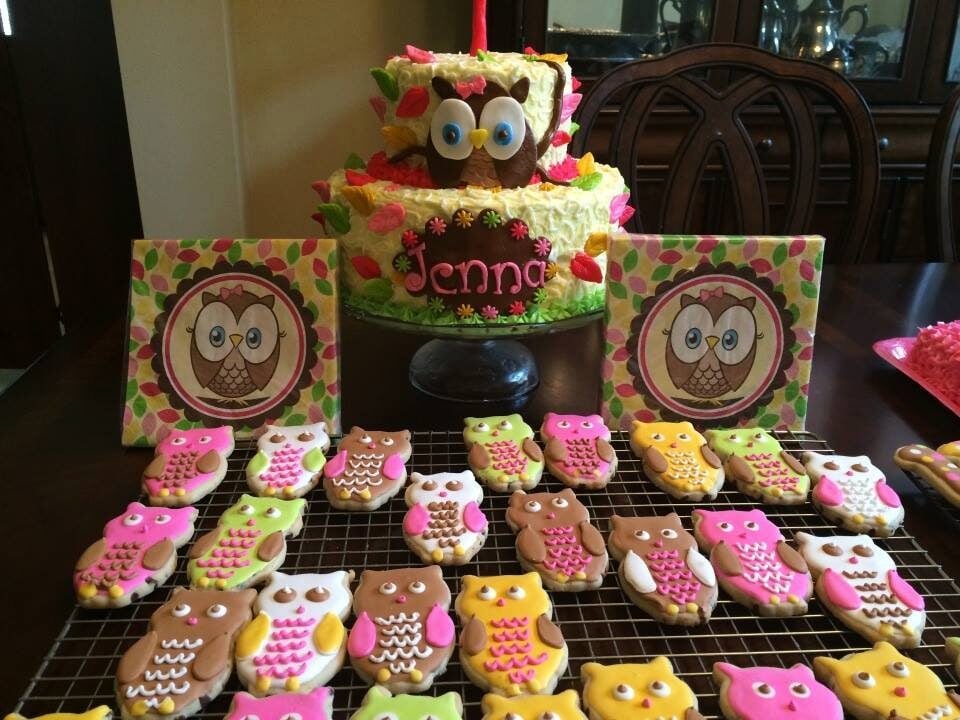
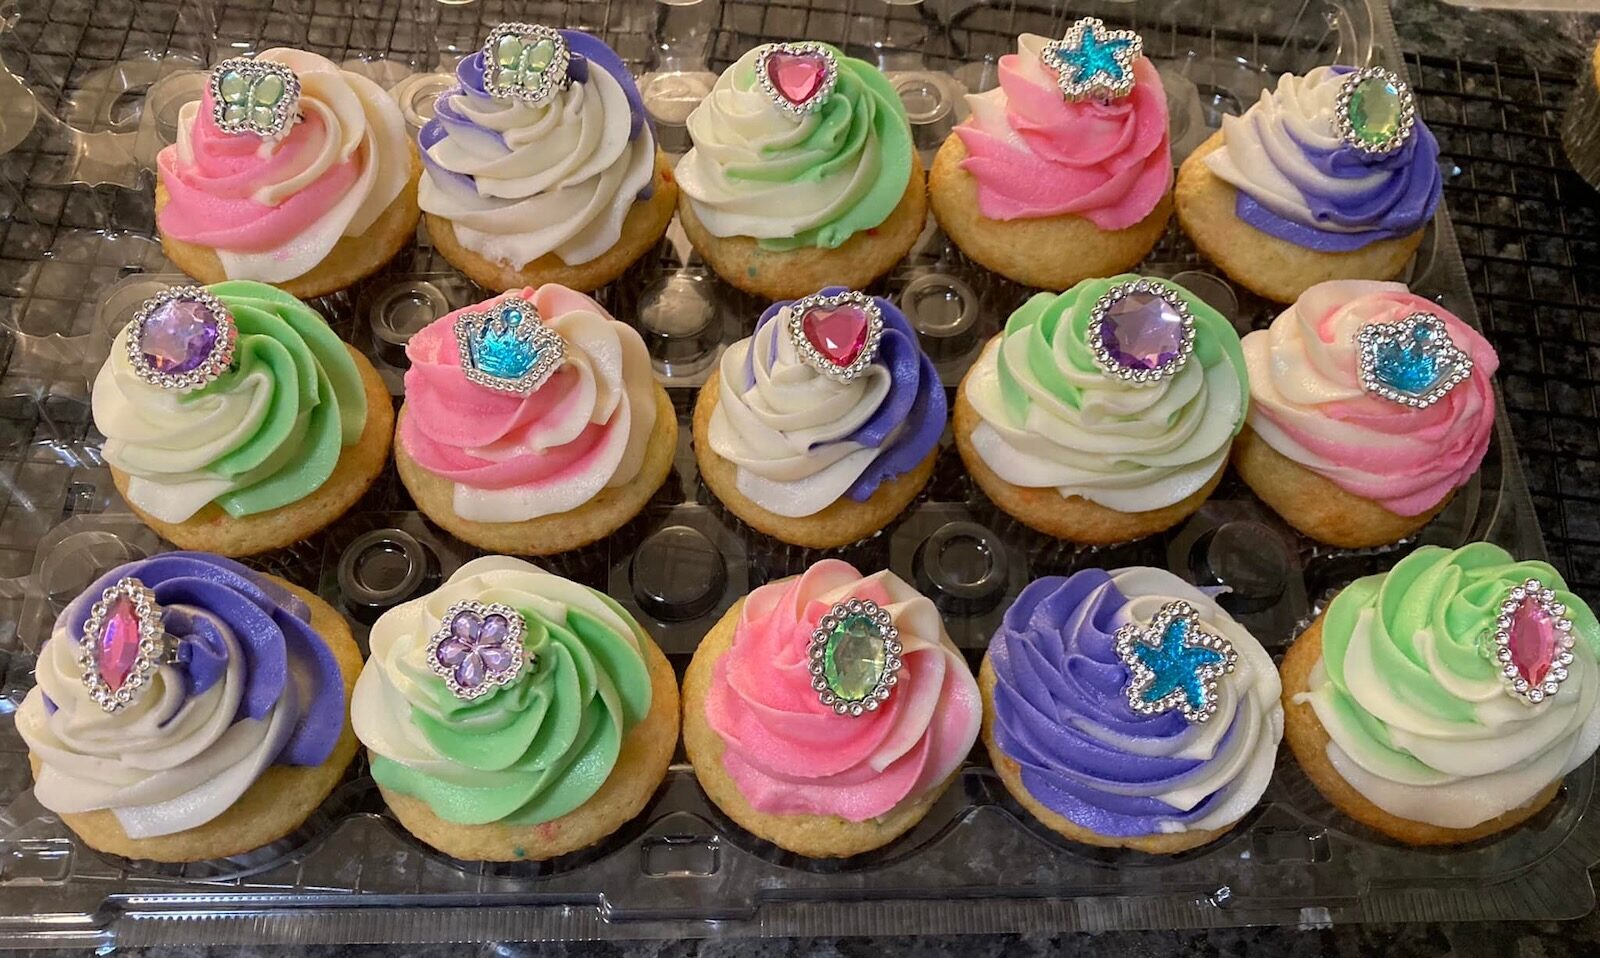
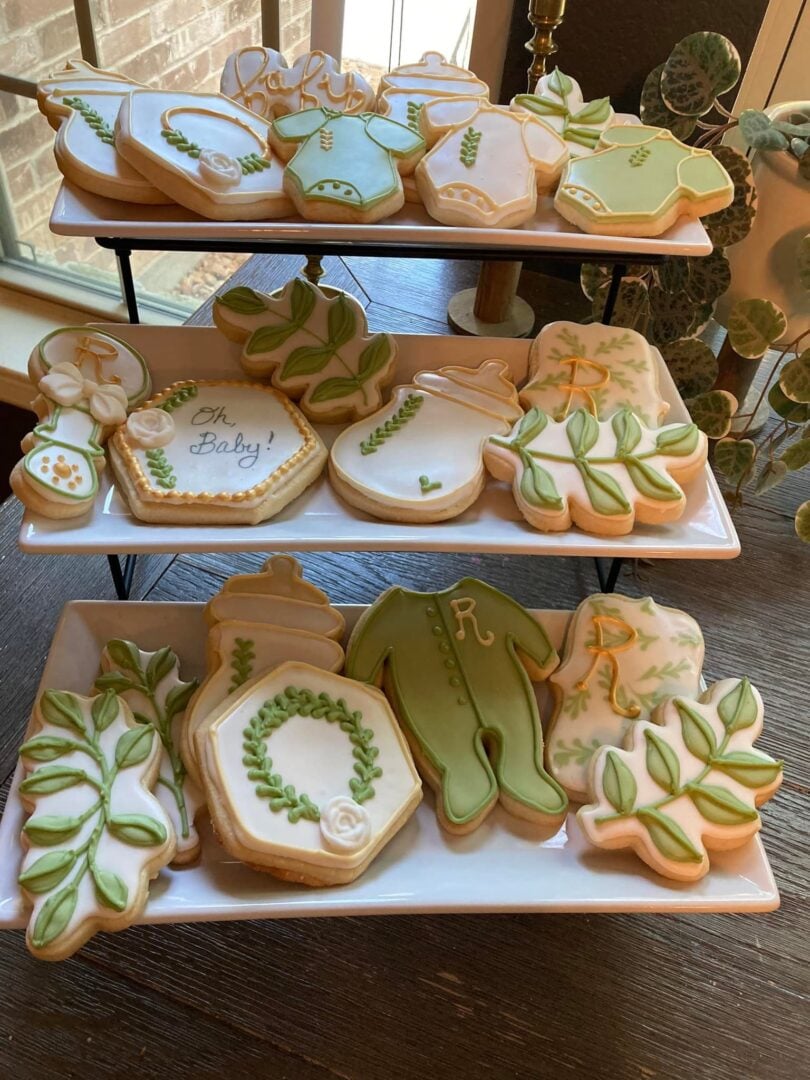
🧁 2–3 Supporting Desserts
This is where your theme really comes to life. These are smaller, easy-to-serve treats that add variety and visual interest.
Some of my favorites:
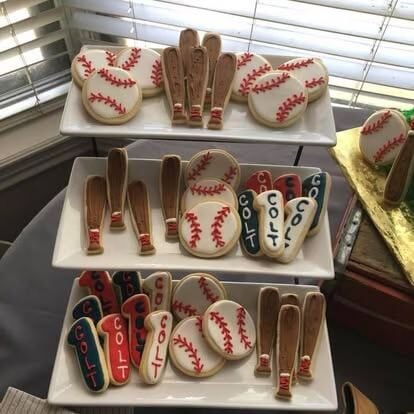
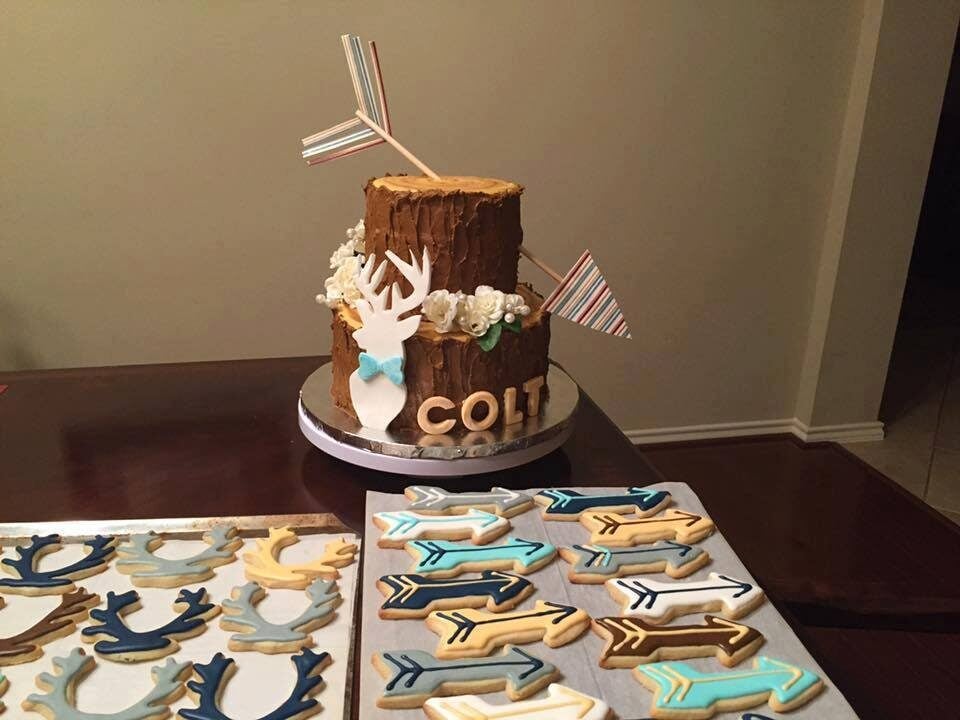
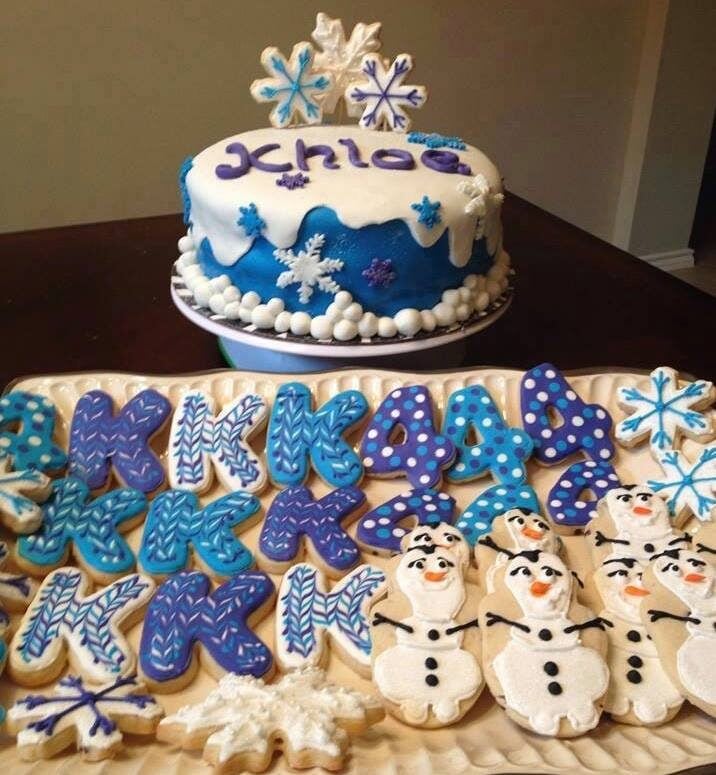
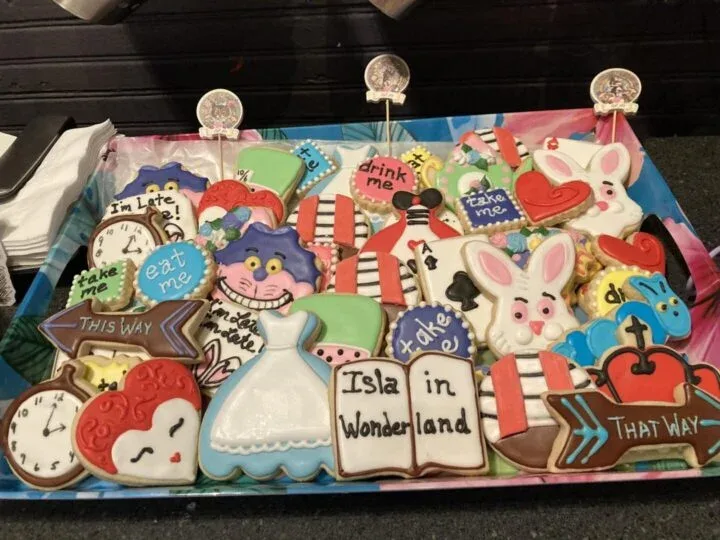
- Decorated sugar cookies (customized to match your theme—see my cut-out cookie and royal icing tutorials)
- Brownies or dessert bars (served in paper liners for easy grabbing)
- Cheesecake bites
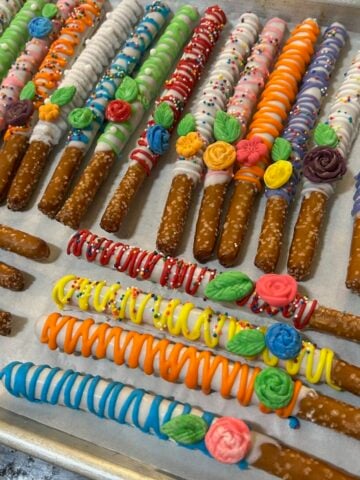
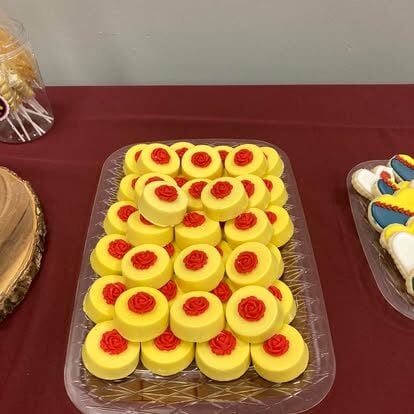
- Chocolate-covered Oreos, pretzels, or cake pops
- Mini trifles or parfaits
👉 Tip: Choose one “showstopper” item here and keep the rest simple.
🍬 1–2 Easy Extras (Yes, You Can Buy These!)
Let me give you permission to take a shortcut: Not everything has to be homemade.
In fact, some things are better purchased:
- Macarons
- Petit fours
- Chocolates and truffles
- Color-coordinated candies
- Store-bought cookies
Once everything is displayed on beautiful trays or tiered stands, it all blends together seamlessly.
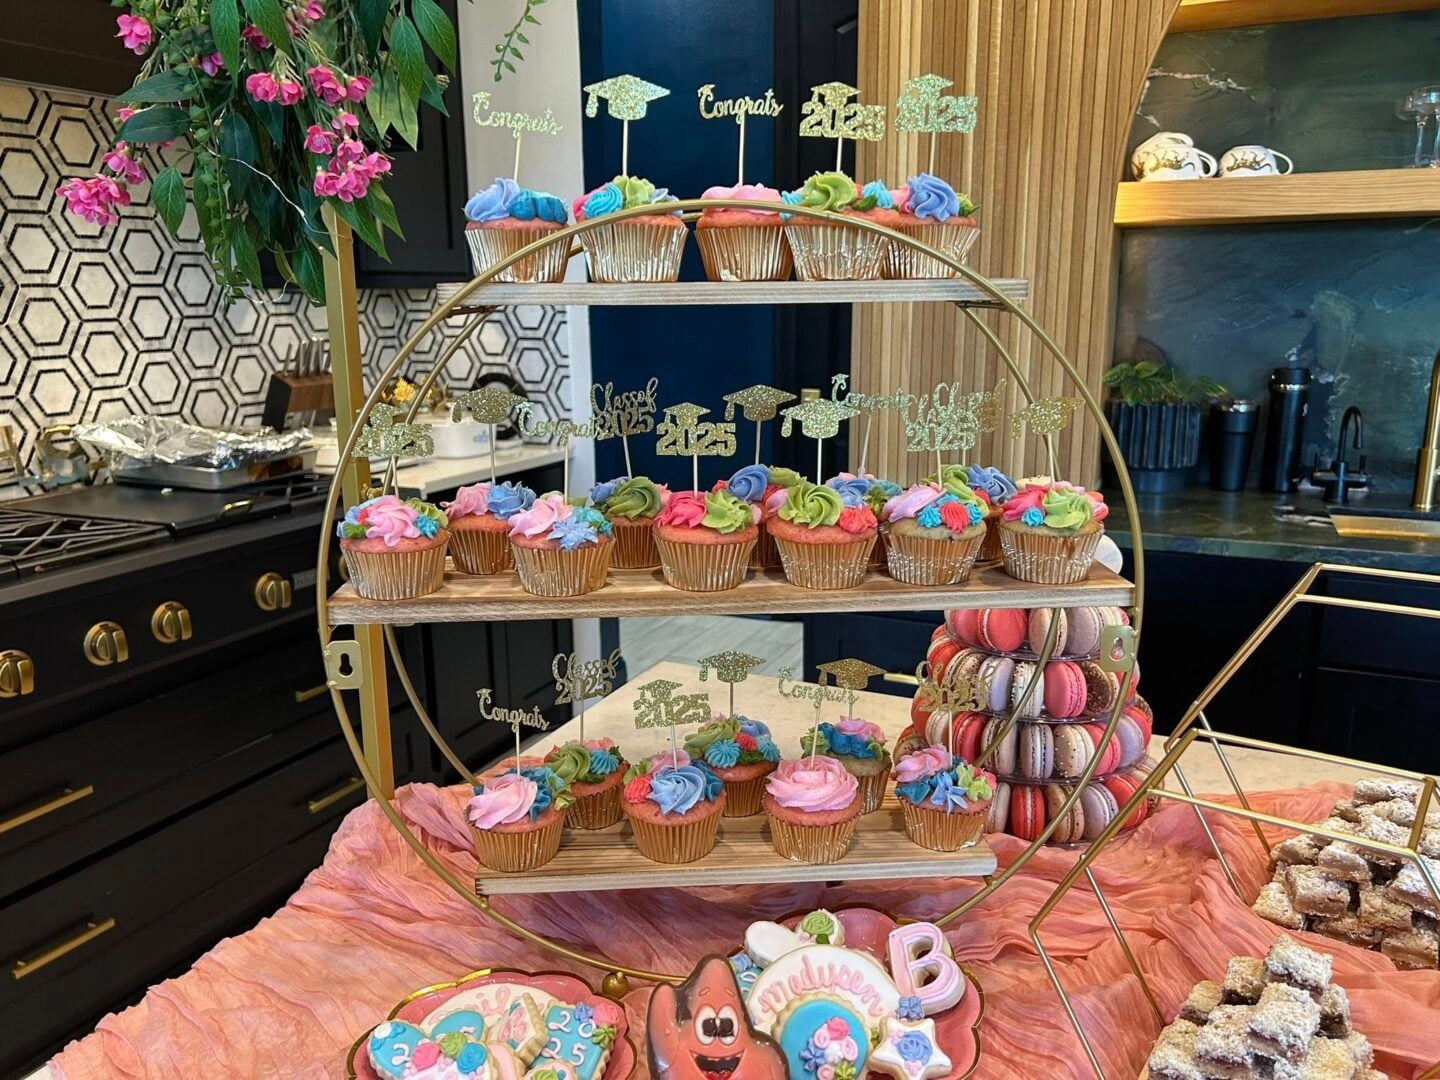
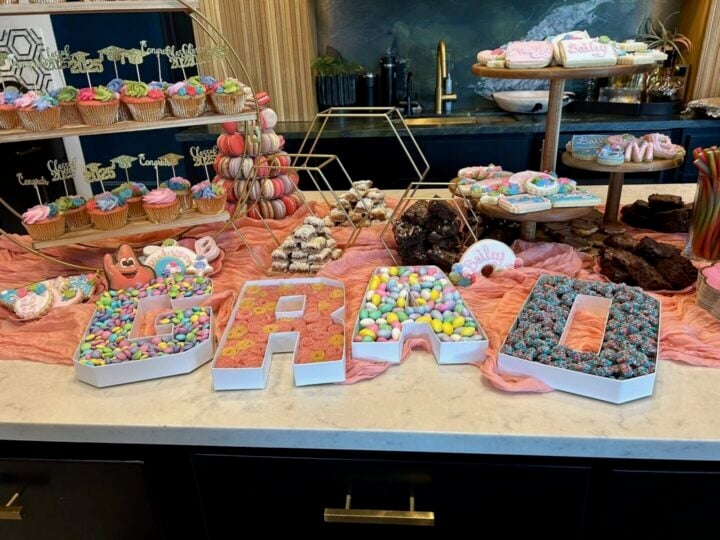
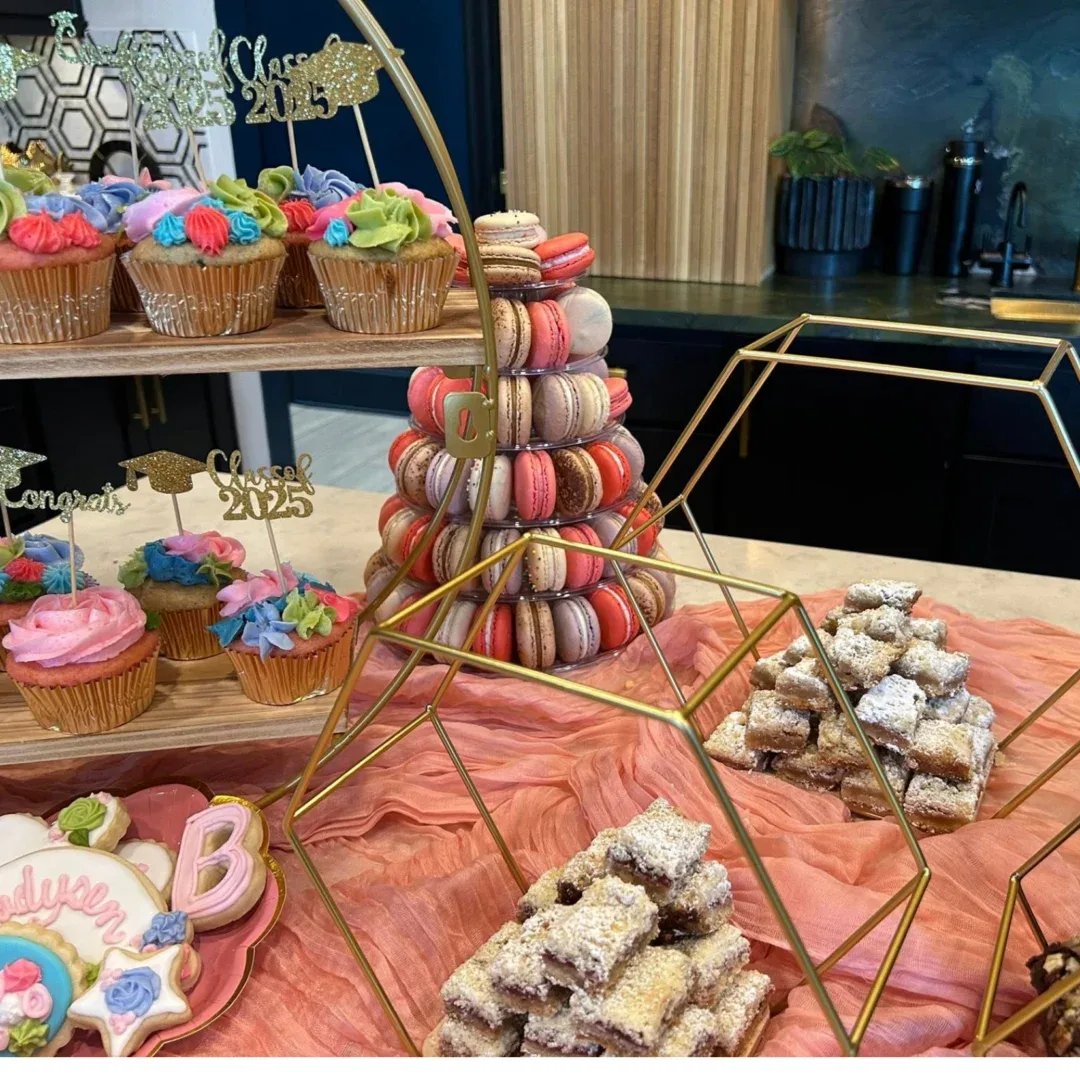
🎉 A Real-Life Dessert Table Example
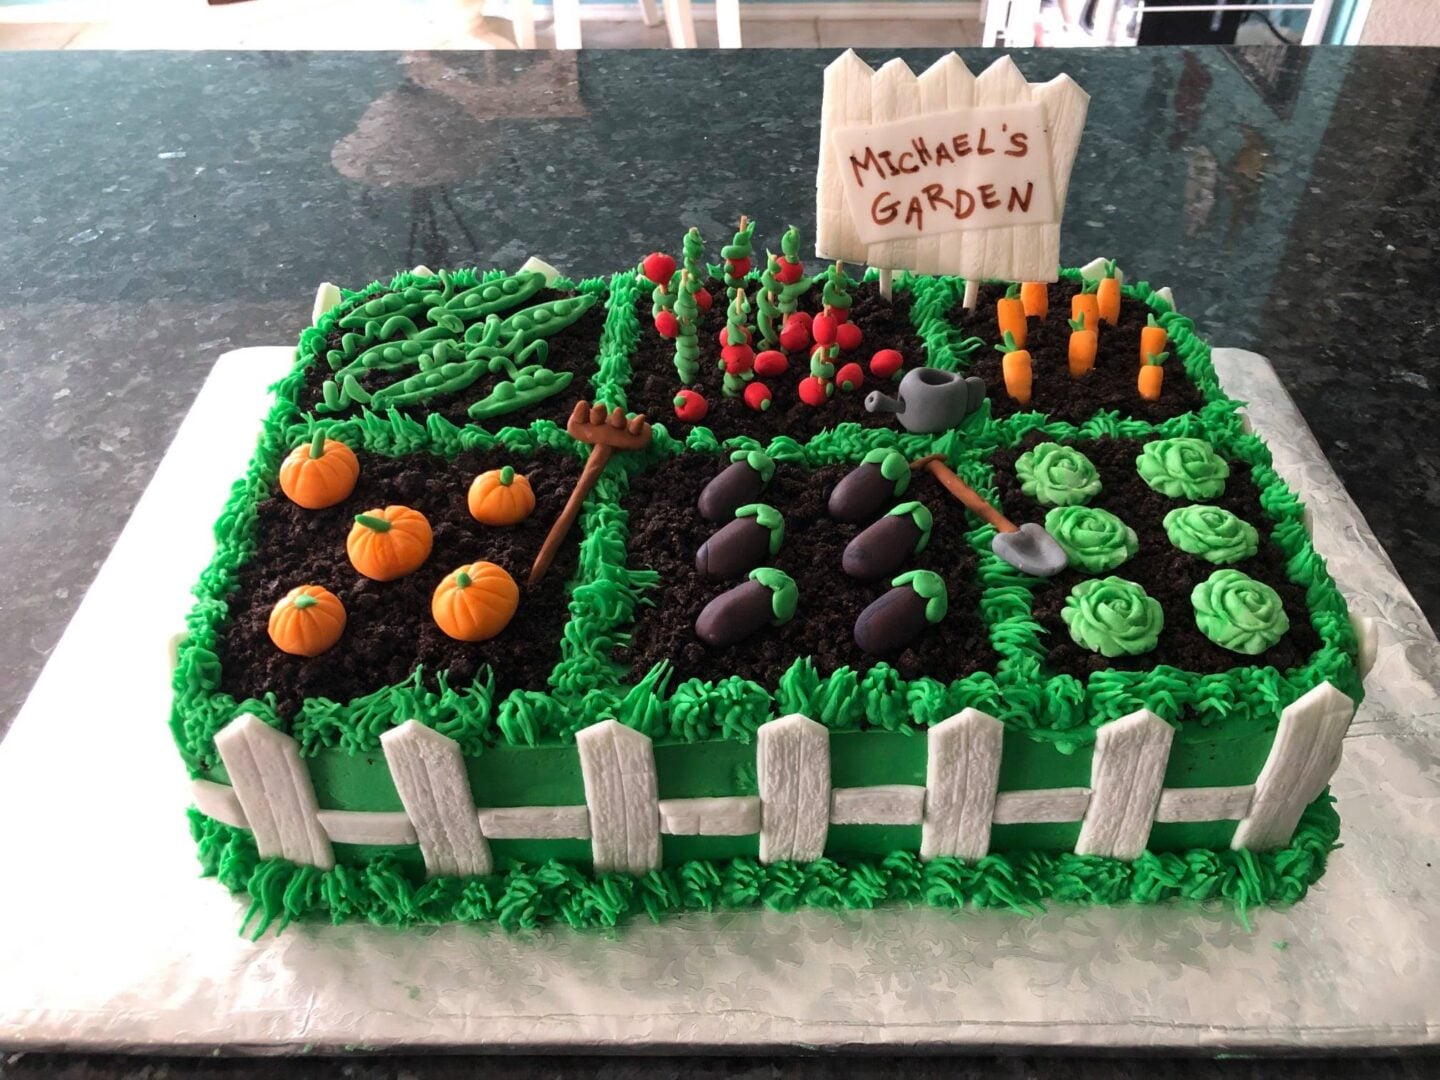
Garden Party Graduation
For my granddaughter’s graduation party this year, we’re planning a bright outdoor garden theme.
Here’s what we’re serving:
- A small floral-themed centerpiece cake
- Macarons in soft pastel colors (store-bought!)
- Chocolate-covered Oreos and cake pops
- Mini trifles with angel food cake, whipped cream, and fresh berries
- Chocolate-covered strawberries decorated like ladybugs
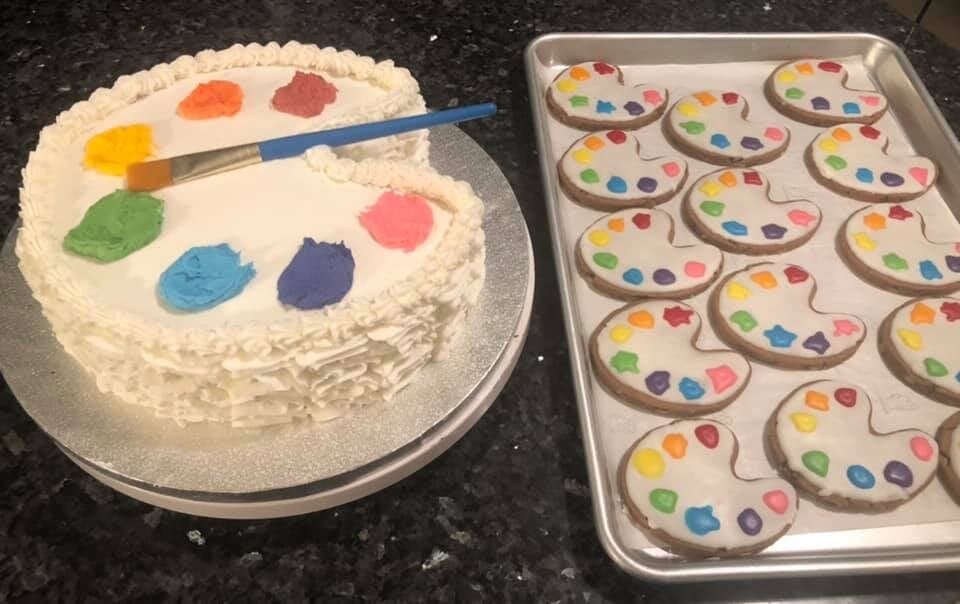
- Hand-painted cookies featuring flowers and whimsical designs
We’ll pair all of this with greenery, tiered stands, and soft fabric draping across the table.

It’s not over-the-top. It’s not overly expensive.
But it will be beautiful—and most importantly, meaningful.
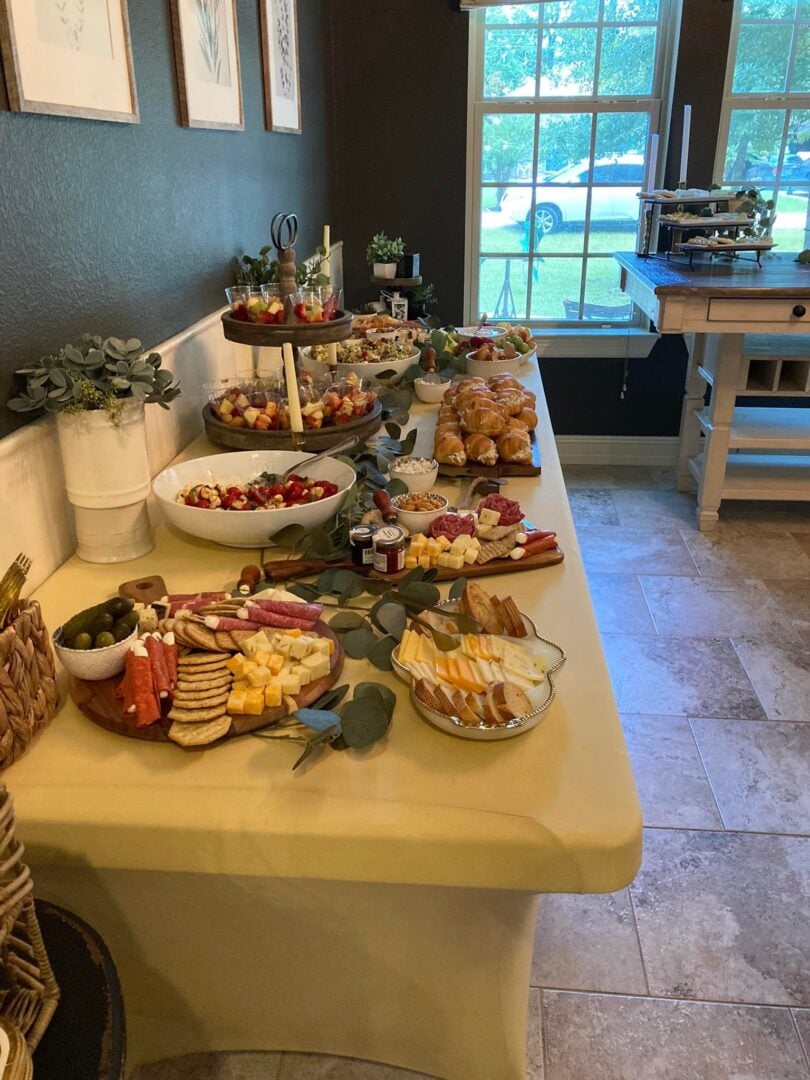
🛍️ Homemade vs Store-Bought
It’s Okay to Mix Both
Let me say this clearly: You do not have to make everything yourself. Over the years, I’ve learned to focus on what matters most.
I usually make:
- Cakes and cupcakes
- Decorated cookies
- One or two signature desserts

I usually buy:
- Macarons
- Petit fours
- Candies and chocolates
- Fill-in items
When everything is displayed together, no one can tell the difference.
And this is the heart of Out of the Box Baking:
👉 Knowing where to put your effort
👉 And where to give yourself permission to keep things easy
⏰ How to Prep Ahead (So You’re Not Exhausted)
One of the biggest mistakes people make is leaving everything until the last minute.
Here’s what works:
- Bake cakes and cupcakes ahead of time and freeze them
- Make cookies several days in advance
- Prepare fillings and frostings early
- Choose simple recipes
- Assemble as much as possible the day before
The goal is to walk into your event feeling calm—not completely worn out.
🎉 Dessert Tables Work for Any Celebration
Once you understand this formula, you can use it for anything:
- Birthdays
- Baby showers
- Bridal showers
- Graduation parties
- Holiday events
- Church or ministry gatherings
It works every time.
💛 It Doesn’t Have to Be Perfect to Be Beautiful
I don’t know about you, but I tend to second-guess myself—especially when it comes to decorating.
It’s easy to compare ourselves to others, especially those with bigger budgets or more elaborate setups. But let me encourage you: These events are meant to bless people.
If your heart is in it—if your goal is to celebrate and love on others—it will show in everything you do.
And I promise, the person you’re celebrating will be incredibly grateful.
📝 Final Advice
Make a plan. Write everything down:
- What you need (stands, trays, tablecloths)
- What you want (decor ideas)
- What you’ll serve
Start with your “dream” list…then scale it back to what’s doable.
Trust me—it’s far better to do a few things well than to overwhelm yourself trying to do everything.
Choose joy over perfection.
Frequently Asked Questions
If I only purchase a handful of items, what should they be?
Start with these basics:
- A 2-tiered (or 3-tiered) stand
- A simple cake stand
- A few neutral serving trays
- A pretty tablecloth or fabric layer
With just these items, you can turn even simple desserts into something that looks truly special.
Helpful Links
- How to Doctor a Cake Mix
- Frosting Recipes
- Cut-Out Sugar Cookies & Royal Icing
- Cake Recipes Hub
- Cupcake & Muffin Hub
- Brownies & Bars Hub
- Party Planning Guide
Thanks for stopping by! Feel free to leave a comment if you've hosted a lovely dessert table. I'd love more great ideas!
Before you go, why not pin some photos to your Pinterest boards?