Chocolate-Covered Butterfinger Truffles
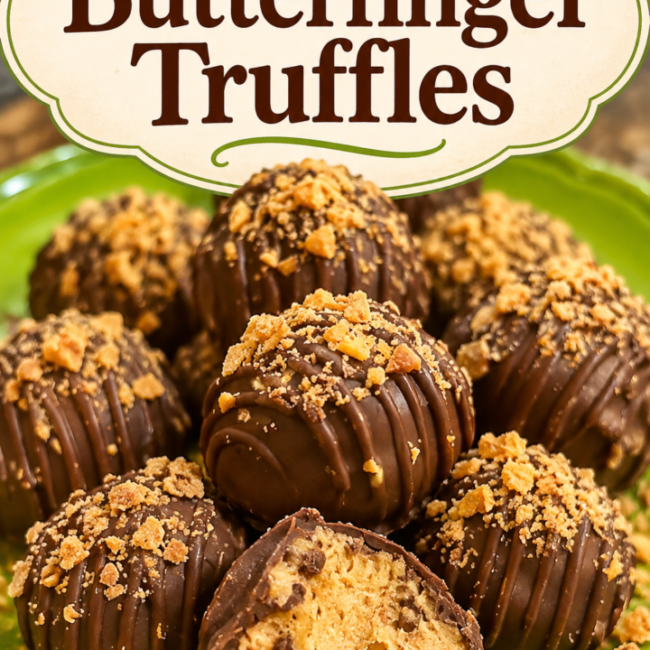
These easy chocolate-covered Butterfinger truffles have a creamy peanut butter filling, crunchy Butterfinger bits, and a rich chocolate shell. No baking required!
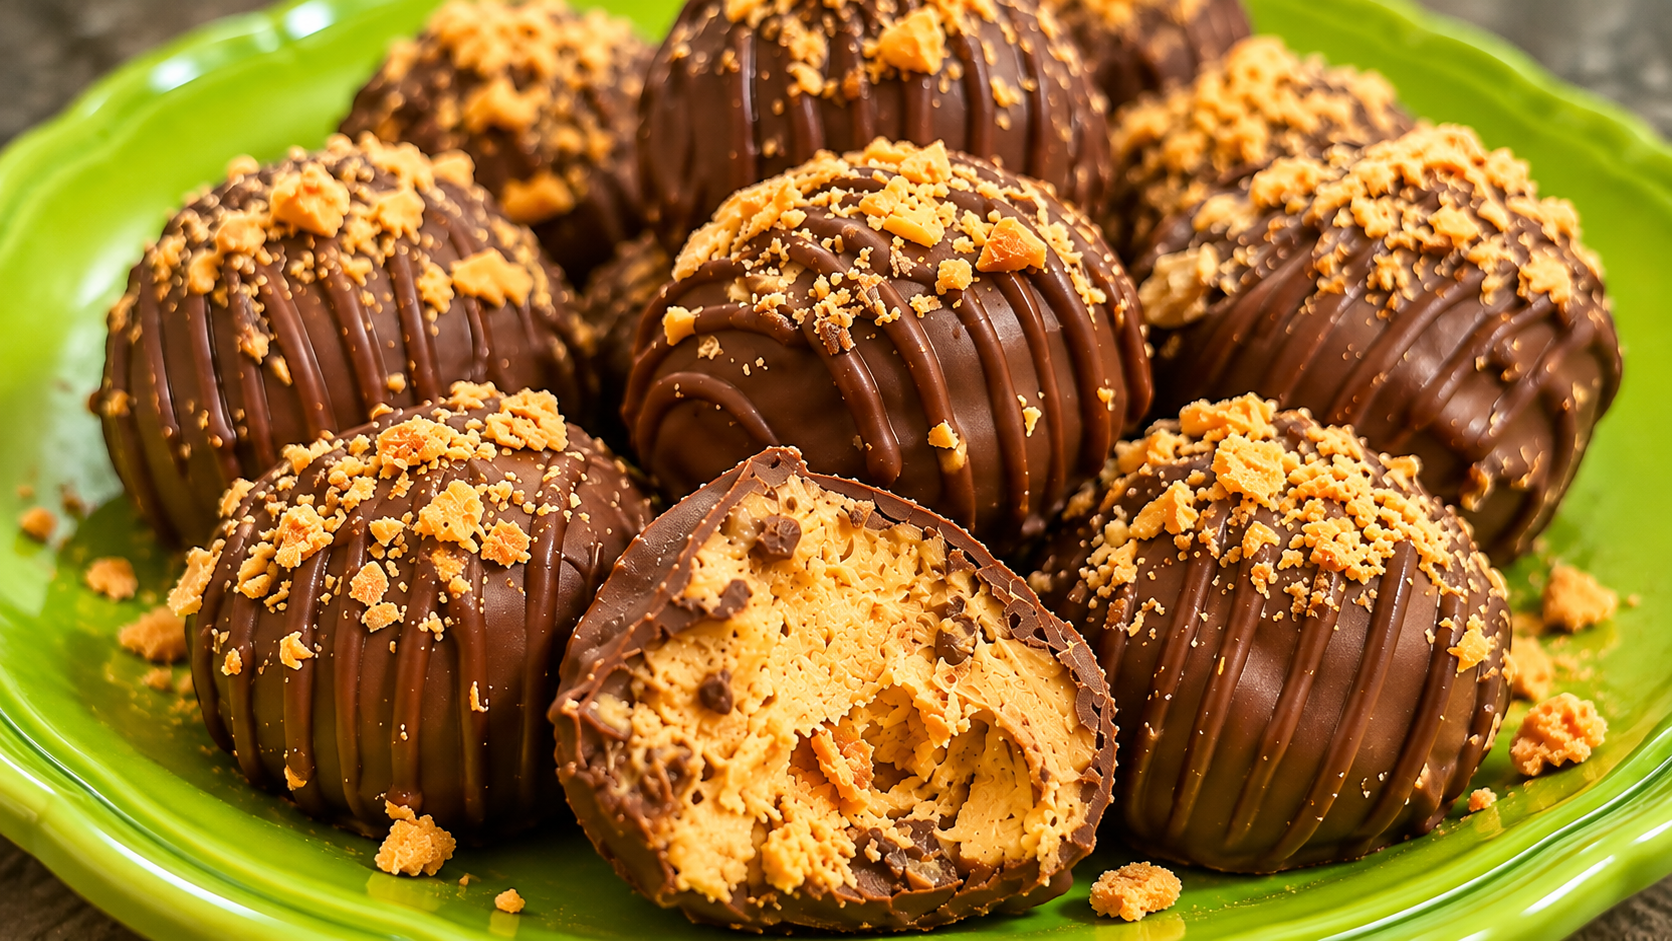
You know how one recipe sometimes leads to another? Well, that's exactly what happened with these delicious Chocolate-Covered Butterfinger Truffles!
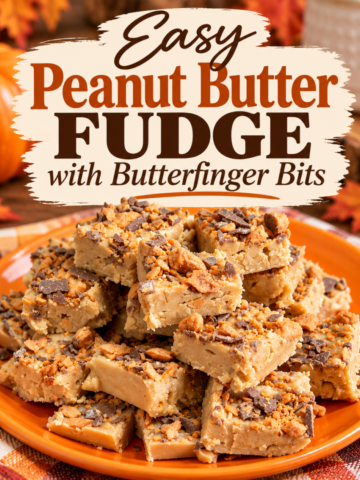
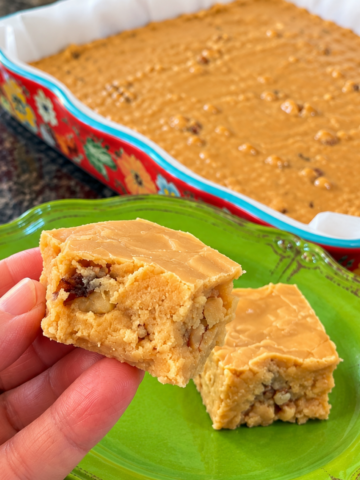
I recently made the most amazing peanut butter fudge with crunchy Butterfinger bits mixed in. I absolutely fell in love with that fudge. It was rich, sweet, and packed with peanut butter flavor.
But when I finished making it, I still had about half a package of Butterfinger bits left over.
And you know me. I can't let a perfectly good ingredient go to waste!
I started thinking about other ways to use those crunchy candy pieces. Before long, I landed on the idea of making peanut butter truffles covered in chocolate.
I've made Peanut Butter Snowballs before, along with other peanut butter candies, so I figured this would be a fairly simple project.
Well, let me tell you. These little beauties taught me a few things!
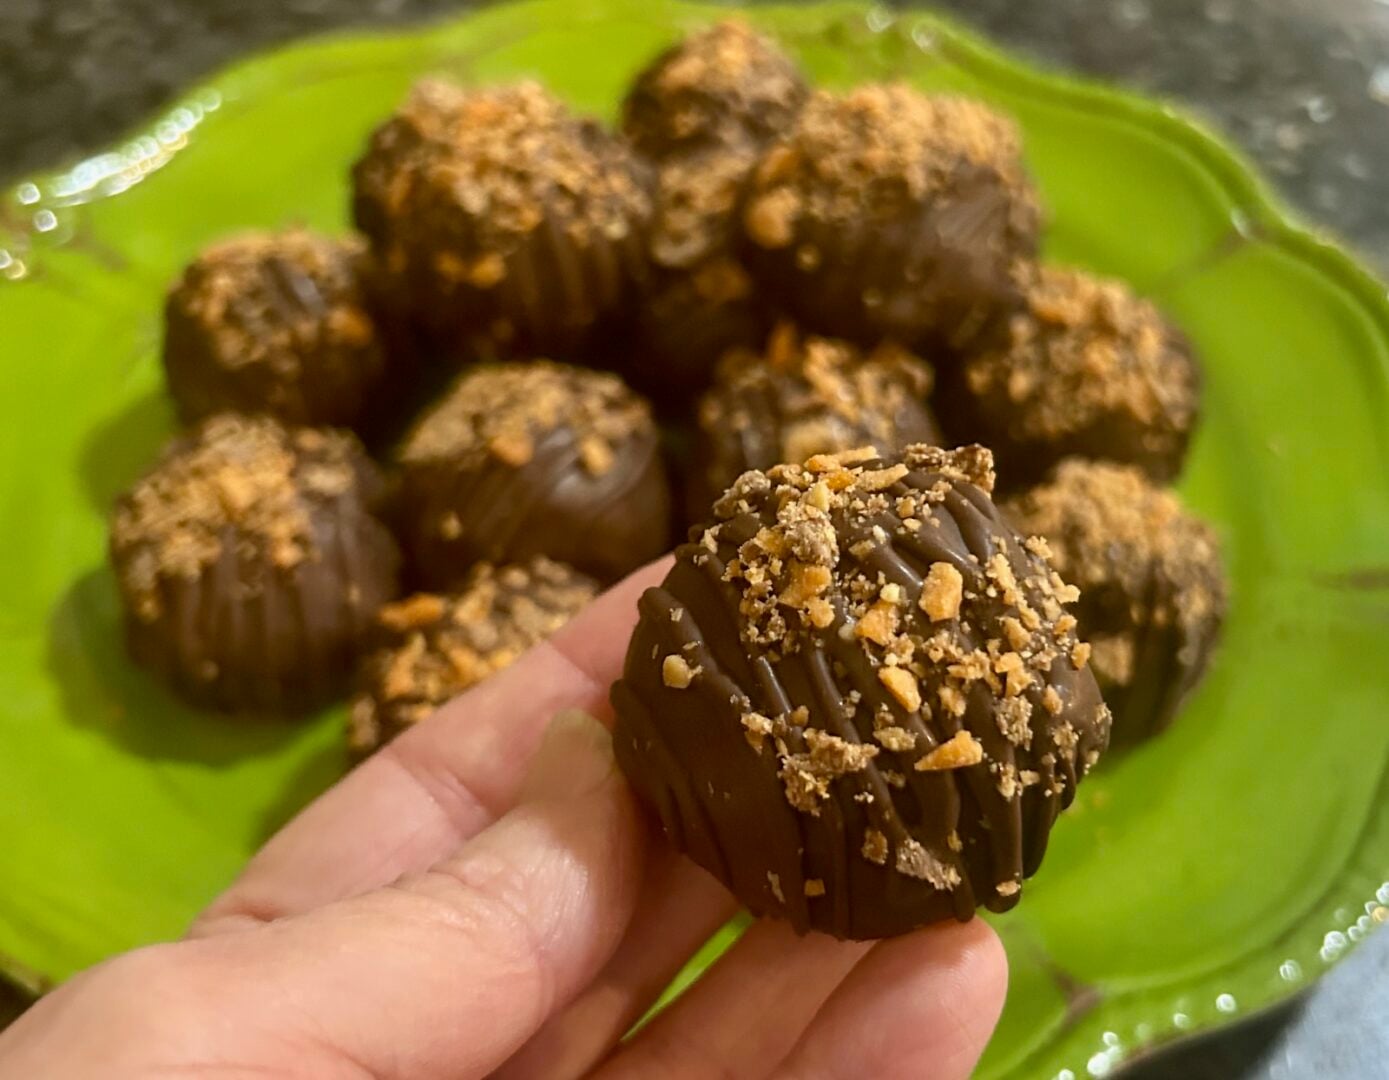
The filling was much softer than I expected, which made coating them in chocolate a little challenging. But after experimenting with chilling times and discovering a few helpful tricks, I ended up with something absolutely wonderful.
And here's the funny thing: As much as I loved that peanut butter fudge, I think I love these truffles even more!
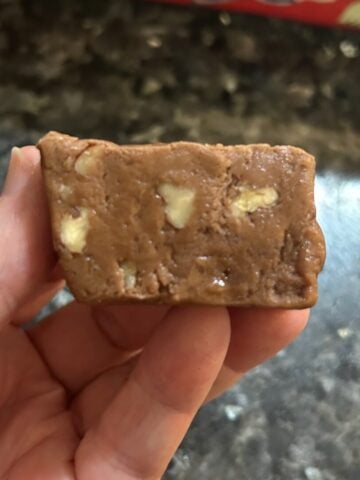
They're completely different from the fudge. The centers are soft and creamy, filled with crunchy Butterfinger pieces and mini chocolate chips. The chocolate coating adds a wonderful little snap when you bite into it.
Oh, my goodness. They're dreamy!
If you're a fan of peanut butter and chocolate, you're going to love these.
What Are Butterfinger Truffles?
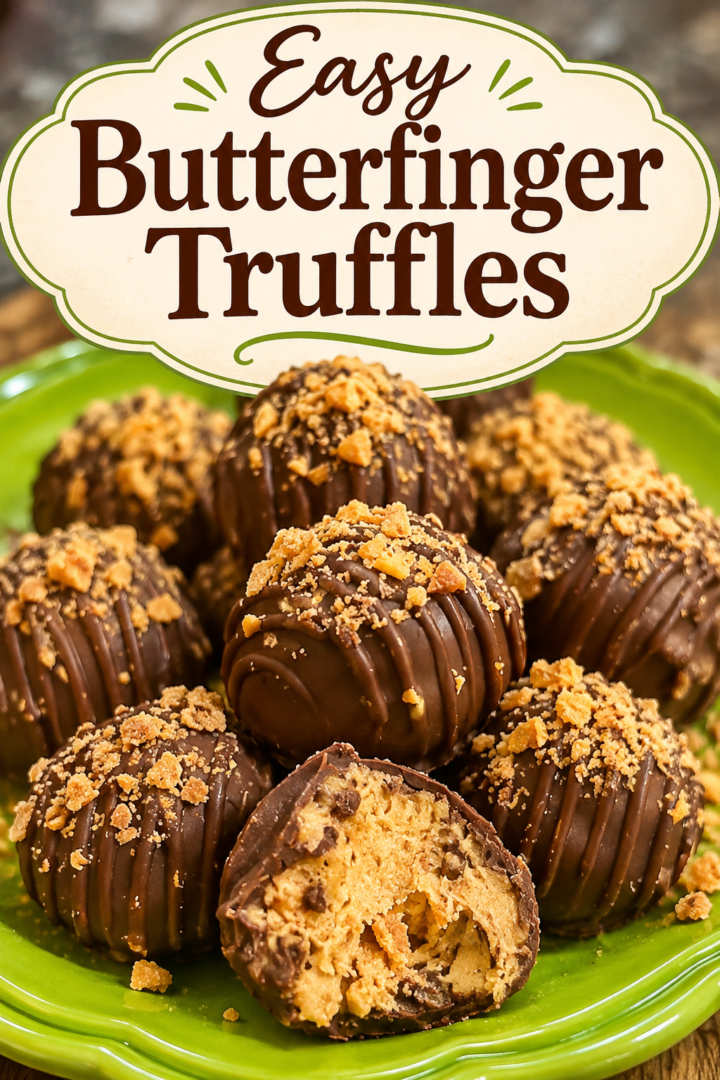
These homemade Butterfinger truffles are bite-sized chocolate-covered treats made with a creamy peanut butter filling, crunchy Butterfinger candy bits, and mini chocolate chips.
Unlike traditional peanut butter balls or buckeyes, these have an intentionally soft center.
They're not cake pops, either. There's no cake or cookie crumb holding everything together.
Instead, the filling is rich, smooth, and almost melt-in-your-mouth creamy, with little crunchy surprises throughout.
The outside is coated in chocolate almond bark and finished with a drizzle of chocolate and a sprinkling of Butterfinger pieces.
They're a little more delicate than traditional peanut butter candies, but I'll walk you through the steps that made them successful for me.
Why You're Going to Love These Truffles
- Wonderful texture: Creamy peanut butter filling, crunchy candy bits, and a firm chocolate shell.
- No baking required: All you need is a mixer, refrigerator, freezer, and melted chocolate.
- Perfect for peanut butter lovers: Every bite is loaded with rich peanut butter flavor.
- Great for special occasions: These would be lovely on holiday dessert trays, at parties, or packaged as homemade gifts with proper chilling.
- Make-ahead friendly: They're best kept refrigerated until serving.
- A great way to use leftover candy: If you have Butterfinger bits hanging around after another baking project, here's a delicious way to use them!
Ingredients for Chocolate-Covered Butterfinger Truffles
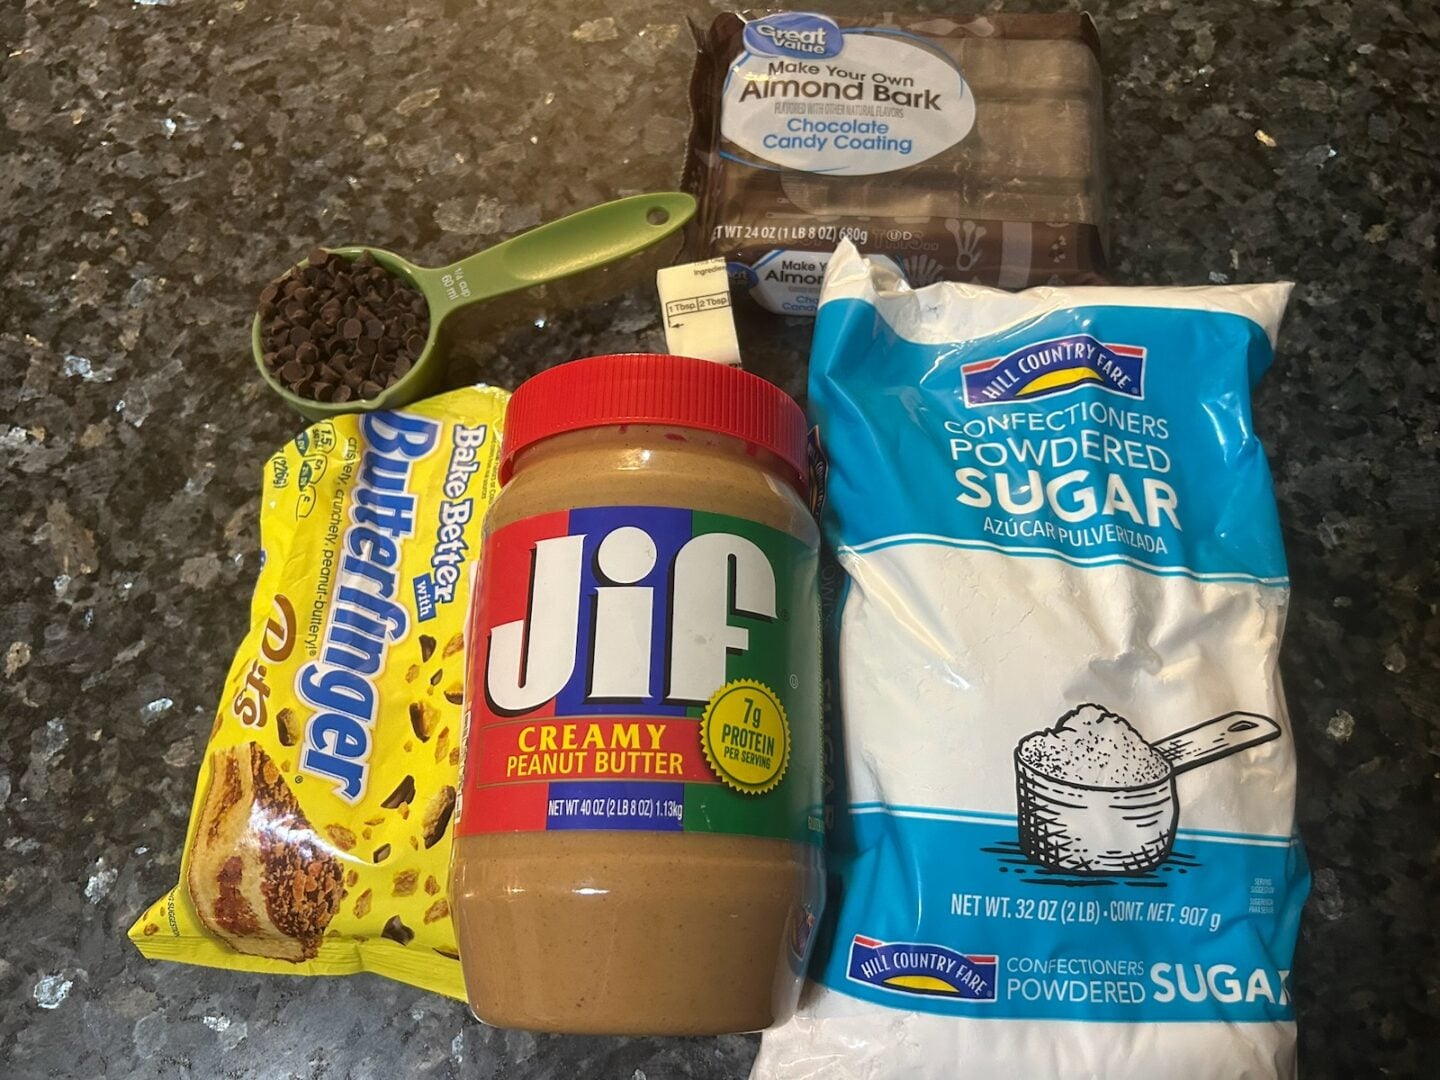
You'll find the complete measurements in the recipe card below, but here's a quick look at what you'll need.
For the Peanut Butter Filling
Creamy peanut butter: I recommend regular creamy peanut butter rather than natural peanut butter, which can separate and affect the texture.
Salted butter: Softened butter helps create a smooth, creamy filling.
Powdered sugar: I used one full cup. You can add a little more, one tablespoon at a time, if your mixture needs additional structure.
Butterfinger bits: These provide that unmistakable crunchy candy flavor. Save a little for decorating the tops.
Mini chocolate chips: These add another layer of chocolate flavor and texture without overwhelming the filling.
For the Chocolate Coating
Chocolate almond bark: This melts smoothly and creates a firm coating around the soft centers.
Neutral oil: A generous tablespoon helps thin the melted almond bark, making it easier to spoon over the delicate truffles.
Additional melted chocolate: For drizzling over the finished truffles.
Reserved Butterfinger bits: For the final crunchy topping.
How to Make Chocolate-Covered Butterfinger Truffles
The most important thing to understand about this recipe is that we're going to spoon the chocolate over the truffles rather than dipping them.
Trust me on this one!
Step 1: Make the Peanut Butter Filling
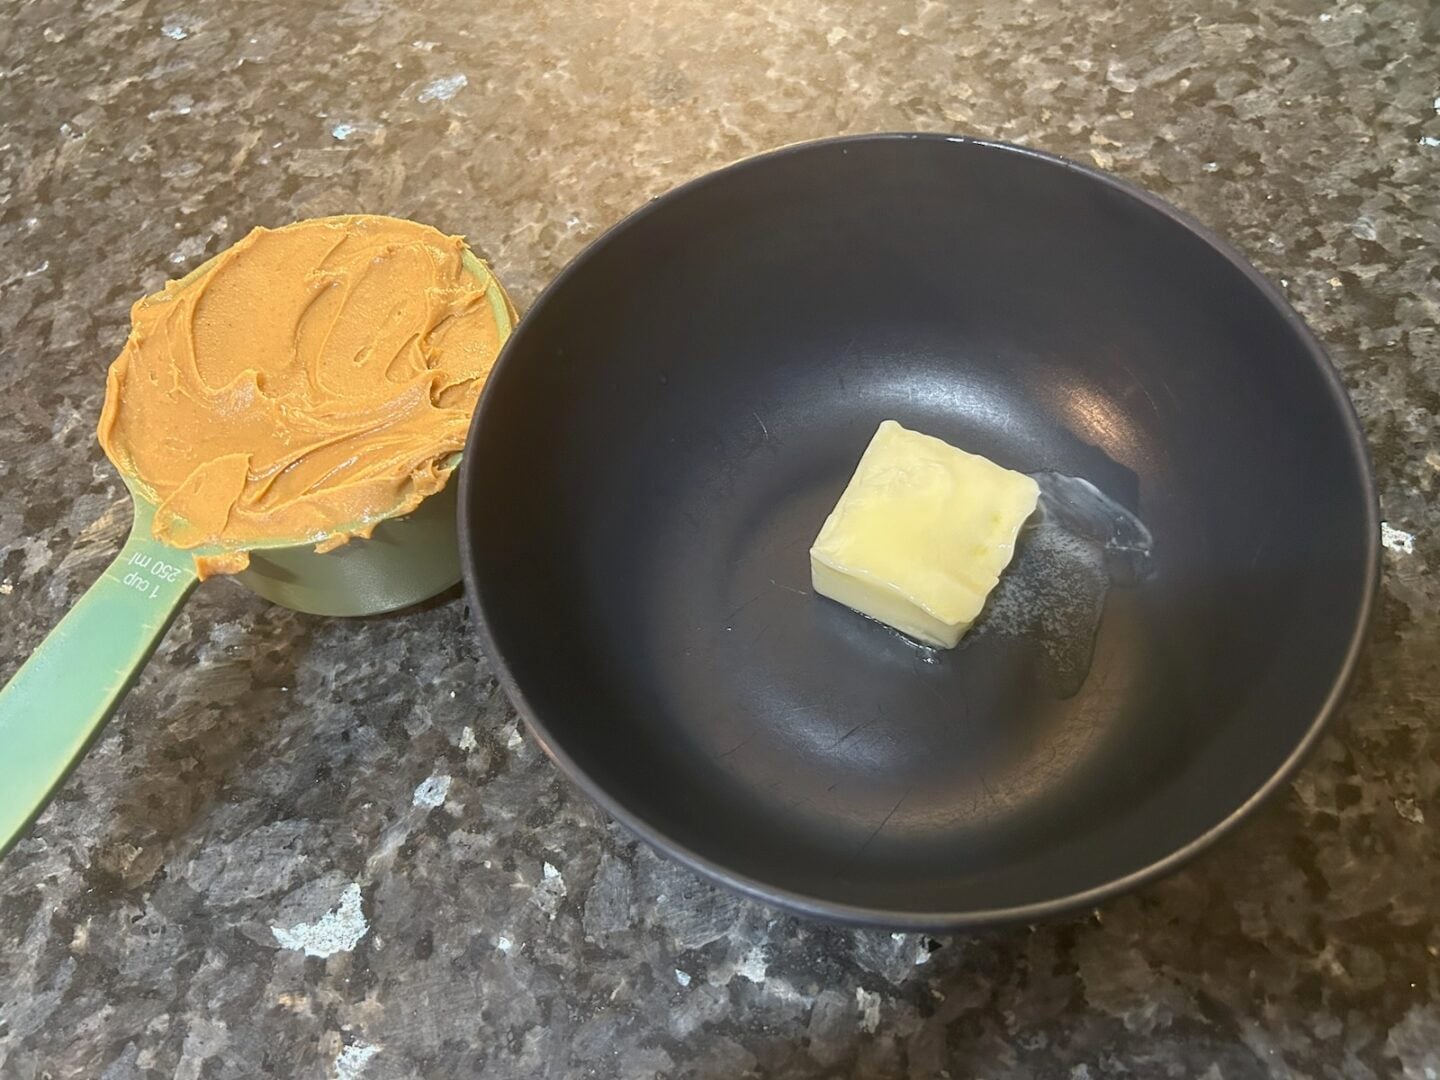
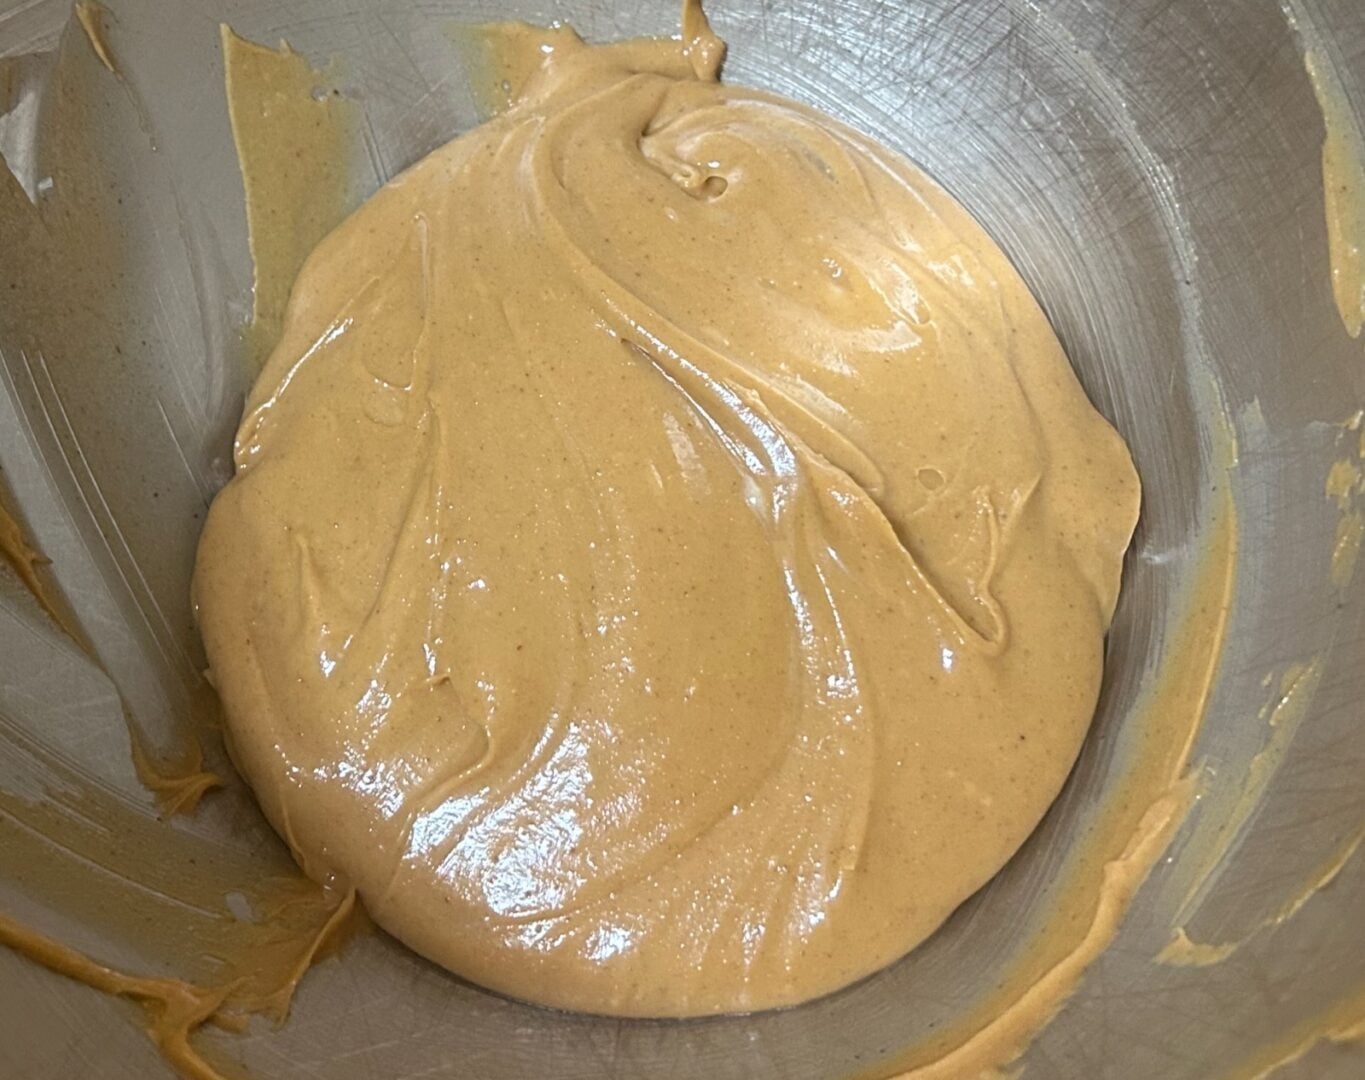
Place the creamy peanut butter and softened salted butter in a mixing bowl.
Beat until smooth and creamy.
Gradually add the powdered sugar, starting with one full cup. Mix until completely incorporated.
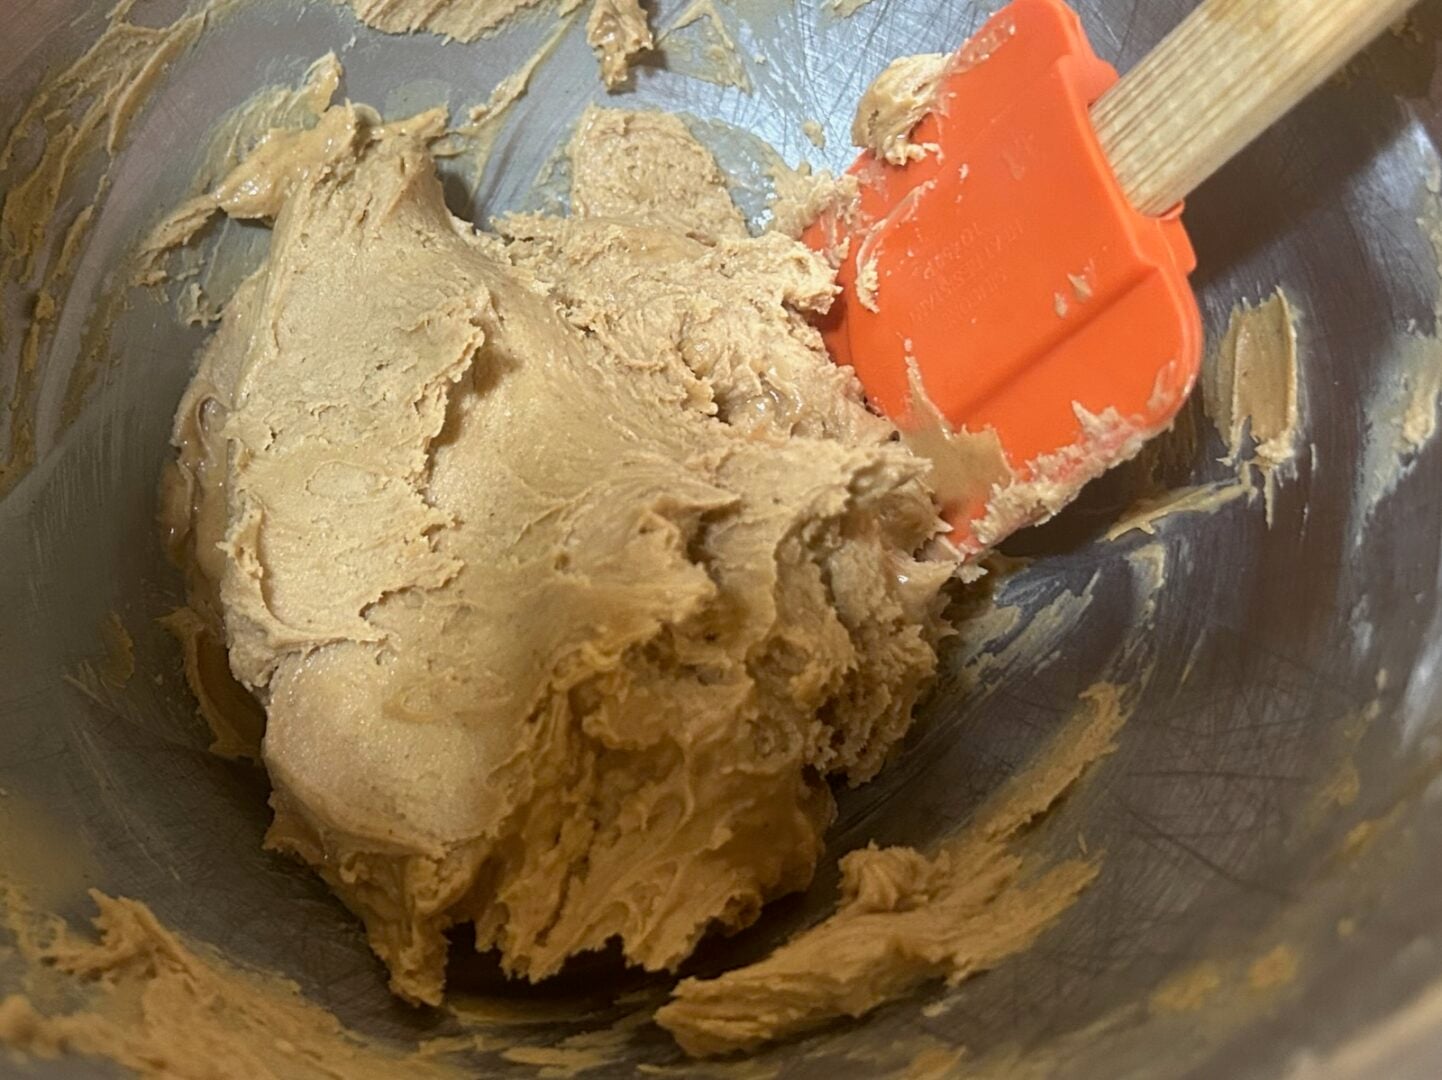
The filling will be fairly soft, and that's okay! We're making creamy truffles, not firm peanut butter balls.
Step 2: Add the Crunchy Ingredients
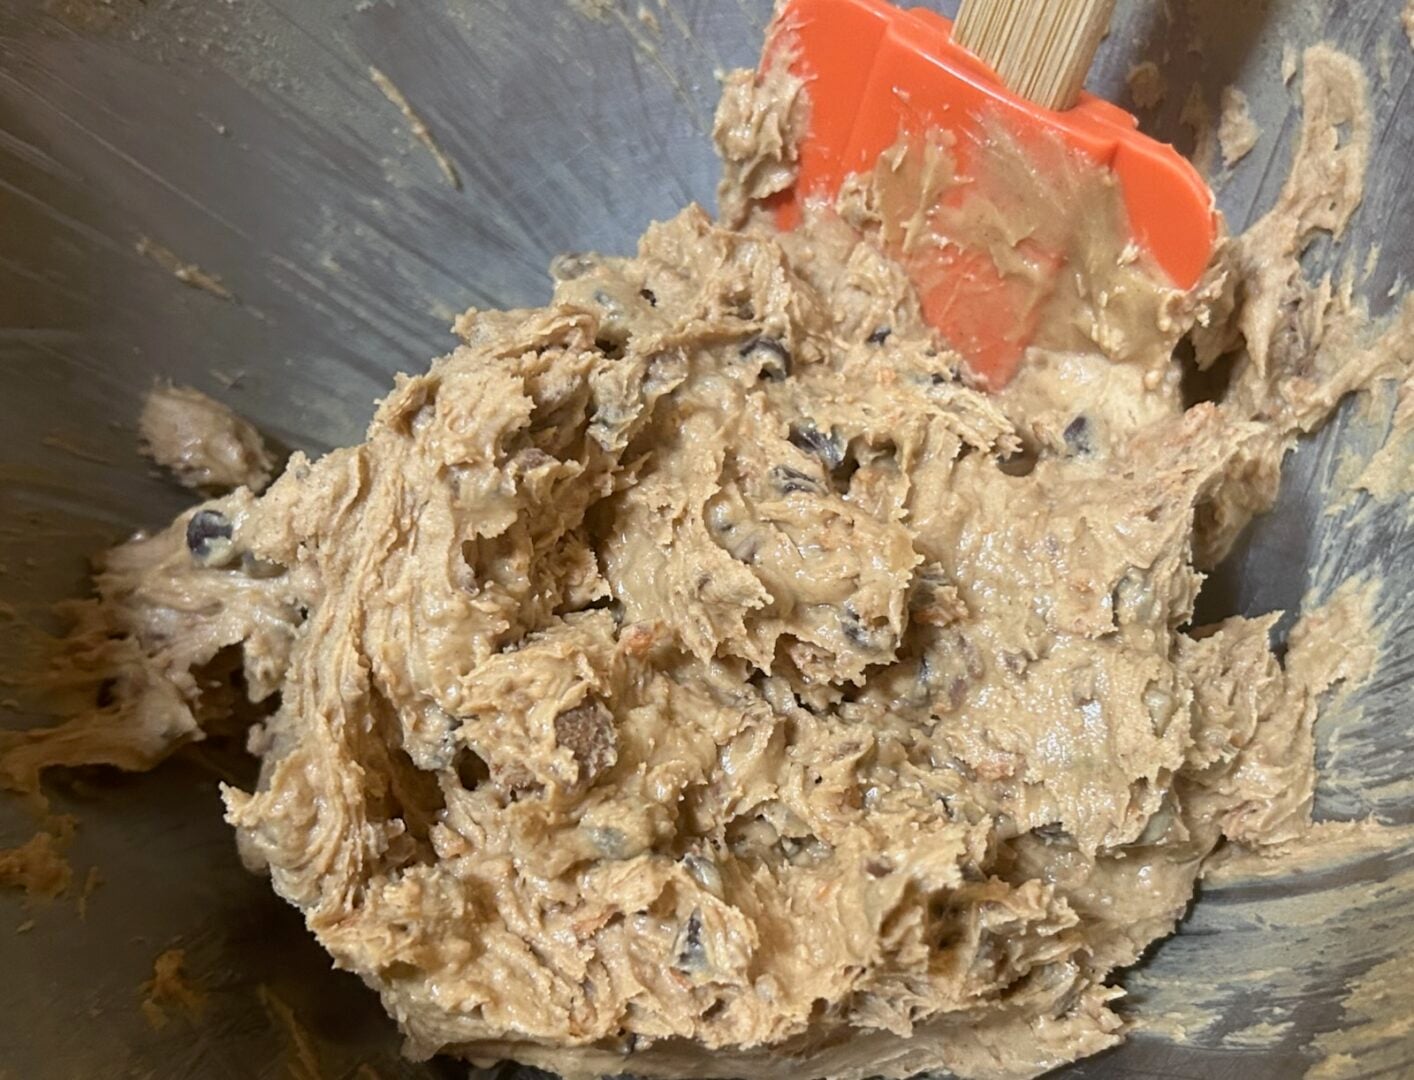
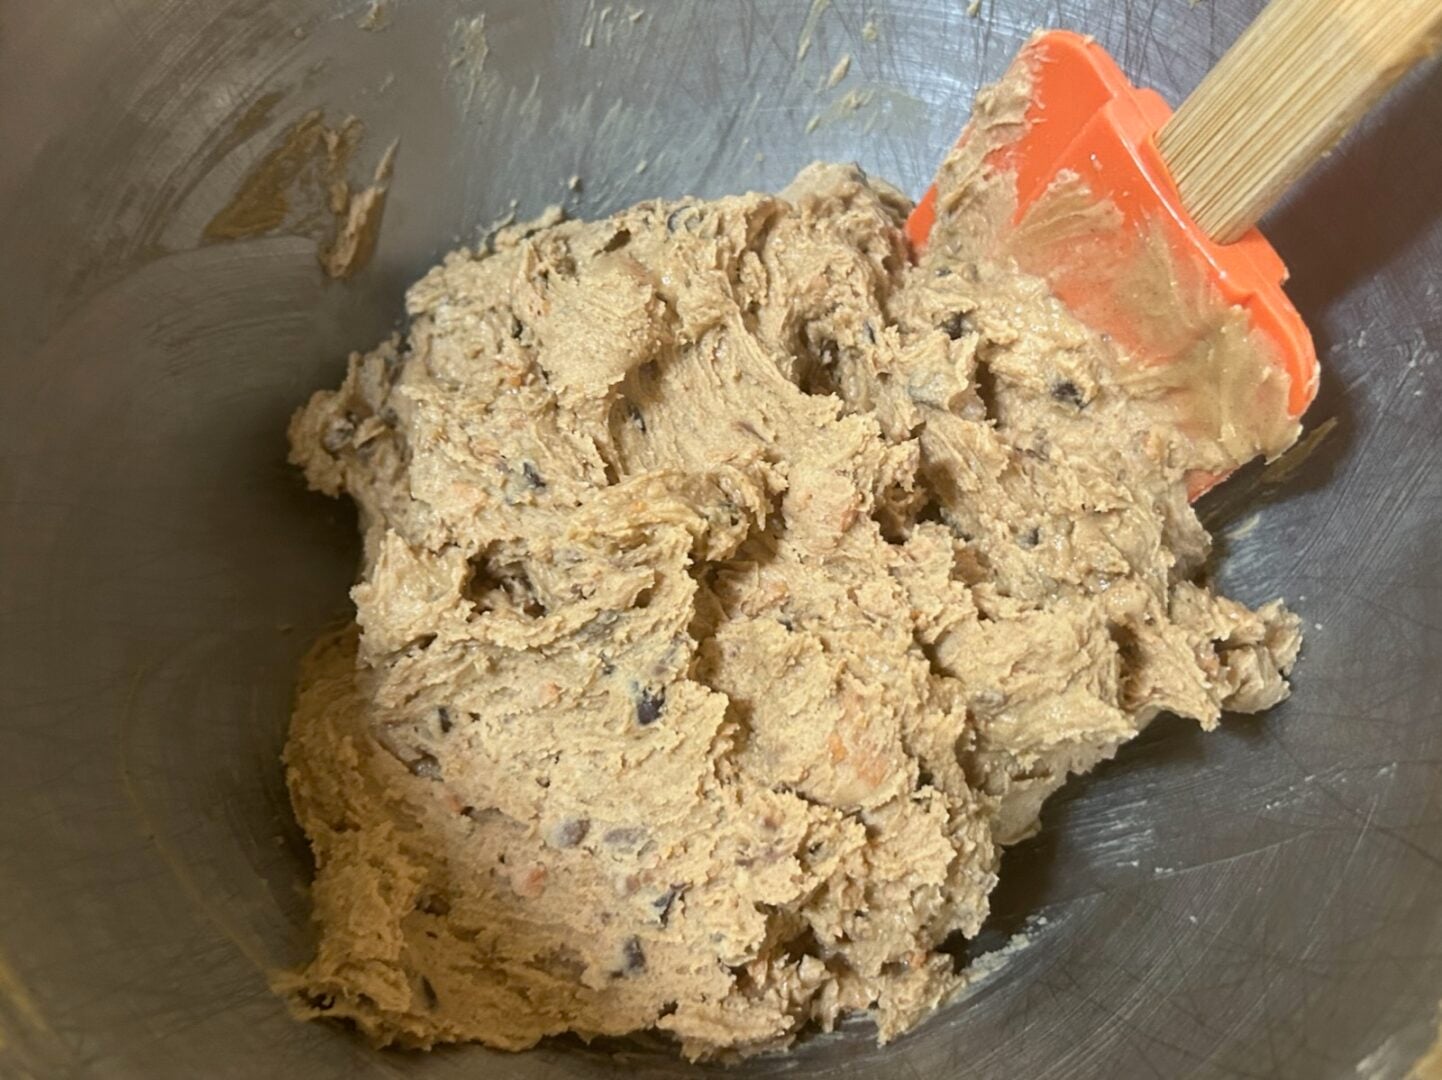
Fold in the Butterfinger bits, reserving a tablespoon or two for decorating.
Add the mini chocolate chips and gently mix until everything is evenly distributed.
Try not to overmix.
Step 3: Refrigerate the Filling
Cover the bowl and refrigerate for approximately 30 minutes.
This first chilling period makes the mixture easier to scoop and shape.
Step 4: Scoop and Roll
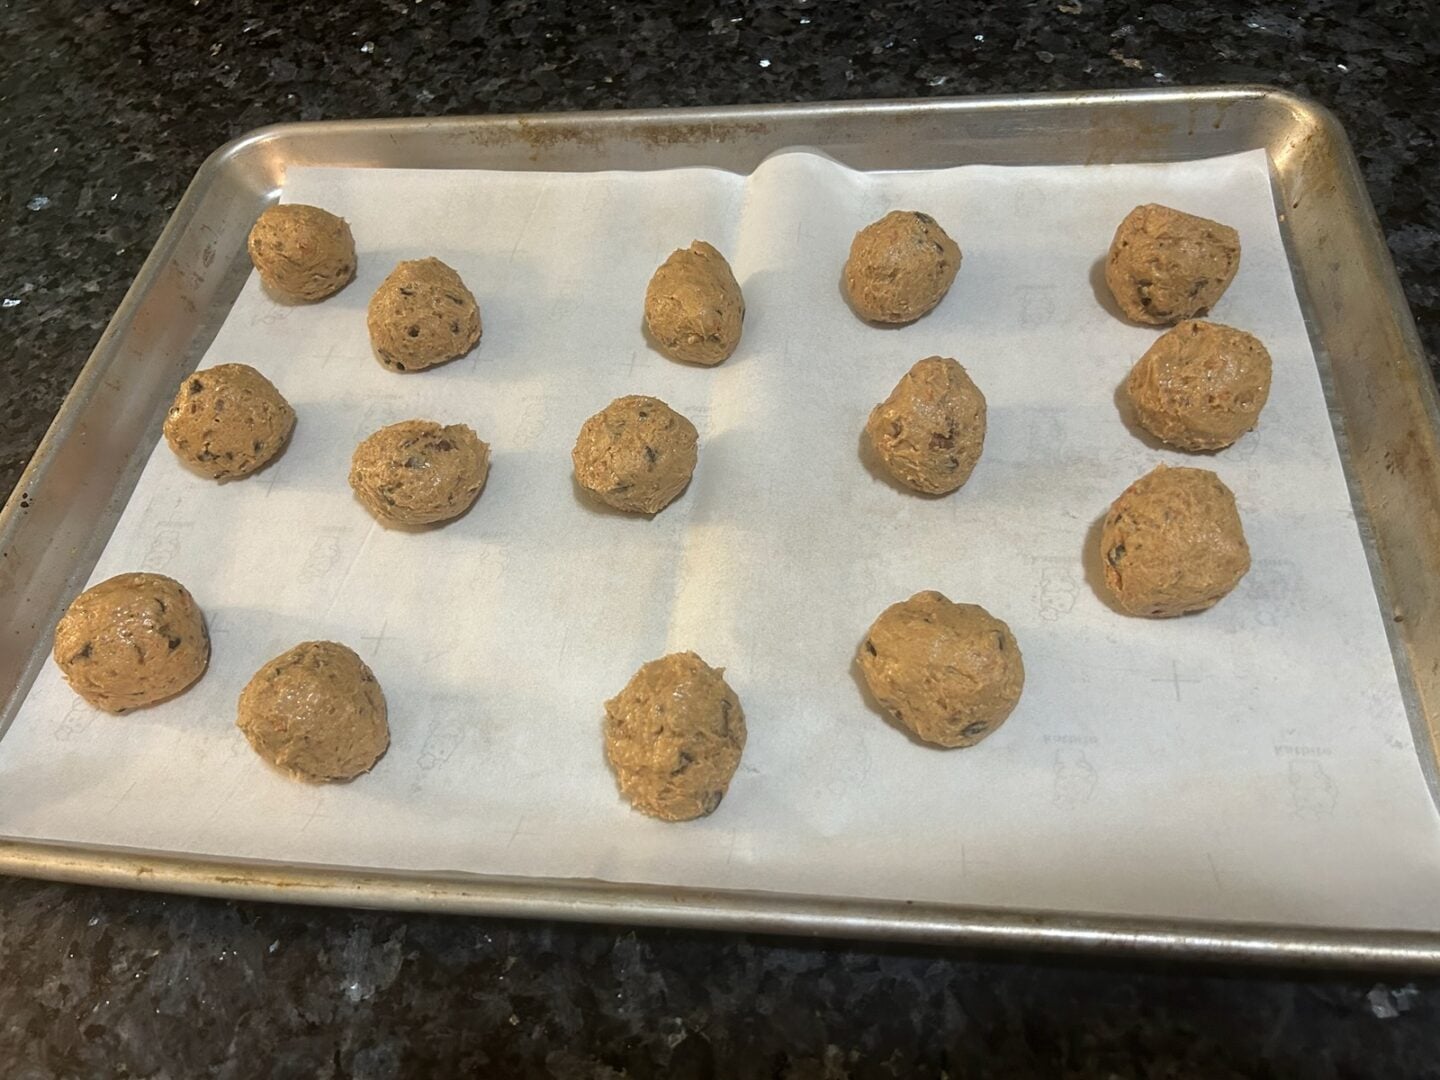
Using a small cookie scoop, portion the peanut butter mixture into tablespoon-sized balls.
Gently roll between your palms to smooth them out.
Place the balls on a parchment-lined baking sheet.
They may feel delicate, but don't worry. The next step is the secret to making this recipe work.
Step 5: Freeze the Truffle Centers
Place the baking sheet in the freezer for approximately 30 minutes, or until the centers are firm enough to handle.
Don't skip this step!
I originally tried refrigerating the shaped truffles for an entire hour, but they were still too delicate to coat successfully.
Freezing made all the difference.
Step 6: Melt the Chocolate Almond Bark
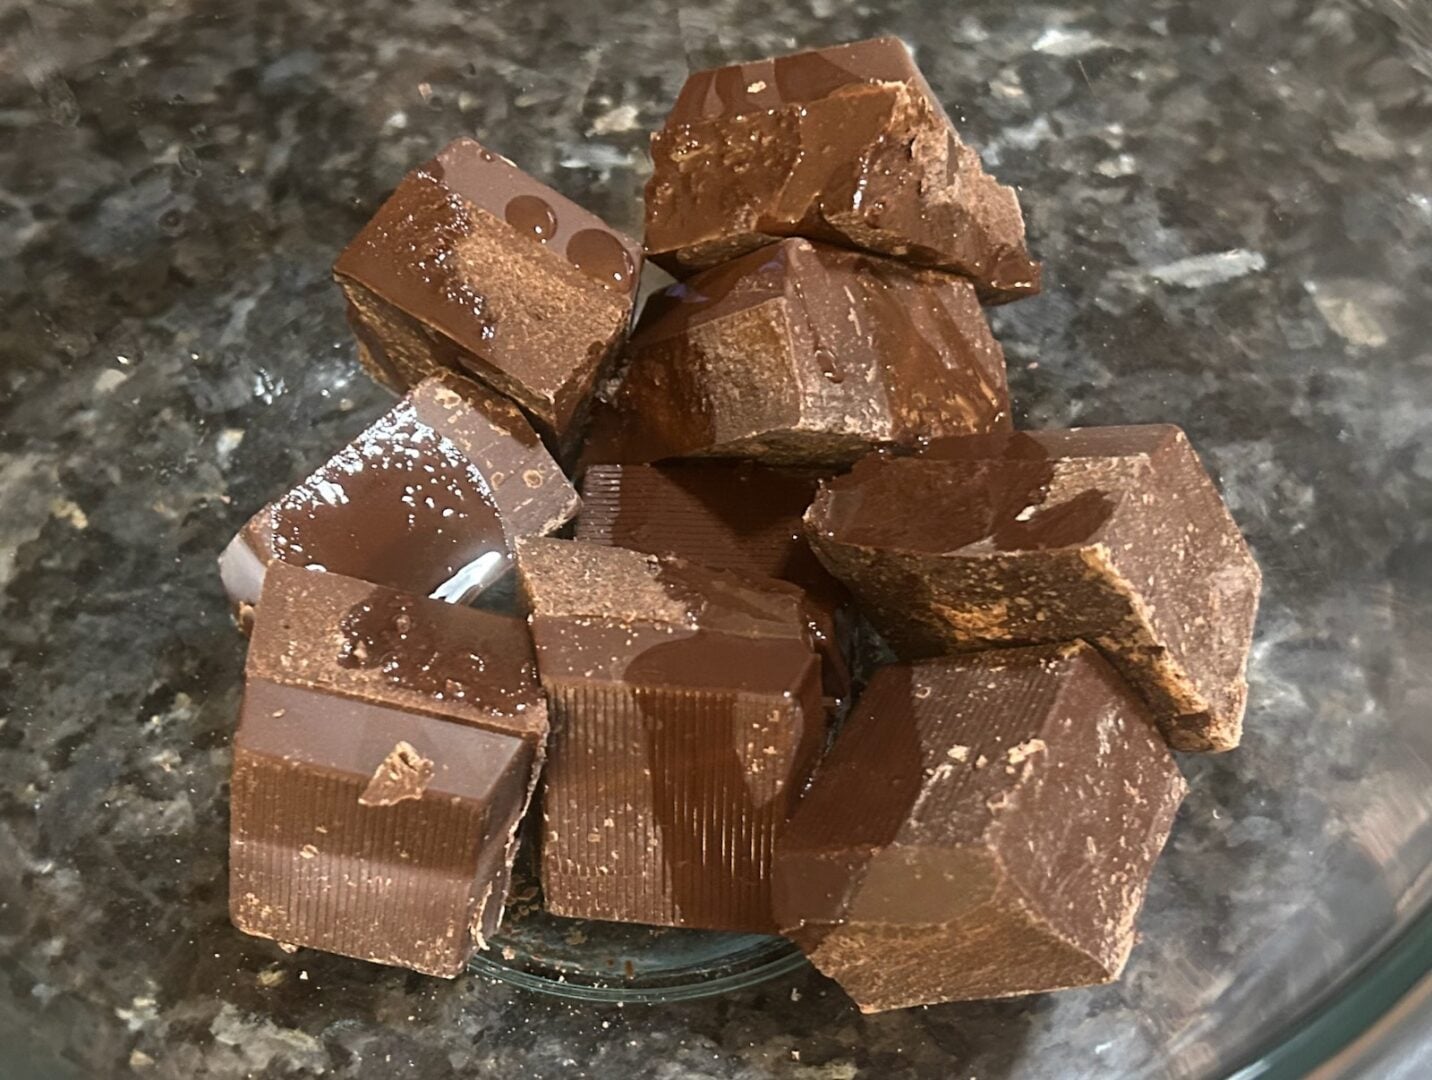
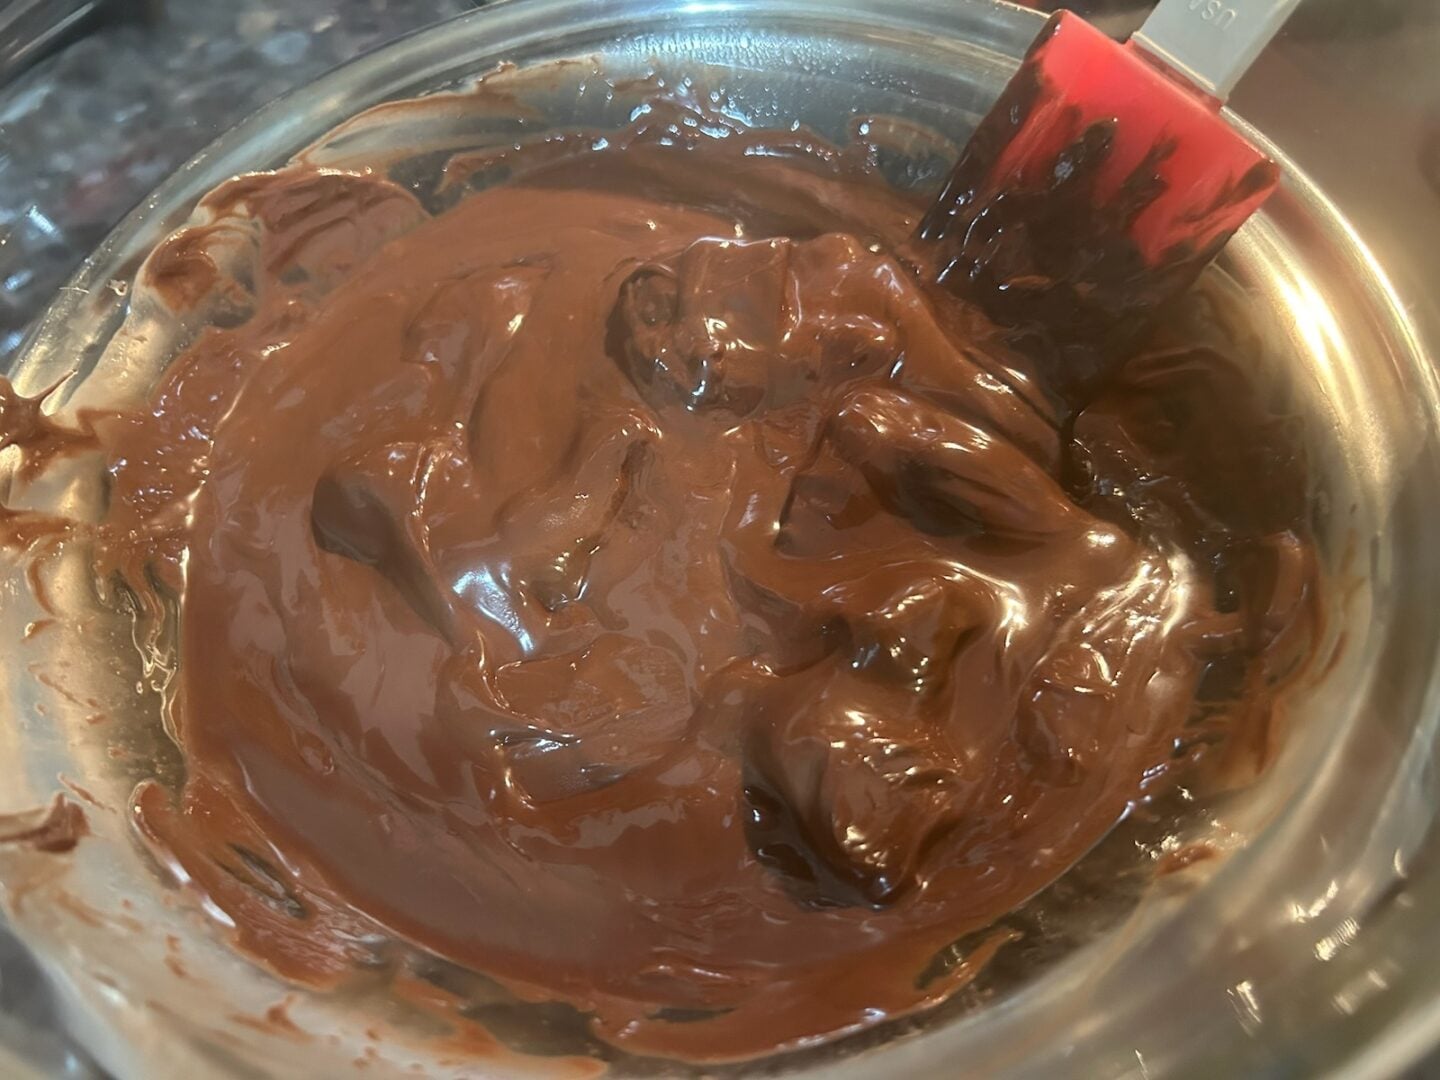
Place six squares of chocolate almond bark in a heatproof, microwave-safe bowl.
Microwave in 30-second increments, stirring between each, until the coating is mostly melted.
Stir until smooth.
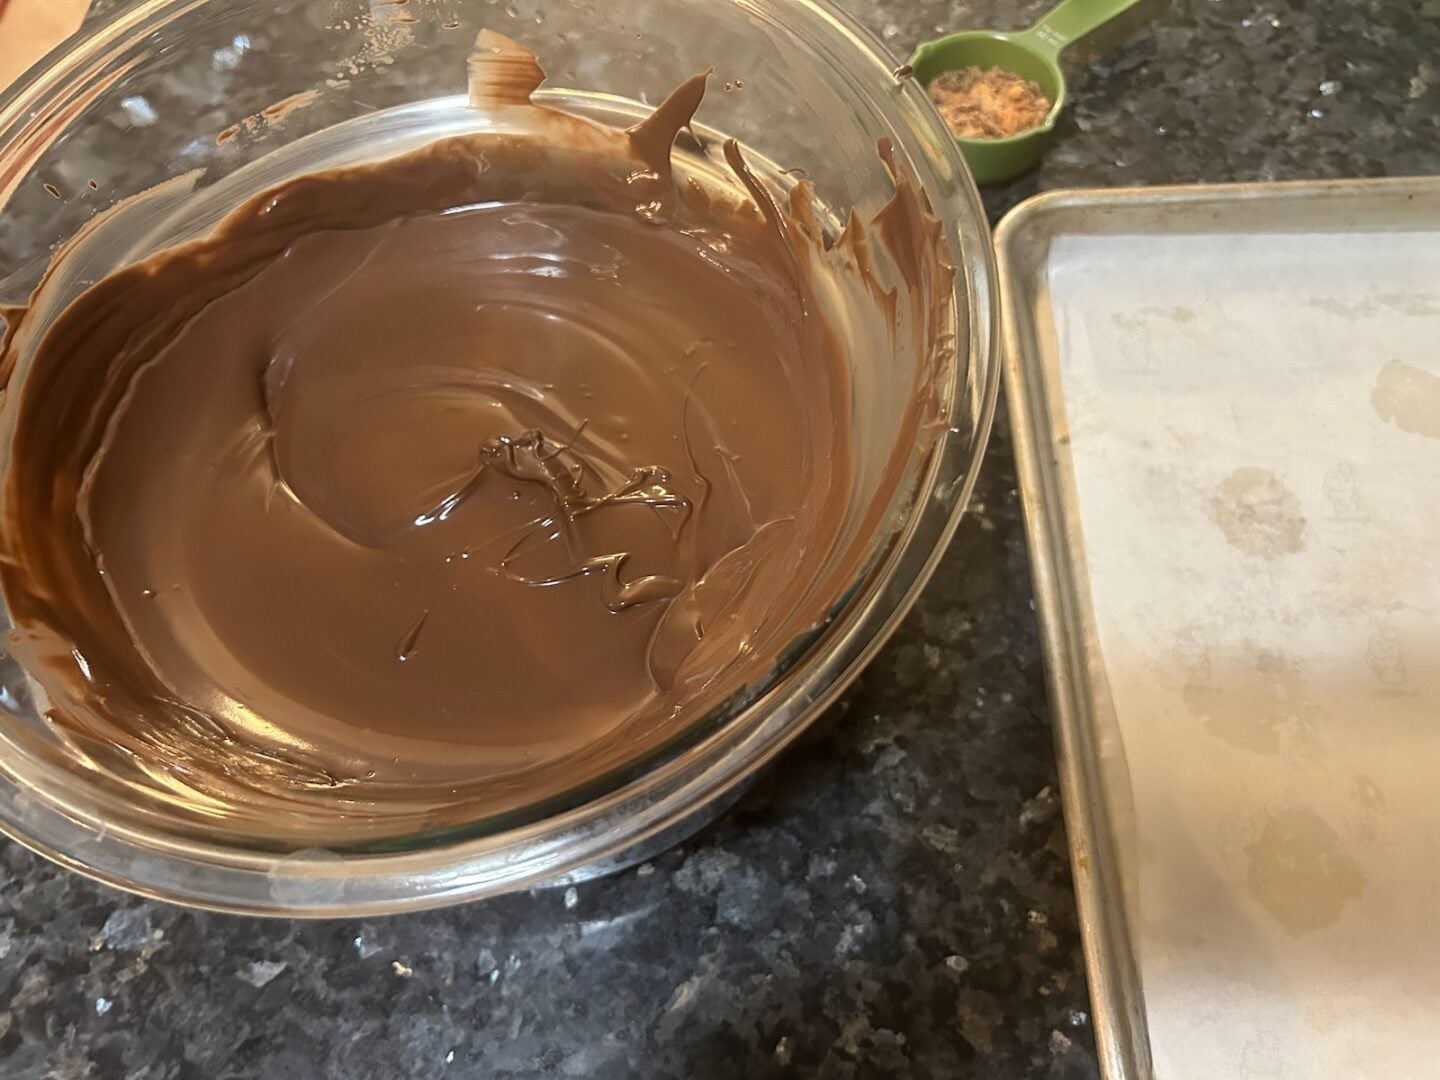
Add one generous tablespoon of neutral oil, provided your almond bark's package directions allow it, and stir until incorporated.
You want the chocolate thin enough to flow easily from a spoon.
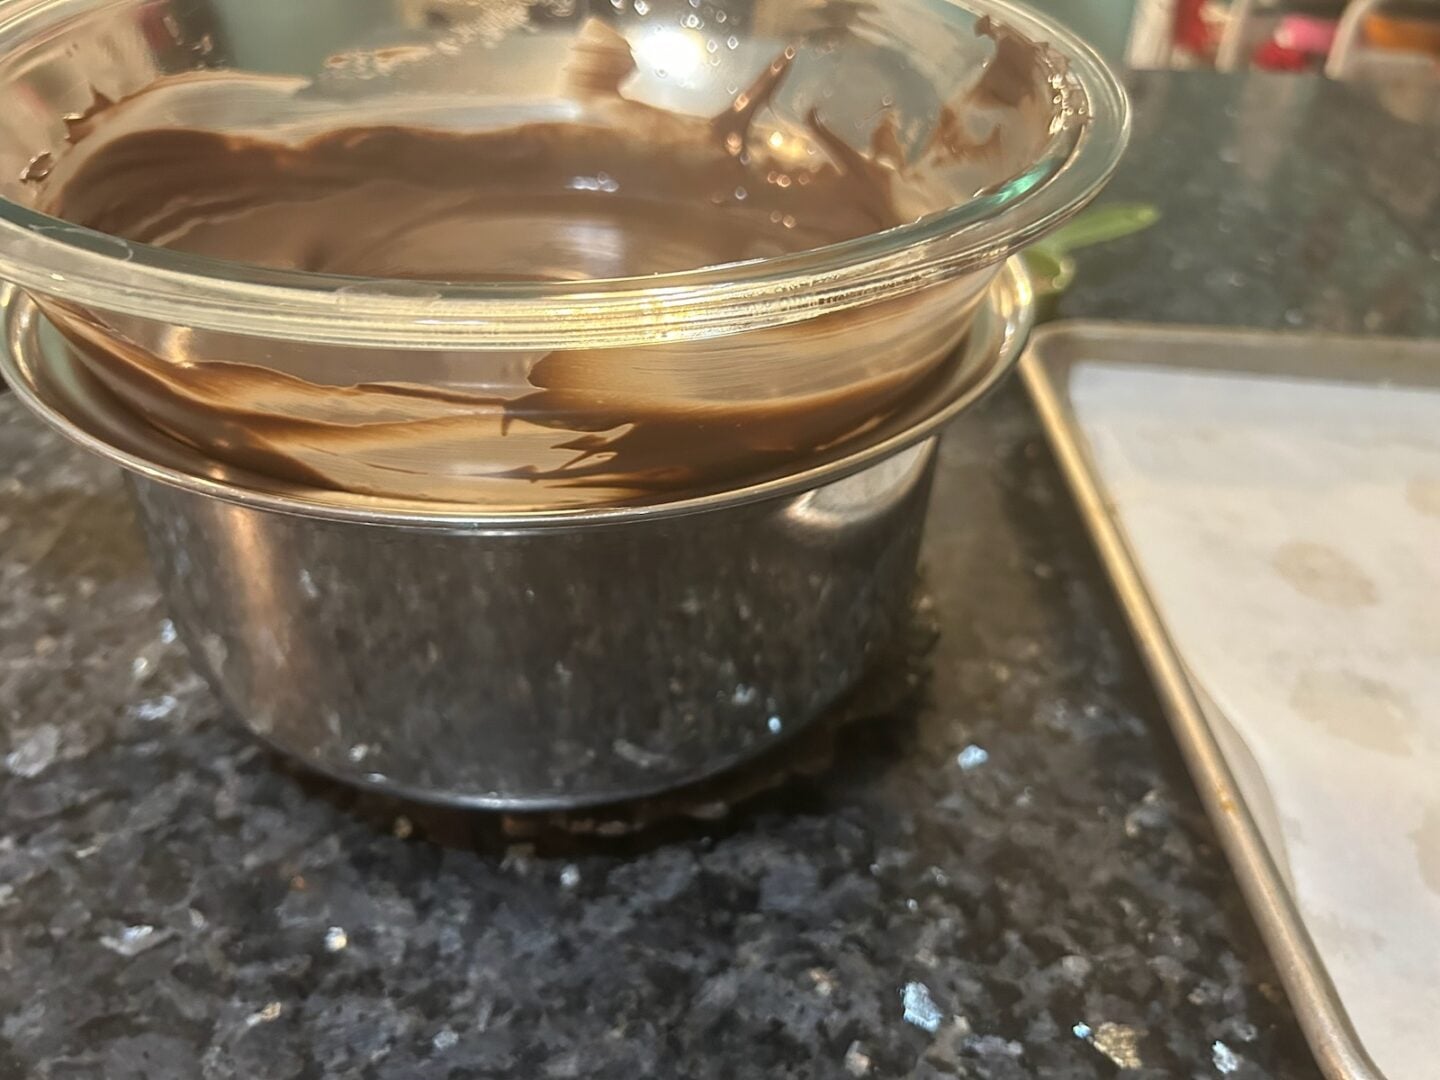
My favorite chocolate-melting trick: I like to place my heatproof glass Pyrex bowl over a saucepan containing about two inches of water. I start melting the almond bark in the microwave, then move the bowl over the warm-water pan.
Keep the burner on its lowest warm setting, making sure the water doesn't boil and the bowl doesn't touch the water.
This gentle heat keeps the coating fluid while you're working, so you don't have to keep returning it to the microwave.
Be careful not to let water or steam get into the chocolate.
Step 7: Spoon the Chocolate Over the Truffles
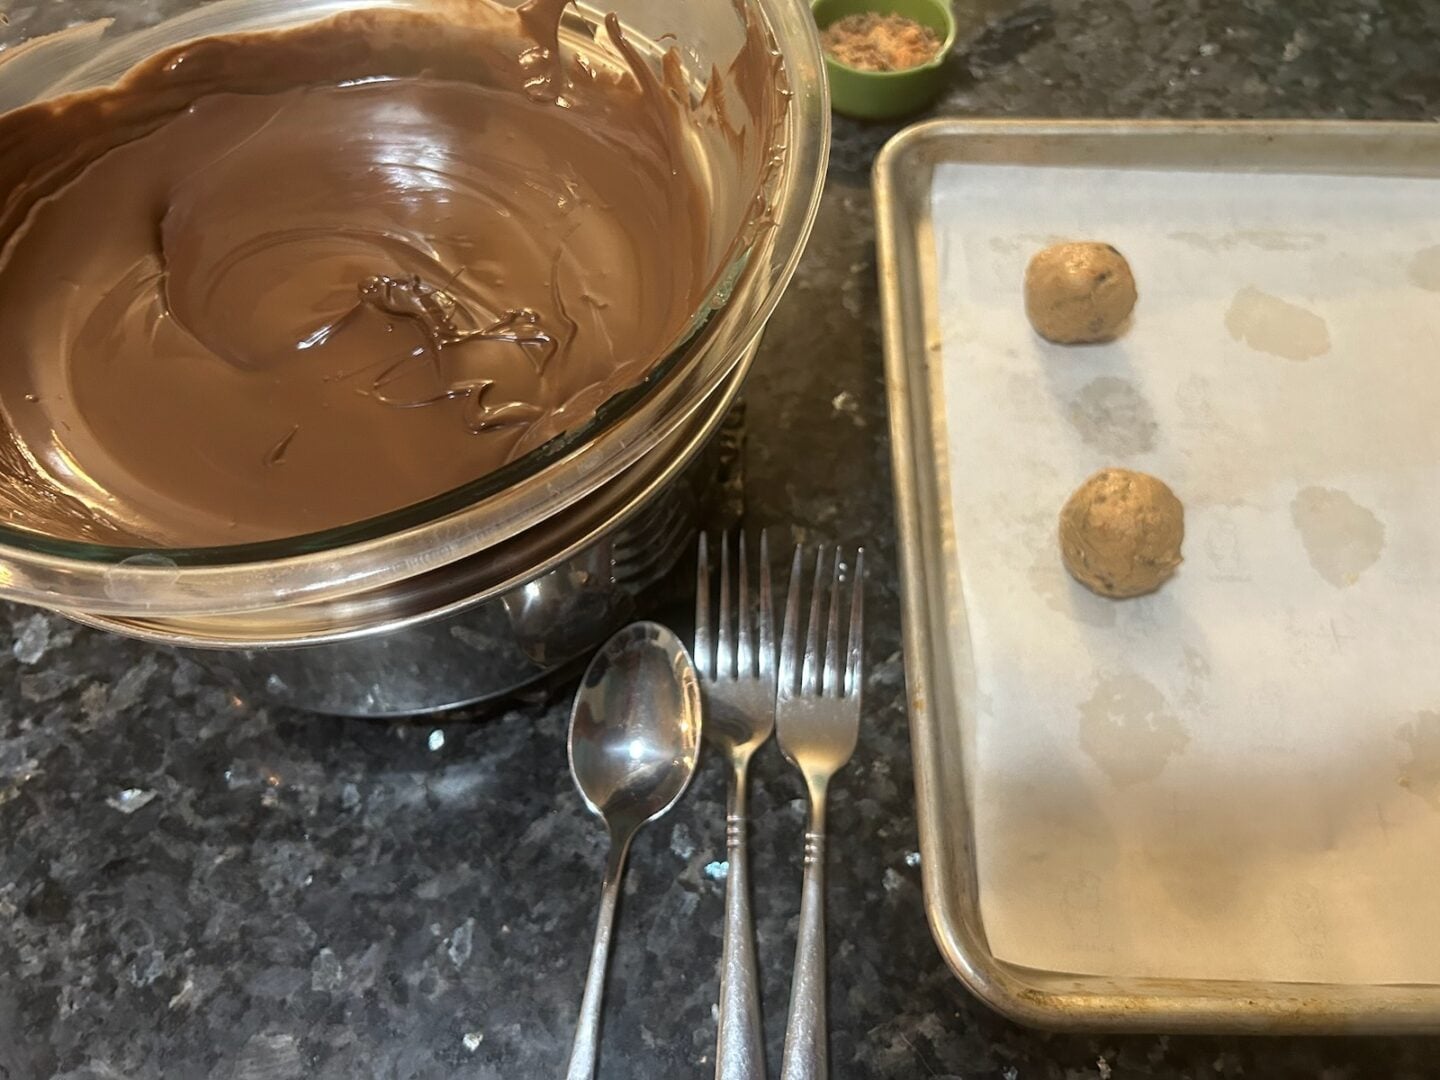
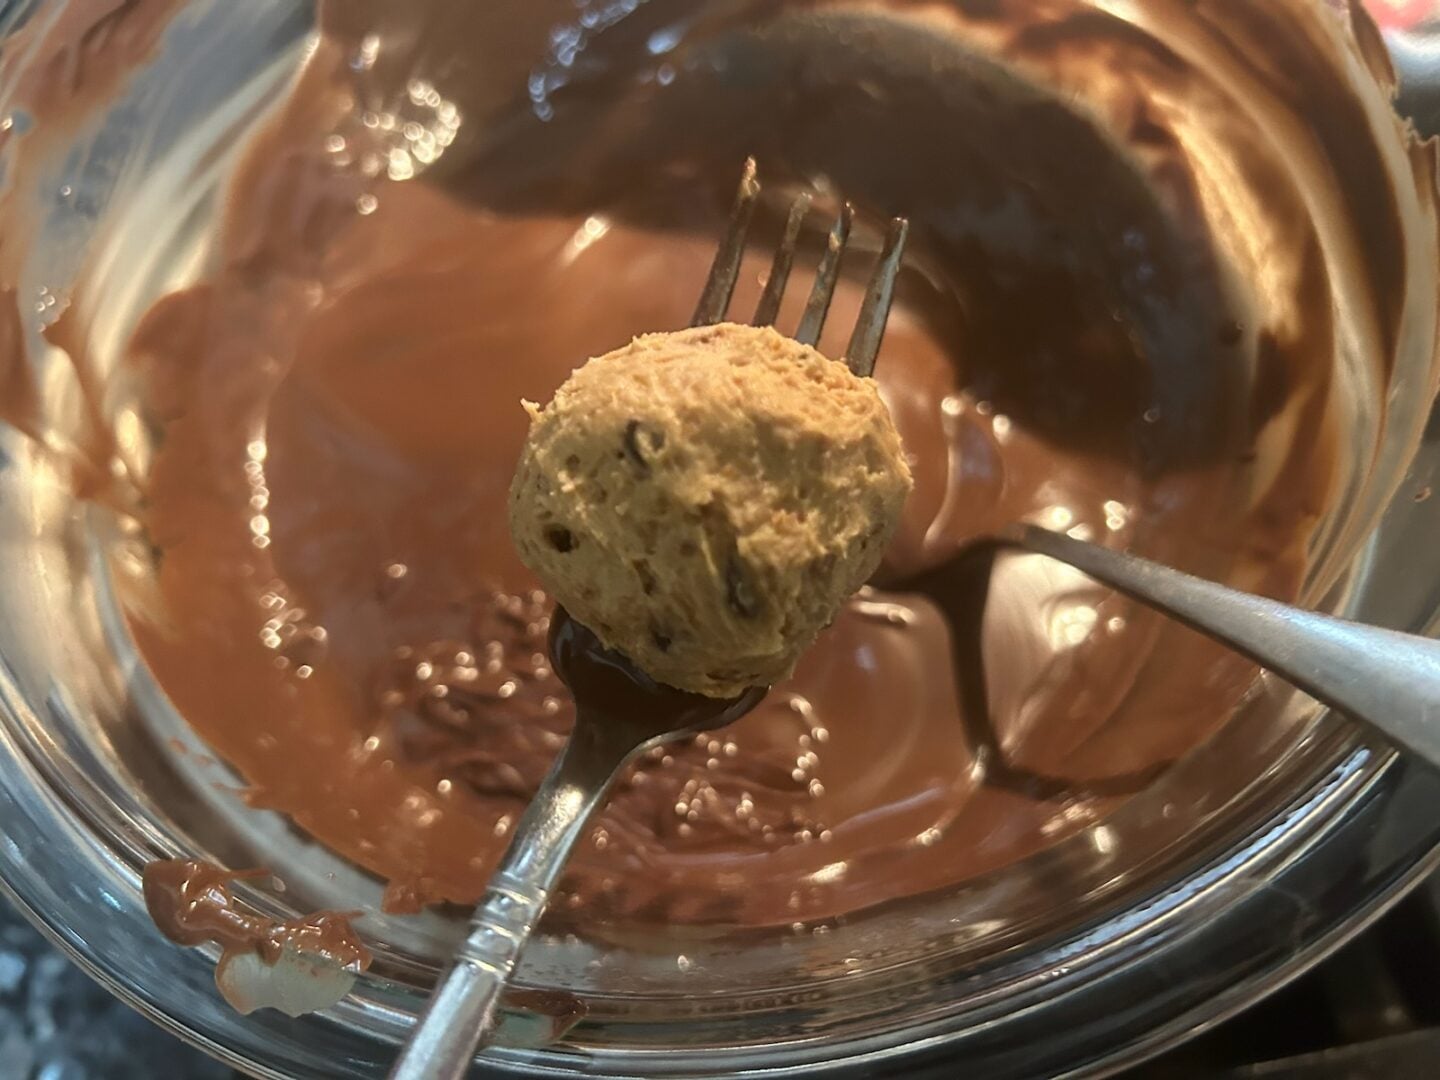
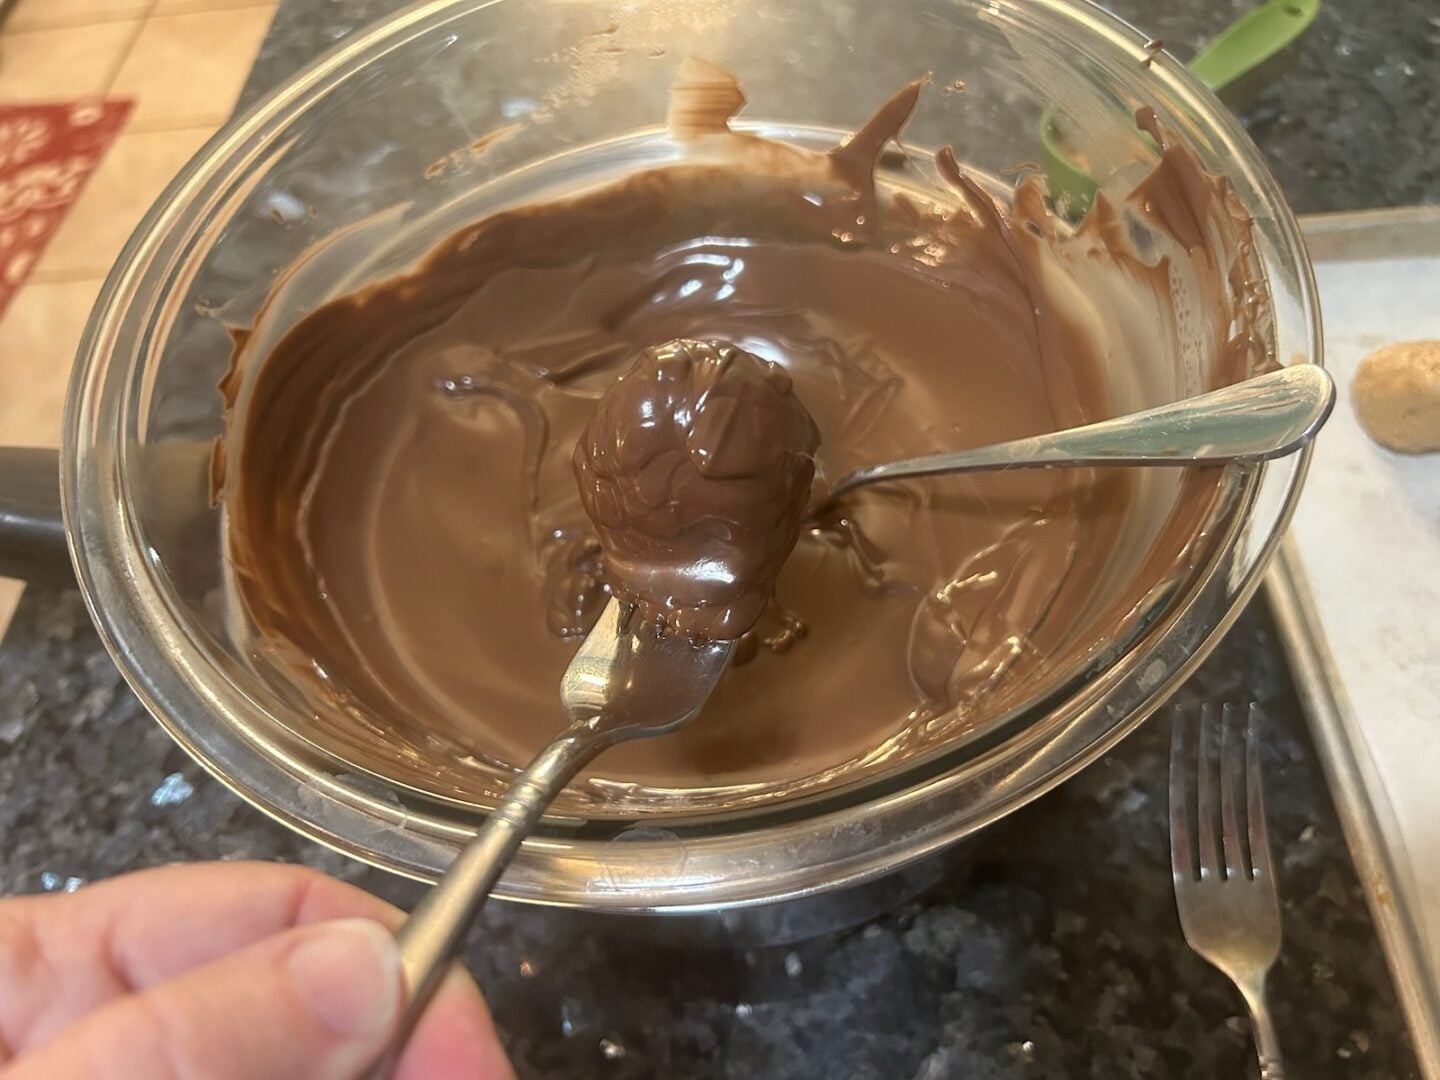
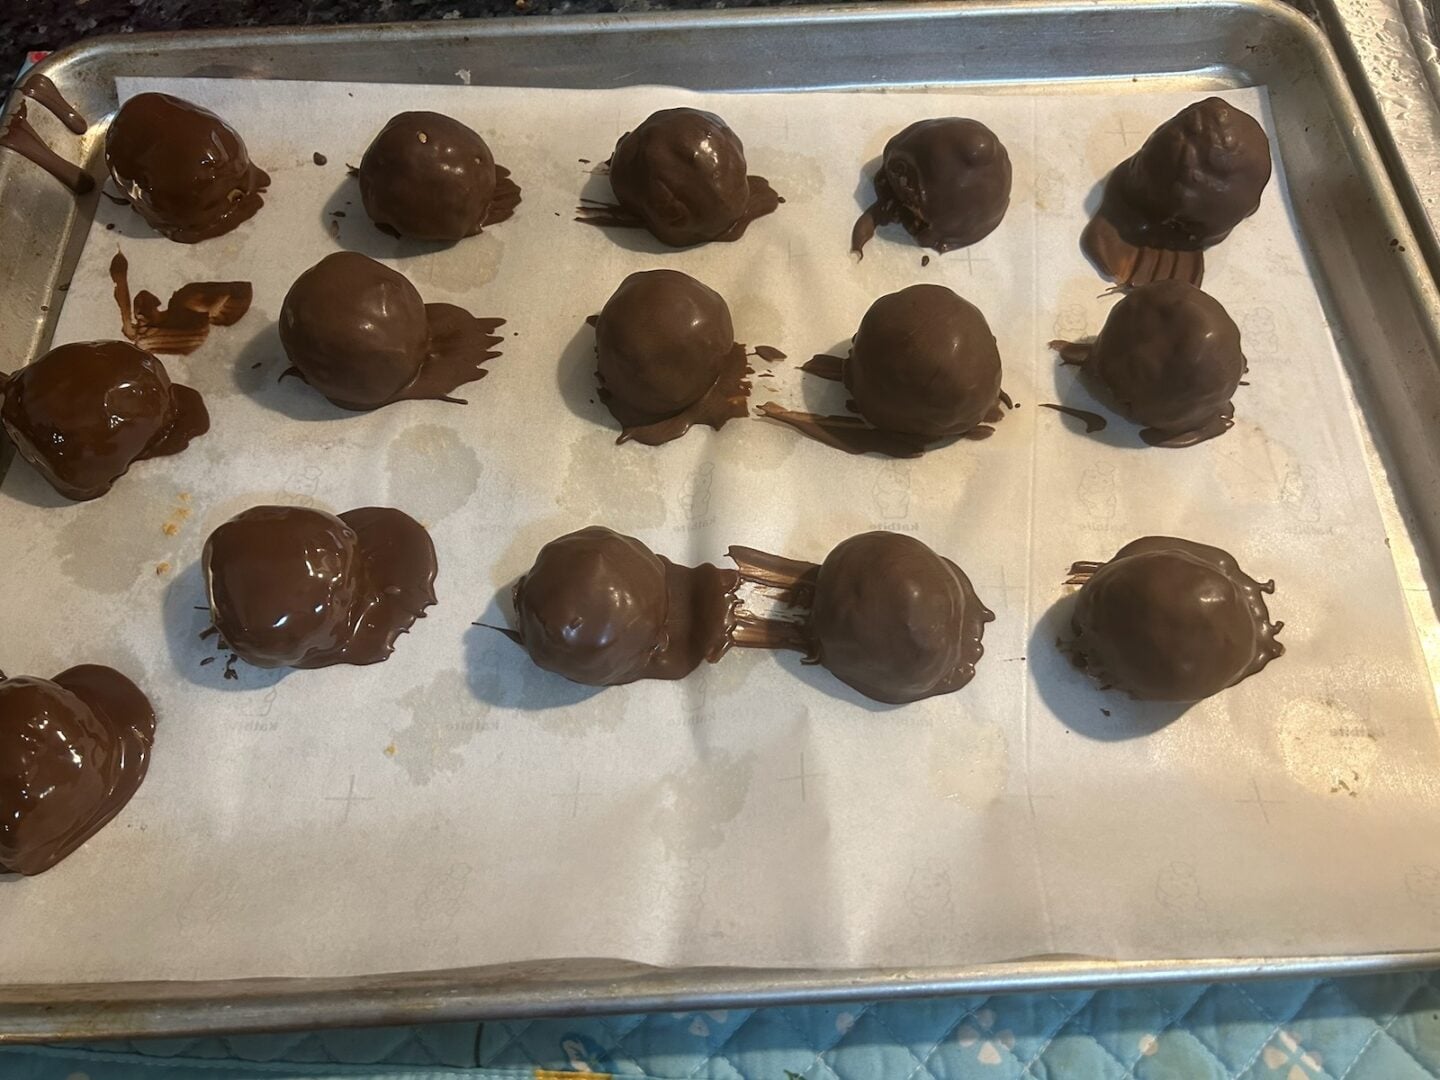
Here's where things get interesting!
Remove just a few truffle centers from the freezer at a time.
Place one frozen truffle on a fork, holding it over the bowl of melted chocolate.
Using a spoon, gently pour the chocolate over the top and sides of the truffle.
Allow the excess chocolate to drip off naturally.
Do not tap the fork against the bowl. These centers are too delicate for that.
Using a second fork or small paring knife, gently slide the coated truffle onto a parchment-lined baking sheet.
Repeat with the remaining centers, working in small batches.
Return the tray of uncoated truffles to the refrigerator between batches, or to the freezer if the centers begin softening.
Step 8: Chill Until the Chocolate Hardens
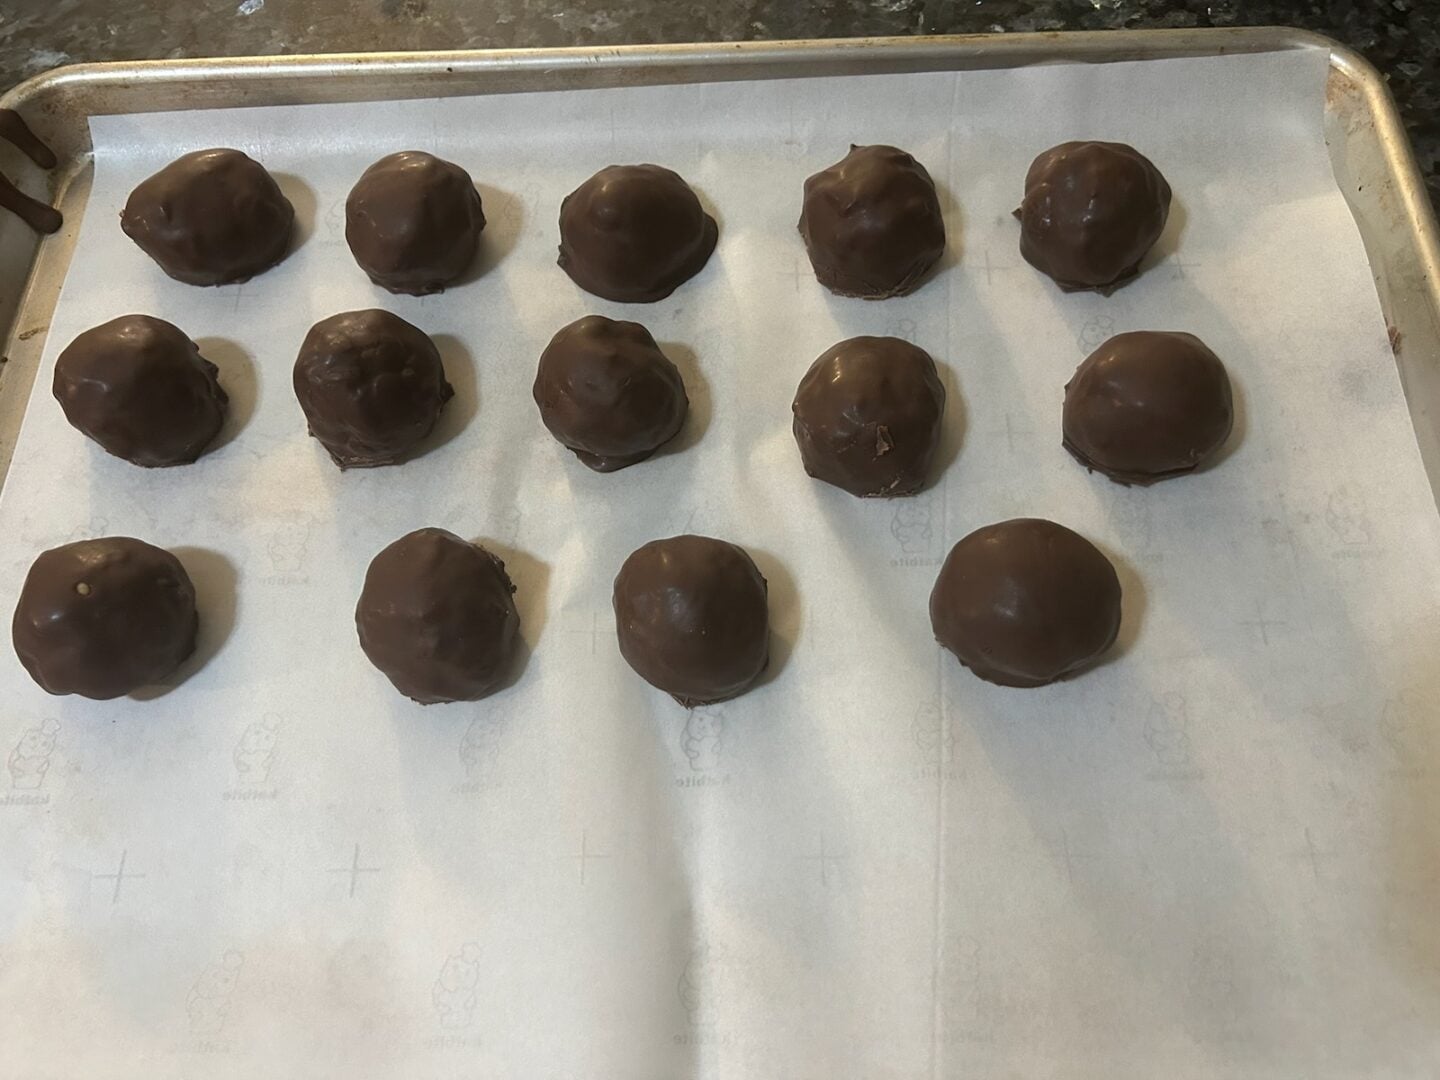
Place the coated truffles in the refrigerator until the chocolate is completely set.
If chocolate has pooled around the bottoms you can use a paring knife to cut it away.
Step 9: Add the Chocolate Drizzle and Butterfinger Topping
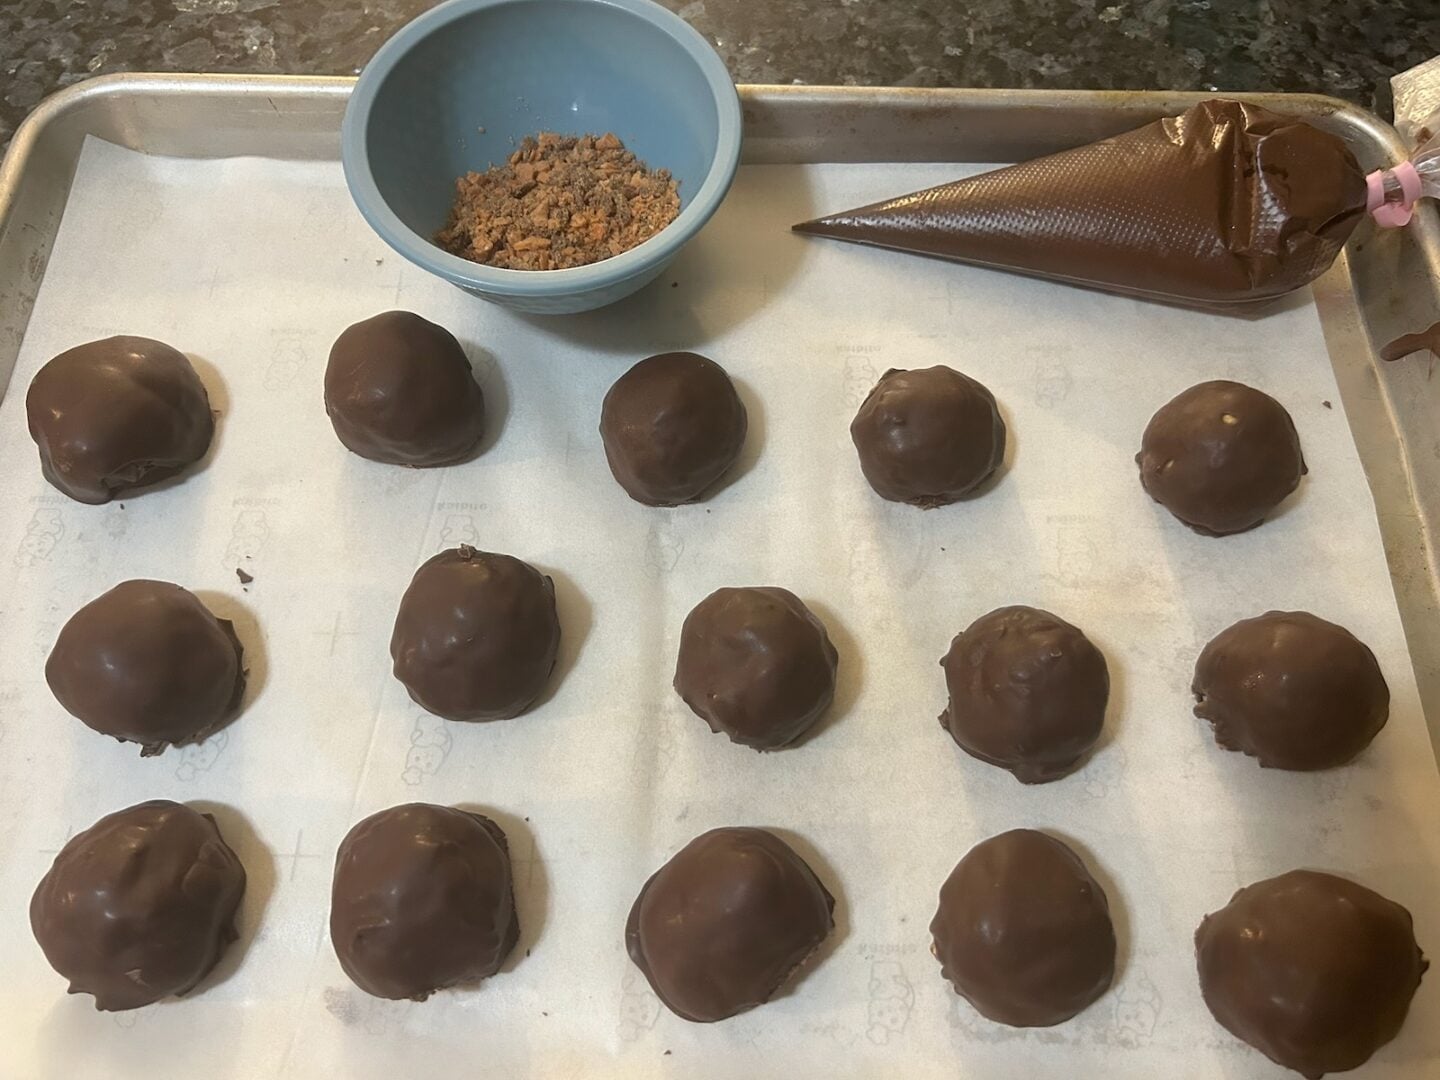
Drizzle additional melted chocolate over the hardened truffles.
While the drizzle is still wet, sprinkle a small mound of reserved Butterfinger bits over each one.
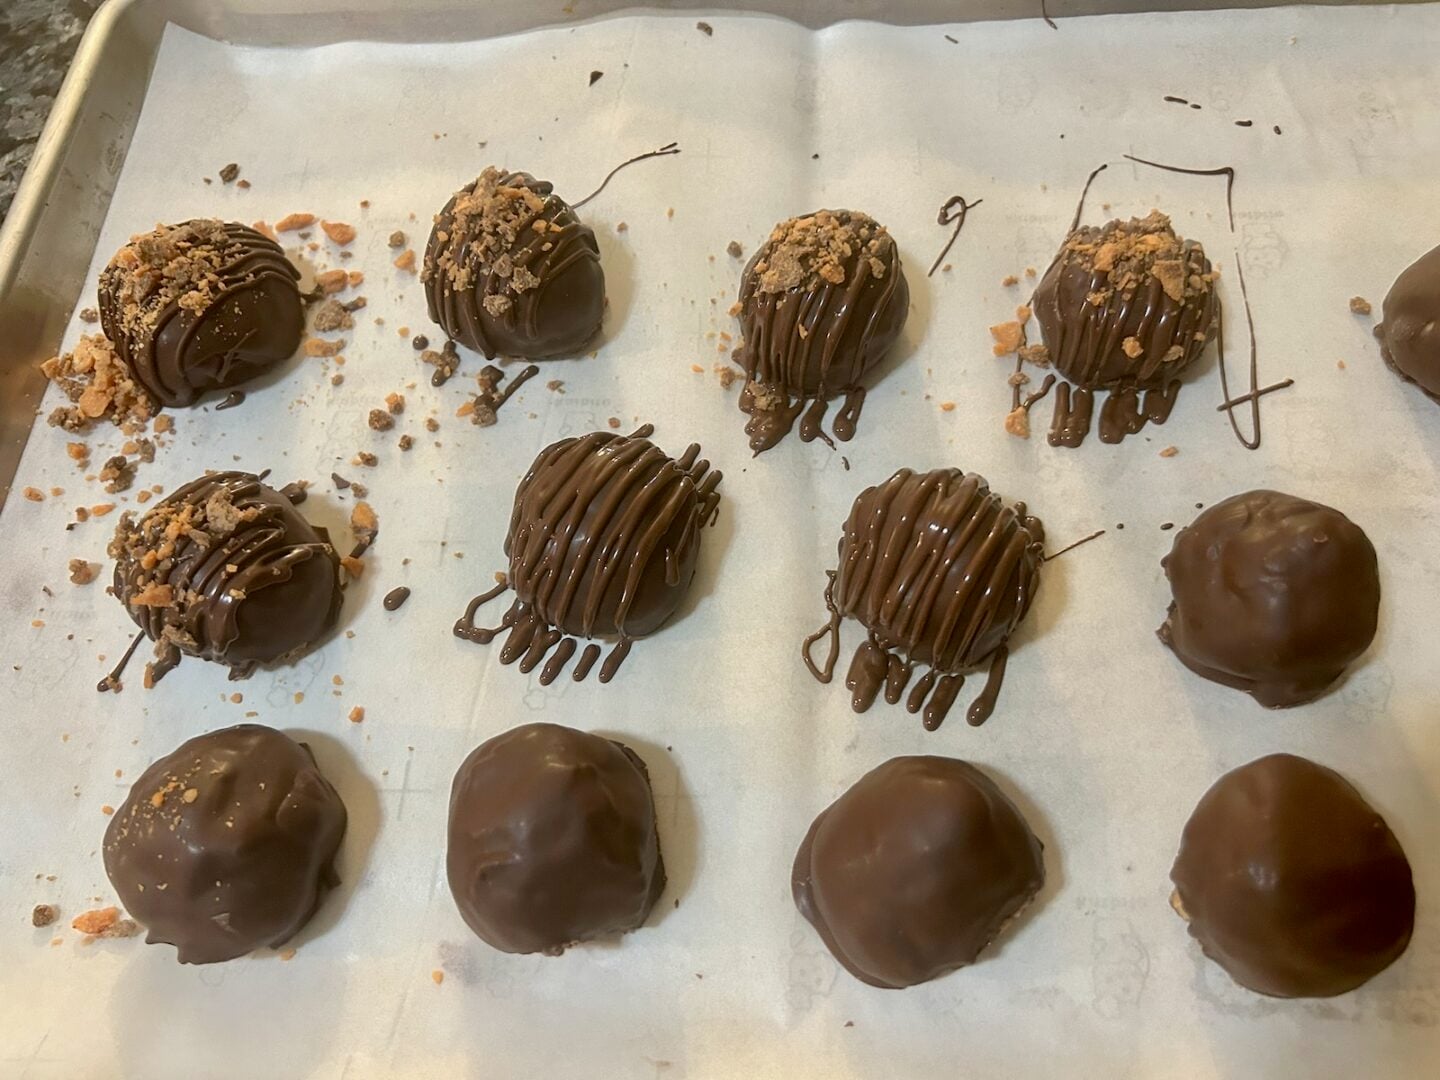
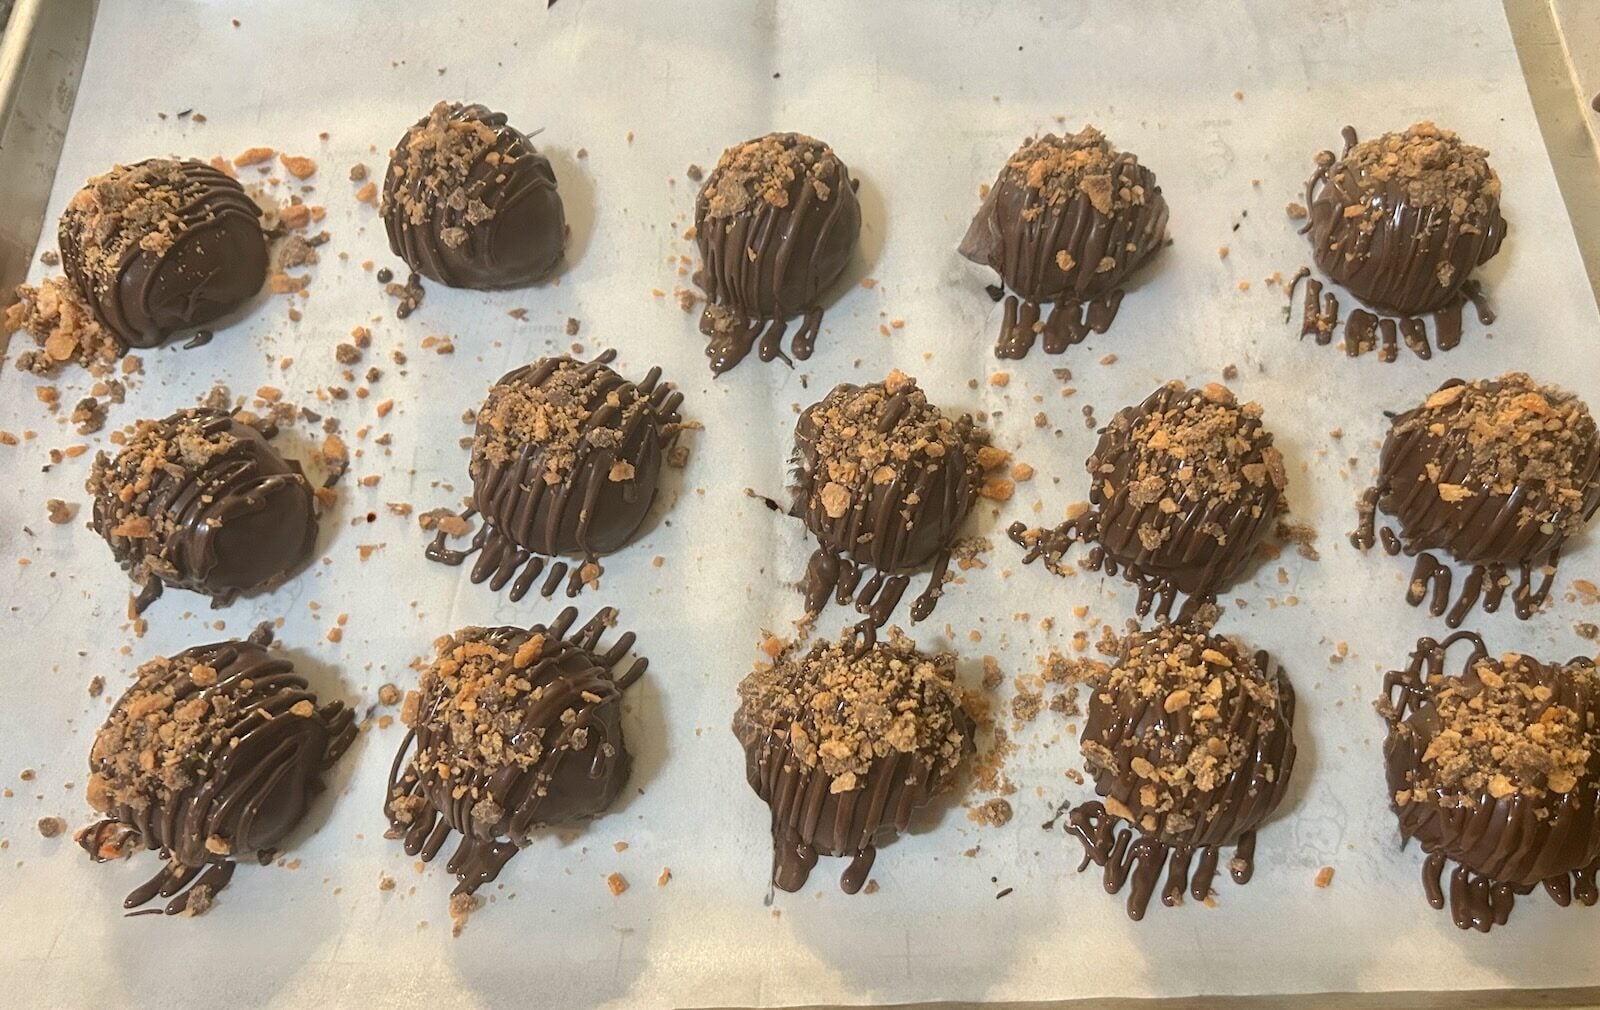
You may need a fairly generous drizzle to give the candy pieces something to stick to.
Return the truffles to the refrigerator until everything is firm.
Step 10: Trim the Edges
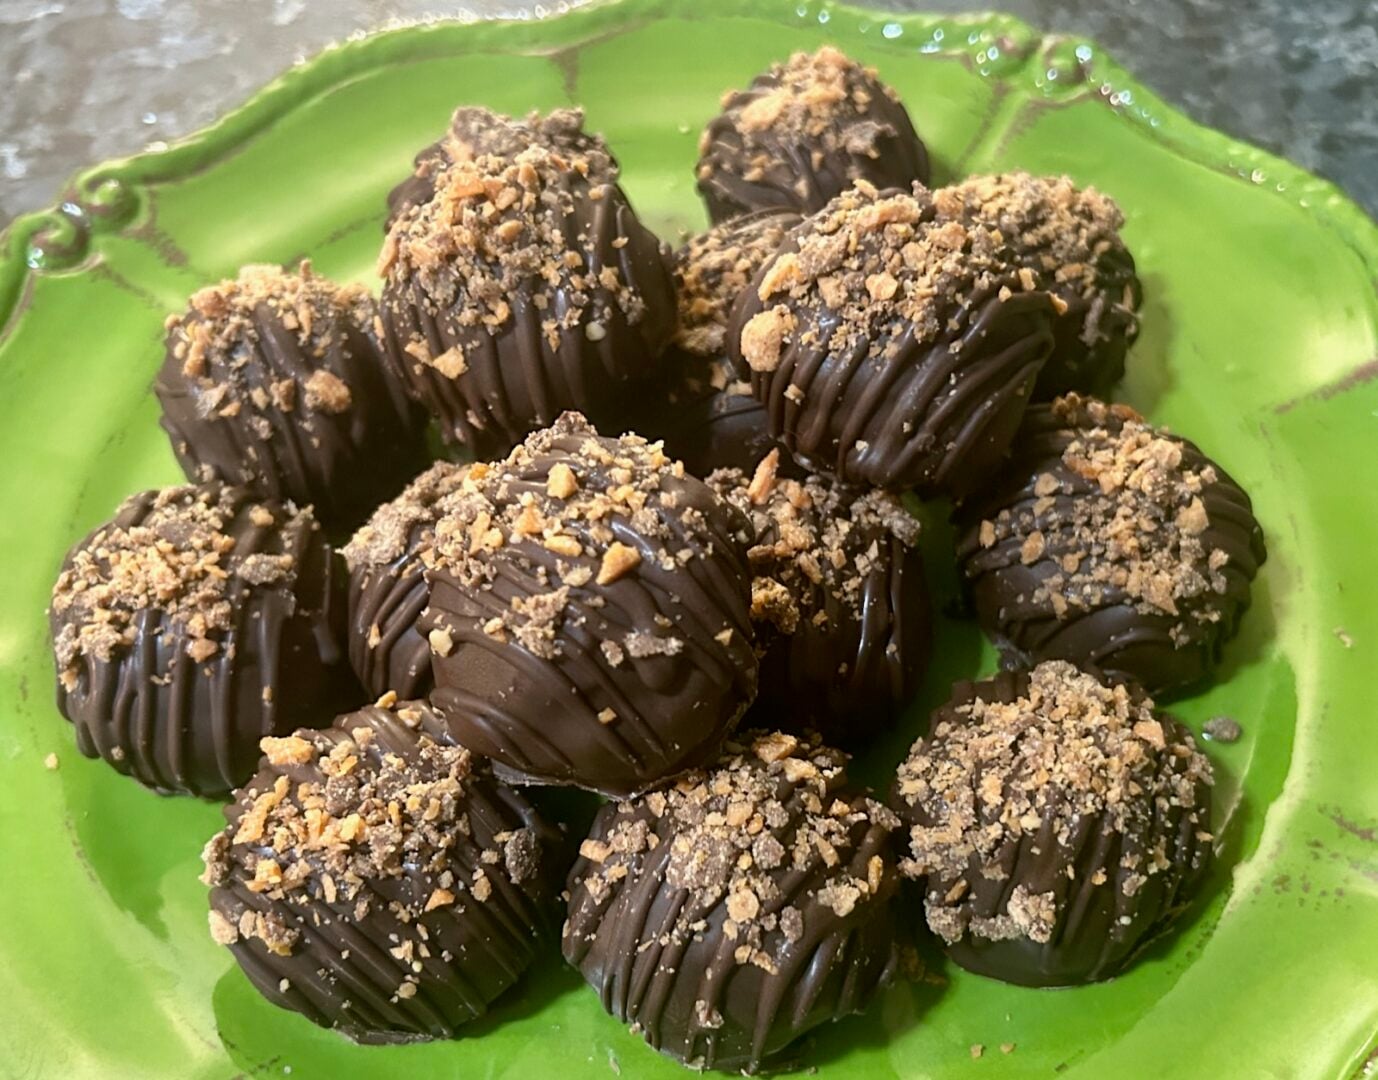
Once the chocolate has hardened, use a small, sharp paring knife to gently trim away any excess chocolate drizzle from around the bottoms.
This is an easy way to tidy up the finished truffles without worrying about making them perfect during coating.
Keep refrigerated until ready to serve.
What Do These Butterfinger Truffles Taste Like?
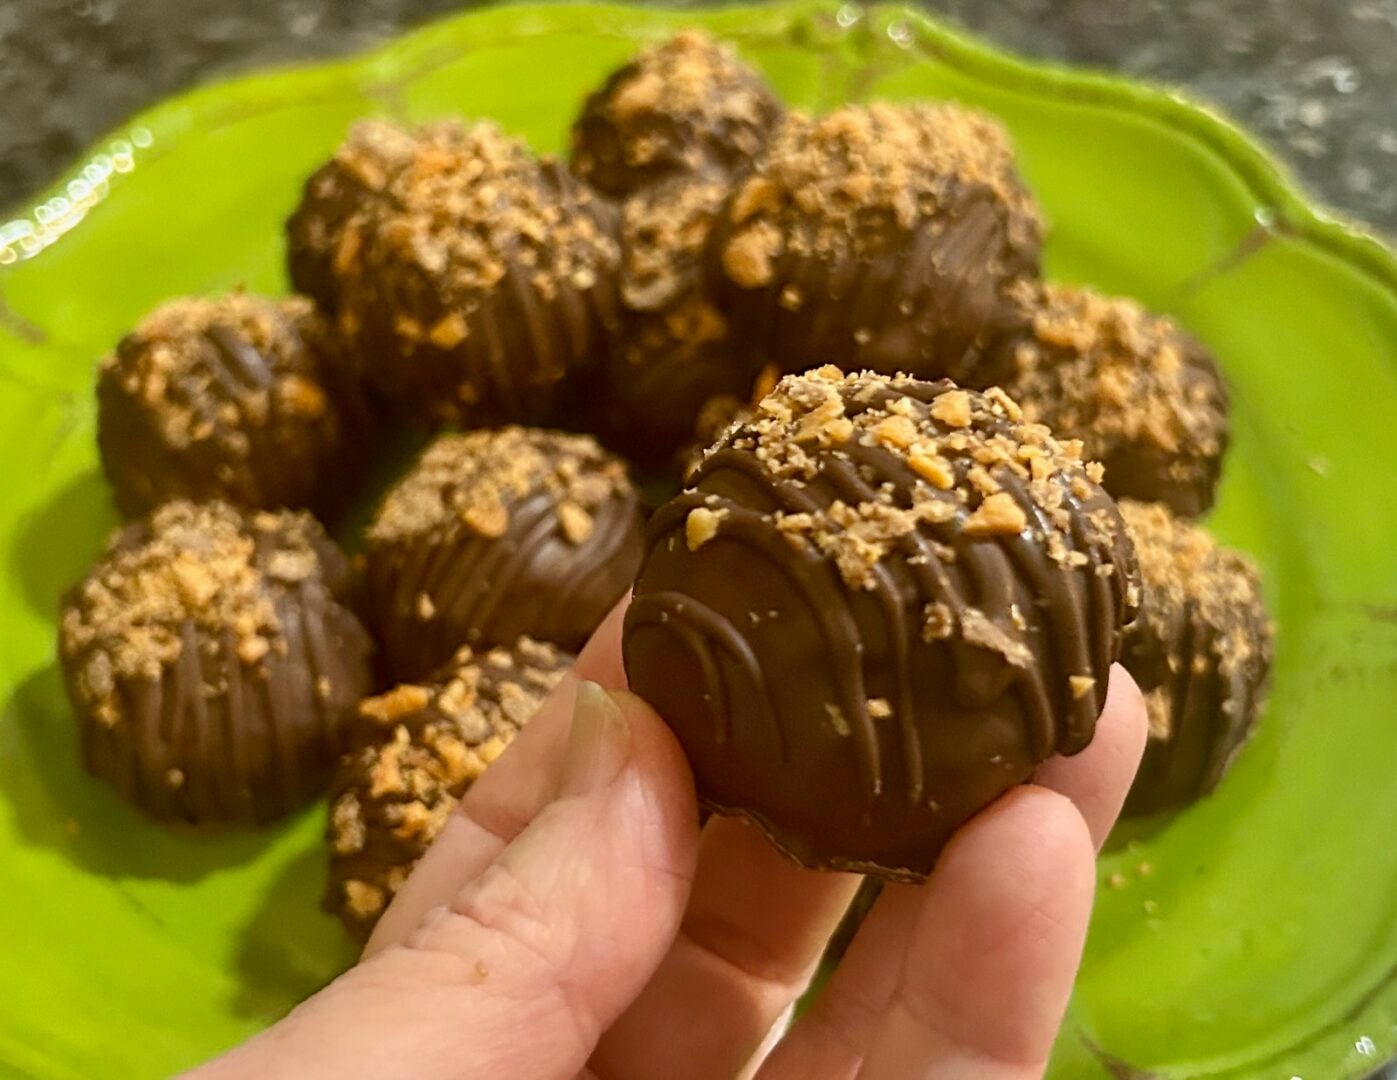
Oh, my goodness. Where do I begin?
First, you bite through that firm chocolate shell, which gives you a wonderful little snap.
Then you hit the soft, creamy peanut butter center.
And just when you think it can't get any better, you discover all those crunchy Butterfinger pieces and little chocolate chips scattered throughout.
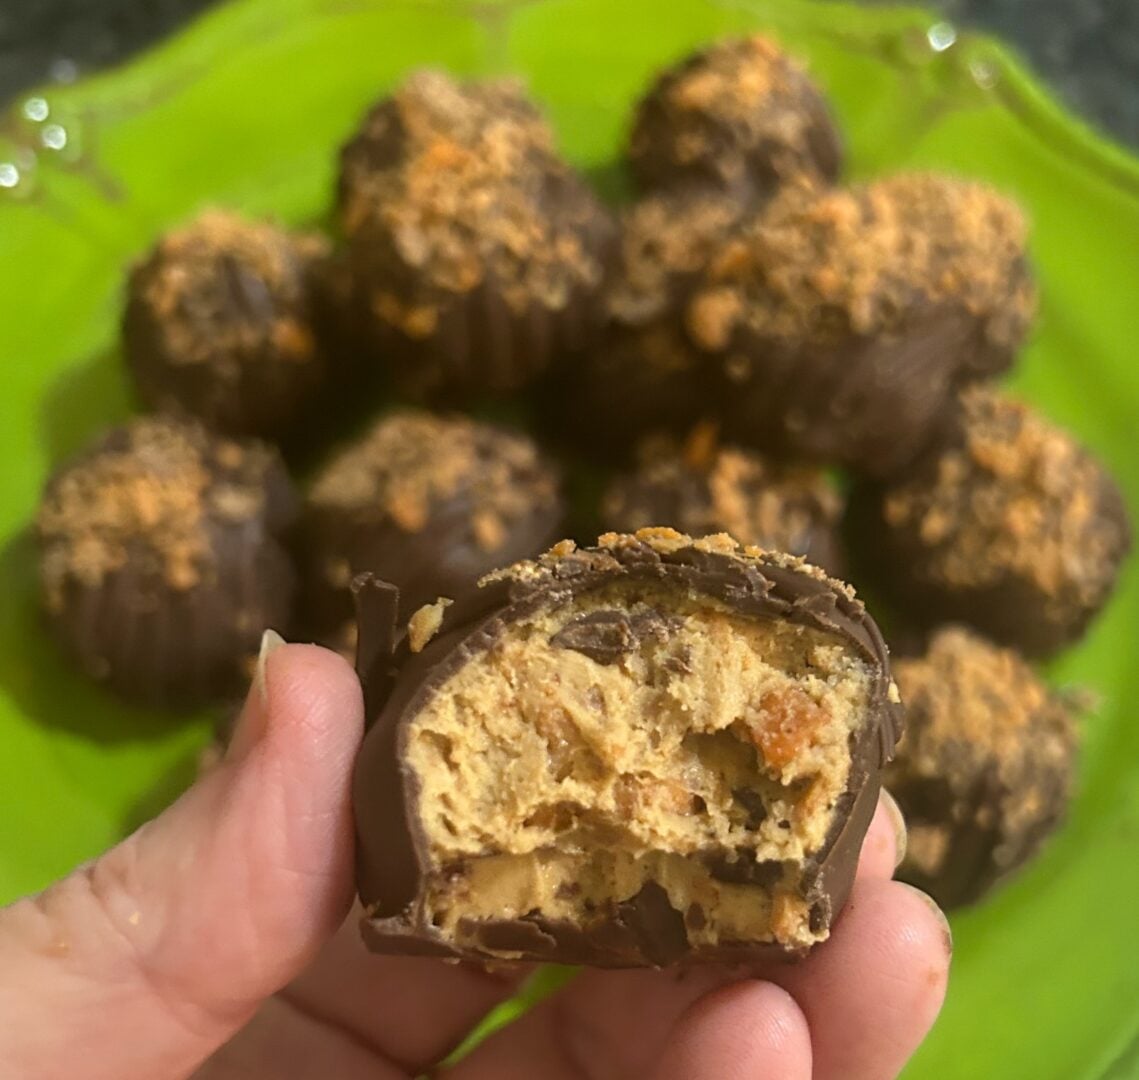
It's the perfect combination of creamy and crunchy.
I'm not usually a huge fan of traditional dark chocolate truffles, and I'm not particularly fond of the dense texture of cake pops.
But these? These are exactly what I want in a truffle.
The center is soft and luscious without being runny. The crunchy additions give it personality, and the chocolate shell holds everything together beautifully.
I loved my Butterfinger peanut butter fudge, but these truffles are an entirely different experience.
And I honestly think I love them even more.
How Are These Different from Buckeyes or Peanut Butter Balls?
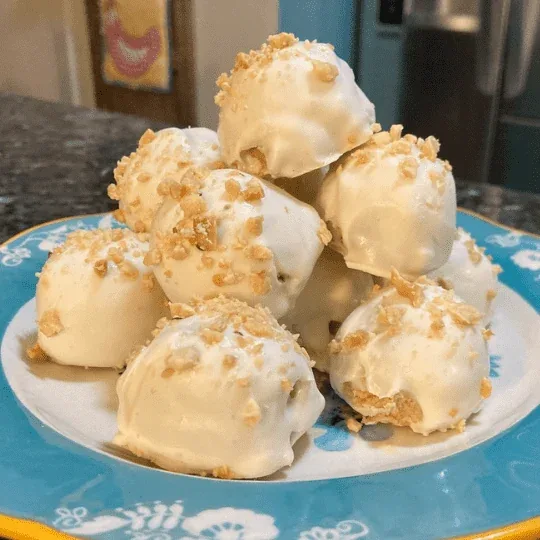
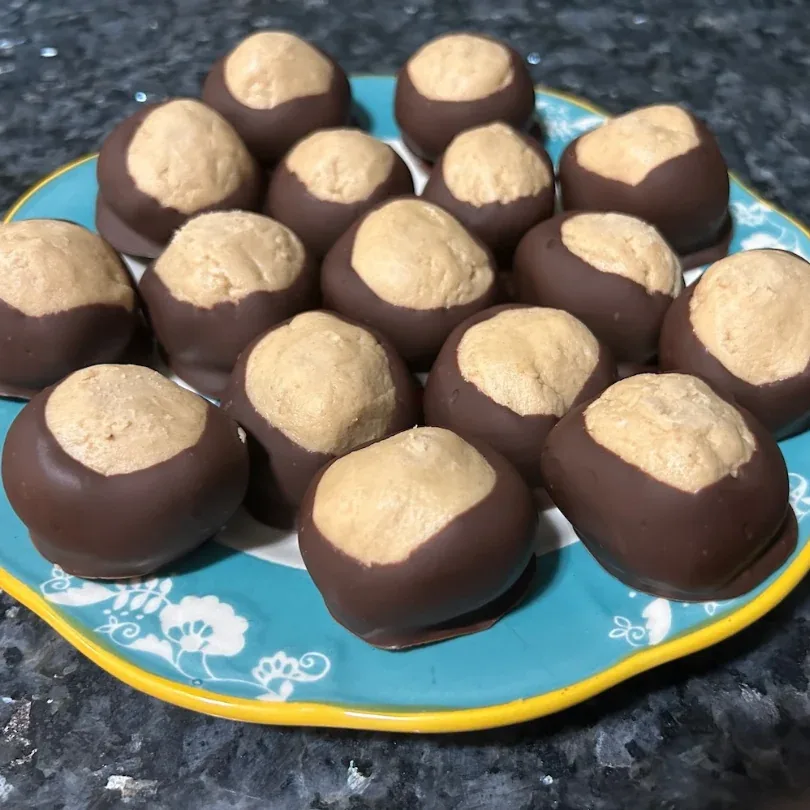
If you've ever made homemade buckeyes, Reese's-style peanut butter cups, or peanut butter snowballs, you might expect these to have a similar filling.
But they're quite different!
Many peanut butter candy recipes use additional powdered sugar or ingredients such as graham cracker crumbs to create a firmer, more structured center.
These truffles have a much softer filling.
I actually considered adding more powdered sugar to make them easier to handle, but after tasting the finished product, I'm glad I stopped at one cup.
The creaminess is what makes them special.
You can certainly add a little more powdered sugar if needed, but keep in mind that increasing the amount may produce a firmer filling.
My recommendation? Follow the chilling and freezing instructions before deciding to change the ingredients.
My Best Tips for Making Butterfinger Truffles
1. Use regular creamy peanut butter. Natural peanut butter can separate and may make the filling less predictable.
2. Start with one cup of powdered sugar. If your mixture needs more structure, add additional powdered sugar one tablespoon at a time.
3. Refrigerate before scooping. Chilling the entire bowl for 30 minutes makes the mixture easier to handle.
4. Freeze before coating. This is the most important tip! The centers need to be very cold and firm.
5. Thin the almond bark. A generous tablespoon of neutral oil helped my melted coating flow smoothly over the delicate filling.
6. Spoon, don't dip! Traditional dipping can cause these soft truffles to flatten or fall apart.
7. Work in small batches. Keep the remaining centers cold while you coat just a few at a time.
8. Don't worry about messy chocolate edges. Let the coating harden, then trim away the excess with a paring knife.
9. Keep refrigerated until serving. These truffles are meant to have a soft, creamy center, and refrigeration helps maintain their shape and texture.
Frequently Asked Questions
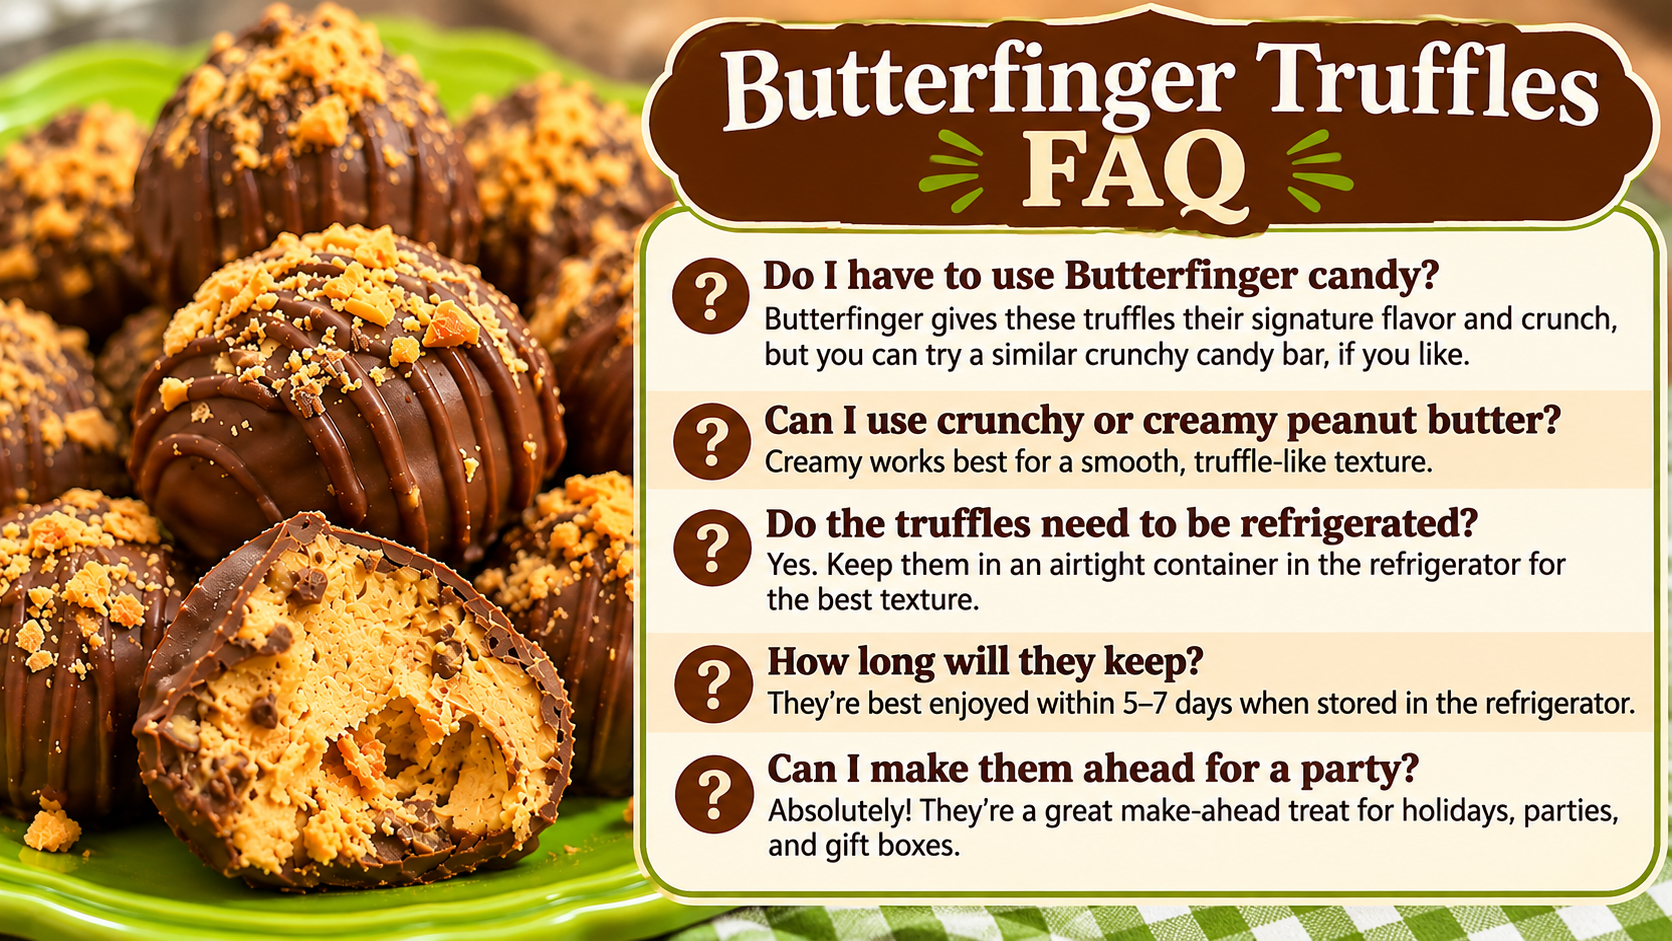
Can I use crunchy peanut butter?
I recommend creamy peanut butter for this recipe. The Butterfinger pieces already provide plenty of crunch, and creamy peanut butter gives the filling its wonderfully smooth texture.
Can I add more powdered sugar?
Absolutely. Start with one cup and add more a tablespoon at a time if needed. Just remember that additional powdered sugar may make the filling firmer.
Why are my truffles too soft to dip?
That's actually normal for this particular recipe! These have an intentionally soft center. Freeze the shaped balls before coating and spoon the chocolate over them rather than submerging them.
Can I use chocolate chips instead of almond bark?
You can experiment with melted chocolate chips, but I used chocolate almond bark because it creates a firm coating and was easy to work with once thinned. Chocolate chips may require a different melting and coating method.
Do these truffles need to be refrigerated?
Yes. I recommend keeping them refrigerated until ready to serve. The filling is soft and creamy, and the cold temperature helps the truffles maintain their shape.
Can I make these ahead of time?
Yes! These are a great make-ahead treat because they need time to chill and set. Store them in an airtight container in the refrigerator until serving.
How to Store Butterfinger Truffles
Place the finished truffles in an airtight container and store in the refrigerator.
If stacking, separate the layers with parchment paper to protect the chocolate drizzle and candy topping.
Keep them chilled until you're ready to serve.
Because the centers are intentionally soft, I wouldn't recommend leaving them sitting out for an extended period, particularly in a warm room.
For longer storage, you can try freezing the finished truffles in an airtight, freezer-safe container, though I haven't tested how freezing affects their finished texture.
More Peanut Butter and Chocolate Treats to Try

If you love this combination of peanut butter and chocolate, be sure to check out some of my other favorite recipes here at Out of the Box Baking:
- Peanut Butter Fudge with Butterfinger Bits
- Peanut Butter Snowballs
- Homemade Buckeyes
- Homemade Reese's Peanut Butter Cups
- Chocolate Coconut Balls
- Oreo Truffles
- Easy Red Velvet Truffles
- Chocolate and Peanut Butter Desserts
Each one offers a slightly different take on homemade candy and chocolate-covered treats.
Final Thoughts
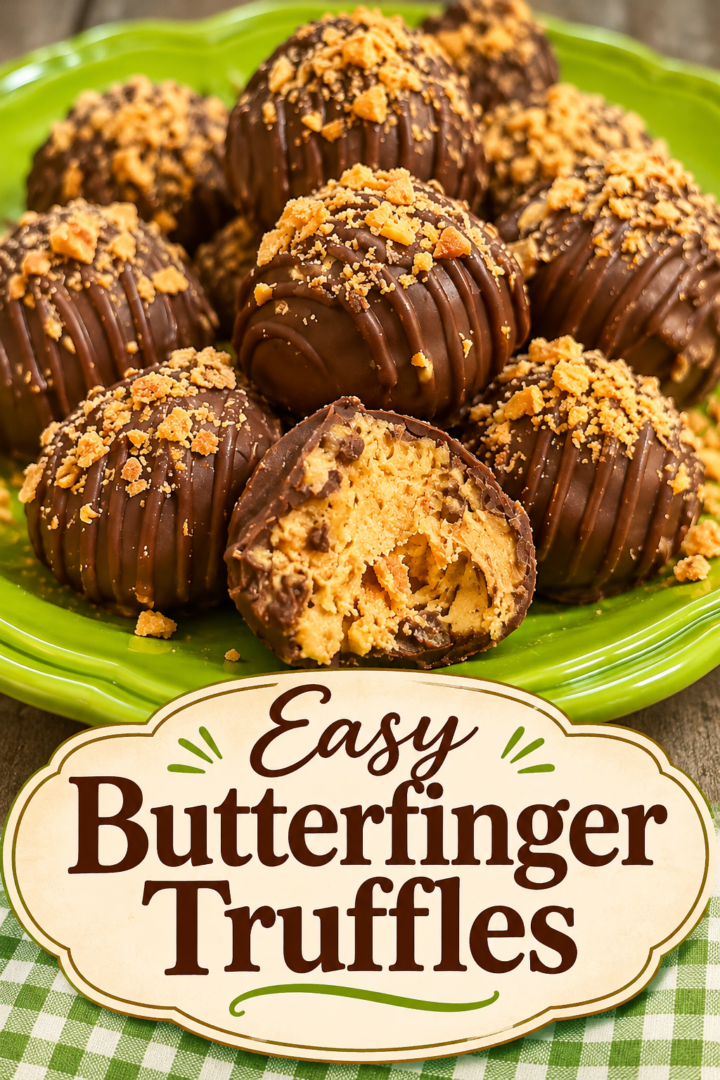
Sometimes the best recipes are the ones that teach you something along the way.
I started with leftover Butterfinger bits from a batch of peanut butter fudge, thinking I'd whip up a quick batch of chocolate-covered peanut butter balls.
Instead, I discovered a wonderfully creamy truffle filling that needed a little extra care.
Were these the easiest chocolate-covered treats I've ever made? Probably not.
Were they worth the effort?
Every single minute!
That soft peanut butter center, the crunchy Butterfinger pieces, and the firm chocolate coating make these something truly special.
And now that I've figured out the best way to chill and coat them, you can skip the trial and error and go straight to enjoying these delicious little treats.
Happy baking!
Don't forget to pin some photos to your Pinterest boards before you go!
Janice Thompson is a professional baker, cake designer, and author with over 20 years of experience creating unique cakes and desserts. She’s the creator of Out of the Box Baking, where she shares her favorite doctored cake mix recipes, tutorials, and baking tips. Learn more →
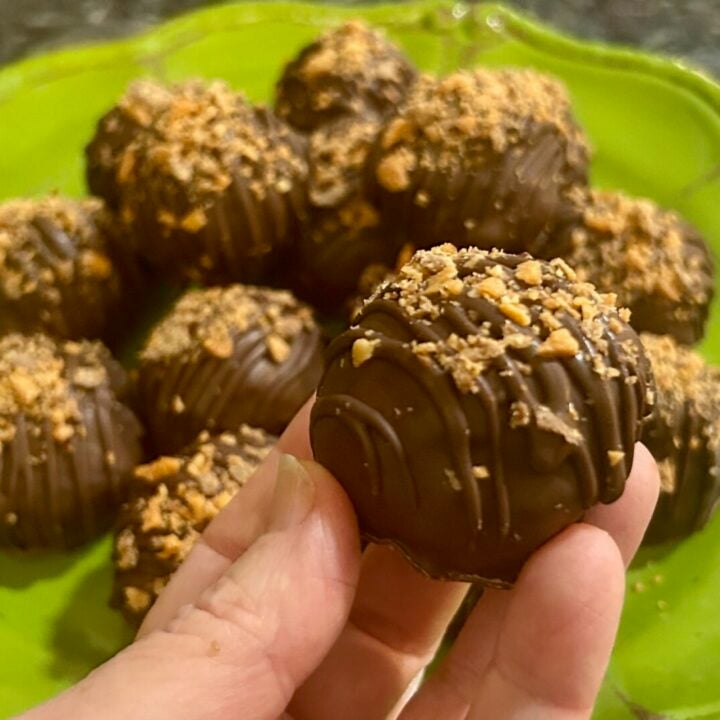
Chocolate-Covered Butterfinger Truffles
Rich, creamy peanut butter truffles loaded with crunchy Butterfinger bits and mini chocolate chips, covered in chocolate almond bark and finished with a chocolate drizzle and candy topping.
Ingredients
- For the Filling
- 1 cup creamy peanut butter
- 2 tablespoons salted butter, softened
- 1 cup powdered sugar, plus additional tablespoons if needed
- Approximately 4 ounces Butterfinger bits, reserving 1–2 tablespoons for garnish
- ¼ cup mini chocolate chips
- For the Coating
- 6 squares chocolate almond bark (confirm weight based on package)
- 1 generous tablespoon neutral oil, if compatible with coating instructions
- Additional melted chocolate for drizzling
- Reserved Butterfinger bits for garnish
Instructions
1. Beat peanut butter and softened butter until smooth.
2. Gradually add 1 cup powdered sugar and mix until incorporated.
3. Fold in Butterfinger bits and mini chocolate chips, reserving some candy bits for garnish.
4. Cover and refrigerate filling for 30 minutes.
5. Scoop into tablespoon-sized balls, gently roll, and place on parchment.
6. Freeze shaped balls for approximately 30 minutes, until firm.
7. Melt almond bark in 30-second microwave increments, stirring until smooth. Stir in oil if appropriate for the coating.
8. Working with a few frozen centers at a time, place each on a fork and spoon melted chocolate over the top and sides. Allow excess to drip off without tapping.
9. Gently transfer to parchment using a second fork or paring knife. Keep remaining centers cold.
10. Refrigerate until coating hardens.
11. Drizzle with additional melted chocolate and immediately sprinkle reserved Butterfinger bits over the tops.
12. Refrigerate until set. Trim excess chocolate around the bottoms with a paring knife if needed.
13. Store refrigerated until ready to serve.
Notes
* The filling is intentionally soft and creamy.
* Freezing the centers before coating is essential for easy handling.
* Spoon the chocolate over the centers rather than dipping.
* Keep the coating fluid but not excessively hot.
* Keep the finished truffles refrigerated until serving.
* Actual yield and almond bark weight should be confirmed before publishing.