
Easy Mint Oreo Truffles (No-Bake Recipe)

Make easy no-bake Mint Oreo truffles with cream cheese and a crisp chocolate shell. A creamy, mildly minty treat perfect for Christmas!

If you love chocolate and mint but don't want an overpowering mint flavor, you're going to flip over these Easy Mint Oreo Truffles! Made with Mint Oreo cookies, cream cheese, and a crisp chocolate coating, these little treats have a creamy, cheesecake-like filling with just the right amount of cookie texture.
And the best part? They're completely no-bake!
These are perfect for Christmas candy trays, holiday parties, homemade gifts, or a fun afternoon of candy-making with the kids.
My Love Affair with Oreo Truffles

I've been on a bit of a truffle-making kick lately. And by a bit, I mean I've been making truffles like there's no tomorrow!
Chocolate truffles, cookie truffles, cake balls. You name it, I've probably been thinking about dipping it in chocolate.
One of my favorites has always been my Lemon Oreo Truffles. I believe I originally made those for one of my granddaughter's graduation celebrations, and I remember how much I loved them.
There's just something about combining crushed Oreo cookies with cream cheese that creates the most wonderful texture.
So, with Christmas approaching, I started thinking about making a mint version.
After all, chocolate and mint are such a lovely combination for the holidays.
I'd also recently made a batch of Easy Mint Chocolate Truffles using Andes mint chocolate chips, and I was curious how the two recipes would compare.
Would they taste similar? Would the texture be the same?
Well, let me tell you something.
Holy cow, these were good!
And they were completely different from the Andes version!
Two Mint Truffles, Two Delicious Experiences!


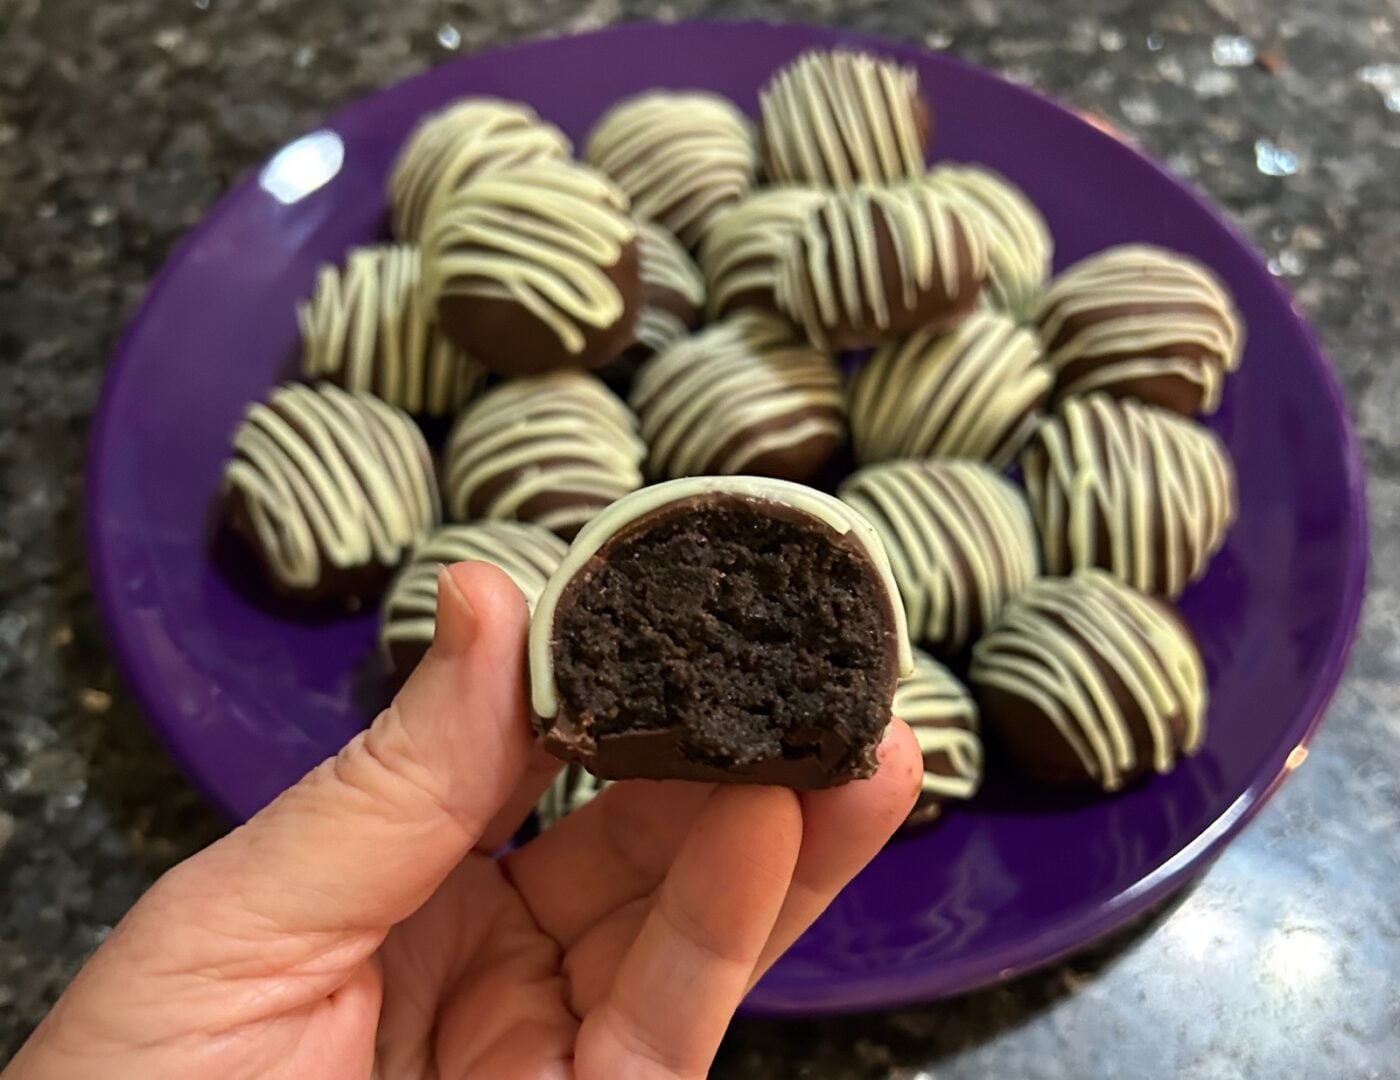
Here's the interesting thing about these two recipes: They look remarkably similar on the outside, especially when they're coated in chocolate and decorated with a pretty green drizzle.
But bite into them, and you'll discover two completely different treats.
My Andes mint chocolate truffles are rich, smooth, and more like biting into a traditional chocolate truffle.
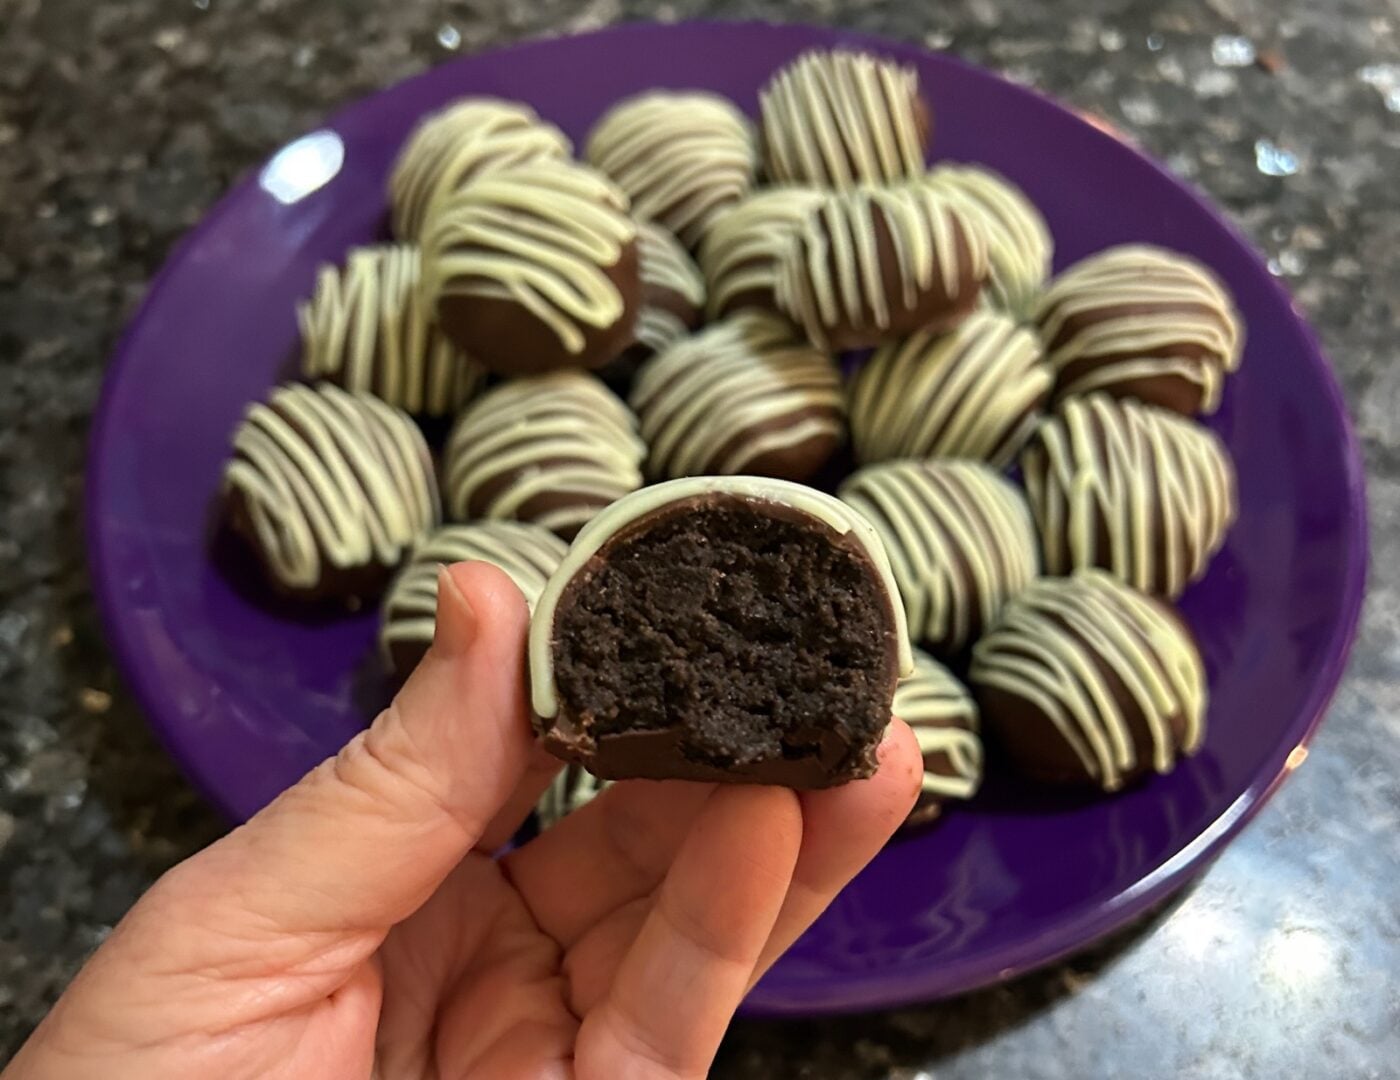
These Mint Oreo Truffles, on the other hand, have a creamy, almost cheesecake-like filling with tiny bits of Oreo cookie throughout.
You can still detect the cookie crumbs, but in the nicest possible way. They give the filling a little texture without taking away from that wonderful creaminess.
And the mint flavor?
Absolutely perfect.
Sometimes mint desserts can be a little too minty, if you know what I mean.
But these don't contain mint extract, Andes chocolates, or any other added mint flavoring.
All of that lovely mint flavor comes straight from the Mint Oreo cookies.
The result is a mild, refreshing mint filling surrounded by a crisp chocolate shell.
I think you could put these side by side with my Andes mint truffles on a Christmas candy platter and give your family two completely different chocolate-mint experiences!
So Easy, It Almost Feels Like Cheating!
I'm not kidding when I say these are easy.
You don't have to bake anything. You don't have to make a complicated ganache. And you certainly don't need any special candy-making skills.
All you really need is a food processor, a bowl, a baking sheet, and a little patience while the filling chills.
The food processor does most of the work.
The refrigerator does the rest.
And before you know it, you've got a beautiful batch of homemade chocolates that look like they came from a candy shop!
Ingredients for Mint Oreo Truffles
You'll find a printable recipe card at the bottom of this post, but here's a quick look at what you'll need.
For the filling
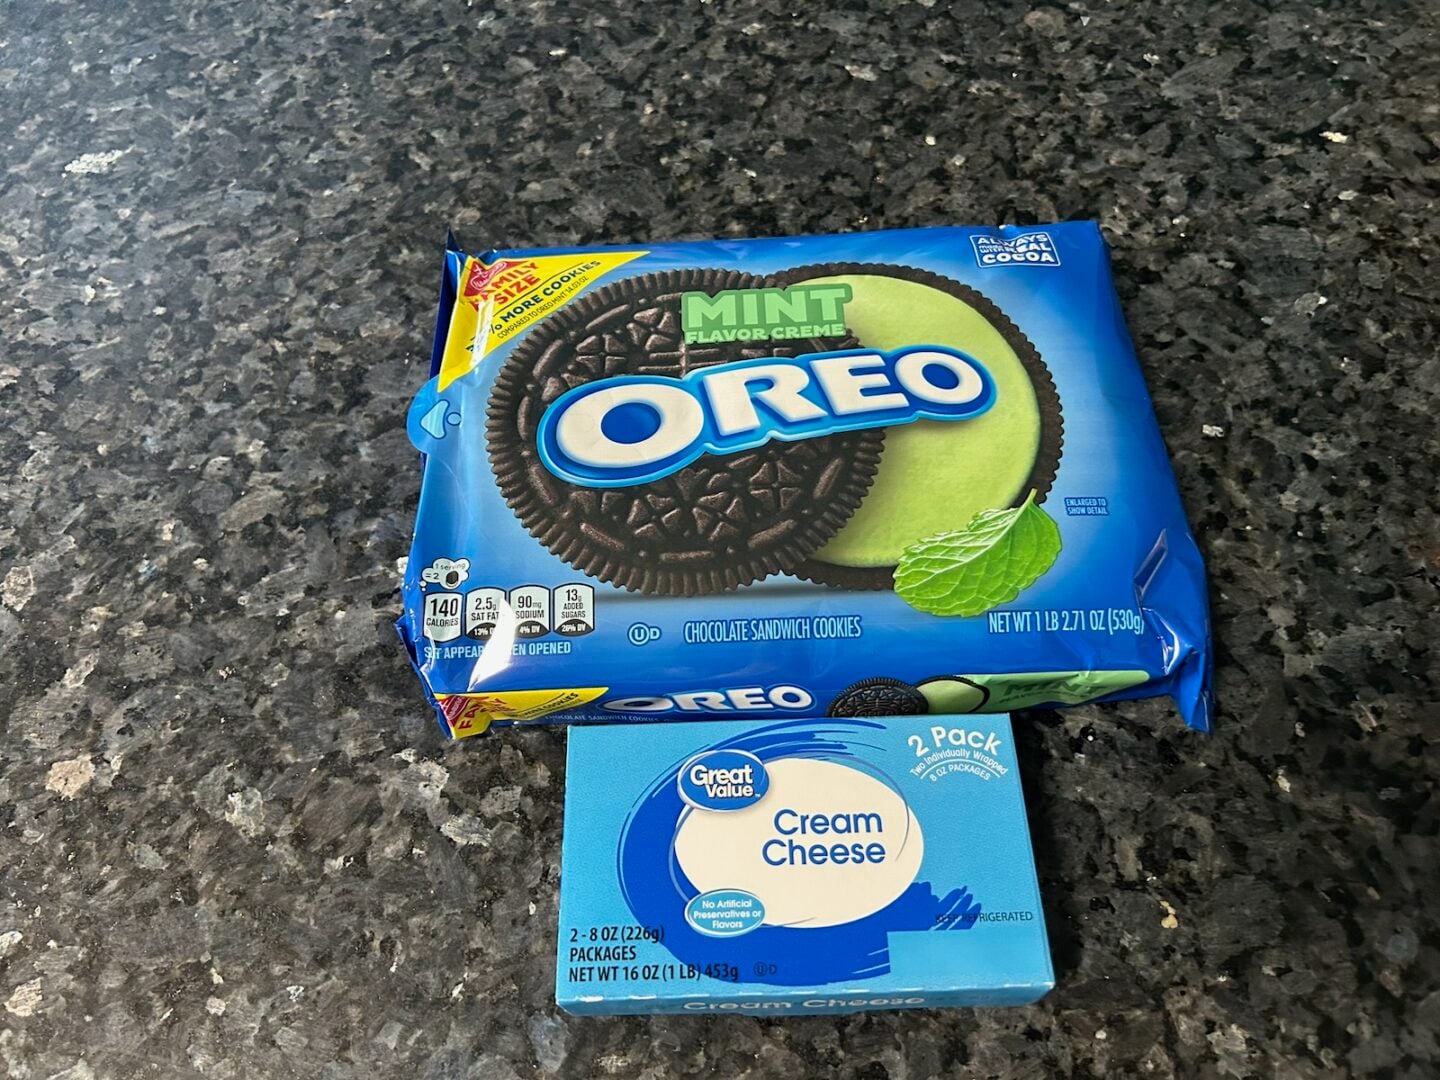
- 1 family-size package Mint Oreo cookies (1 lb 2.71 oz / 18.71 ounces): Use the entire cookies, including the mint-flavored filling.
- 1 block (8 ounces) cream cheese, softened: This combines with the cookie crumbs to create that rich, cheesecake-like texture.
For the coating
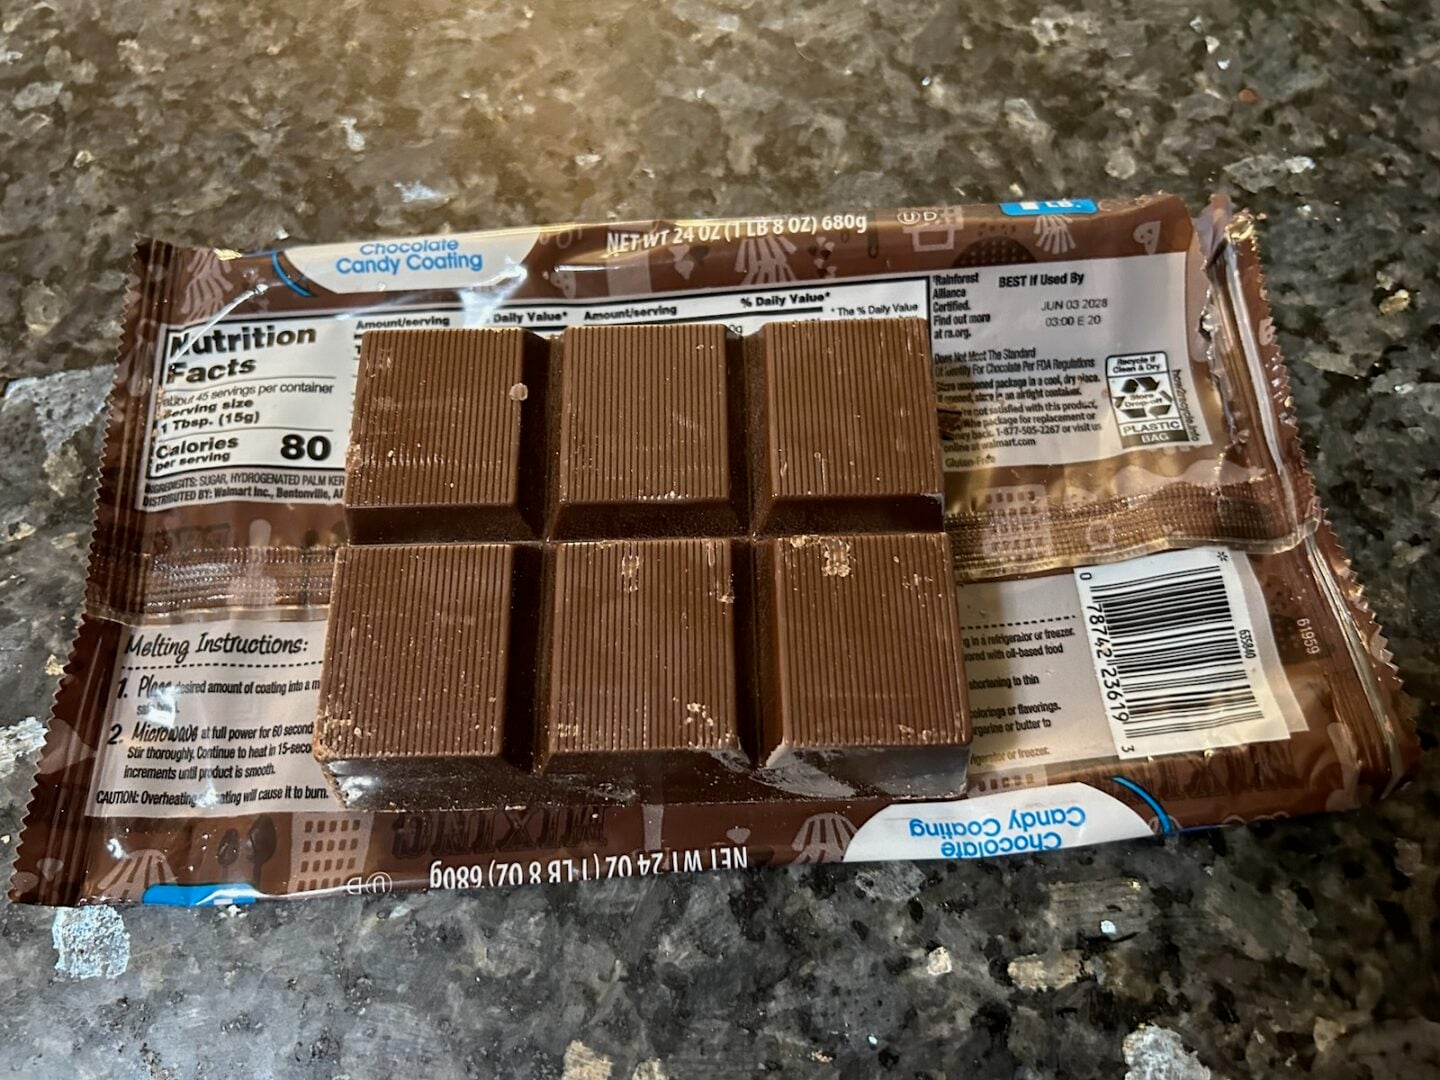
- 6 squares Great Value chocolate almond bark: This is my go-to coating for homemade truffles. It melts smoothly and creates a lovely crisp shell.
- Approximately 2 squares white almond bark: For the decorative drizzle.
- A tiny amount of green candy coloring: Just enough to tint the white almond bark a soft mint-green shade.
That's it! No mint extract. No additional sugar. No baking.
Note: Use oil-based candy coloring suitable for chocolate coatings. Water-based coloring can cause melted almond bark to seize.
How to Make Mint Oreo Truffles
Step 1: Crush the cookies
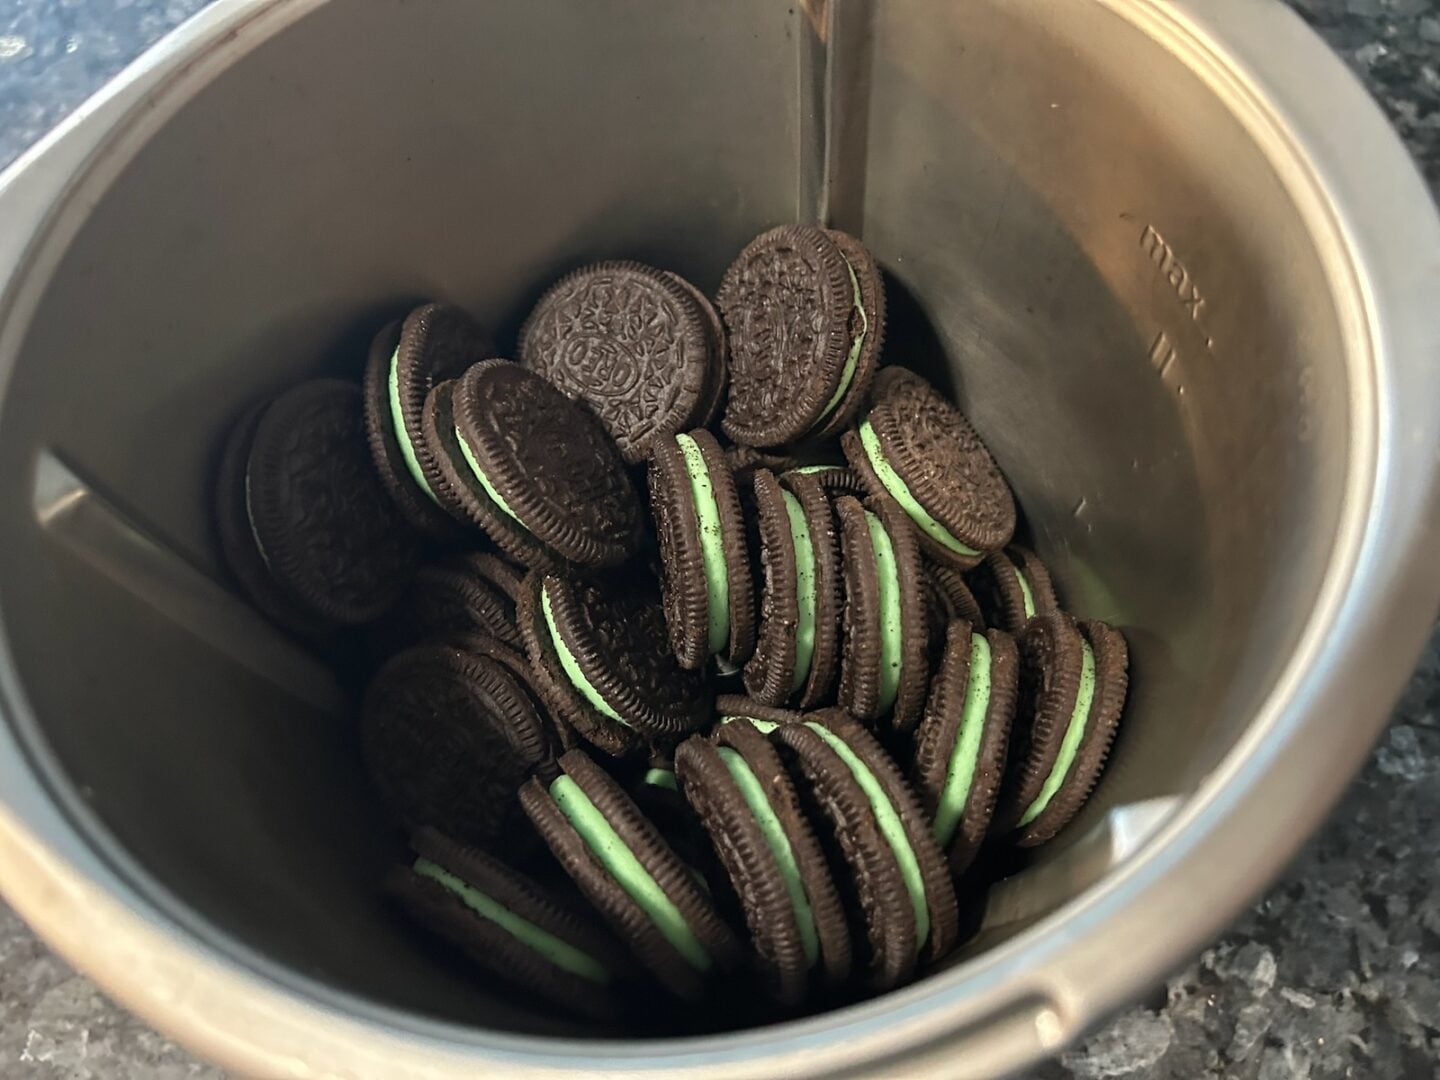
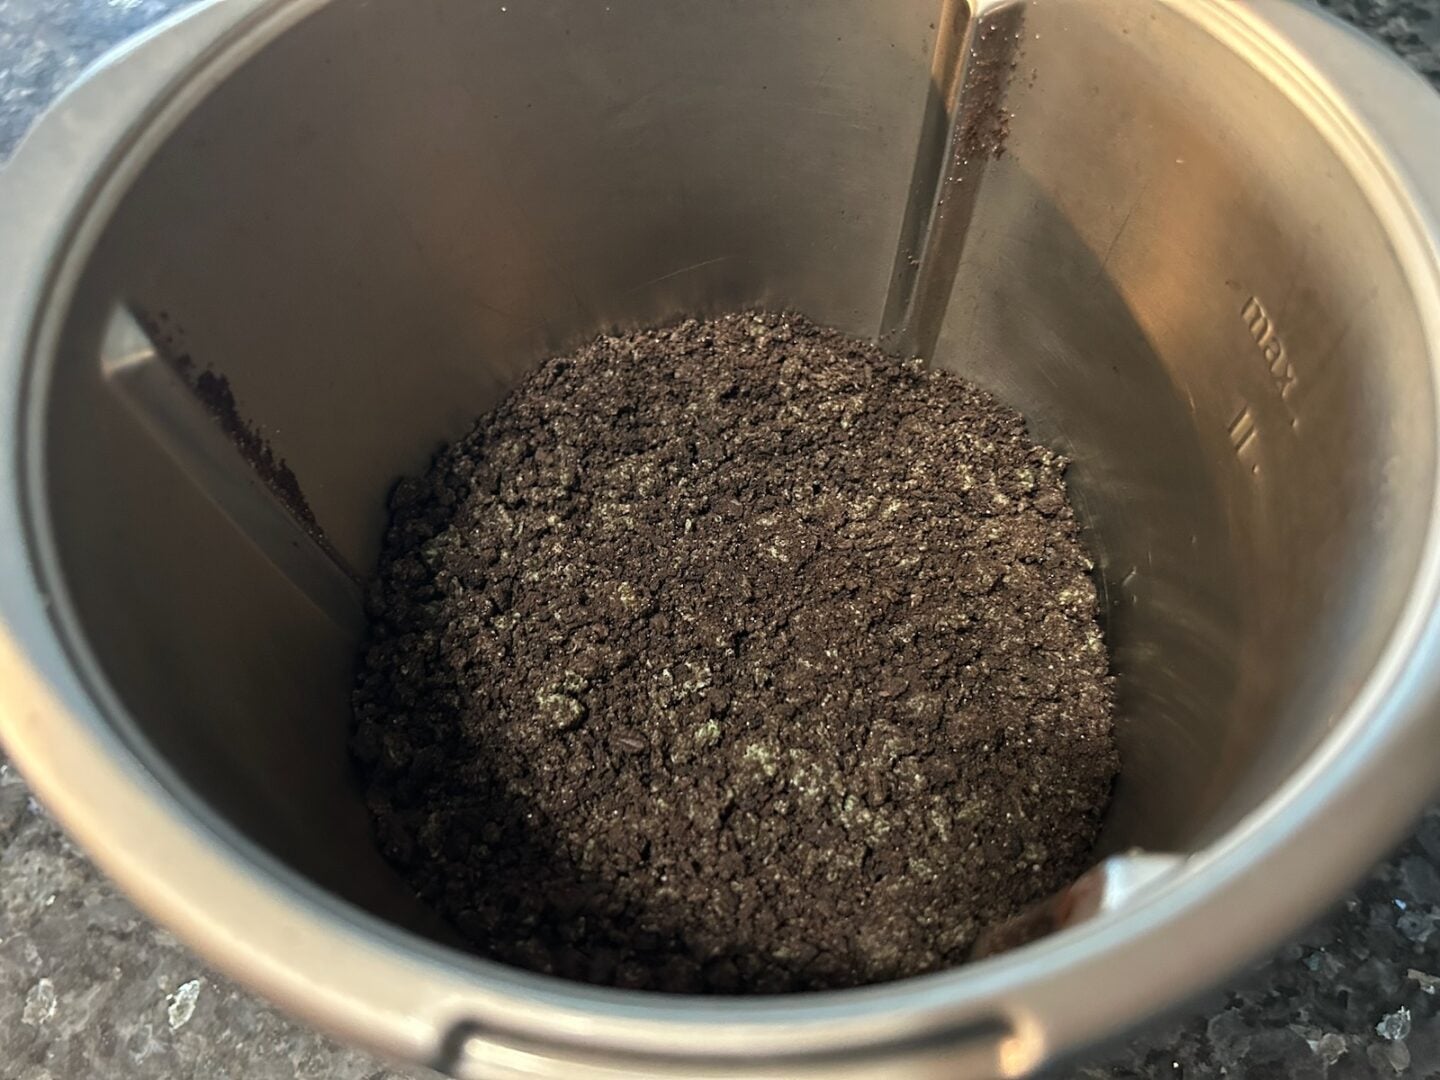
Place the entire package of Mint Oreo cookies into your food processor.
Yes, the whole cookies! There's no need to remove the filling.
Process until the cookies become fine crumbs.
Step 2: Add the cream cheese
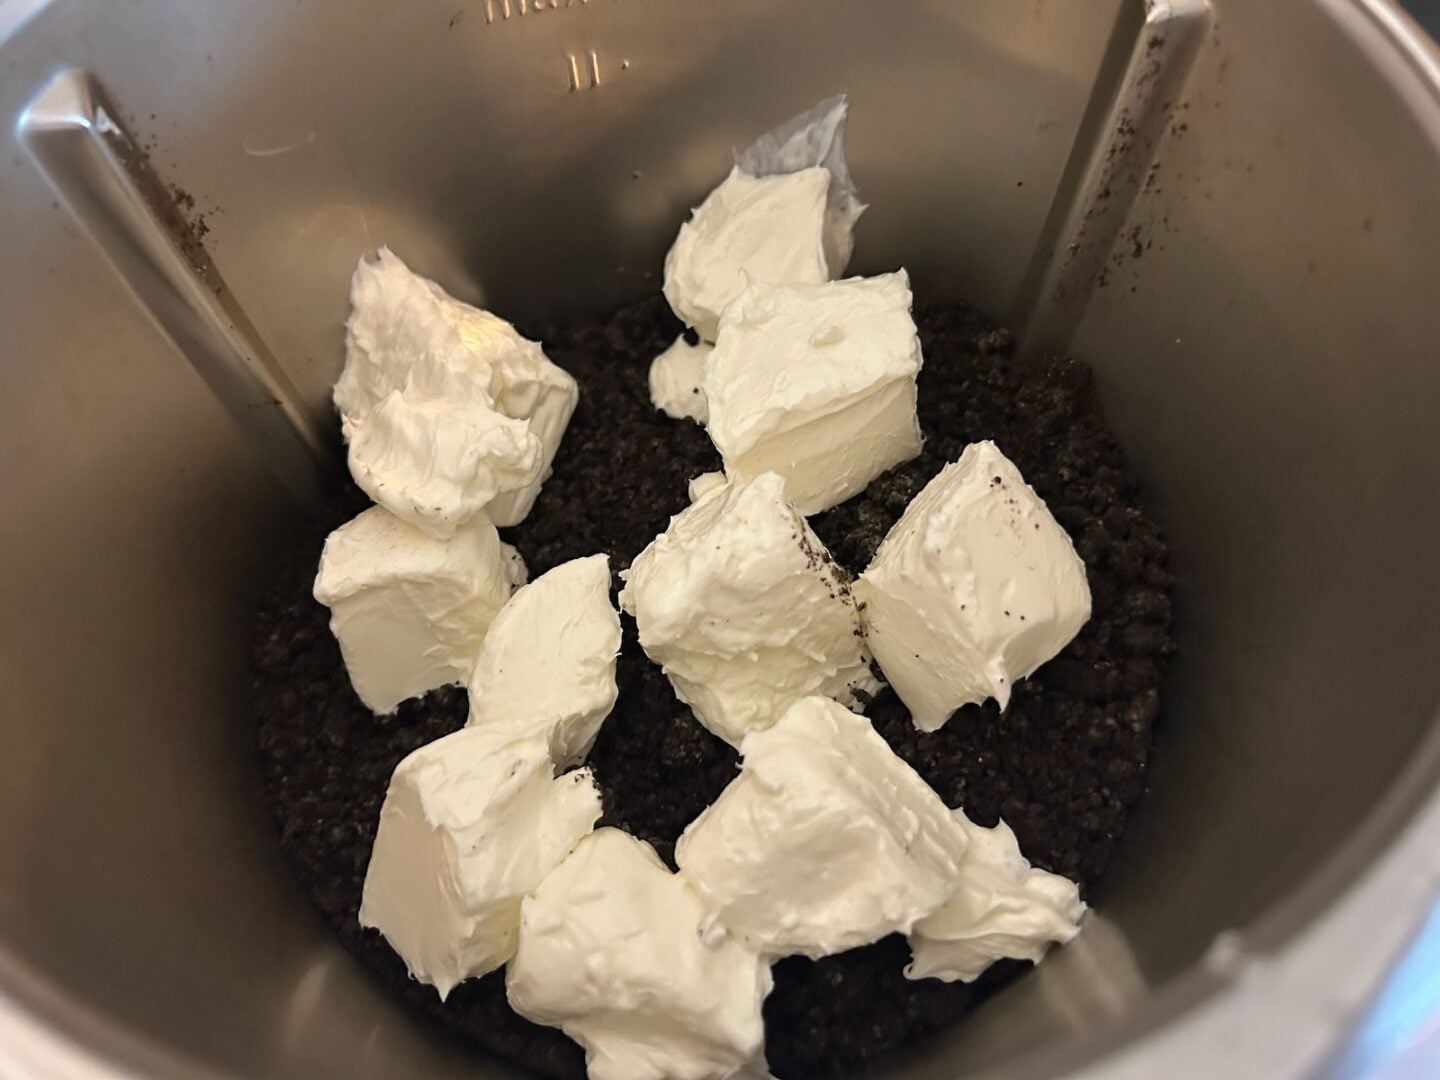
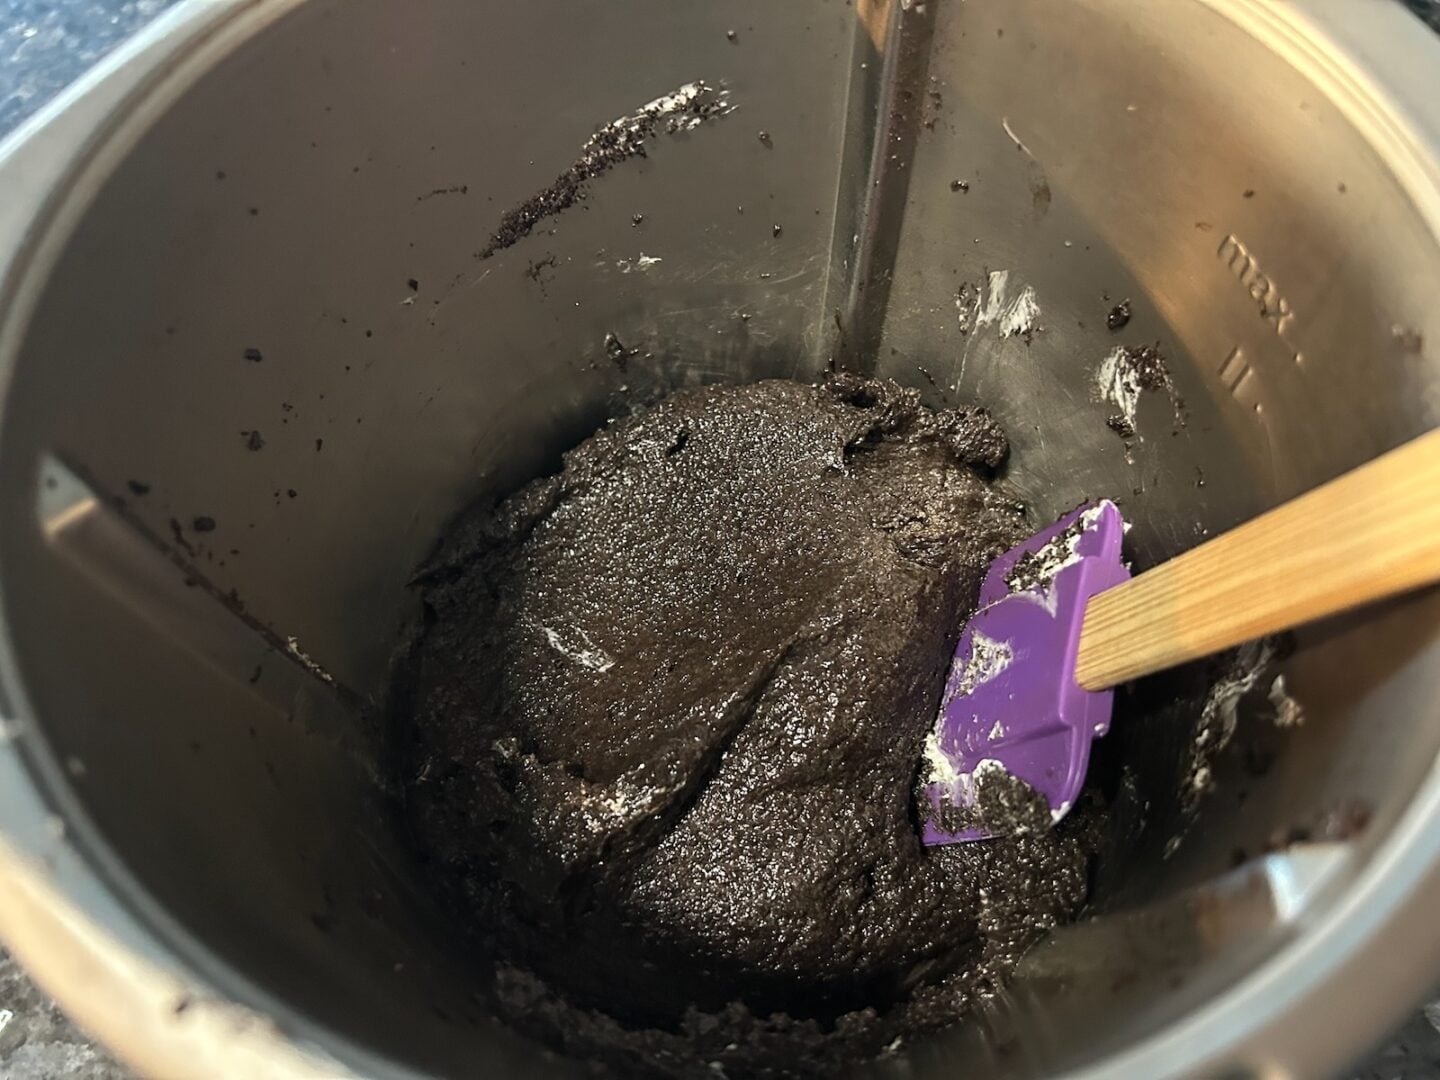
Add the softened cream cheese to the food processor.
Process until the cream cheese and cookie crumbs are thoroughly combined.
The mixture should be thick, soft, and slightly sticky.
Mine was especially soft because my cream cheese had gotten quite warm.
Don't panic if yours looks too soft to roll. That's what the refrigerator is for!
Step 3: Refrigerate the filling
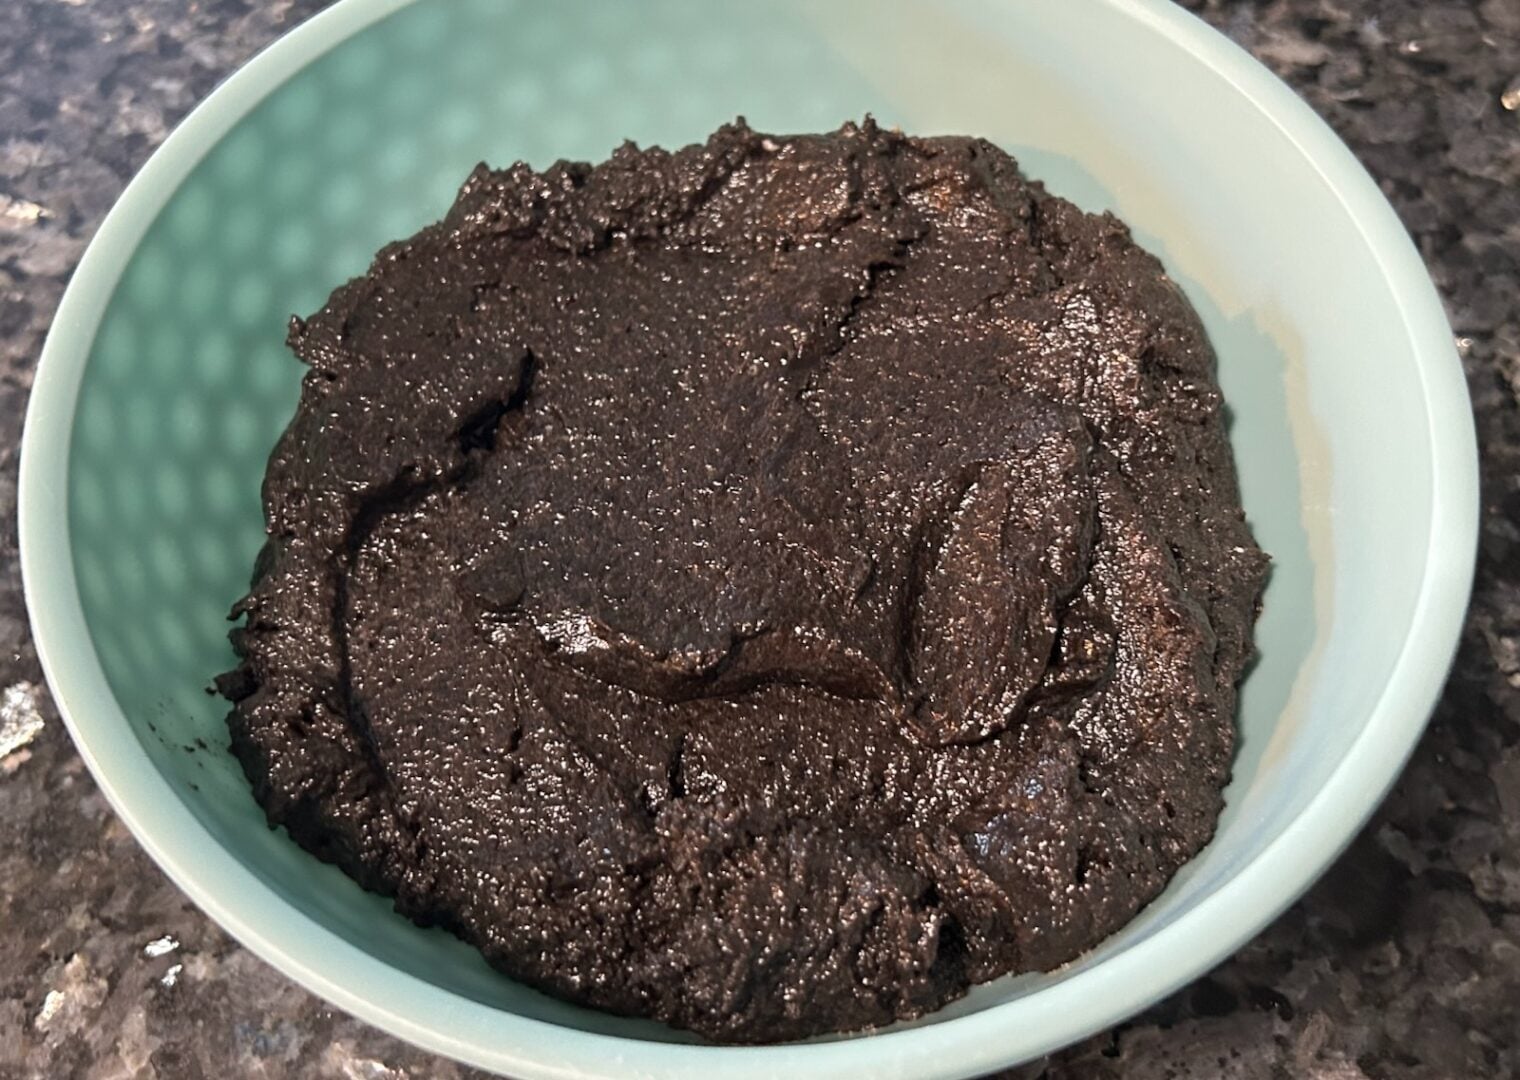
Transfer the mixture to a bowl and place it in the refrigerator for about 1 hour.
This gives the cream cheese time to firm up and makes the mixture much easier to handle.
Step 4: Roll into balls
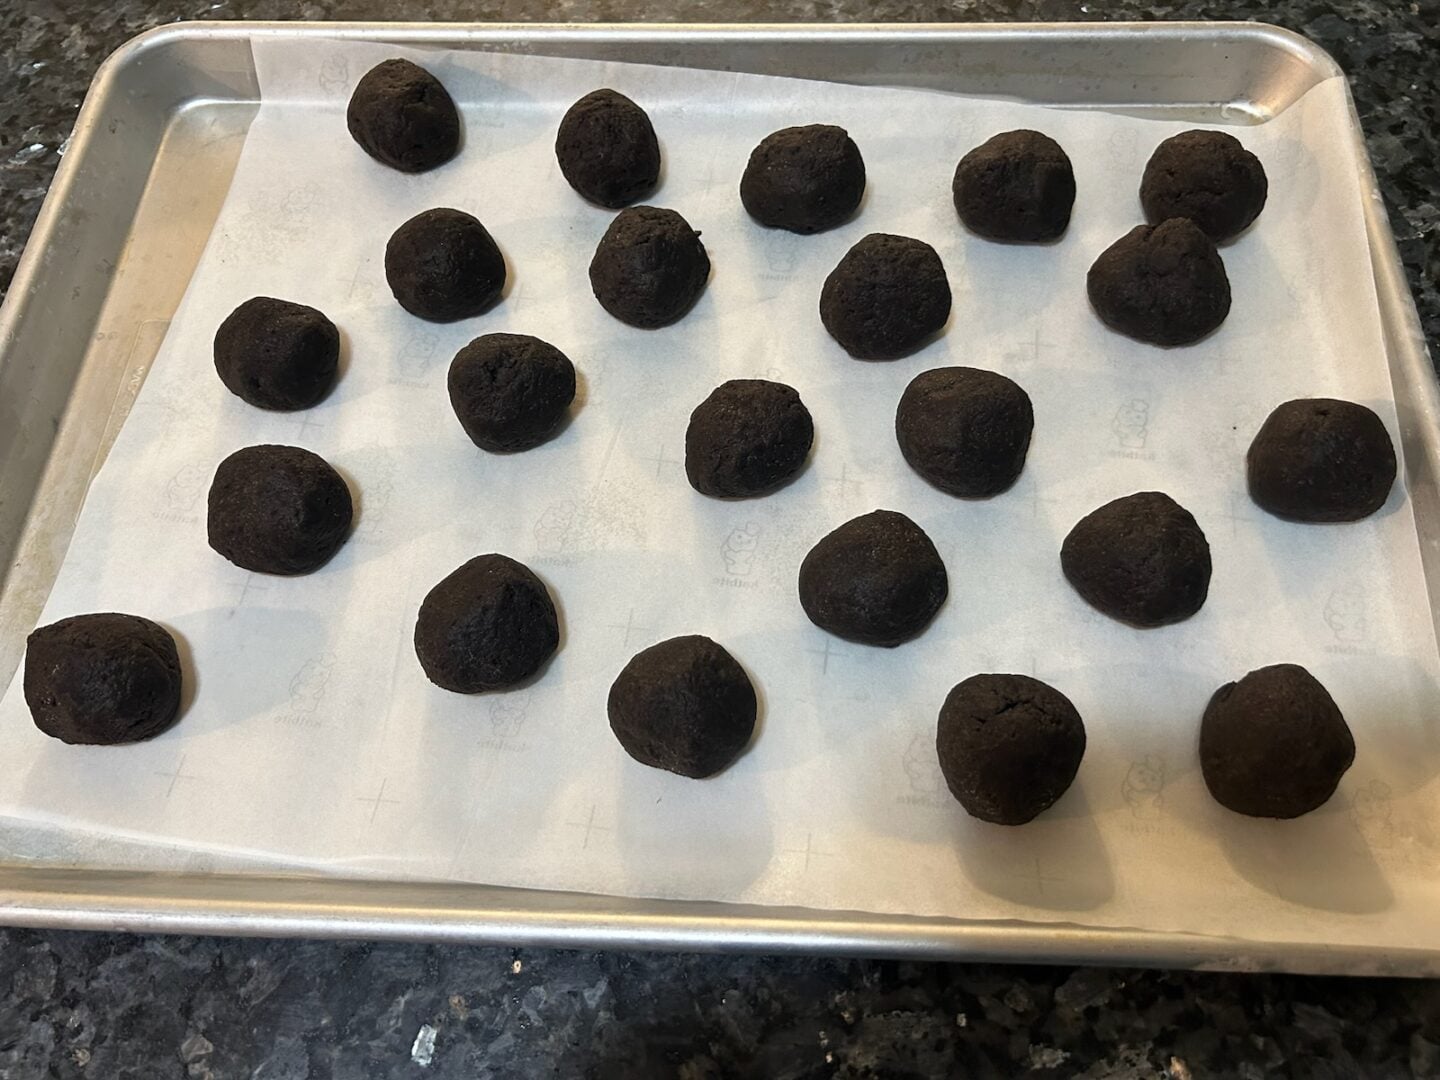
Once the mixture is firm enough to handle, scoop out portions and roll them into balls.
Place the balls onto a parchment-lined baking sheet.
I ended up with 22 truffles.
Don't worry about making them absolutely perfect. Mine were handmade, and that's part of their charm!
Step 5: Chill again
Place the tray of rolled truffles back into the refrigerator for approximately 45 minutes.
You want the centers nice and firm before dipping them into the melted chocolate.
If they're still a little soft, you can briefly place the tray in the freezer for about 10–15 minutes to help them firm up.
Step 6: Melt the chocolate almond bark
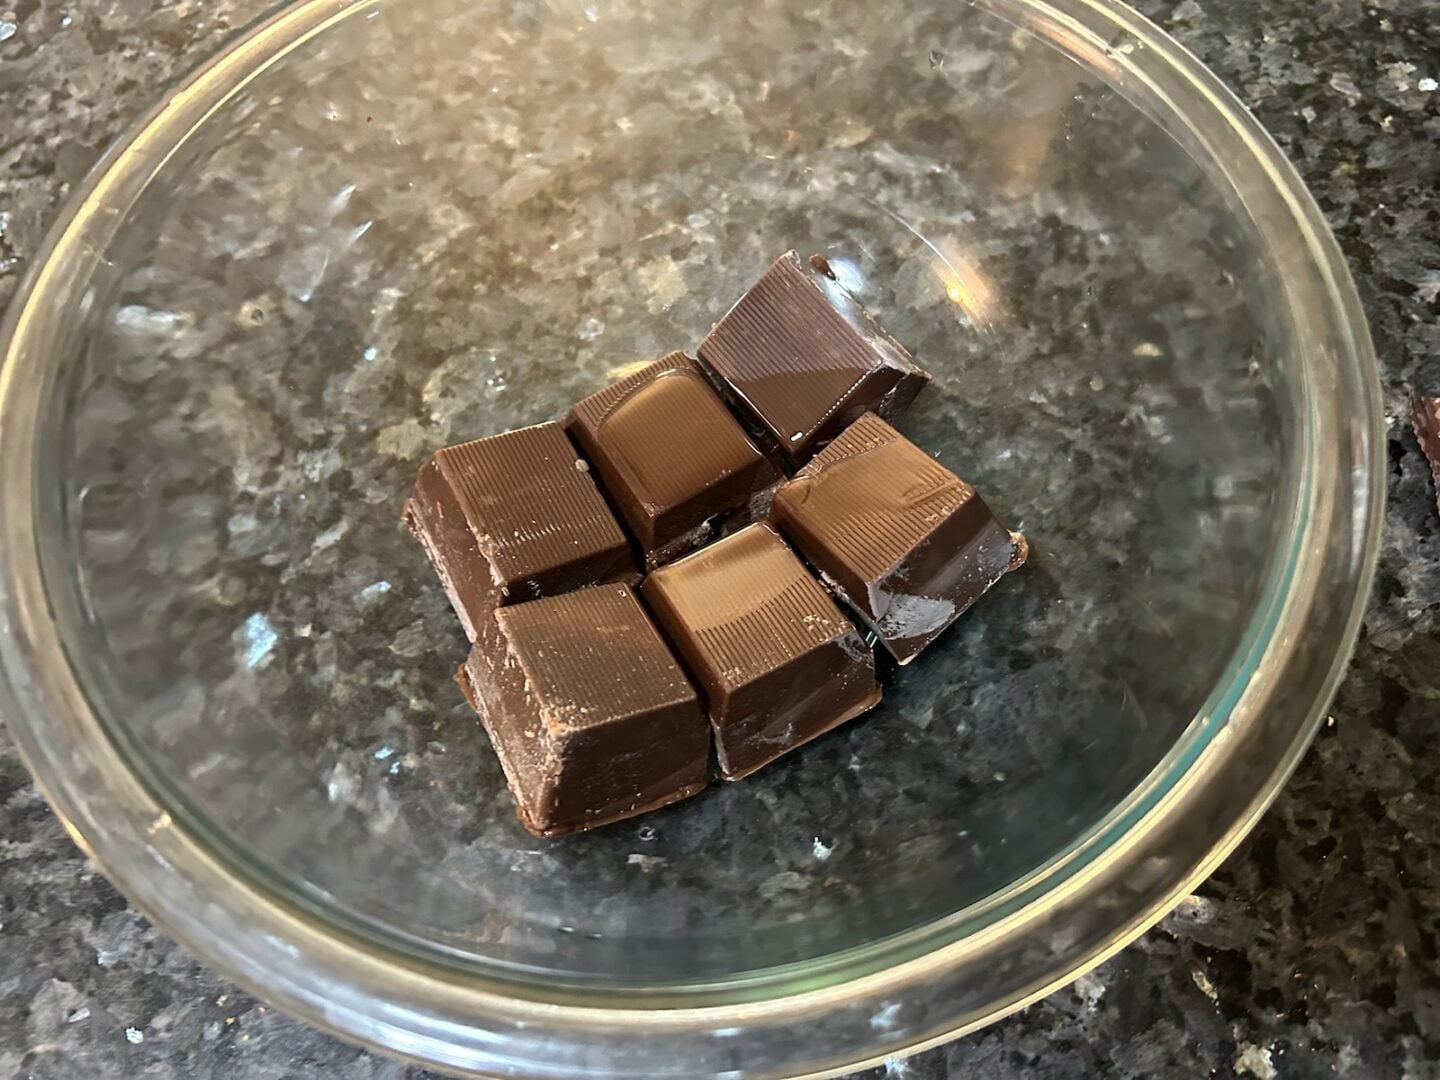
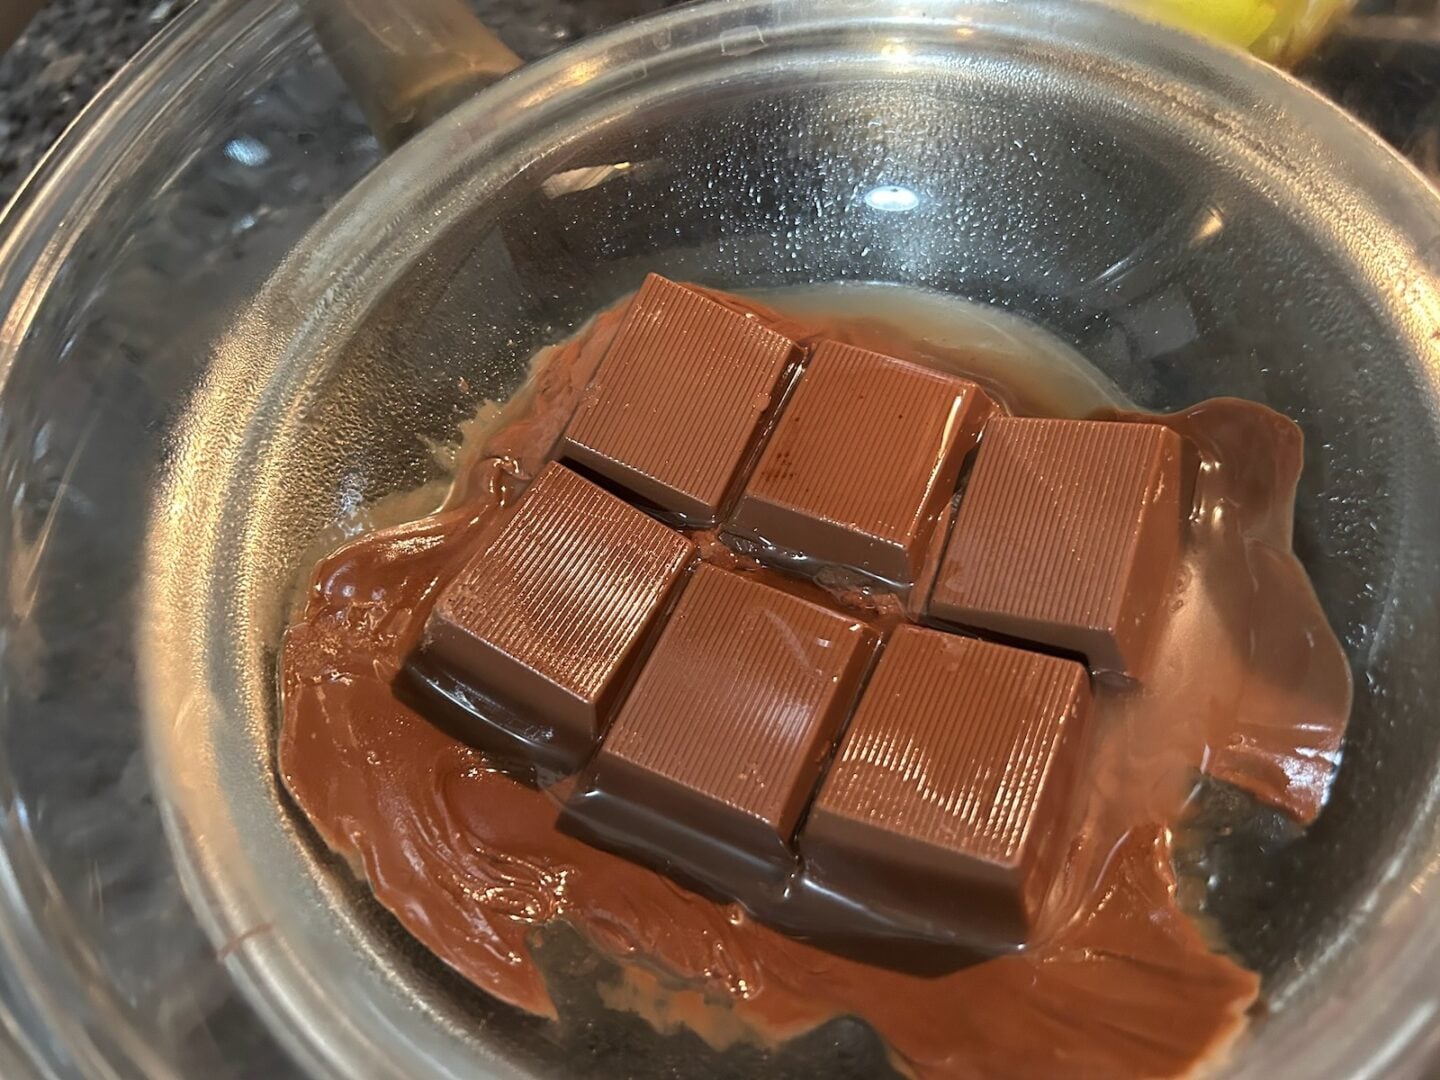
Place 6 squares of chocolate almond bark into a microwave-safe bowl.
Microwave in short intervals, stirring between each one, until the coating is smooth and completely melted.
Follow the package directions and avoid overheating.
I've discovered that six squares are generally enough for my truffle batches, whether I'm making 15, 22, or even 24 pieces.
Step 7: Dip the truffles
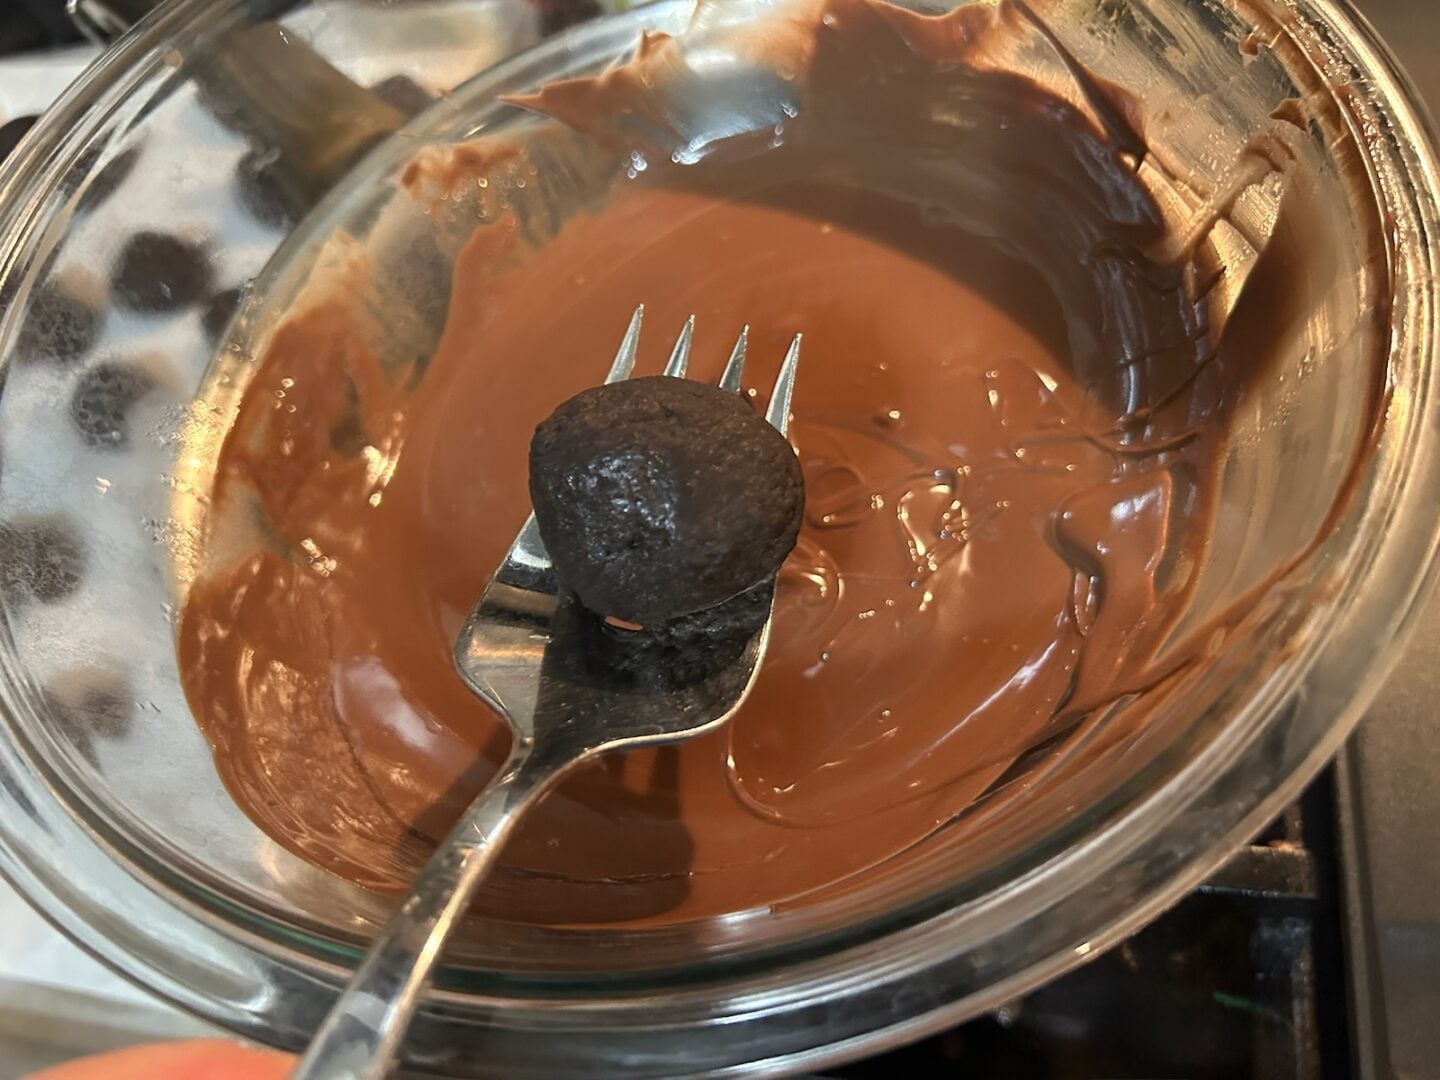
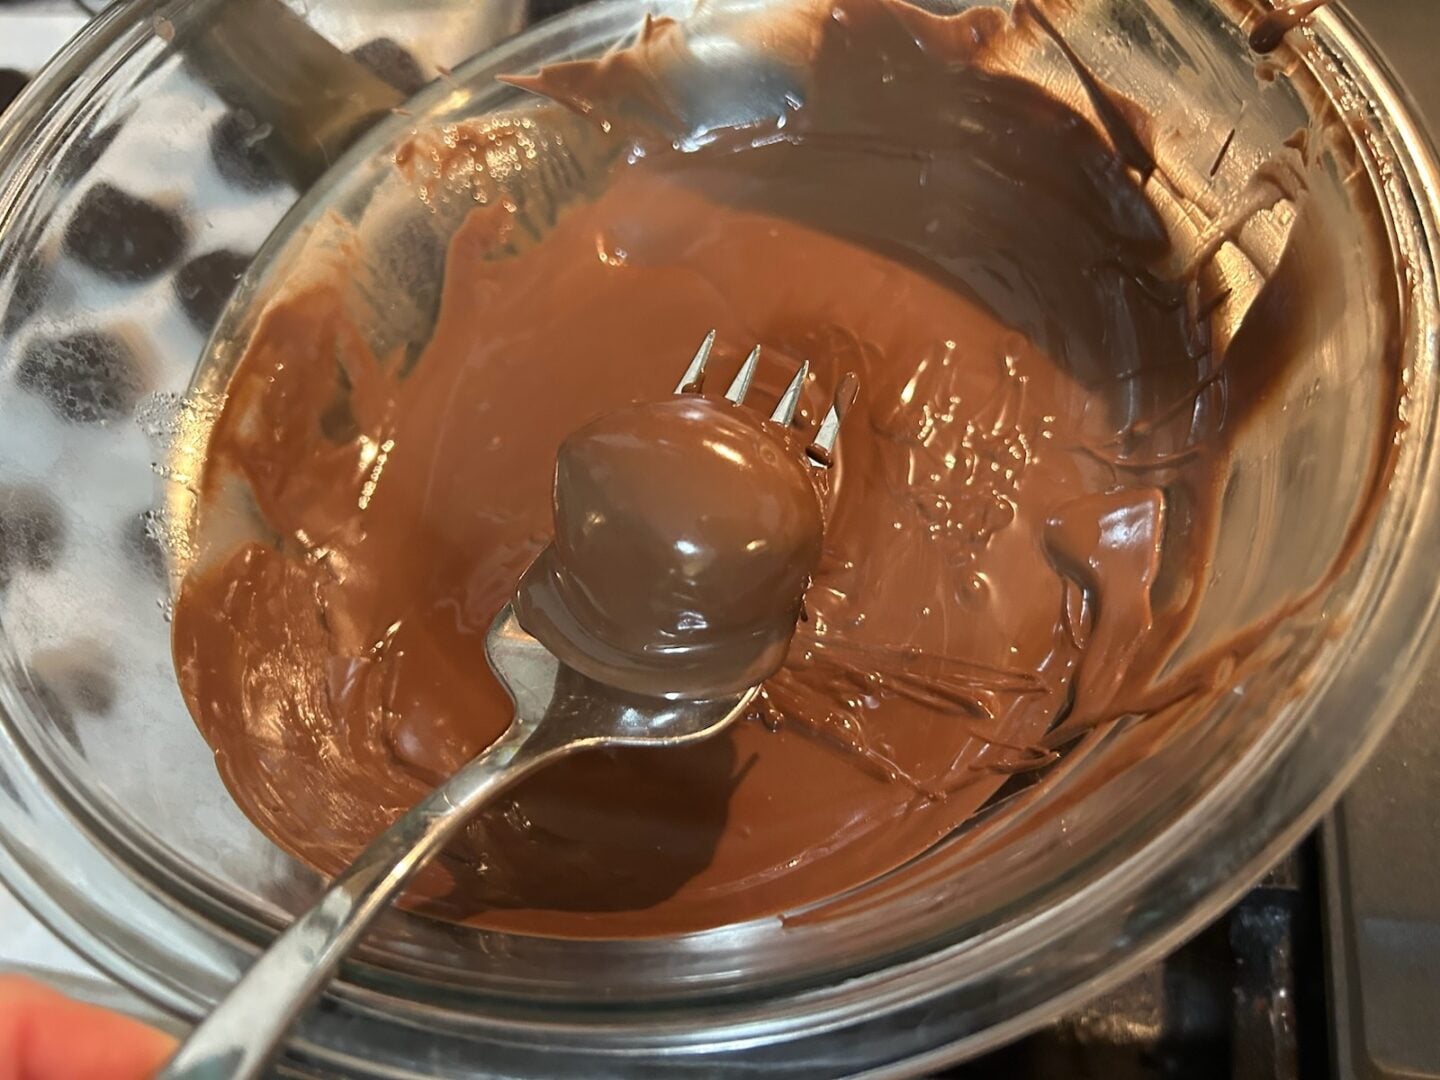
Using a fork, lower each chilled truffle into the melted chocolate.
Gently turn it until completely coated.
Lift it out with the fork, allowing the excess chocolate to drip back into the bowl.
Place the coated truffle onto parchment paper.
Repeat until all the truffles are coated.
Allow the chocolate coating to set.
Step 8: Add the pretty green drizzle


Melt approximately 2 squares of white almond bark according to the package directions.
Add a tiny amount of green oil-based candy coloring and stir until you have a soft mint-green shade.
Drizzle the colored coating over the chocolate-covered truffles.
Step 9: Chill and enjoy!

Transfer the finished truffles to the refrigerator. Allow the drizzle to set completely then use a paring knife to trim excess chocolate off of the bottoms.
These are absolutely wonderful served cold!
In fact, I think the cold temperature is part of what makes them so special.
What to Expect from These Mint Oreo Truffles

Let me tell you about that first bite.
The chocolate shell is crisp and breaks beautifully when you bite into it.
Inside, you'll discover a soft, creamy filling that reminds me of mint chocolate cheesecake.
There are tiny bits of crushed Oreo cookie throughout, giving the center a little texture.
But it's not dry or crumbly. It's rich, moist, and creamy.
And the mint flavor is just right.
Not too strong. Not overpowering. Just a lovely, refreshing hint of mint that pairs beautifully with the chocolate.
I especially love the contrast between the cold, creamy center and the crisp chocolate coating.
Cold, minty, creamy, crunchy . . . perfect!
These are definitely going on my list of favorite homemade truffles.
Make These on Christmas Cookie-Baking Day!
Here's a fun idea if you're planning a Christmas baking day with the kids or grandkids.
Why not start with these truffles?
Mix the crushed Oreos and cream cheese first, then pop the mixture into the refrigerator.
While it's chilling, you can get busy baking your favorite Christmas cookies.
After an hour, gather everyone around the table to help roll the truffle mixture into balls.
Then back into the refrigerator they go while you continue baking.
Once the centers are firm, it's time for dipping and decorating!
Younger children can help with crushing cookies, rolling the chilled mixture, or adding decorations. An adult should handle melting the chocolate and supervise dipping.
By the end of your baking day, you'll have cookies AND beautiful homemade chocolates to add to your family's Christmas candy tray.
And since these truffles don't require the oven, they won't interfere with your cookie-baking schedule.
I call that a win!
Variations: Try Different Oreo Flavors!
One of the best things about this recipe is how easily you can change the flavor.
Once you understand the basic method, you can experiment with all sorts of Oreo cookies.
Original Oreos: Make classic chocolate Oreo truffles with that familiar cookies-and-cream flavor.
Lemon Oreos: These are some of my favorites! The lemon cookies create a bright, creamy filling that's especially delicious with a sweet chocolate coating.
Golden Oreos: Perfect for a sweet vanilla-flavored truffle.
Peanut Butter Oreos: Try these for a chocolate and peanut butter combination.
Birthday Cake Oreos: Add colorful sprinkles for a fun celebration treat.
Seasonal Oreos: Keep an eye out for special holiday flavors. You never know what delicious combination you might discover!
Just remember that Oreo package sizes and filling amounts can vary, so you may need to adjust the amount of cream cheese slightly when experimenting with other varieties.
Tips for Perfect Oreo Truffles
Don't skip the chilling time. This is probably my biggest tip. The mixture needs time to firm up before rolling, and the rolled centers need to be cold before dipping.
Use the entire Oreo cookie. The filling is part of what makes these truffles so delicious.
Don't add extra mint extract. Trust me on this one! The Mint Oreos provide all the mint flavor you need.
Use a fork for dipping. It's an easy way to lift the truffles out of the melted chocolate while allowing the excess coating to drip away.
Don't overheat the almond bark. Melt it gently, stirring often.
Keep the finished truffles chilled. The cold temperature gives them that wonderful cheesecake-like texture and keeps the filling firm.
Have fun with the decorations. The pale green drizzle is lovely for Christmas, but you could also use festive sprinkles or another color of candy coating.
How to Store Mint Oreo Truffles
Because these truffles contain cream cheese, they should be stored in the refrigerator.
Place them in an airtight container, separating layers with parchment paper if necessary.
They should keep well for approximately 5–7 days when properly refrigerated.
For longer storage, you can freeze the finished truffles in a freezer-safe airtight container for up to 2 months for best quality.
Thaw them in the refrigerator before serving.
I personally recommend serving these straight from the refrigerator. That cold, creamy filling and crisp chocolate shell are part of the magic!
Frequently Asked Questions

Can I use regular Oreos instead of Mint Oreos?
Absolutely! Regular Oreos make delicious chocolate cookie truffles. You can also experiment with other Oreo flavors.
Do I need to remove the Oreo filling?
No! Use the entire cookie, filling and all. The filling helps contribute to the texture and flavor.
Do I need to add mint extract?
Not at all. The Mint Oreo cookies provide a wonderfully mild mint flavor without any additional extract.
Why is my Oreo truffle mixture so soft?
Your cream cheese may be very soft, especially if it has been sitting at room temperature for a while. Refrigerate the mixture until it's firm enough to roll.
Can I use chocolate chips instead of almond bark?
Yes, but chocolate chips don't always set as smoothly or firmly as almond bark. You may need to temper the chocolate or use a coating specifically designed for dipping.
Can I make these ahead of Christmas?
Yes! These are a great make-ahead holiday treat. Prepare them a day or two in advance and keep them refrigerated until you're ready to serve.
Can I freeze Mint Oreo truffles?
Yes. Freeze them in an airtight container and thaw in the refrigerator before serving.
Are these the same as Andes mint chocolate truffles?
No! Although they look similar, the textures and flavors are different. Andes mint truffles have a smooth, traditional chocolate-truffle filling, while these Mint Oreo truffles have a creamy, cheesecake-like cookie filling.
More Homemade Candy and No-Bake Treats
If you enjoy making these Mint Oreo Truffles, here are some other recipes you might love.
Easy Mint Chocolate Truffles (No-Bake Recipe)
These rich, smooth truffles are made with Andes mint chocolate chips. They're perfect alongside the Mint Oreo version on a holiday candy platter.
Sweet and Salty Chocolate Crunch Bark
A fun, crunchy chocolate treat that's perfect for holiday candy-making.
Homemade Candy Recipes: The Ultimate Guide to Delicious Homemade Treats
Looking for even more homemade candy inspiration? This collection is packed with sweet ideas for holidays, parties, and special occasions.
For another delicious Oreo variation, try my Lemon Oreo Truffles (Easy No-Bake Party Treat)!
Final Thoughts
I have to say, these Mint Oreo Truffles were one of the happiest surprises of my recent candy-making adventures.
I knew I loved Oreo truffles, and I knew I loved chocolate and mint.
But I wasn't prepared for just how delicious this particular combination would be!
The filling is creamy, the cookie crumbs add a little texture, the chocolate coating is crisp, and the mint flavor is wonderfully mild.
And considering how little actual work goes into making them, I think they're an especially good choice for Christmas.
Whether you're making a holiday candy tray, spending a baking day with the grandkids, or just looking for something sweet to keep in the refrigerator, these little treats are sure to be a hit.
If you give them a try, I'd love to hear what you think!
And if you're feeling adventurous, try another Oreo flavor next time.
Happy candy-making, friends!
Before you go, why not pin some photos to your Pinterest boards?
Janice Thompson is a professional baker, cake designer, and author with over 20 years of experience creating unique cakes and desserts. She’s the creator of Out of the Box Baking, where she shares her favorite doctored cake mix recipes, tutorials, and baking tips. Learn more →

Easy Mint Oreo Truffles
These easy no-bake Mint Oreo Cookie Truffles feature a creamy, cheesecake-like filling made with crushed Mint Oreos and cream cheese, dipped in crisp chocolate almond bark and finished with a pretty mint-green drizzle. Perfect for Christmas candy trays!
Ingredients
- 1 family-size package (18.71 ounces) Mint Oreo cookies
- 1 package (8 ounces) cream cheese, softened
- 6 squares Great Value chocolate almond bark (12 oz)
- 2 squares white almond bark
- Tiny amount of oil-based green candy coloring, optional
Instructions
- Place the entire package of Mint Oreo cookies, including the filling, into a food processor. Process until finely crushed.
- Add the softened cream cheese and process until thoroughly combined.
- Transfer the mixture to a bowl and refrigerate for 1 hour, or until firm enough to roll.
- Scoop and roll the mixture into 22 balls. Arrange on a parchment-lined baking sheet.
- Refrigerate the rolled balls for approximately 45 minutes, until firm. If necessary, briefly freeze for 10–15 minutes to help them hold their shape.
- Melt 6 squares of chocolate almond bark in a microwave-safe bowl according to package directions, stirring frequently.
- Dip each chilled truffle into the melted chocolate using a fork. Allow excess chocolate to drip off, then transfer to parchment paper.
- Allow the chocolate coating to set.
- Melt 2 squares of white almond bark according to package directions. Tint with a tiny amount of oil-based green candy coloring, if desired.
- Drizzle the colored coating over the truffles and allow it to set.
- Refrigerate until ready to serve. Enjoy chilled!
Notes
* The filling may be very soft immediately after mixing. Chilling is essential.
* No additional mint flavoring is necessary.
* Keep the finished truffles refrigerated because they contain cream cheese.
* Store in an airtight container in the refrigerator for approximately 5–7 days.
* Freeze for up to 2 months for best quality.
* Almond bark square sizes vary by brand and package. Use enough melted coating to dip all 22 truffles.
* Different Oreo flavors may require slight adjustments to the cream cheese ratio.
Nutrition Information:
Yield: 22 Serving Size: 1Amount Per Serving: Calories: 290Total Fat: 18gSaturated Fat: 10gCarbohydrates: 33gFiber: 0gSugar: 25gProtein: 3g
The nutrition information is a product of online calculators. I try to provide true and accurate information, but these numbers are estimates.