

Learn how to make bacon cheddar ranch sourdough bread with step-by-step instructions. This savory artisan loaf is packed with crispy bacon, sharp cheddar, and ranch flavor—perfect for sandwiches or snacking.
PIN FOR LATER

What Makes Bacon Cheddar Ranch Sourdough Special?
I don’t know how or why these flavors work so beautifully together, but they most certainly do! This flavor combination is a true powerhouse, especially in this bread loaf!
Let’s break it down, one ingredient at a time:
- Bacon: I think I loved this bread because of the bacon. It made the loaf so incredibly rich and absolutely enhanced the whole loaf. Those pieces of bacon were little tiny little pockets (or surprises) of flavor. So delicious!
- Cheddar brings a lovely creaminess and causes pockets of gooey texture. This works because it balances out the tang of the sourdough and the saltiness of the bacon.
- Ranch: A little goes a long way, friends! But you’re definitely going to want to add a couple tablespoons of ranch powder because it delivers a punch! It’s herby. It’s garlicky. It’s oniony. It ties absolutely everything together.
When you merge these three flavors with sourdough starter, you get a truly magical result!
Without further ado, let’s dive right in!
Note: If you prefer to use my same-day sourdough method, feel free! I think this loaf could benefit from a little yeast, since it’s so heavy, but you can choose your texture by choosing your method. (I have a full post on the three sourdough methods.)
Ingredients You’ll Need
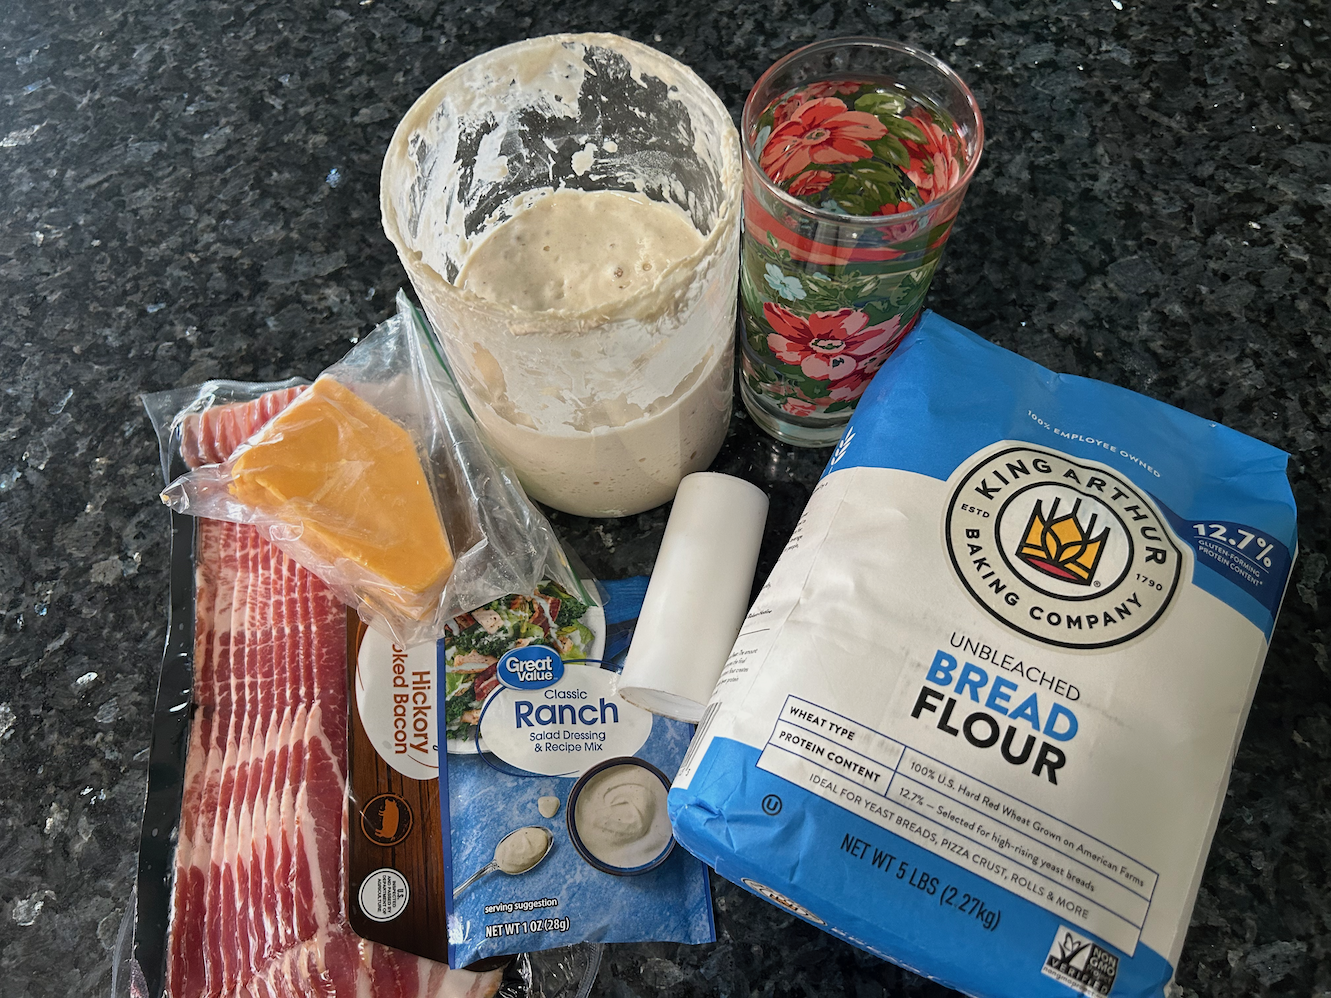
You will find a full printable recipe card at the bottom of this post but here’s a quick look at what you’ll need to make this sourdough. These are simple ingredients you might already have in your kitchen.
- 100g starter
- 350g water
- 500g flour (all purpose is fine)
- 10g salt
- ¾ cup finely chopped (cooked) bacon (well drained0
- 6 ounces cheddar (finely cubed or grated)
- 2 tablespoons ranch powder
Along with these ingredients you would benefit from having the following supplies:
Kitchen scale: I couldn't make bread without this handy tool!
Large mixing bowl: I prefer glass because I like to see through it.
Danish dough whisk: This has come in so handy!
A bowl scraper: Not to be confused with a bench scraper!
Banneton proofing basket: These are ideal for letting your dough rest overnight in the fridge.
Bread Lame (scoring tool): I learned pretty quickly that a sharp knife won't do the trick. You need the sharpness of a razor and the lame is the perfect choice.
Tea towel or cheesecloth: I love mine!
Dutch oven: It's critical to buy one that can withstand oven temps up to 500 degrees Fahrenheit.
Parchment paper sheet: I always keep these in my house. (They come in handy for my cookie-baking days!)
How to Make Bacon Cheddar Ranch Sourdough Bread
You can adjust the following schedule to meet your own needs.
DAY ONE:
8:00 AM
Start the day by feeding your starter using the 1:1:1 method (equal portions starter, room temperature water, and flour).
Example: 100 grams of starter, 100 grams of water, 100 grams of flour
Let the starter sit for 4-5 hours until it doubles in size and turns bubbly.
(I promise you will benefit greatly from using this method instead of starter straight from the jar.)
12:00 PM
Check your starter to make sure it’s ready to go. Drop a pinch in some water. If it floats, you’re good to go!
Grab your kitchen scale and mixing bowl. I use an 8-cup glass pyrex, but you can choose whatever you like.
Combine the ranch powder with the flour. Set aside.
Measure 350 grams of room temperature water into your mixing bowl.
Add 100 grams of your activated starter and whisk well using the bread whisk.

Add 500 grams of flour/ranch mixture and 10 grams of salt. (If your ranch powder is salty you can cut back to 5 grams of salt.)
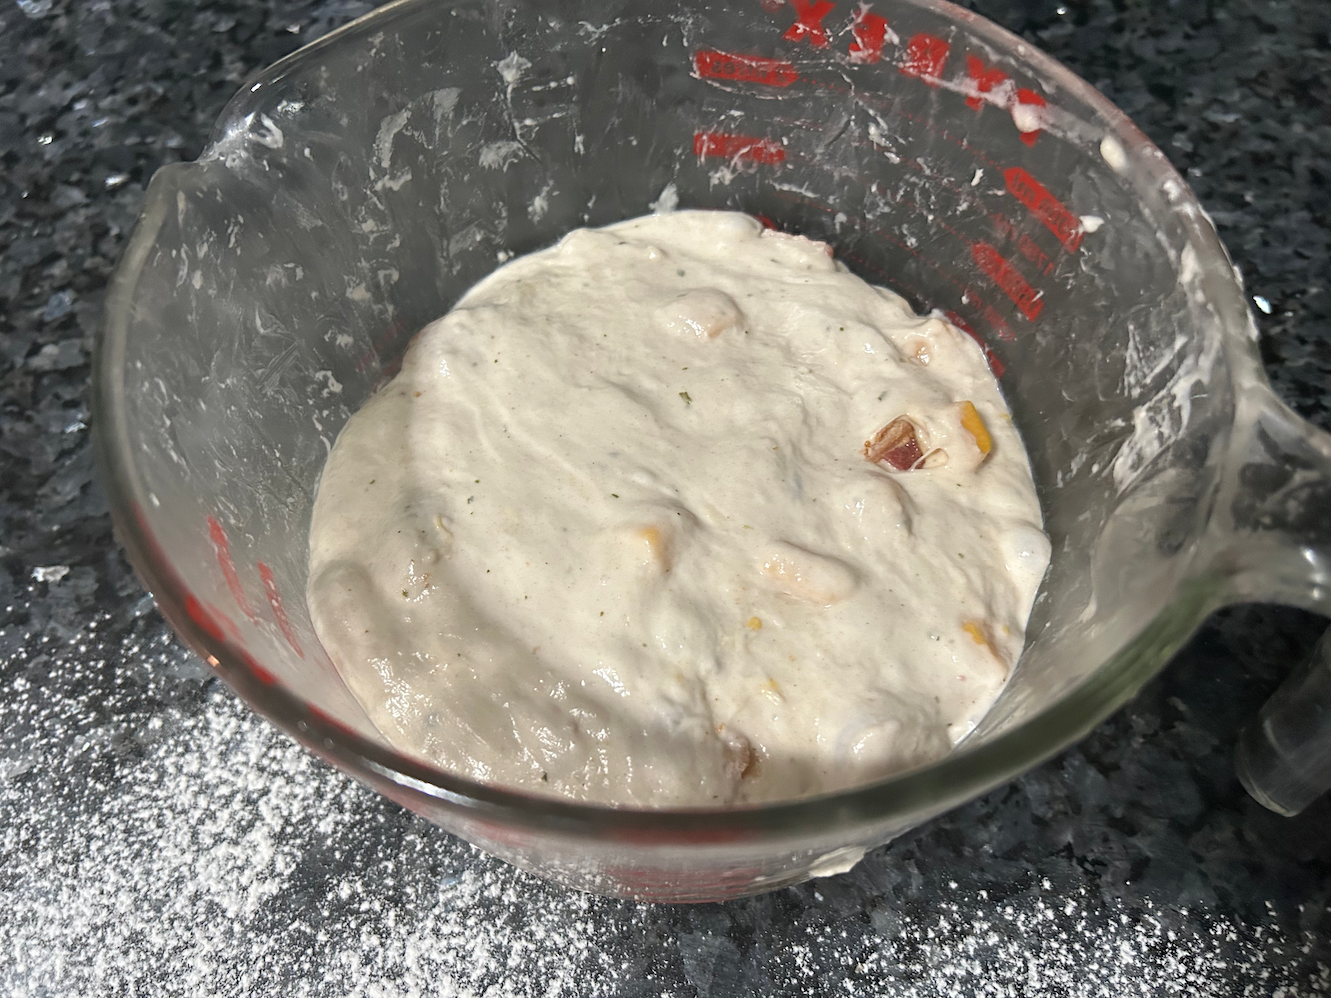
Use the bread whisk to create a shaggy dough. It’s going to be sticky, but that’s what you want.
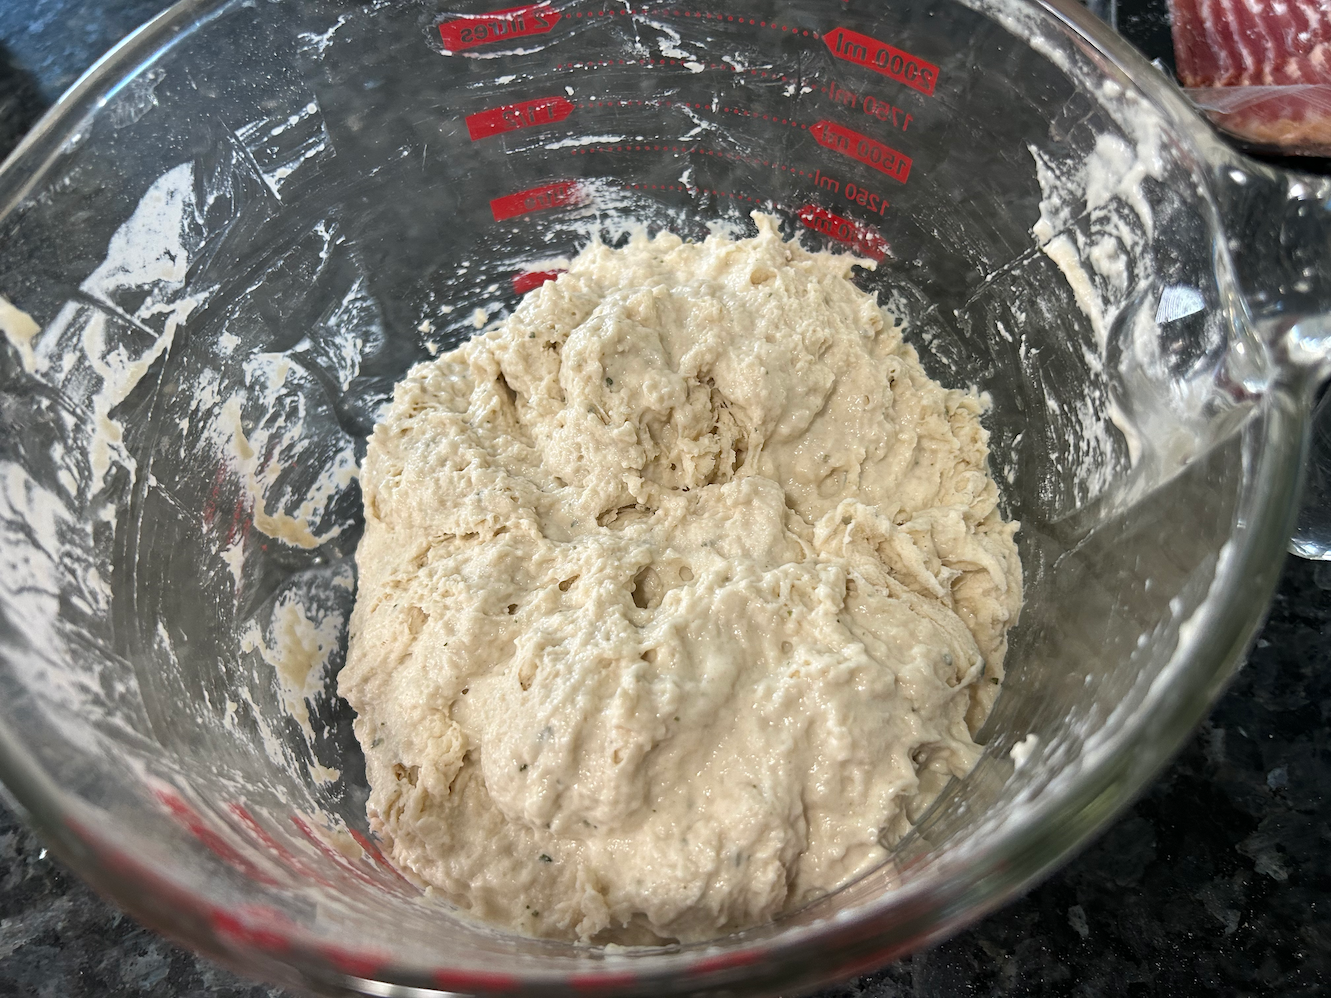
Use the bowl scraper to pull the excess dough away from the edges of the bowl.
I scrape the edges and pull the dough toward the center, all the while pivoting the bowl.
Cover with a tea towel or cheesecloth and set aside for an hour.
This hour provides the perfect time to prep your cheese and bacon. If the cheese isn’t cut (or grated) get that ready and place it back in the refrigerator.
As for the bacon: cook it until it’s almost done but not super crisp. The key here is to drain all of the excess oil off of it. If you skip this step your bread will be gummy and too moist inside. (The bacon will continue to release oils into the best as it bakes later on.)
1:00 PM
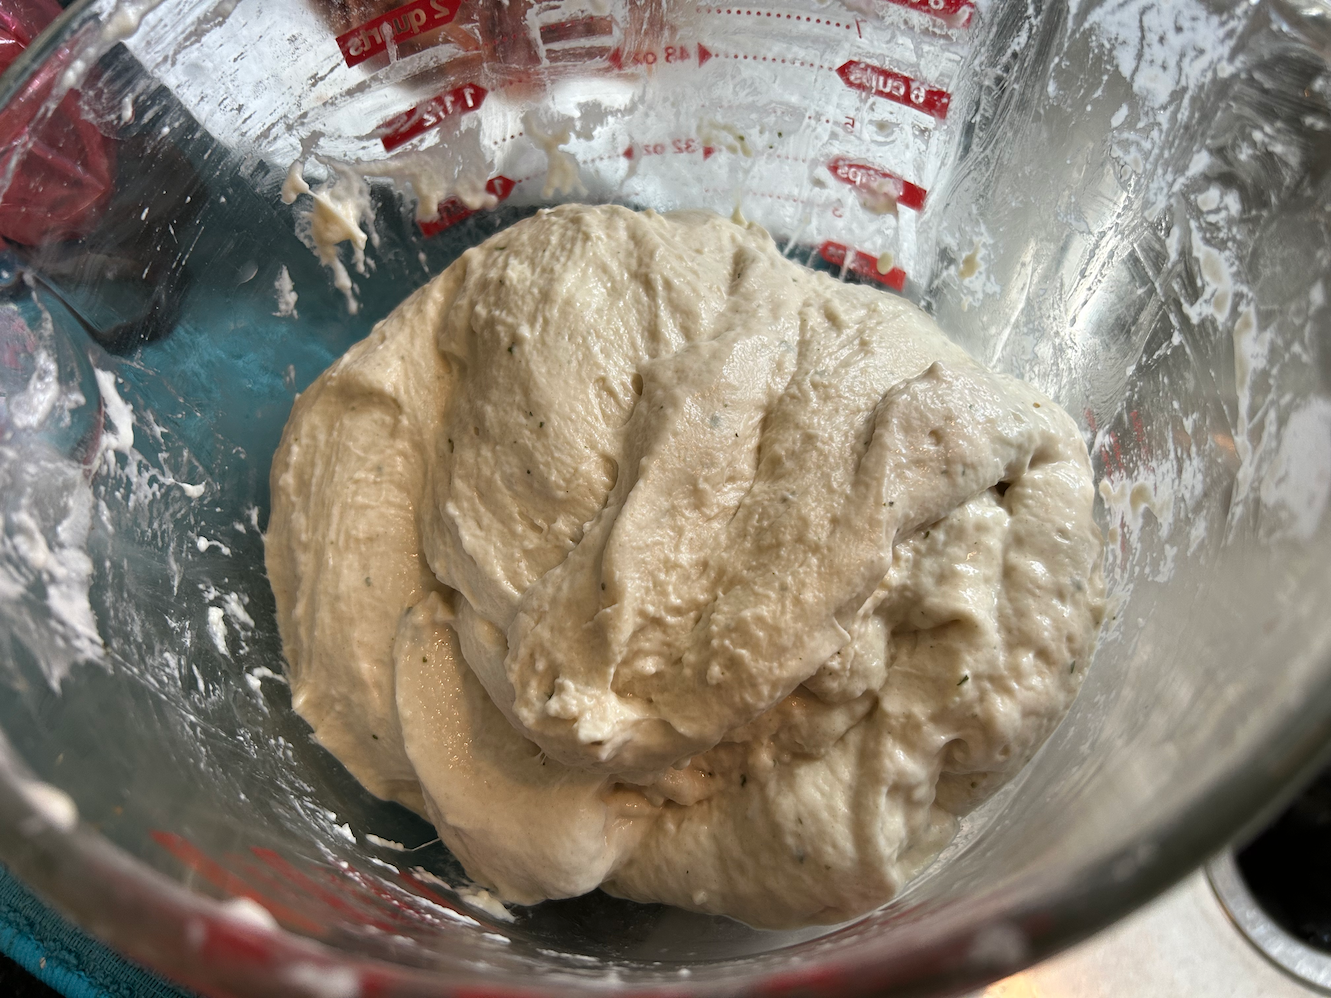
It’s time for your first round of stretch and folds. Wet your hands, reach down into the bowl and pull up the dough as far as you can, and fold it over to center. Rotate the bowl a quarter turn and repeat this process. Keep turning until you’ve stretched and folded all of the dough. Loosely cover.
1:30 PM

Perform your second stretch and folds. This is the time to add your bacon and cheese to the dough. (The next time I make this bread I’ll probably lightly toss the bacon pieces in flour before adding them.) Work it in as best you can. Cover, and set aside.
2:00 PM
Perform your third stretch and folds. This is the time to really make sure those add-ins are well incorporated.
2:30 PM
Perform your fourth/final stretch and folds.
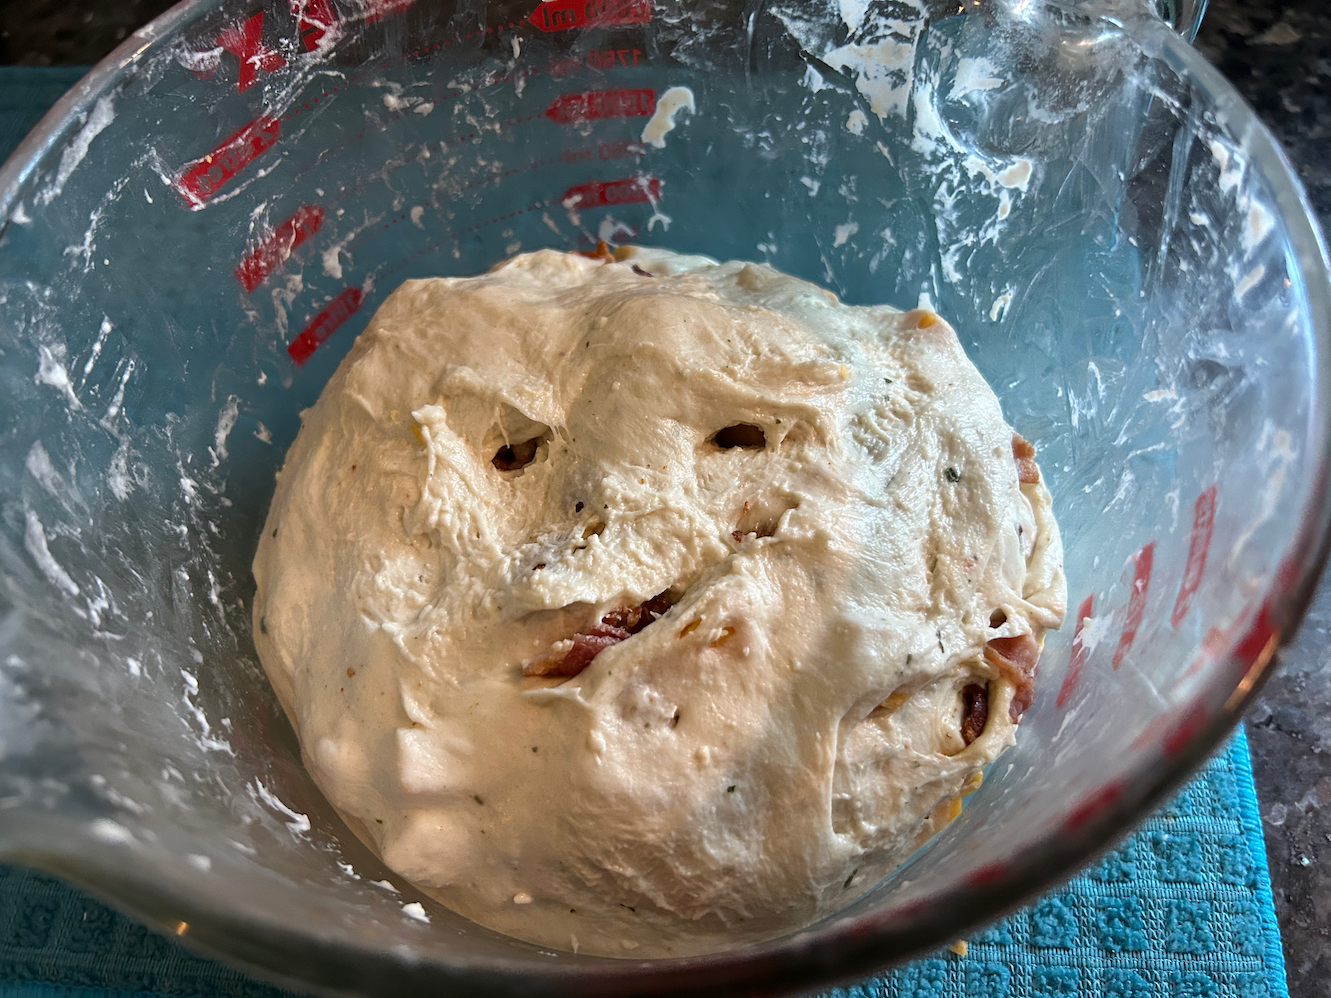
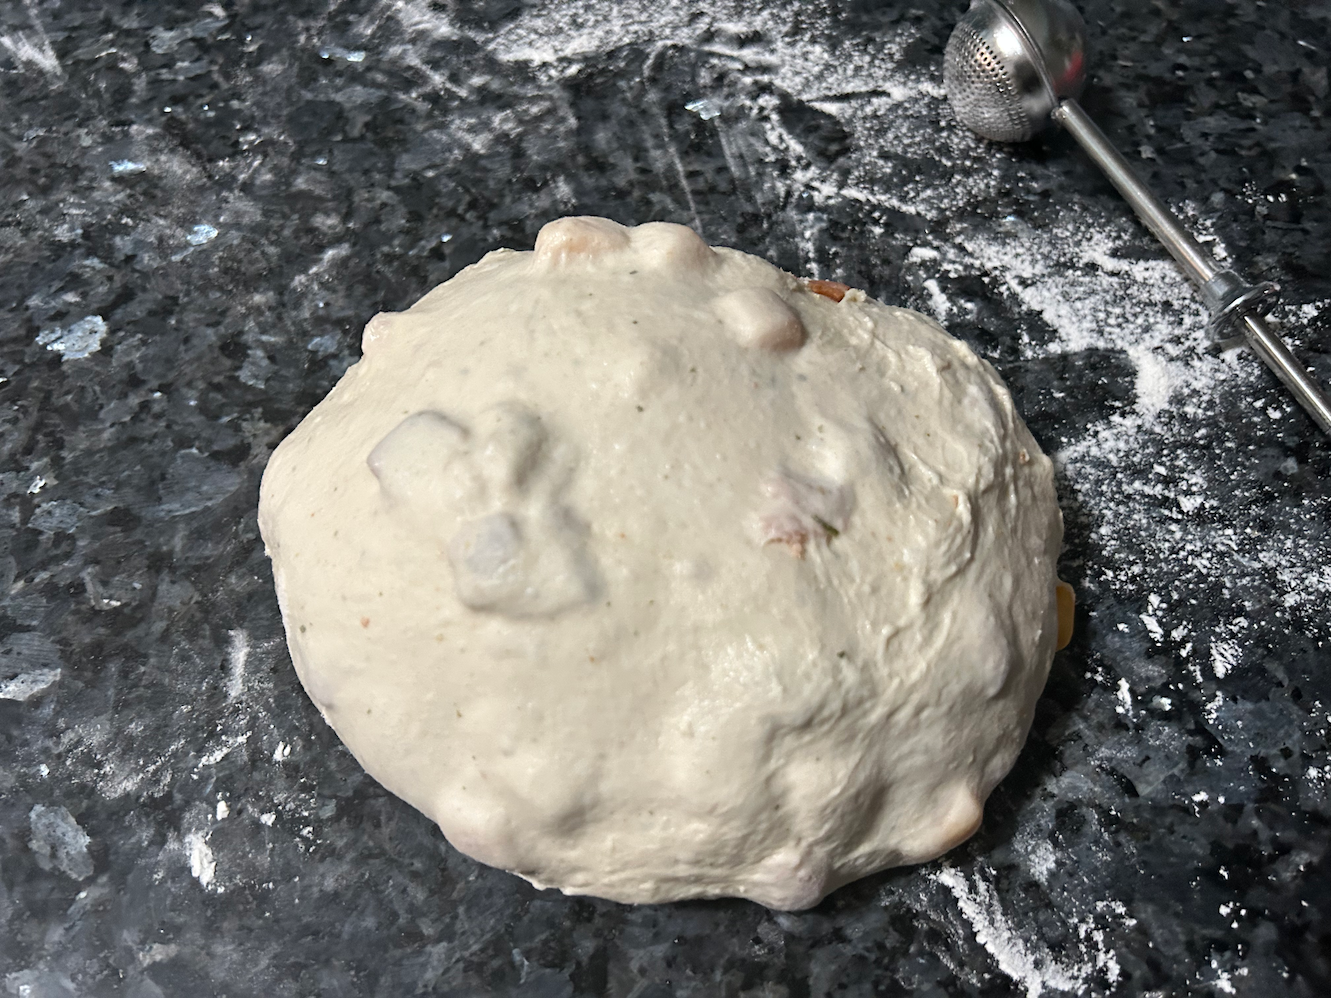
Cover dough and leave it to proof for 4-5 hours (no longer than five hours). You should see some rise during this process, but not the same amount you would see in a yeasted dough.
7:00 PM
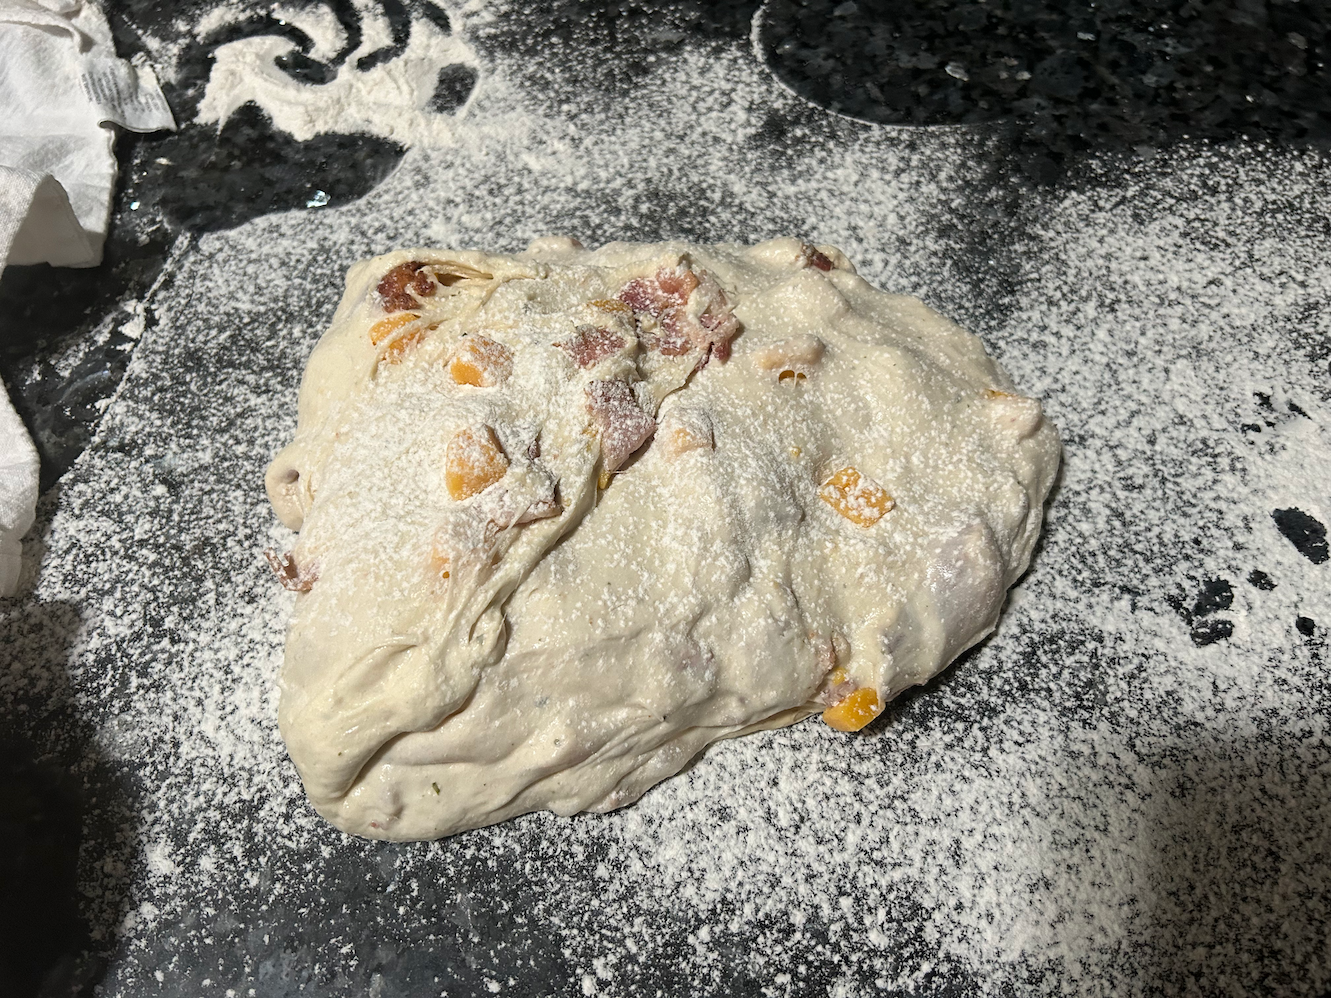
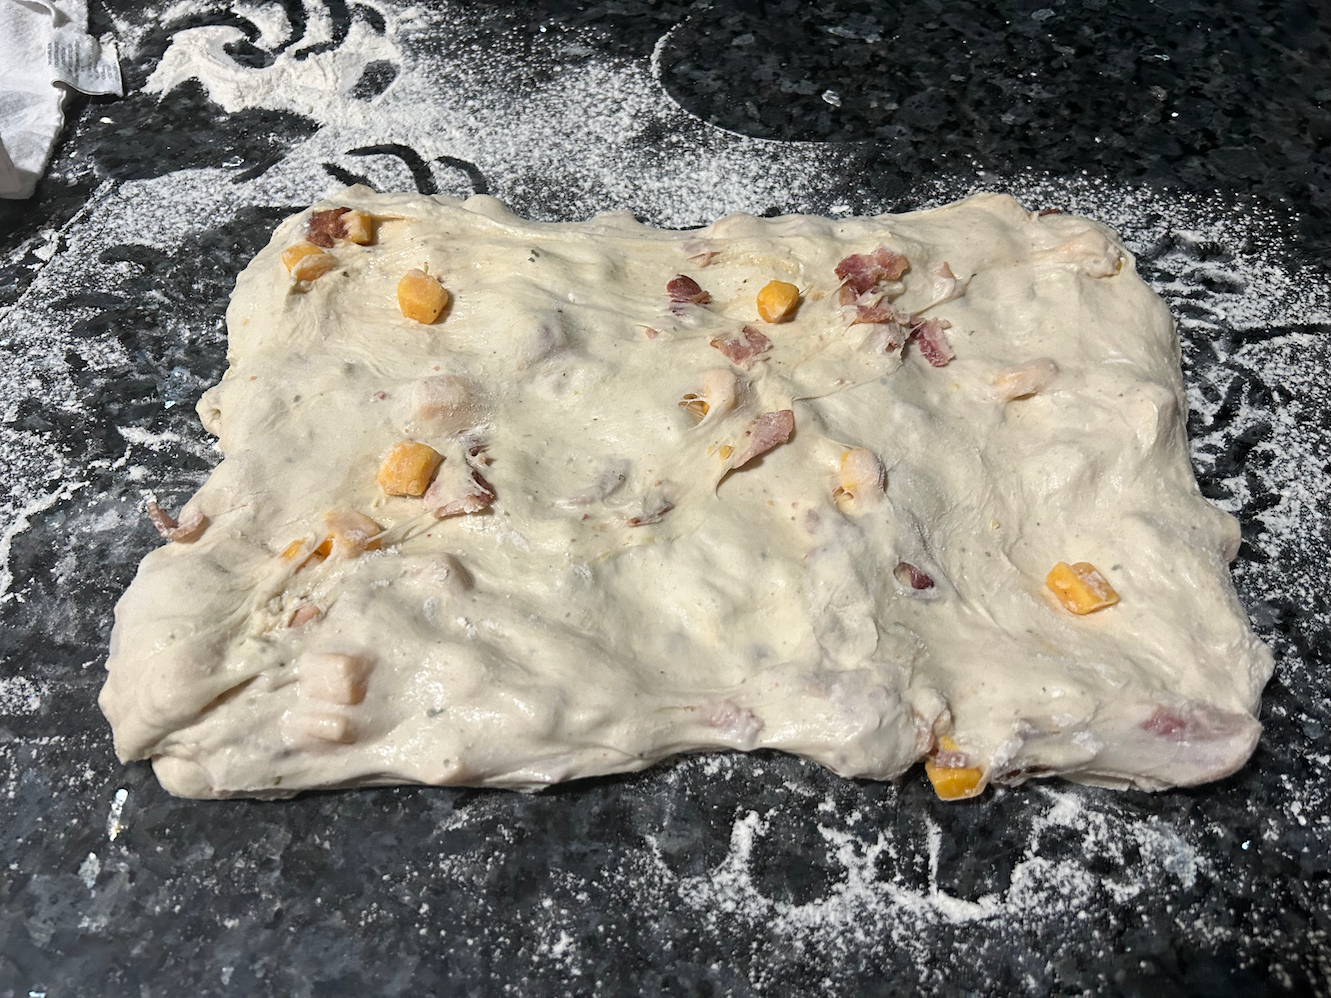
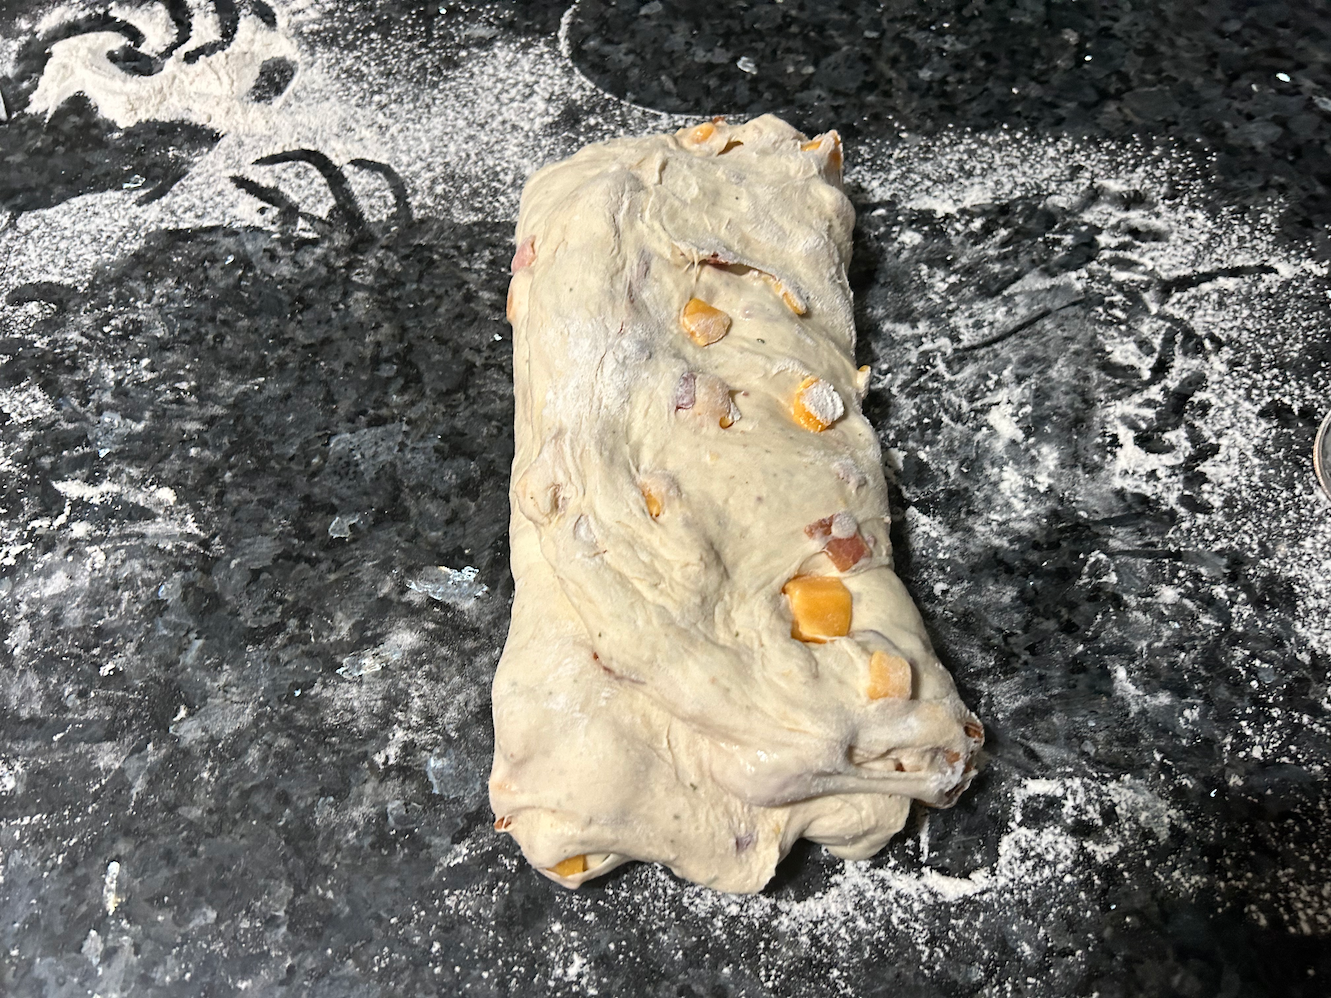
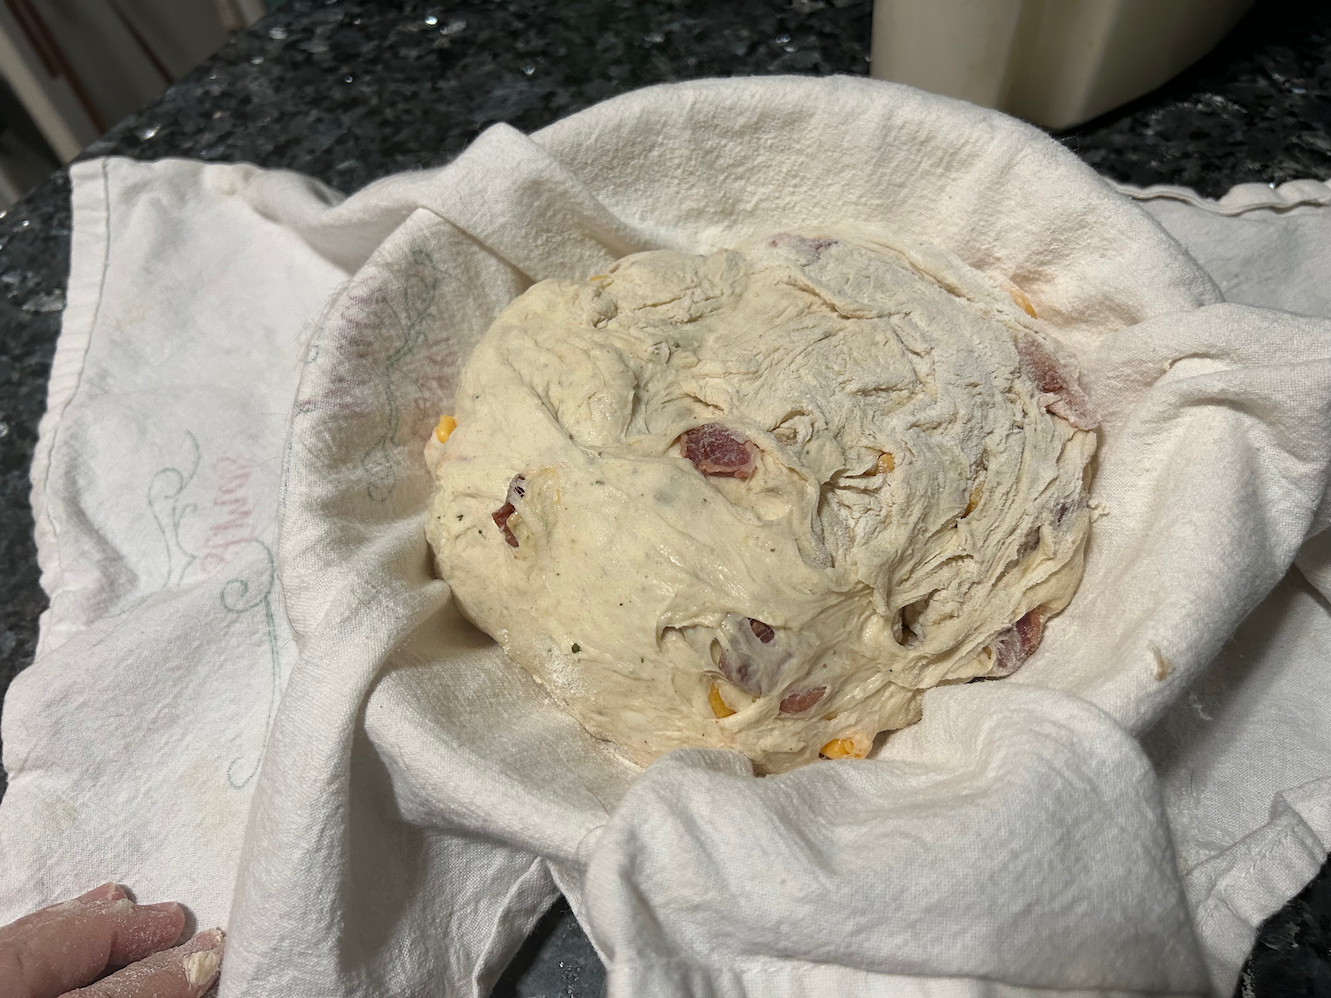
Once the dough has proofed it’s time to shape it into a loaf. I have tried a variety of methods over the past few months but the easiest (to my way of thinking) is to stretch the dough into a rectangle and then fold it envelope style.
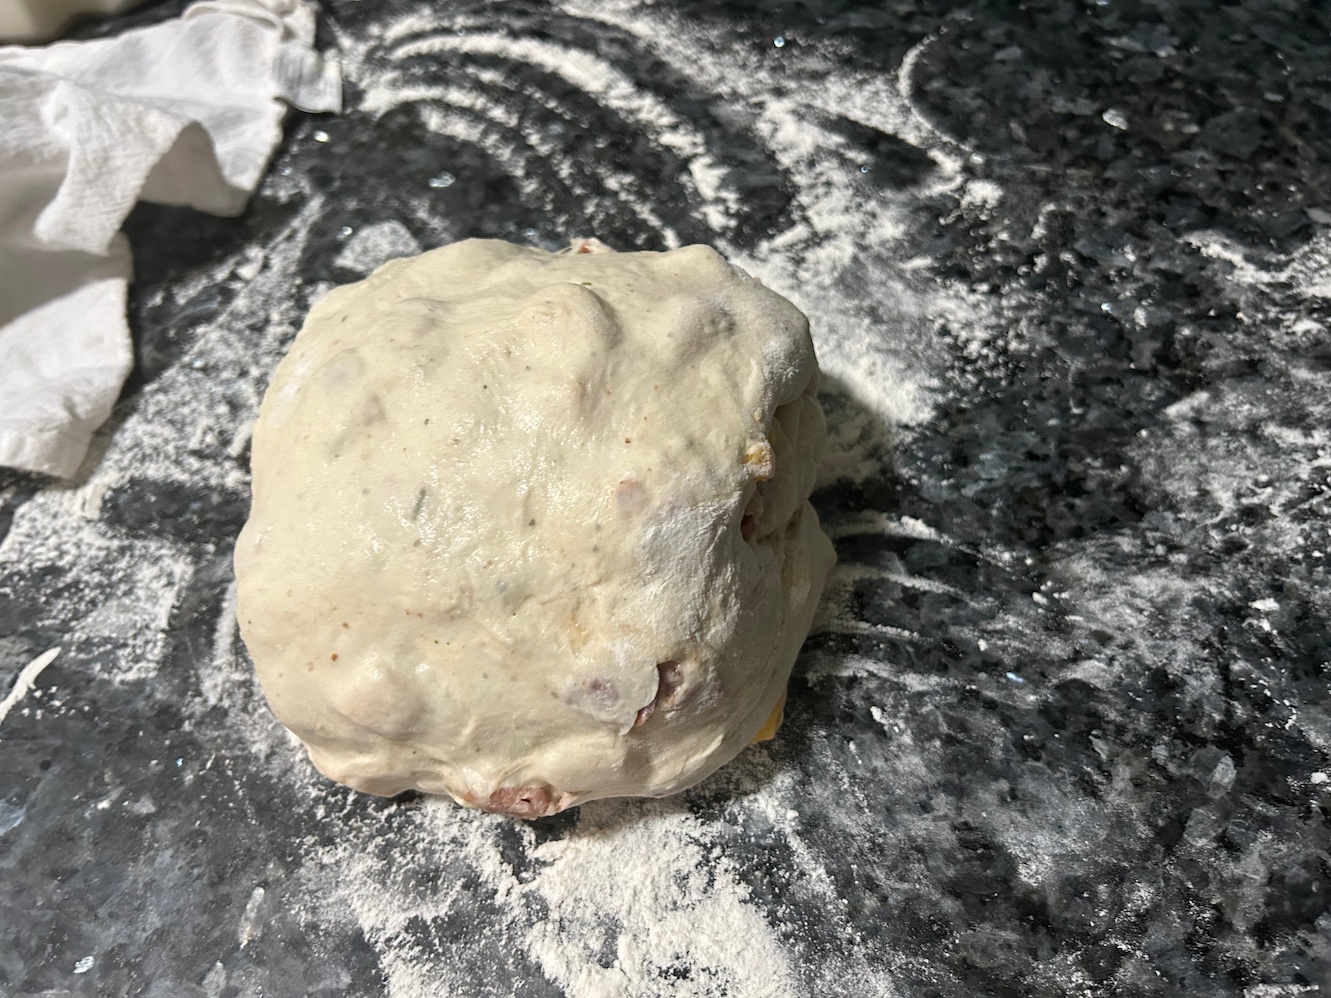
7:15 PM
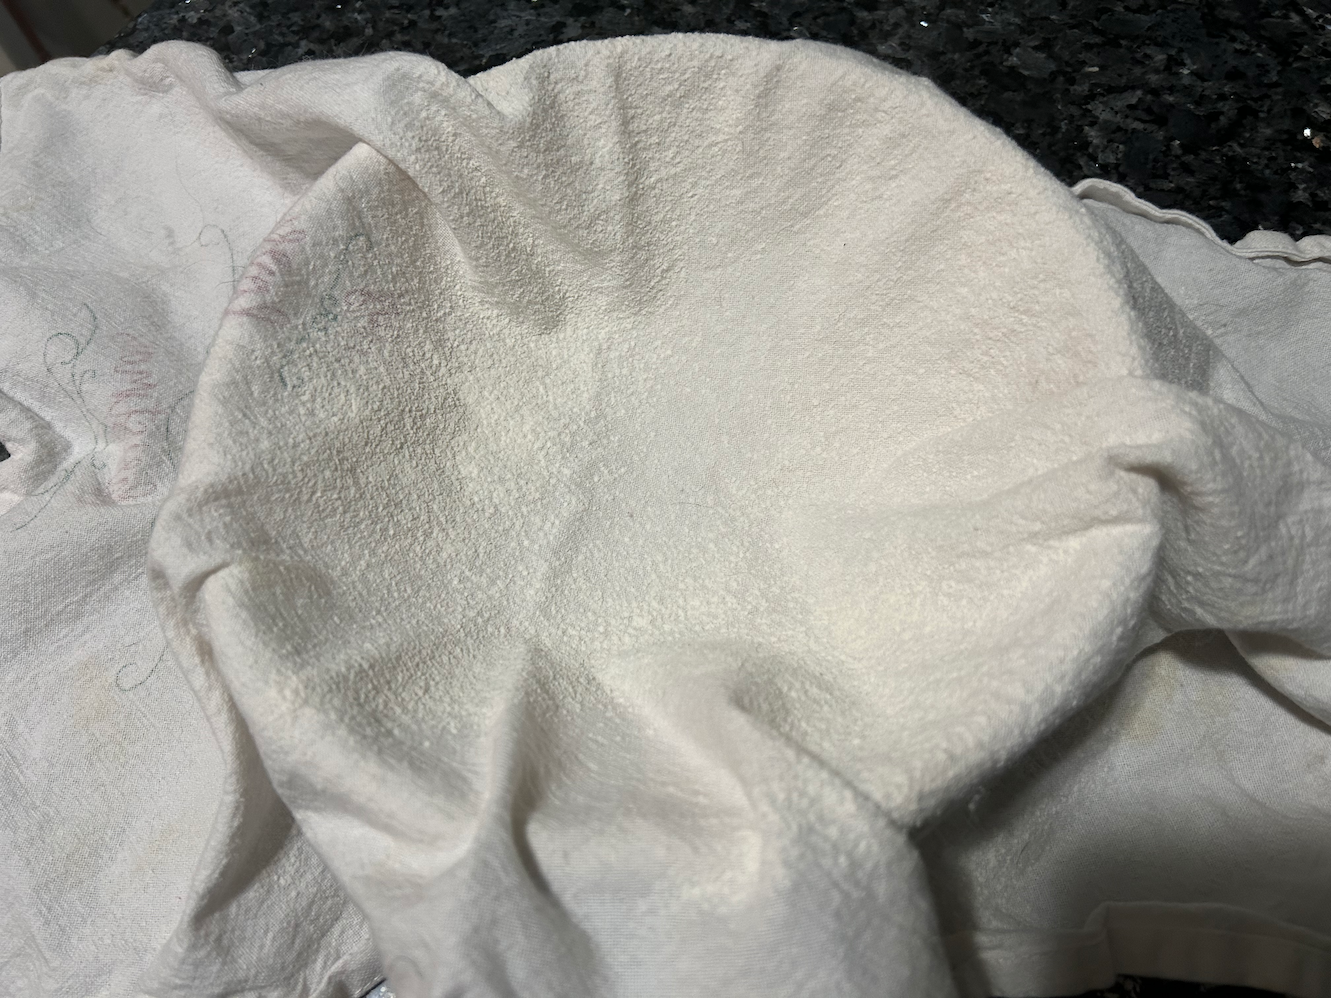
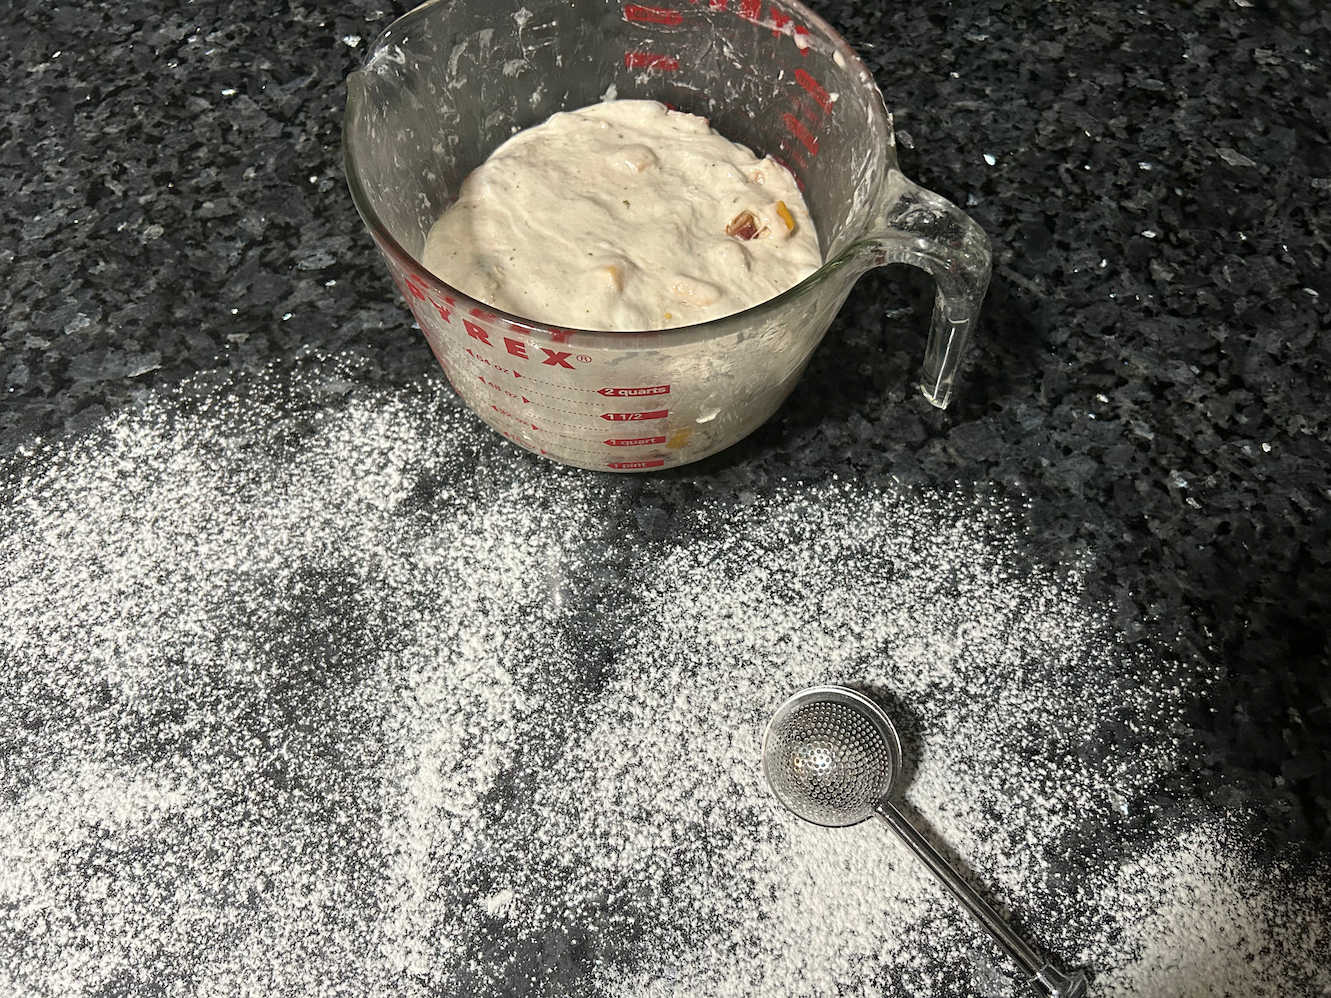
Lightly flour a Banneton bowl. (These days I usually place a cheesecloth or tea towel in the banneton and flour that.)
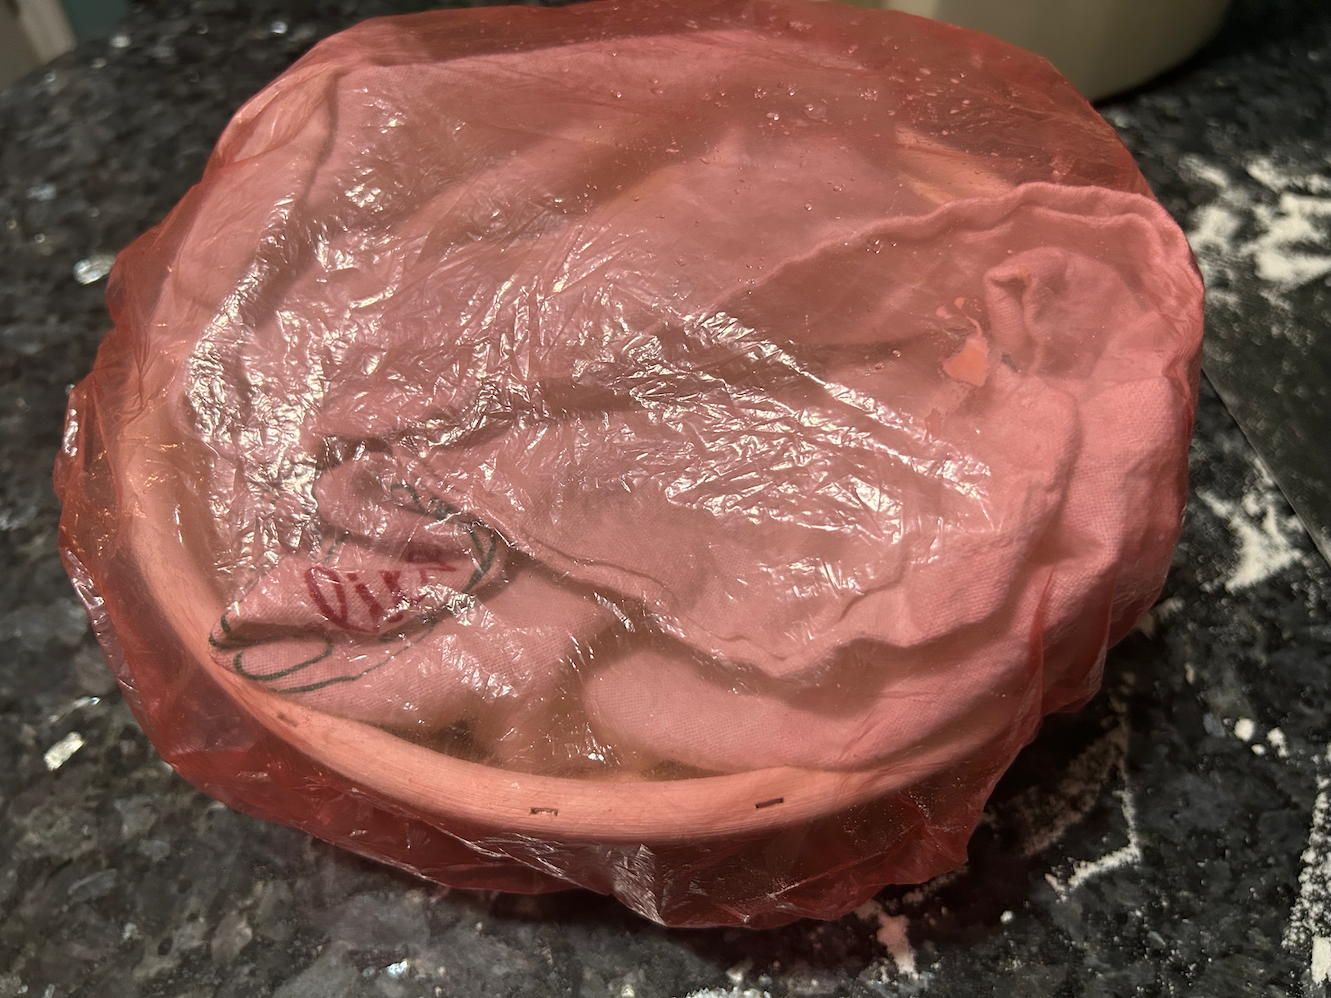
Set the loaf inside (flipping over to put the smooth side down). Cover with tea towel or cheesecloth and set in refrigerator to rest overnight.

DAY TWO:
8:00 AM
Place your empty dutch oven (with lid) in oven and set the temperature at 500 degrees Fahrenheit. Leave it in the oven for a full hour.
9:00 AM
Lower the oven temperature to 450 degrees Fahrenheit.
Remove the banneton from the refrigerator.
Crumple a piece of parchment paper and place it on top of the bowl.
Flip the dough ball out onto the wrinkled paper.
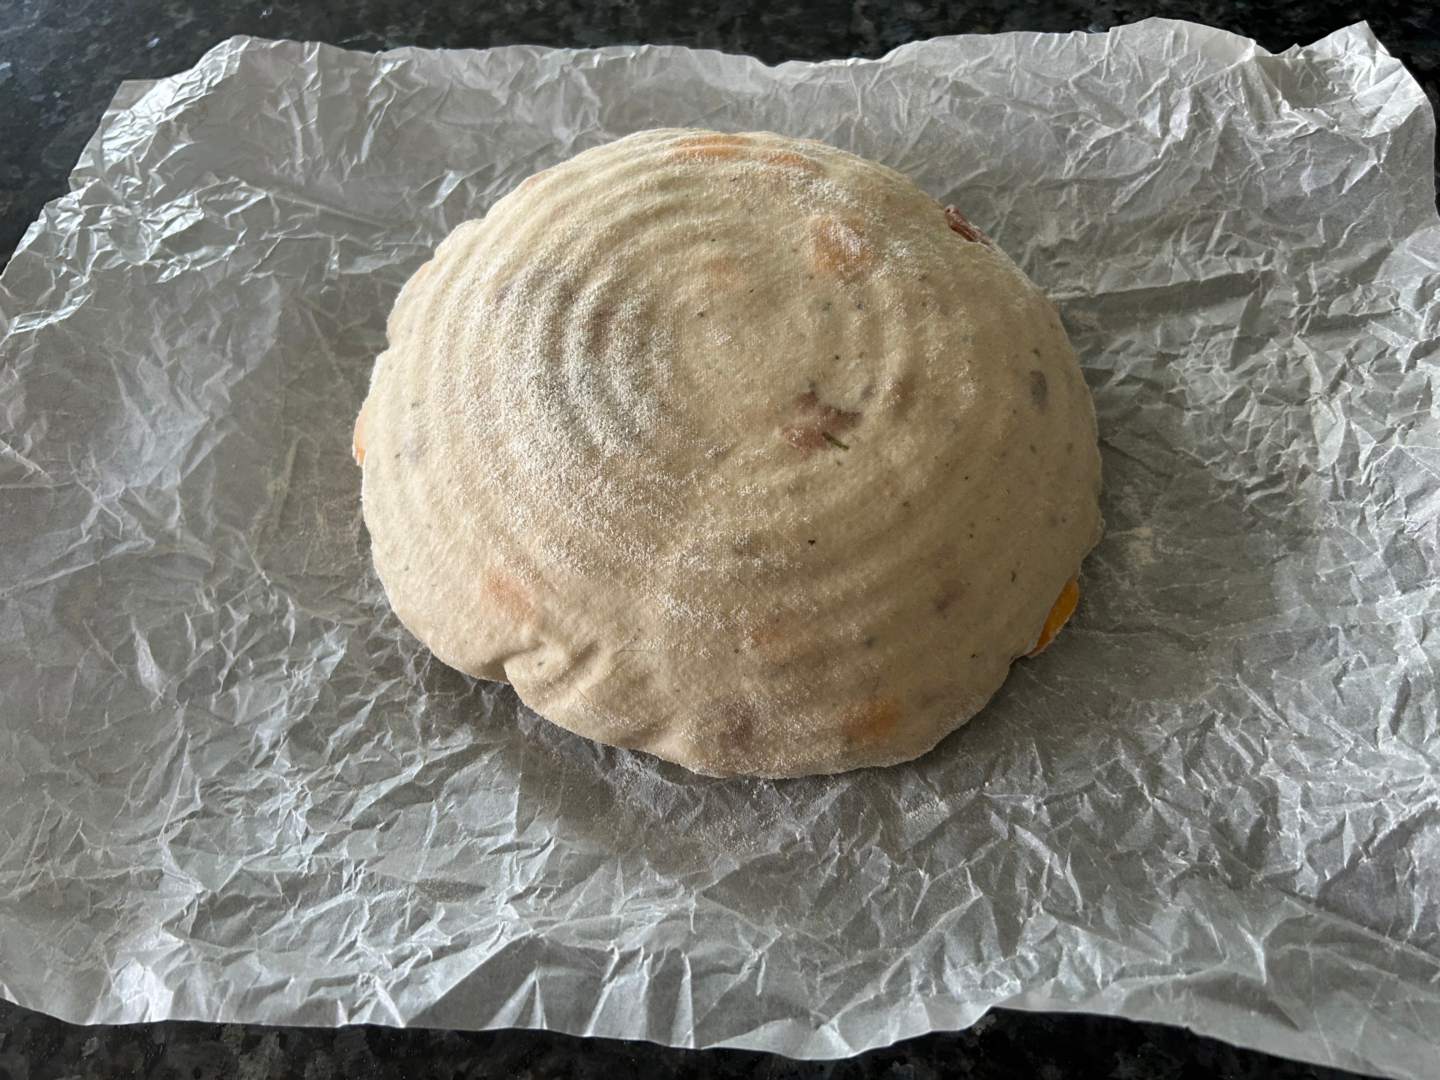
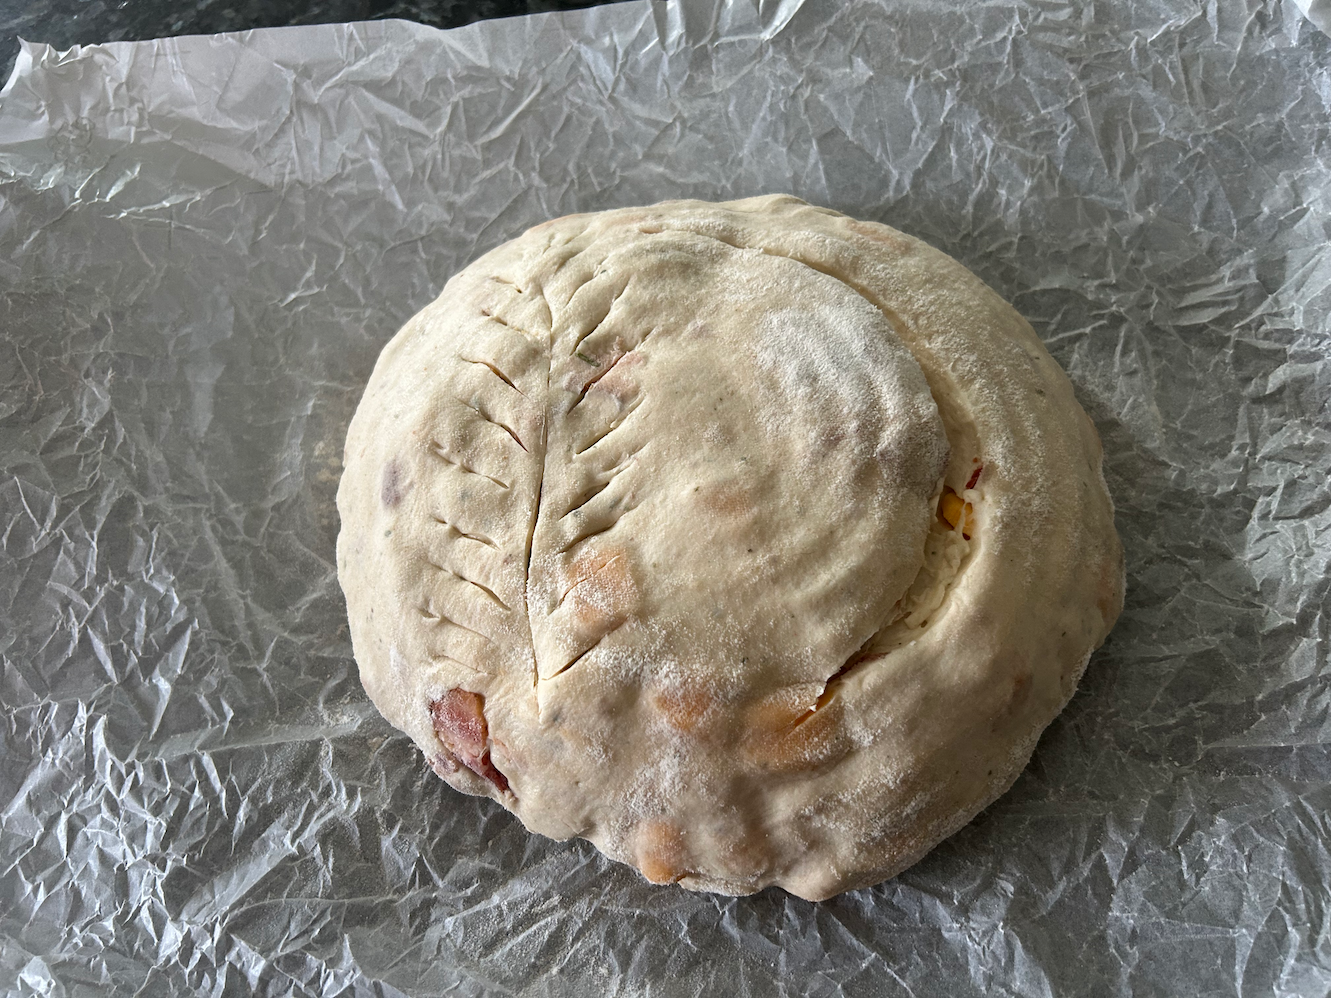
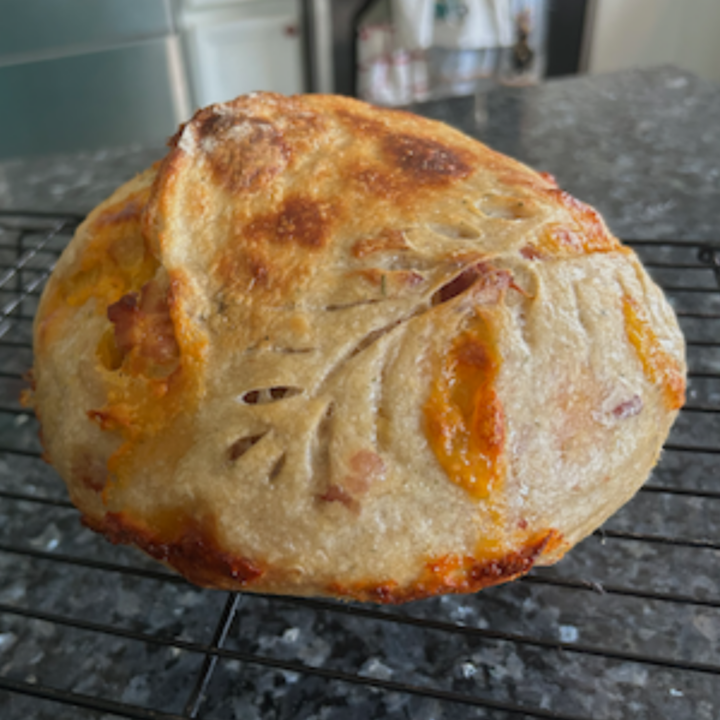
Use the lame to score the dough. A slight curve is all that’s necessary but you can get fancy if you like. Cut down about half an inch so the dough has room to expand.
Using a hot pad remove the lid from the (hot!) dutch oven, being oh-so-careful not to burn yourself in the process.
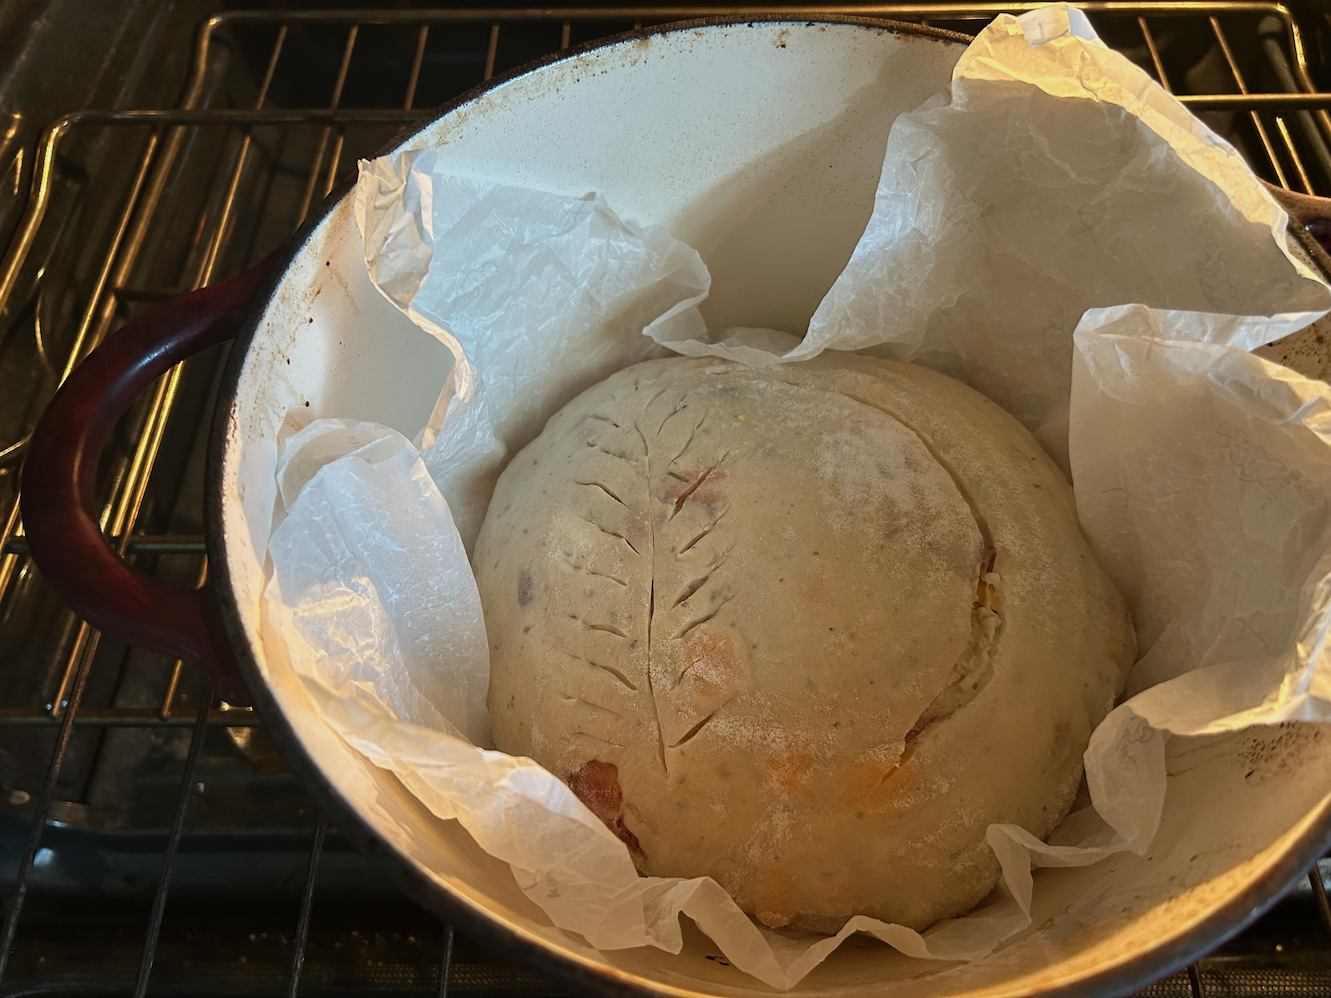
Use the parchment paper to gently set the dough ball into the pan.
Drop four ice cubes into the dutch oven under the edges of the parchment paper. This will create steam, which will help with the quick rise.
Put the lid back on and close the oven door.
Set time for 20 minutes.
After 20 minutes remove the lid and back for another 20 minutes.
Most loaves without add-ins are done at this point, but I have discovered that some of these heavier loaves need more time. You want to check the temperature with a bread thermometer. It should be close to 210 degrees Fahrenheit.)
Remove the dutch oven from the oven and lift the bread (parchment paper and all) out.
Allow the bread cool for 2-3 hours. I can’t stress how important this is. Cut into it too soon and it will be a gummy mess.
Slice the bread with a sharp bread knife.
Serve and enjoy.
Because of the bacon and cheese components, this bread has to be refrigerated, but it re-heats nicely in a toaster oven or air fryer.
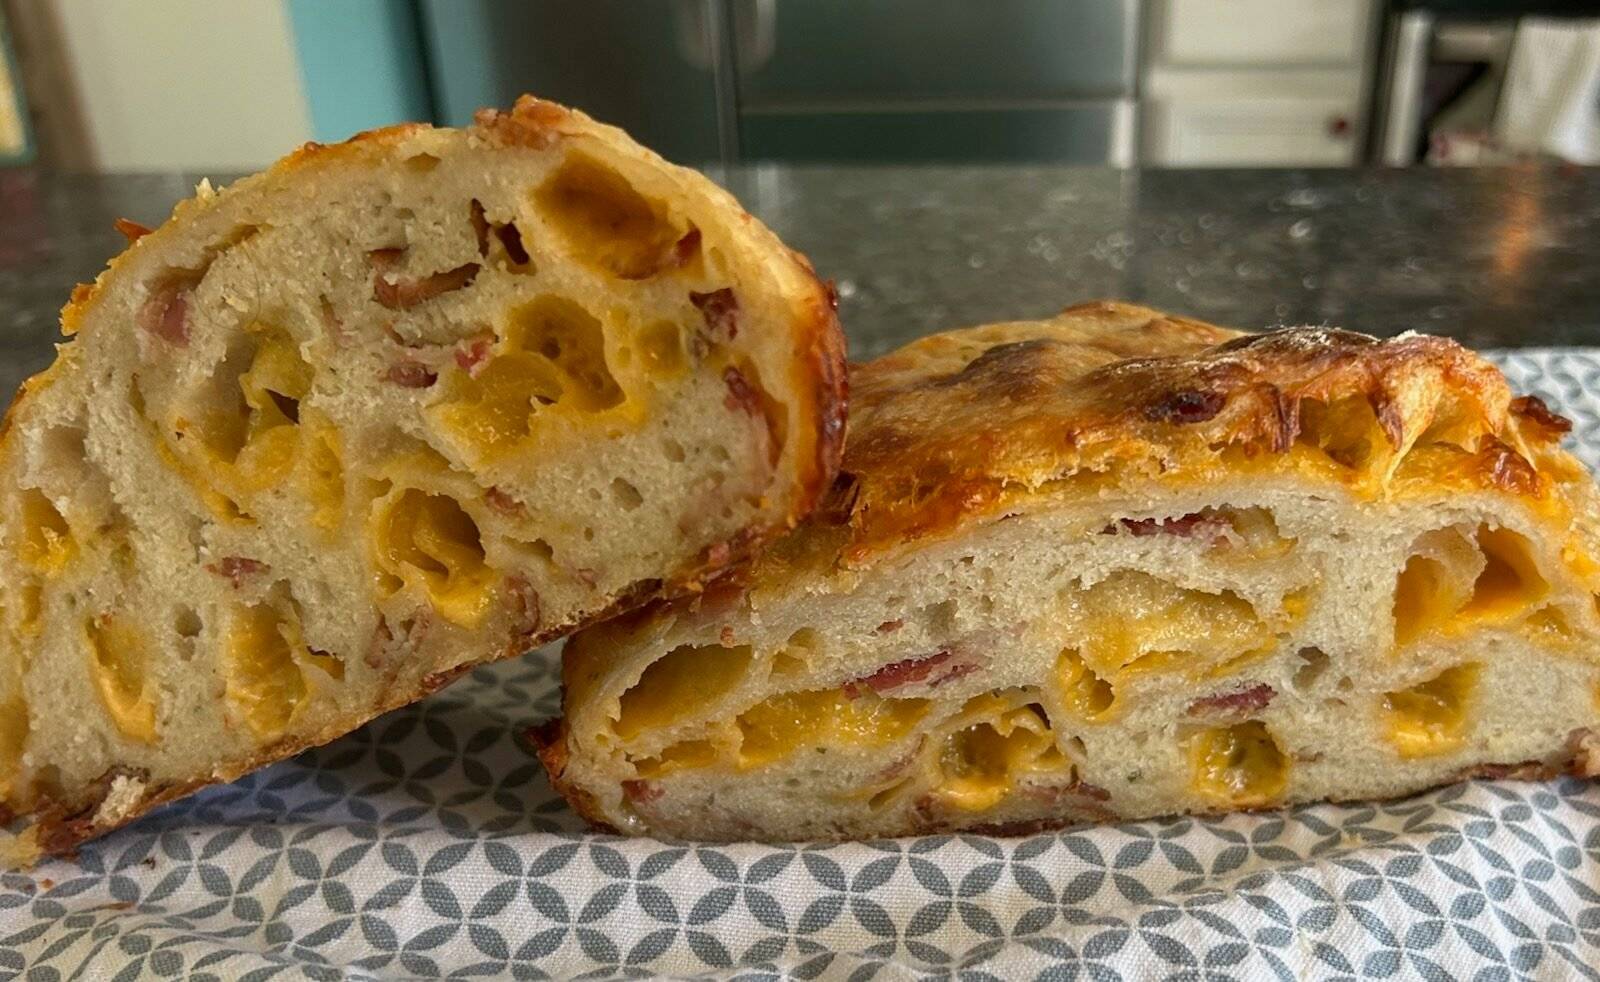
What to Expect from this Recipe
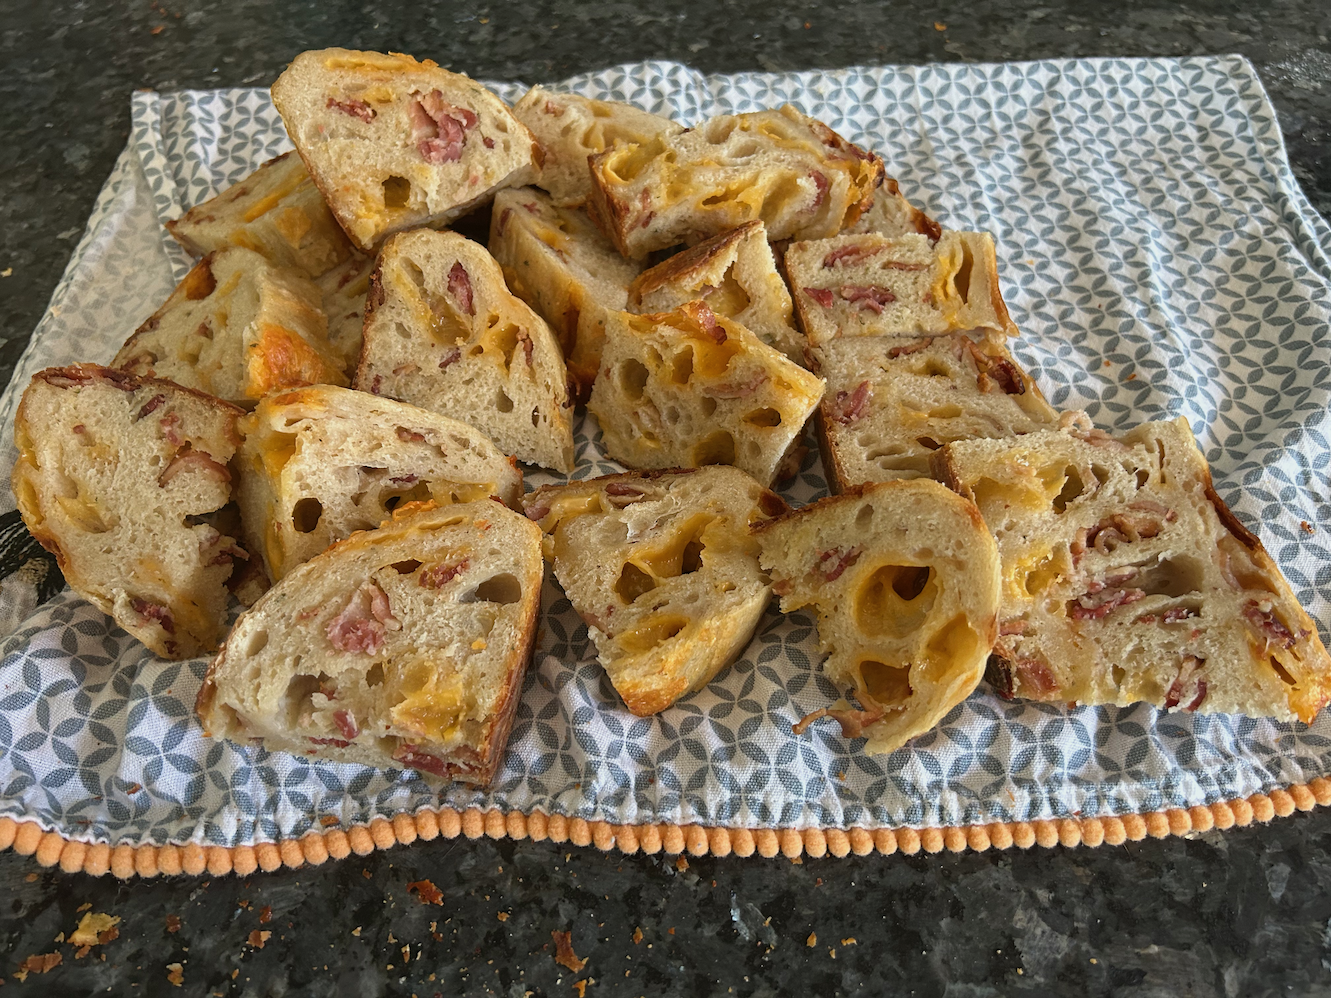
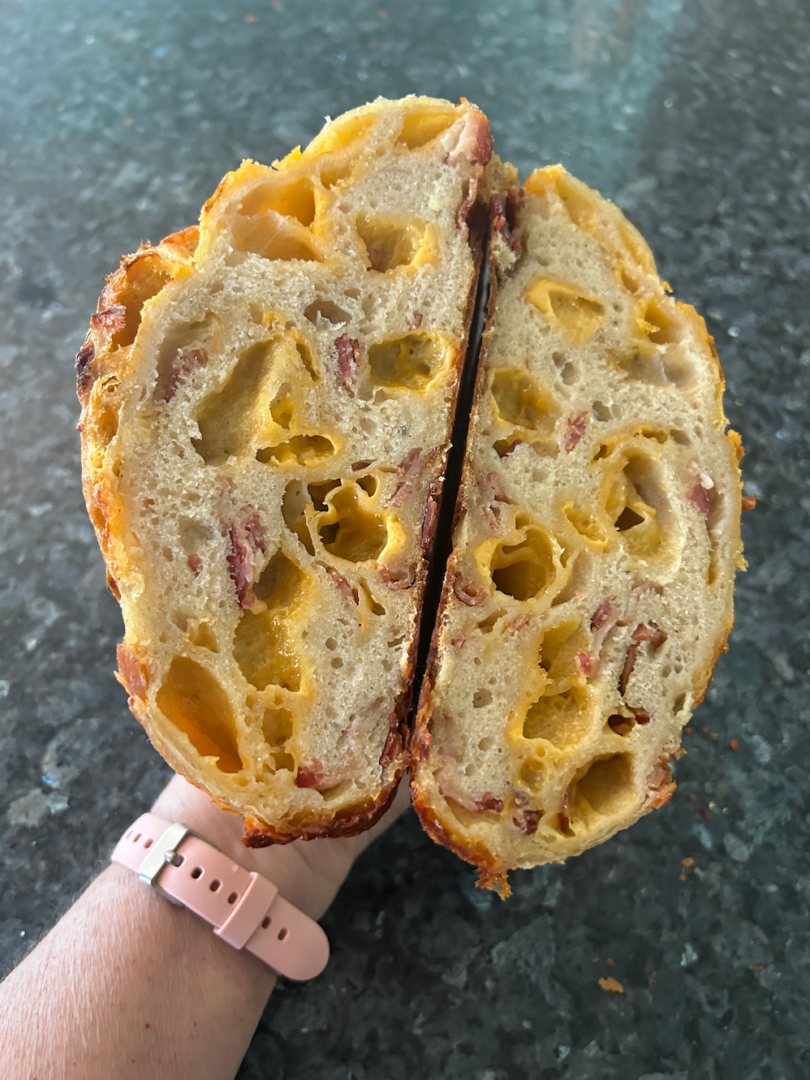
I can say without a doubt this was my most flavorful loaf, to date. The mergence of these flavors was truly swoon-worthy! I was a little disappointed that my loaf looked a bit gummy, but once I bit into it I realized the bacon had spread its love throughout the whole loaf! And boy, was it ever delicious!
I did the two day method but next time I'll probably do the yeasted version, just to see if there's any difference in the texture. No matter how you bake it up, this is a loaf you're bound to love!
Baking Tips for a Perfect Savory Loaf
- Use cooked, cooled bacon. Hot bacon will melt the cheese too early and can affect the dough structure. Crispy is best.
- Don’t go crazy with the add-ins. Bacon, cheddar, and ranch seasoning are bold flavors—too much can weigh down the loaf and make it dense.
- Cube the cheese instead of shredding. I learned this the hard way! Small cubes melt into pockets, giving you better texture and flavor distribution.
- Score deeply before baking. This helps the loaf expand properly and prevents blowouts along the sides.
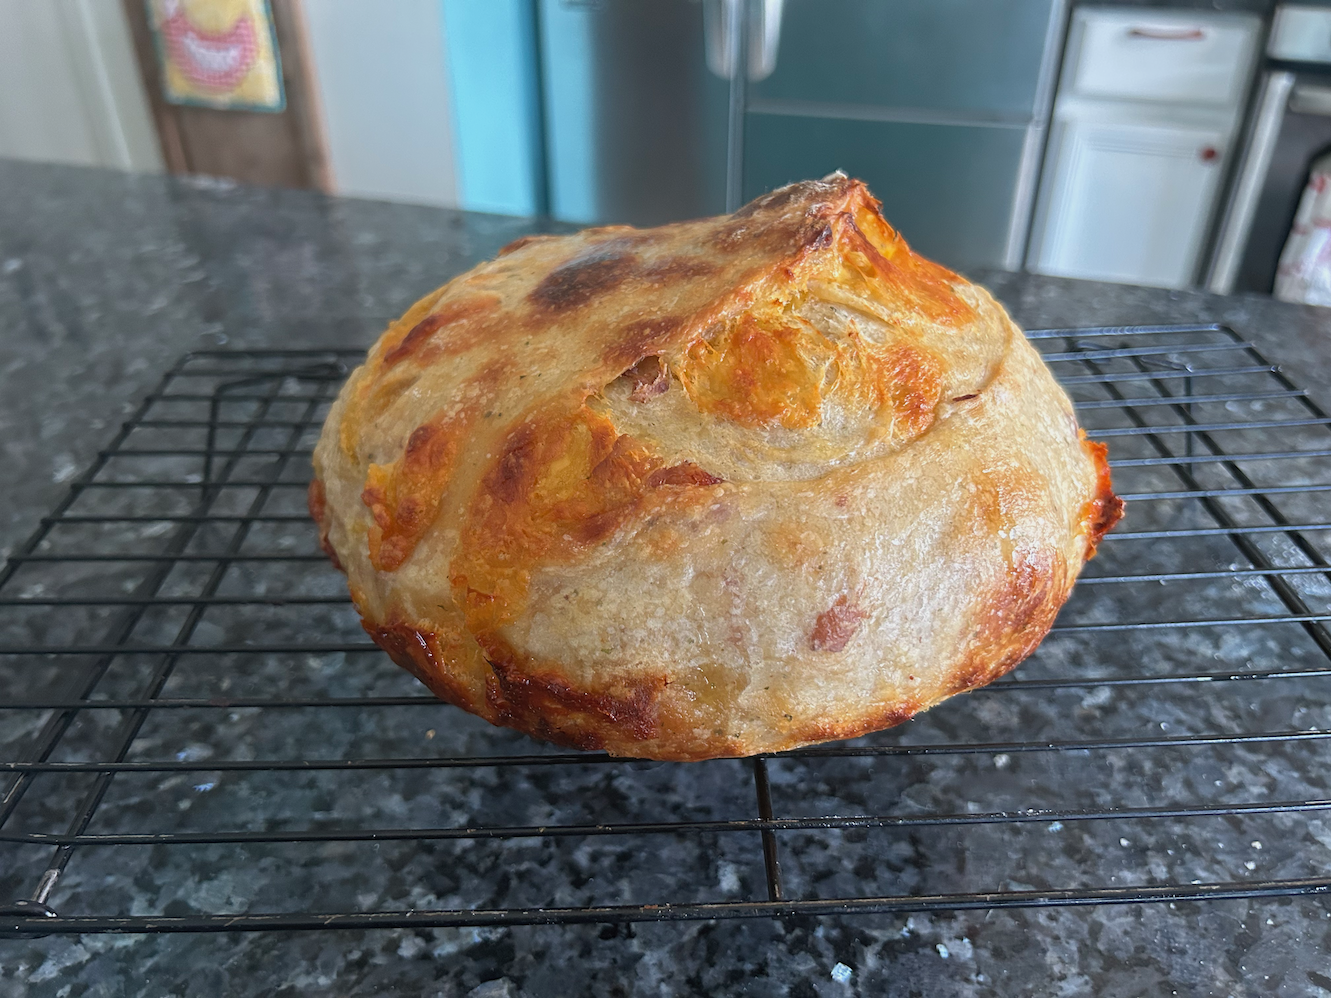
- Bake until deeply golden. Savory sourdough benefits from a slightly darker crust, which enhances flavor and texture.
How to Store and Reheat Bacon Cheddar Ranch Sourdough Bread
To store:
Once completely cooled, wrap the loaf loosely in parchment paper or store it in a bread bag at room temperature for up to 2 days. For longer storage, refrigerate in an airtight container for up to 5 days.
To freeze:
Slice the loaf, wrap slices tightly, and freeze for up to 3 months. This makes it easy to grab individual portions.
To reheat:
- For slices: Toast lightly or warm in a 350°F oven for 5–7 minutes.
- For a whole loaf: Wrap in foil and warm at 350°F for 10–15 minutes.
Avoid microwaving if possible—it softens the crust and dulls the flavor.
Other Sourdough Inclusion Recipes:
That’s it for this post, friends! I hope you enjoyed this delicious bacon cheddar ranch recipe.
If you make this loaf and love it, don’t forget to leave a review and a comment below. And while you're at it, go ahead and pin some photos to your Pinterest boards!


Loved this recipe? Get more like it straight to your inbox. Sign up for our newsletter now!
About the Author
Janice Thompson is an author, baker, and all-around mischief maker! She has overcome a host of baking catastrophes, including a toppled wedding cake, to learn more about the baking process. Janice has published over 165 books for the Christian market but particularly enjoys writing recipes and baking devotions. To learn more about Janice or to drop her a note, visit her About the Author page.
Bacon Cheddar Ranch Sourdough Bread
Packed with crispy bacon, sharp cheddar, and ranch seasoning, this Bacon Cheddar Ranch Sourdough Bread is the perfect savory twist on a classic artisan loaf.
Ingredients
- 100g starter
- 350g water
- 500g flour (all purpose is fine)
- 10g salt
- ¾ cup finely chopped (cooked) bacon (well drained0
- 6 ounces cheddar (finely cubed or grated)
- 2 tablespoons ranch powder
Instructions
DAY ONE:
8:00 AM
Start the day by feeding your starter using the 1:1:1 method (equal portions starter, room temperature water, and flour).
Example: 100 grams of starter, 100 grams of water, 100 grams of flour
Let the starter sit for 4-5 hours until it doubles in size and turns bubbly.
(I promise you will benefit greatly from using this method instead of starter straight from the jar.)
12:00 PM
Check your starter to make sure it’s ready to go. Drop a pinch in some water. If it floats, you’re good to go!
Grab your kitchen scale and mixing bowl. I use an 8-cup glass pyrex, but you can choose whatever you like.
Combine the ranch powder with the flour. Set aside.
Measure 350 grams of room temperature water into your mixing bowl.
Add 100 grams of your activated starter and whisk well using the bread whisk.
Add 500 grams of flour/ranch mixture and 10 grams of salt. (If your ranch powder is salty you can cut back to 5 grams of salt.)
Use the bread whisk to create a shaggy dough. It’s going to be sticky, but that’s what you want.
Use the bowl scraper to pull the excess dough away from the edges of the bowl.
I scrape the edges and pull the dough toward the center, all the while pivoting the bowl.
Cover with a tea towel or cheesecloth and set aside for an hour.
This hour provides the perfect time to prep your cheese and bacon. If the cheese isn’t cut (or grated) get that ready and place it back in the refrigerator.
As for the bacon: cook it until it’s almost done but not super crisp. The key here is to drain all of the excess oil off of it. If you skip this step your bread will be gummy and too moist inside. (The bacon will continue to release oils into the best as it bakes later on.)
1:00 PM
It’s time for your first round of stretch and folds. Wet your hands, reach down into the bowl and pull up the dough as far as you can, and fold it over to center. Rotate the bowl a quarter turn and repeat this process. Keep turning until you’ve stretched and folded all of the dough. Loosely cover.
1:30 PM
Perform your second stretch and folds. This is the time to add your bacon and cheese to the dough. (The next time I make this bread I’ll probably lightly toss the bacon pieces in flour before adding them.) Work it in as best you can. Cover, and set aside.
2:00 PM
Perform your third stretch and folds. This is the time to really make sure those add-ins are well incorporated.
2:30 PM
Perform your fourth/final stretch and folds.
Cover dough and leave it to proof for 4-5 hours (no longer than five hours). You should see some rise during this process, but not the same amount you would see in a yeasted dough.
7:00 PM
Once the dough has proofed it’s time to shape it into a loaf. I have tried a variety of methods over the past few months but the easiest (to my way of thinking) is to stretch the dough into a rectangle and then fold it envelope style.
7:15 PM
Lightly flour a Banneton bowl. (These days I usually place a cheesecloth or tea towel in the banneton and flour that.) Set the loaf inside. Cover with tea towel or cheesecloth and set in refrigerator to rest overnight.
DAY TWO:
8:00 AM
Place your empty dutch oven (with lid) in oven and set the temperature at 500 degrees Fahrenheit. Leave it in the oven for a full hour.
9:00 AM
Lower the oven temperature to 450 degrees Fahrenheit.
Remove the banneton from the refrigerator.
Crumple a piece of parchment paper and place it on top of the bowl.
Flip the dough ball out onto the wrinkled paper.
Use the lame to score the dough. A slight curve is all that’s necessary but you can get fancy if you like. Cut down about half an inch so the dough has room to expand.
Using a hot pad remove the lid from the (hot!) dutch oven, being oh-so-careful not to burn yourself in the process.
Use the parchment paper to gently set the dough ball into the pan.
Drop four ice cubes into the dutch oven under the edges of the parchment paper. This will create steam, which will help with the quick rise.
Put the lid back on and close the oven door.
Set time for 20 minutes.
After 20 minutes remove the lid and back for another 20 minutes.
Most loaves without add-ins are done at this point, but I have discovered that some of these heavier loaves need more time. You want to check the temperature with a bread thermometer. It should be close to 210 degrees Fahrenheit.)
Remove the dutch oven from the oven and lift the bread (parchment paper and all) out.
Allow the bread cool for 2-3 hours. I can’t stress how important this is. Cut into it too soon and it will be a gummy mess.
Slice the bread with a sharp bread knife.
Serve and enjoy.
Because of the bacon and cheese components, this bread has to be refrigerated, but it re-heats nicely in a toaster oven or air fryer.
Nutrition Information:
Yield: 15 Serving Size: 1Amount Per Serving: Calories: 176Total Fat: 5gSaturated Fat: 2gTrans Fat: 0gUnsaturated Fat: 2gCholesterol: 12mgSodium: 352mgCarbohydrates: 26gFiber: 1gSugar: 0gProtein: 6g
The nutrition information is a product of online calculators. I try to provide true and accurate information, but these numbers are estimates.
"And my God will supply every need of yours according to his riches in glory in Christ Jesus."
Philippians 4:19 ESV
Sean
Monday 23rd of February 2026
It's perfect! Thanks for sharing this recipe!
I'll often make a veggie one (with Morningstar Farms veggie bacon) for my better half, and an omnivorous one for our son. The flavors are ***chefskiss***.
Janice Thompson
Monday 23rd of February 2026
Mmmm. This conversation is making me want to bake!
Bree
Friday 5th of December 2025
You’ve inspired me to whip up a loaf but with a little twist. Spicy ranch powder and white cheddar! Can’t wait to try it
Bree
Saturday 6th of December 2025
@Janice Thompson, it was incredible!! Everyone agreed that it was the best loaf I’d ever made. Try it!
Janice Thompson
Friday 5th of December 2025
Oh, yum! Please let me know how it turns out!
Beth
Friday 7th of November 2025
Bacon, ranch, and cheese in sourdough - YES PLEASE!! Don't forget to join us over at the Creatively Crafty Linky Party every Wednesday through Sunday https://creativelybeth.com/creative-crafts-linky-party-2/ Pinned! Creatively, Beth