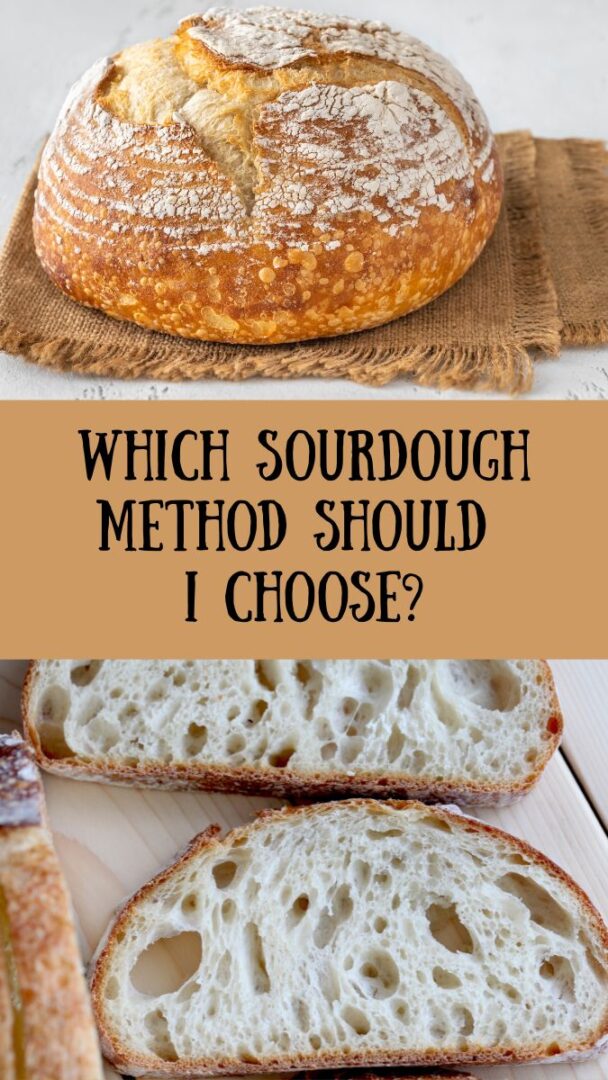
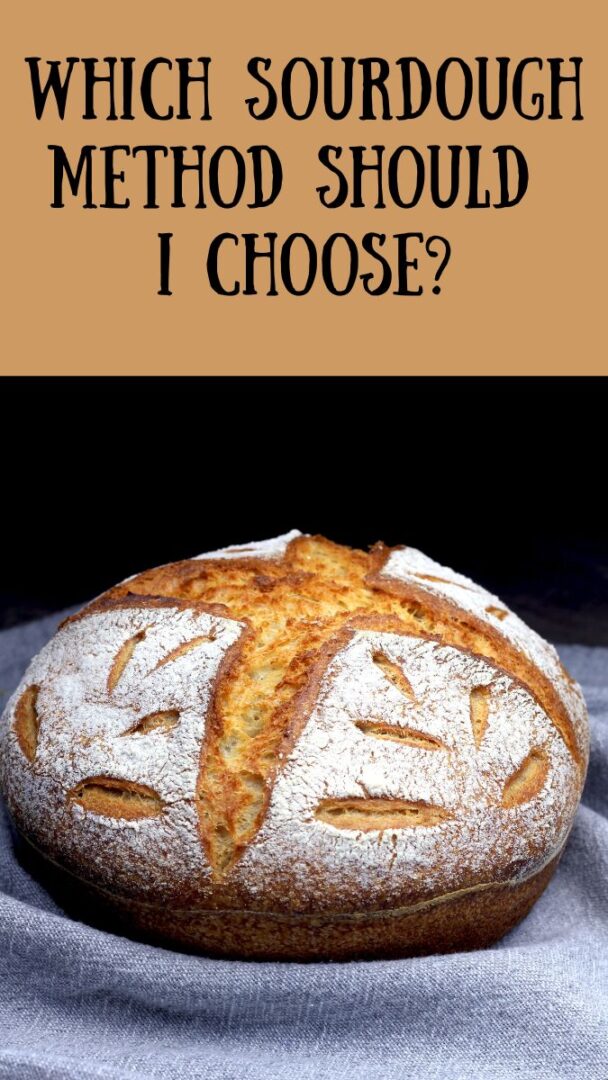
Which Sourdough Method Should I Choose?
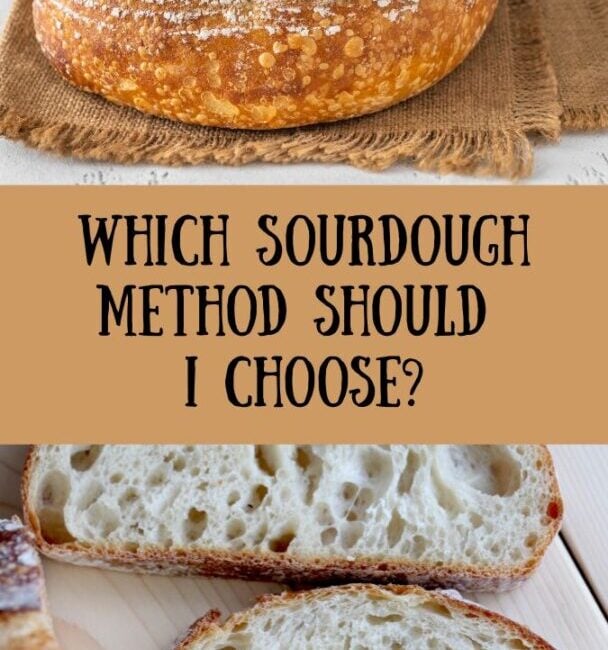
Not sure which sourdough method is right for you? Learn the difference between traditional sourdough, same-day natural sourdough, and a same-day hybrid method with yeast—so you can choose the one that fits your time, skill level, and flavor goals.

Three Methods: Three Delicious Outcomes!
Sourdough baking isn’t one-size-fits-all — and that’s a good thing! I have learned this first-hand over the past three months as I’ve taken a deep-dive into sourdough baking.
Unlike my friends (and some family members) I rarely refrigerate my dough, at least not for long. I don’t mind if the bread is slightly chewy and tangy, but I tend toward slightly softer loaves. And (I’ll confess) I’m impatient. One of the hardest things about sourdough baking for an impatient person (like yours truly) is the two-day schedule.
That’s why I created three completely separate methods for my sourdough recipe. You can use this same recipe (with only one exception, which I’ll explain later) no matter which method you choose.
Here’s the basic recipe:

- 100 grams active starter
- 350 grams tepid water
- 10 grams salt
- 500 grams bread flour (or all-purpose flour)
Whether you’ve got all day or just a few hours, I’ve got a sourdough method that fits your schedule and style.
In this post, I’m breaking down the three sourdough methods I use regularly: traditional, same-day (no yeast), and same-day with a little help from yeast.
1. Traditional Sourdough Method (Overnight Cold Proof)

Overview:
This is the classic, long-fermentation method. I created a full post explaining how to make this one. It’s delicious. It’s aerated. It’s relatively easy. And, as long as you’ve got a good, strong starter, it’s pretty much fool-proof. If you have the time. Because, as I mentioned, this one requires two days: the first, for prepping/mixing, fermenting. After bulk fermentation and shaping, the dough proofs in the fridge overnight for deeper flavor and easier scoring. The second day is all about the bake.
Best for:
Bakers who want the most flavor development and open crumb, and who don’t mind waiting. You really do end up with a traditional, chewy (but not dense) sourdough loaf with this method. I started with this one just to prove to myself that I could do it. And I still bake using this method from time to time, especially if I’m baking for someone who cares about gut health.
Pros:
- Maximum sourdough flavor
- Great crust and texture
- Cold dough is easier to score
- Better for the gut
Cons:
- Requires an overnight wait
- Needs a strong, active starter
- Timing can be tricky for beginners
Get the Recipe and Full Tutorial
2. Same-Day Sourdough (No Yeast)

Overview:
This method is much like the first, but is timed to be mixed, fermented, shaped, and baked within one day. It relies on a very active starter and warm environment. I came up with this method more out of curiosity than anything. I asked myself, “What would happen if I cut out the overnight bulk ferment in the fridge? Would I still end up with a lovely texture and taste?” The answer, my friends, is a resounding yes!
What’s Different?
With this method I make sure my starter is fed the night before and ready to go in the morning. It’s also important to have a warm (72-75 degree) kitchen.
Best for:
Anyone who wants a naturally leavened loaf without waiting overnight. Also great for folks who want a “true” sourdough (no yeast) that’s slightly softer.
Pros:
- 100% sourdough — no commercial yeast
- Can be done in 8–10 hours. Start in the morning, serve it for dinner.
- Great if you’re baking on a weekend or day off
Cons:
- Starter must be very active and bubbly before you can start.
- Fermentation times are harder to predict
- The rich ‘tang” of a long ferment isn’t as obvious.
Get the Recipe and Full Tutorial
3. Same-Day Sourdough with Yeast (Hybrid Method)

Overview:
This method uses a small amount of instant yeast to speed up fermentation. It’s perfect when your starter is active, but time is tight — or when you’re working with heavier inclusions like cheese or fruit. This produces a lighter texture, almost as soft as sandwich bread, depending on how much yeast you use.
What’s Different?
This recipe calls for a teaspoon of yeast to be added to the starter and water, before the flour and salt are mixed in. The yeast speeds up the process and also adds more “lift” to the dough as it ferments. This recipe only calls for three stretch and folds, and they’re spaced closer together. (If you let the dough sit too long, it will over-prove.) With this method, you still have the light flavor of the starter (which is fed the night before) but you don’t have much tang at all. Just a lovely texture and flavor that a wider group of people (like young kids and some older folks like me) enjoy more than traditional sourdough. This one is also excellent for sandwiches.
Best for:
Busy bakers, newer sourdough makers, or anyone adding high-moisture mix-ins (like cream cheese, berries, or jalapeños). I happen to be a very busy baker, which is why I often fall back on this recipe. When I’m baking recipes for this blog I need to whip them together in short order.
Pros:
- The yeast offers a reliable rise, even if starter isn’t perfect
- Easy to time and complete in one day
- Great for inclusion-heavy loaves
Cons:
- Slightly less sour flavor
- Purists may not love using yeast
- Needs close attention during proofing to avoid over-proofing
Get the Recipe and Full Tutorial
Which Method Is Right for You?
| Your Priority | Choose This Method |
| Deep sour flavor | Traditional Sourdough (Overnight) |
| Natural leavening, no yeast | Same-Day Sourdough (No Yeast) |
| Speed and flexibility | Same-Day with Yeast (Hybrid) |
| Adding cheese, fruit, etc. | Same-Day with Yeast (Hybrid) |
Final Thoughts
Each sourdough method has its place, and you don’t need to stick to just one! I really had to convince myself of that. I wondered, for instance, if sourdough purists would judge me if I added a bit of yeast. In the end, I decided that I needed to do what made sense to my tastebuds and my schedule.
Once you understand the timing and feel of the dough, you can adapt your process to fit your day — or your craving. Whether you're going for big flavor, quick results, or a loaf packed with inclusions, there's a method that makes it possible.
That’s it for this post, friends! I hope you enjoyed this delicious recipe and the three methods you can use to make it.
If you make this recipe (using any of the methods you see listed here), don’t forget to leave a review and a comment below. And while you're at it, go ahead and pin some photos to your Pinterest boards!
Loved this recipe? Get more like it straight to your inbox. Sign up for our newsletter now!
About the Author
Janice Thompson is an author, baker, and all-around mischief maker! She has overcome a host of baking catastrophes, including a toppled wedding cake, to learn more about the baking process. Janice has published over 165 books for the Christian market but particularly enjoys writing recipes and baking devotions. To learn more about Janice or to drop her a note, visit her About the Author page.