
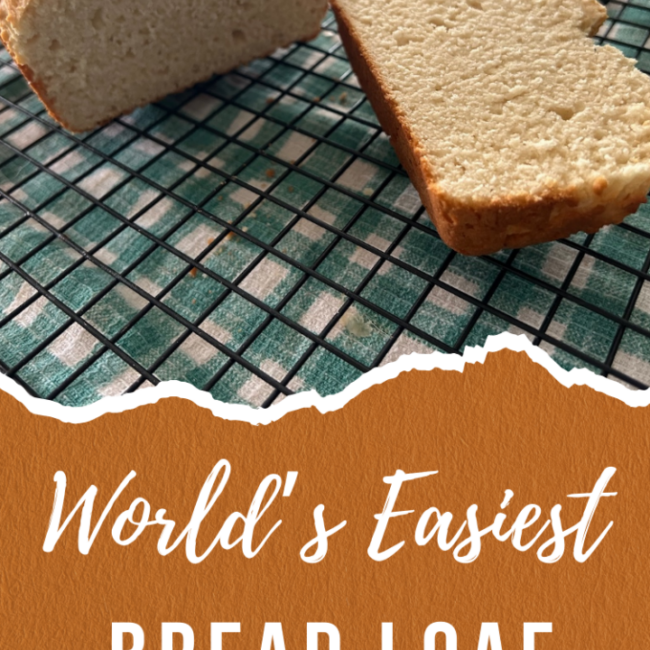
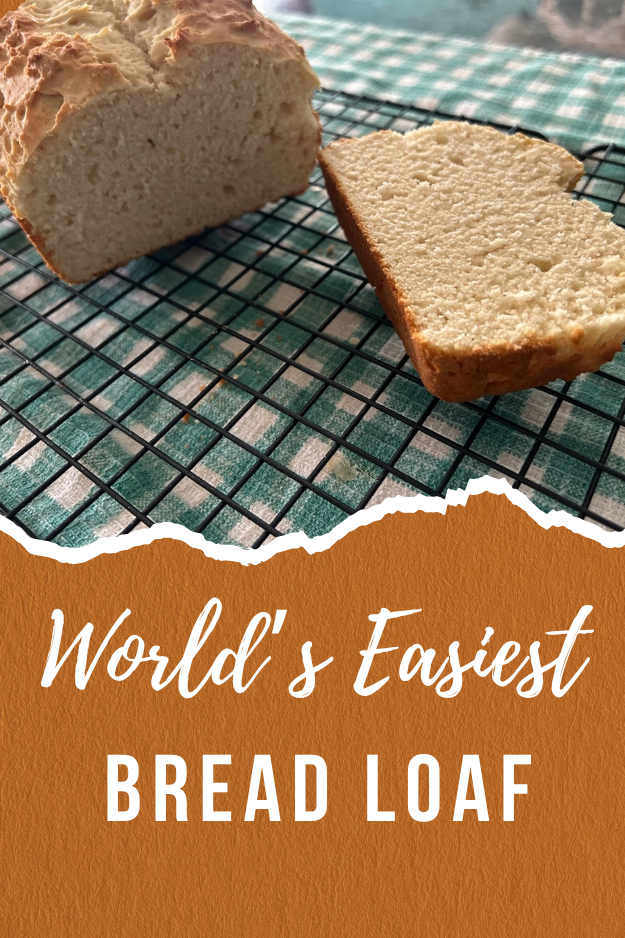
Discover the world’s easiest bread loaf made with self-rising flour — soft, golden, and ready with minimal fuss. This simple recipe turns pantry basics into warm, homemade bread anyone can make.

Bread in a Hurry, No Yeast Required!
"Can I make bread in a hurry?"
This was my question as I stared at three large bags of self-rising flour that had accumulated in my bakery closet. Could I make a no-yeast bread using what I had on hand?
Side note: I can’t tell you why I have so many bags of self-rising flour. I rarely use the stuff, unless I’m baking my 2-ingredient biscuits. But today, as I prepped two sourdough loaves, I almost ran myself out of all-purpose flour and found myself staring at all of that self-rising.
And that’s when it hit me: If I can make biscuits out of self-rising flour, can I actually make a loaf of bread? I needed an easy bread recipe, and quickly!
Why You’ll Love This Bread
- Beginner-Friendly: No kneading or yeast required.
- Quick & Simple: Just a few pantry staples and minimal prep.
- Versatile: Great for sandwiches, toast, or as a side with soup.
- Budget-Friendly: Inexpensive ingredients make this a practical bake.
Self-Rising Flour Bread Recipe for the Win!
I went online in search of a recipe that looked both simple and doable, basically, a No yeast bread with self-rising flour. And that’s when I found this 4-Ingredient Bread Loaf recipe from Mom Prepared.
There are a lot of other similar recipes out there, but this one looked the easiest, and that was my goal—to make something super simple, super fast, and super tasty.
So, I grabbed my loaf pan and got busy making this simple bread recipe. I’ll share more in a bit about how it turned out but let’s talk about what you’ll need to make it.
Ingredients for Easy No-Yeast Bread

You will find a full printable recipe card at the bottom of this quick homemade bread but here’s a peek at what you’ll need to make this loaf. These are simple ingredients you probably already have on hand. If you don’t happen to have self-rising flour, don’t fret! You can make your own. For each cup of flour you add 1 ½ teaspoons of baking powder, and ¼ teaspoon of salt.
- 3 cups self-rising flour
- 1 ½ cups warm milk
- 2 tablespoons sugar
- 2 tablespoons melted butter
That’s it, my friends! Just four simple ingredients to make this delicious loaf of bread.
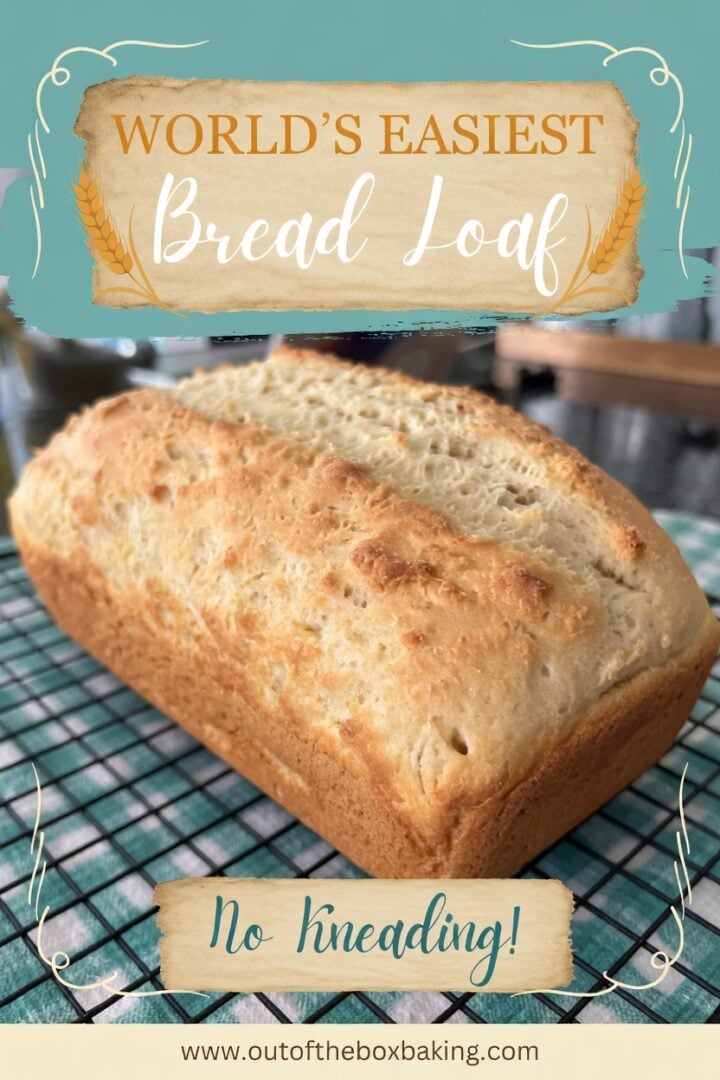
How to Make a Simple Bread Loaf with Self-Rising Flour: Step-by-Step Instructions
This comes together in minutes! No proofing time. No stretching or folding. No kneading. Nothing! Just mix it up, plop it into a prepared pan, and you’re off to the races!
Preheat oven to 375 degrees Fahrenheit.
Spray a loaf pan with nonstick spray and set aside.
In a large bowl combine flour and sugar. Whisk together.
Make sure the milk is warm but not hot. Add melted butter to it.

Pour the milk and butter into the dry ingredients.
Using a bread whisk (or blending fork) to work the ingredients together.
Transfer your shaggy dough to the loaf pan.
Smooth out the top as best you can. Use a sharp knife to score the dough down the center.

Place in preheated oven and bake for 30 - 35 minutes or until golden brown.
Remove and place on wire rack to cool.

Remove from pan.

Slice and serve with butter, jam, or whatever you like!

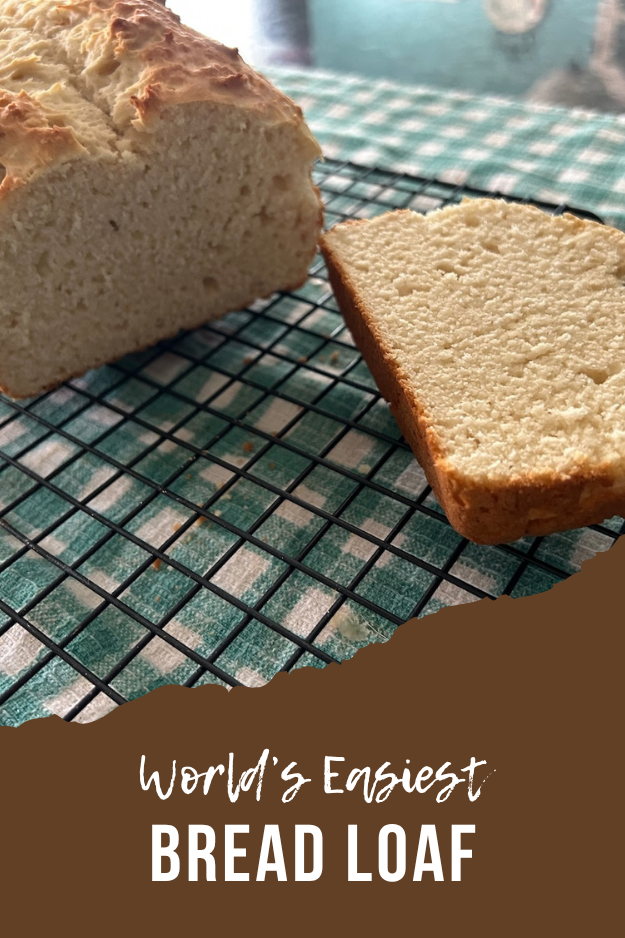
What to Expect from this Loaf of Bread

Is it a traditional bread? Is it a biscuit? Is it a soda bread? It’s all of the above, my friends. I would say this loaf reminds me most of my Irish Soda Bread, or even my 2-Ingredient Biscuits. It's definitely got that biscuit vibe.
I happened to be making beef stew at the same time I baked this bread and I knew it would be a perfect complement! That golden crust is crisp, the inside is soft and loaded with flavor, and slathered with butter. . .it’s absolutely beyond delicious.
This bread loaf would be great for breakfast with preserves and butter, or terrific in the evening with garlic and herbs. More than anything else, I’m thrilled to have found a loaf of bread that requires zero proofing. These magic moments don’t come along very often, so when they do, I’m all in!
Variations to this Recipe
You can change this versatile base recipe up so many different ways. Here are some suggestions:
Make an Italian loaf! If you like the flavors in my Easy Italian Herb Loaf, you can add those same Italian herbs and seasonings to this loaf before baking. Brush with garlic butter when you’re done and serve with olive oil. (Yum!)
Cinnamon-Sugar: Sprinkle in cinnamon and sugar or layer it in for a striped effect. (I think this would be delicious.)
Irish Soda Bread: Turn this into an Irish Soda Bread by doubling the sugar, adding buttermilk in place of milk and adding a cup of Craisins or raisins. (Delicious!)
Frequently Asked Questions about Self-Rising Flour Bread
If you're unaccustomed to baking with self-rising flour, you might have questions. Let's address them, one by one:
1. Can I really make bread with just self-rising flour?
Yes! Self-rising flour already contains baking powder and salt, so there’s no need for yeast or additional leavening. It’s perfect for creating quick, easy loaves with minimal fuss.
2. What does bread made with self-rising flour taste like?
Bread made with self-rising flour is soft, tender, and slightly more “cakey” than traditional yeast bread. It won’t have the chewy texture of artisan sourdough (or a yeasted bread), but it’s delicious for sandwiches, toast, or served warm with butter and jam. I often say these loaves are more biscuit-like in texture and flavor.
3. Does this bread rise as much as yeast bread?
No, it won’t rise as high or develop the same gluten structure as yeast-based breads. This is a completely different process. The self-rising flour produces a lovely, light loaf that’s perfect for when you need bread in a hurry without waiting for dough to proof. And let's face it, we're all in a hurry these days. (Okay, at least I know I am!)
4. Can I use gluten-free self-rising flour for this recipe?
Yes, most gluten-free self-rising flours will work, but the texture may vary slightly. (And, full disclosure: I haven't tried this personally.) Be sure to check that your gluten-free blend contains a leavening agent like baking powder. If it does, it's definitely worth a try!
5. How should I store bread made with self-rising flour?
Store your loaf in an airtight container at room temperature for up to 2-3 days. These breads aren't shelf-stable for long. (That's the thing about real/homemade bread! It's fresh, but only for a couple of days.) For longer storage, slice and freeze it — it reheats beautifully in the toaster or oven. I always keep slices of bread in my freezer.
6. Can I add other ingredients to this bread?
Absolutely! Feel free to customize this bread with shredded cheese, herbs, garlic, or even a handful of raisins or nuts for added flavor. You guys hav probably figured out that I love using Craisins and pecans. They would be perfect in this loaf, along with cinnamon. Yum!
7. Why didn’t my bread rise as expected?
Make sure your self-rising flour is fresh. Expired baking powder in the flour can lead to flat results. Also, avoid overmixing the dough, as this can make the bread dense. I haven't faced this, but it's probably because I go through flour really quickly!
Other Breads from Out of the Box Baking
If you love breads, we’ve got you covered. Here are some fan favorites:
- Cheesecake Factory Honey Brown Bread Copycat: If you love the sweet, hearty flavor of the iconic Cheesecake Factory Honey Brown Bread, this easy copycat recipe is for you! With its soft, tender crumb, hint of cocoa, and signature honey-sweetness, this homemade version tastes just like the restaurant favorite — perfect served warm with butter or alongside your favorite soup or salad.
- Sourdough Discard Focaccia: Don’t toss that sourdough discard — put it to delicious use with this easy Sourdough Discard Focaccia! This recipe transforms leftover starter into a light, airy, and flavorful bread with a crispy golden crust. Topped with olive oil, flaky salt, and your favorite herbs or veggies, it’s perfect as an appetizer, side dish, or savory snack.
- Easy Homemade Sourdough: If you’re new to sourdough baking, this Easy Homemade Sourdough recipe is the perfect place to start. With simple ingredients and step-by-step instructions, you’ll learn how to create a beautiful loaf with a crisp crust, chewy interior, and that classic tangy flavor — all from the comfort of your own kitchen. No complicated techniques required!
- Dave’s Killer Bread Copycat: Love the hearty, seed-packed flavor of Dave’s Killer Bread? This copycat recipe delivers a soft, slightly sweet loaf loaded with whole grains and a crunchy seed topping — just like the store-bought favorite! Packed with fiber, protein, and flavor, this homemade version is perfect for sandwiches, toast, or enjoying on its own.
That’s it for this post, friends! I hope you enjoyed this delicious recipe.
If you make this recipe and love it, don’t forget to leave a review and a comment below. And while you're at it, go ahead and pin some photos to your Pinterest boards!
Loved this recipe? Get more like it straight to your inbox. Sign up for our newsletter now!
About the Baker
Janice is the recipe creator behind Out of the Box Baking, where she specializes in easy, creative recipes that anyone can make at home. From doctored cake mix desserts to simple homemade breads, her goal is to help bakers of all levels succeed in the kitchen without stress. This self-rising flour bread loaf is proof that even the simplest ingredients can create something delicious.

World's Easiest Bread Loaf
This super simple bread loaf is made with self-rising flour and just a few pantry staples, making it perfect for beginners or last-minute baking. Soft on the inside with a golden crust, it’s a quick, no-yeast recipe you’ll turn to again and again!
Ingredients
- 3 cups self-rising flour
- 1 ½ cups warm milk
- 2 tablespoons sugar
- 2 tablespoons melted butter
Instructions
- Preheat oven to 375 degrees Fahrenheit.
- Spray a loaf pan with nonstick spray and set aside.
- In a large bowl combine flour and sugar. Whisk together.
- Make sure the milk is warm but not hot. Add melted butter to it.
- Pour the milk and butter into the dry ingredients.
- Using a bread whisk (or blending fork) to work the ingredients together.
- Transfer your shaggy dough to the loaf pan.
- Smooth out the top as best you can.
- Use a sharp knife to score the dough down the center.
- Place in preheated oven and bake for 30 - 35 minutes or until golden brown.
- Remove and place on wire rack to cool.
- Remove from pan.
- Slice and serve with butter, jam, or whatever you like!
Nutrition Information:
Yield: 12 Serving Size: 1Amount Per Serving: Calories: 151Total Fat: 3gSaturated Fat: 2gTrans Fat: 0gUnsaturated Fat: 1gCholesterol: 8mgSodium: 402mgCarbohydrates: 27gFiber: 1gSugar: 4gProtein: 4g
The nutrition information is a product of online calculators. I try to provide true and accurate information, but these numbers are estimates.
"You make known to me the path of life; in your presence there is fullness of joy; at your right hand are pleasures forevermore."
Psalm 16:11 NASB
Kathy Chandler
Friday 17th of April 2026
This bread was very heavy and thick,what other ingredient can i use to make it light and fluffy? This bread I made was delicious and very thankful for your recipe.
Janice Thompson
Sunday 19th of April 2026
Yes, it's a dense bread. The only thing to lighten it up would be more leavening, so adding more baking powder. It's really more biscuit-like, for sure.
Jennifer
Sunday 29th of March 2026
This did not work for us. No rise brick.
Janice Thompson
Monday 30th of March 2026
I wonder if your self-rising flour was too old? I can't think of any other reason why it wouldn't have worked.