
Astros-Inspired Cake Tutorial (Colorful Baseball Party Cake)
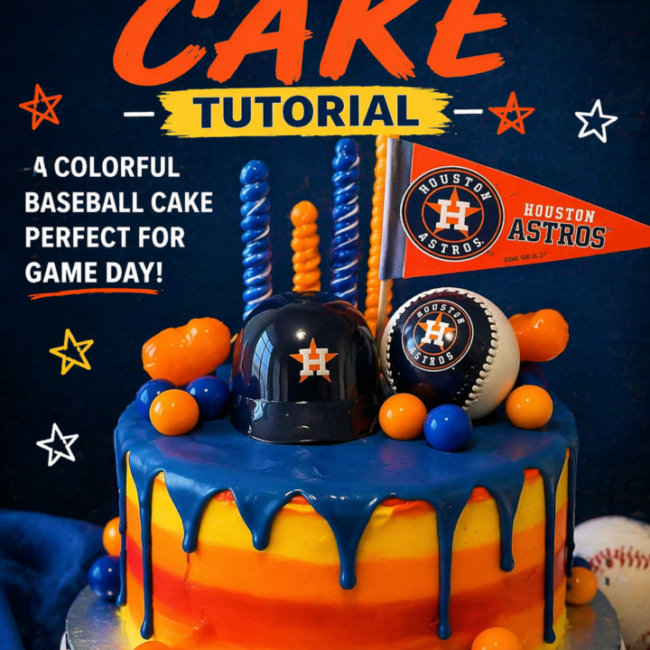
Learn how to make a colorful Astros cake using doctored cake mix, bright team colors, and a dramatic blue drip. Perfect for baseball parties, birthdays, and Astros fans!
If you're looking for a fun baseball-themed celebration cake, this Astros cake is a fantastic choice. It's bright, colorful, festive, and perfect for game-day parties, birthdays, or any celebration for the Astros fan in your life.
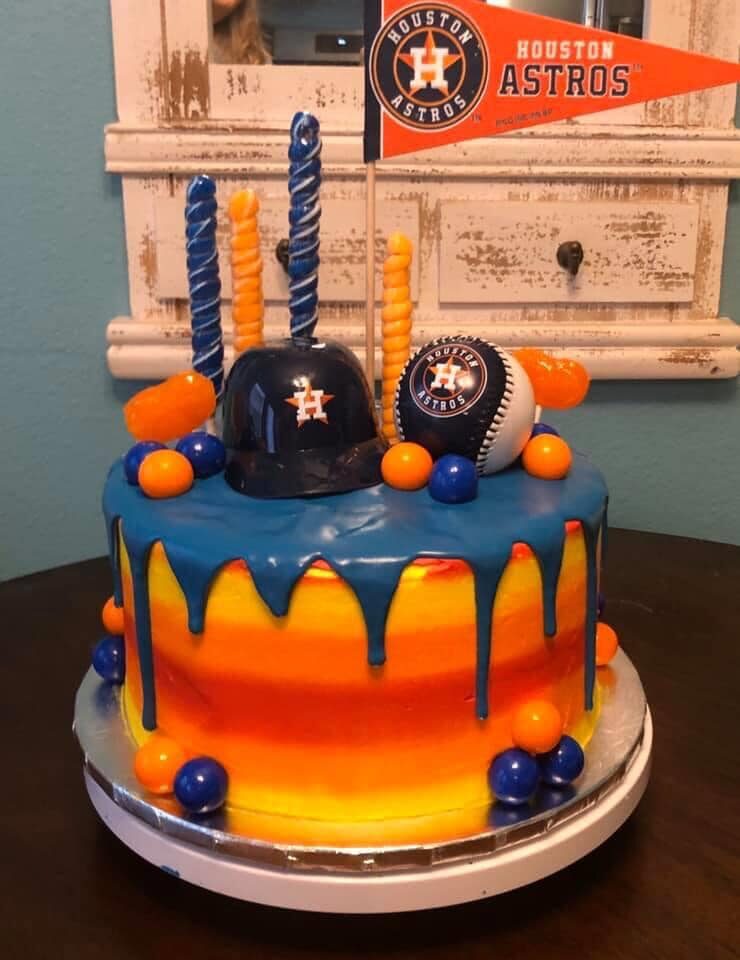
If you look closely, you'll notice that I have uploaded multiple variations of Astros cakes that I have made over the years. That's the cool thing about sports-themed cakes: you can change them up as you see fit.
What is an Astros-Inspired Cake?

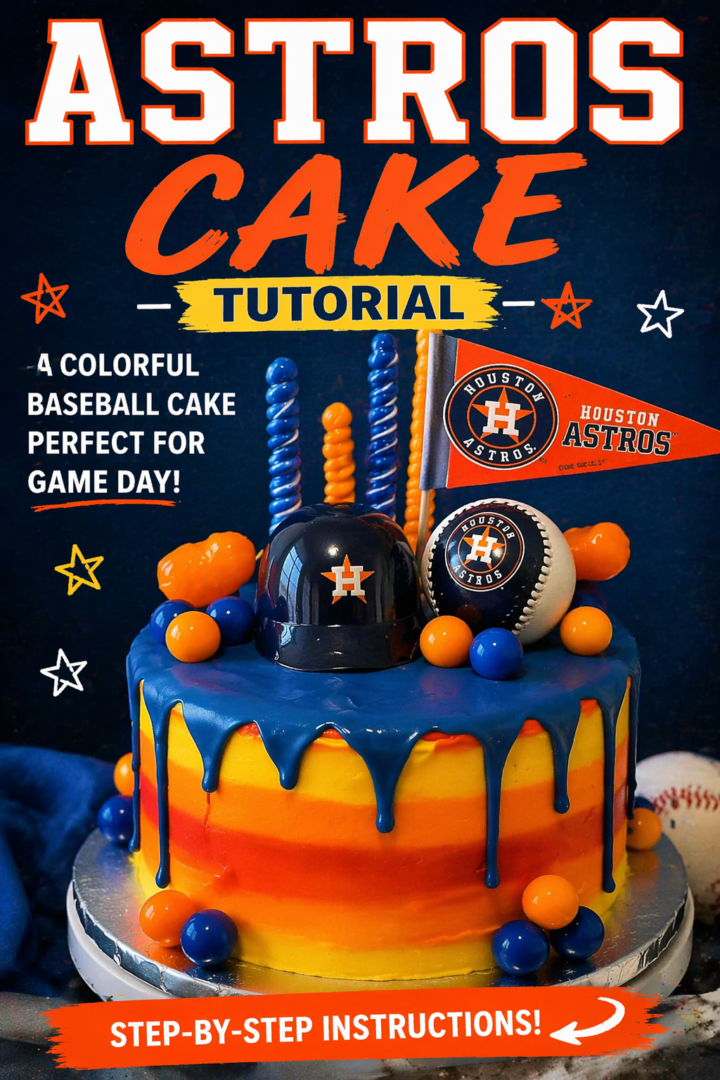
An Astros-inspired cake is a baseball-themed celebration cake inspired by the Houston Astros team colors. In this version, the cake layers are tinted white, red, orange, and yellow, then stacked with colorful frosting and finished with a royal blue drip and themed decorations like an Astros pennant, bubblegum balls, and baseball toppers.
It's perfect for:
- Astros watch parties
- Baseball birthdays
- Sports banquets
- End-of-season team celebrations
If you really want to go all out for your celebration, bake up my cut-out sugar cookies and decorate them for the event, as well!
Ingredients
For the Cake
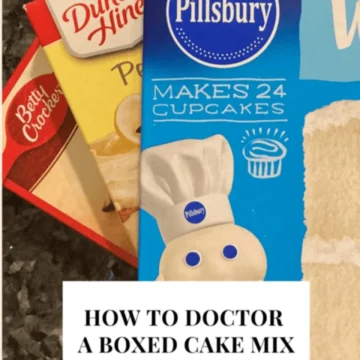
This recipe uses a doctored cake mix, which means we enhance the mix with a few simple ingredients to improve flavor and texture.
- 2 white cake mixes (Pillsbury works great)
- 7 eggs (one extra egg makes the cake richer)
- 1 cup vegetable oil
- 2 cups milk (use milk instead of water for better flavor)
- 1 teaspoon almond extract
- 1 teaspoon clear vanilla extract
- Red food coloring
- Orange food coloring
- Yellow food coloring
For the Frosting
- 1 cup salted butter, softened
- 1 block cream cheese, softened
- 1 rectangle Crisco
- 7–8 cups powdered sugar
- Almond extract, to taste
- Clear vanilla extract, to taste
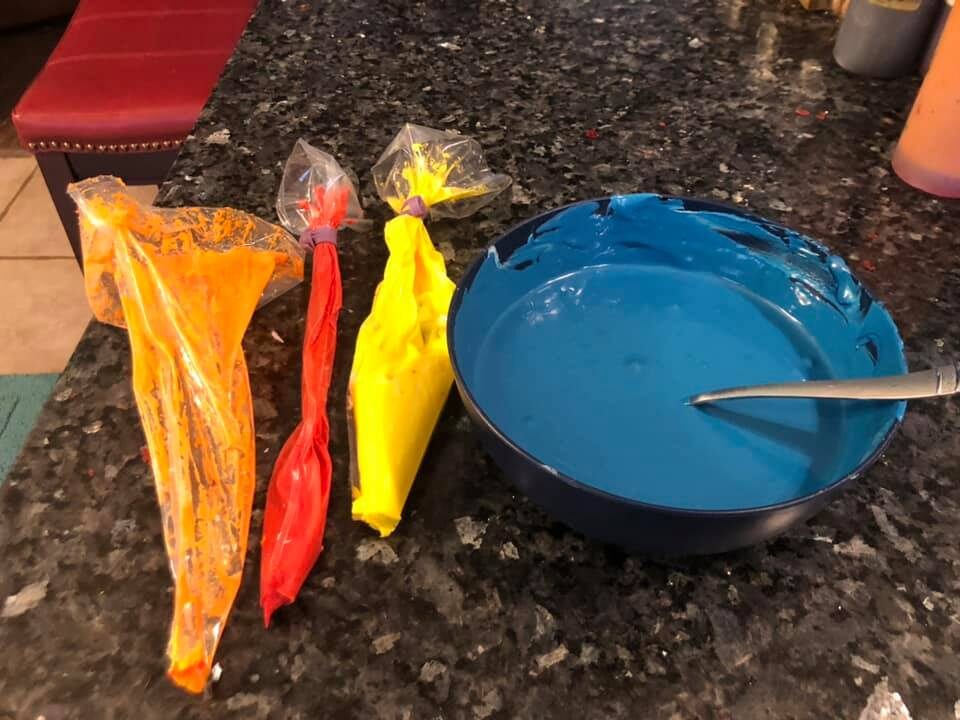
For the Drip
Choose one option: royal blue candy melts + 1 tablespoon oil OR 2 parts white chocolate chips with 1 part heavy cream and royal blue oil-based food coloring. Microwave until smooth and glossy. Allow the drip to cool slightly before using.
Decorations
I've always purchased my supplies at Party City, but I think many of those stores have gone out of business. So, you might have to shop around for some of these items. Many are available online and some (like the bubblegum balls and baseballs) aren't team-specific. Here's what I used:
- Astros pennant
- Bubblegum balls
- Baseball topper
- Astros-themed decorations
- Sprinkles (optional)
How to Make the Cake

Note: If you want to serve these delightful baseball cookies with your cake, I can help with that! Check out my Cut-Out Sugar Cookies recipe, as well as my Royal Icing Recipe and Tutorial. These are so simple! Just flood in white royal icing, let it dry, and then pipe on the stitching, using a piping consistency in red.
Step 1: Prepare the Batter
Preheat oven to 350°F. In a large mixing bowl combine cake mixes, eggs, oil, milk, almond extract, clear vanilla. Mix until smooth and fully incorporated.
Divide the batter evenly into four bowls and color the batter:
- Leave one bowl white
- Tint one red
- Tint one orange
- Tint one yellow
Step 2: Bake the Layers
Grease and flour four round cake pans.
Add batter to the pans one large scoop at a time, layering the colors on top of each other.

This creates beautiful rings of color inside the cake. For more on this technique, see my zebra technique post.


Bake for 25–30 minutes, or until the cakes begin to pull away from the edges of the pans. Remove from pans and cool completely.
For easier decorating, chill the cakes for 30 minutes before leveling.
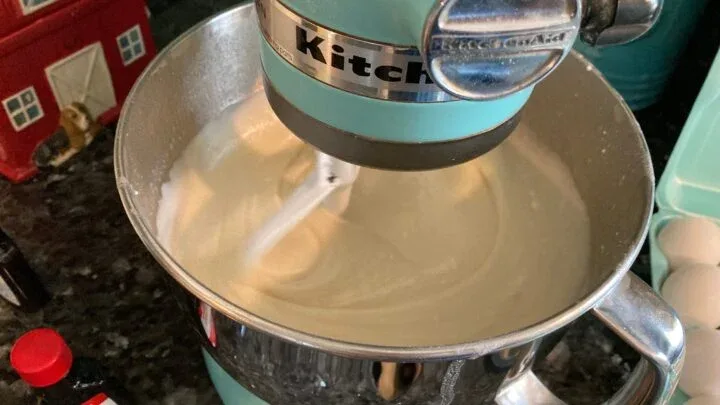
Make the Frosting
Bring butter, cream cheese, and Crisco to room temperature.
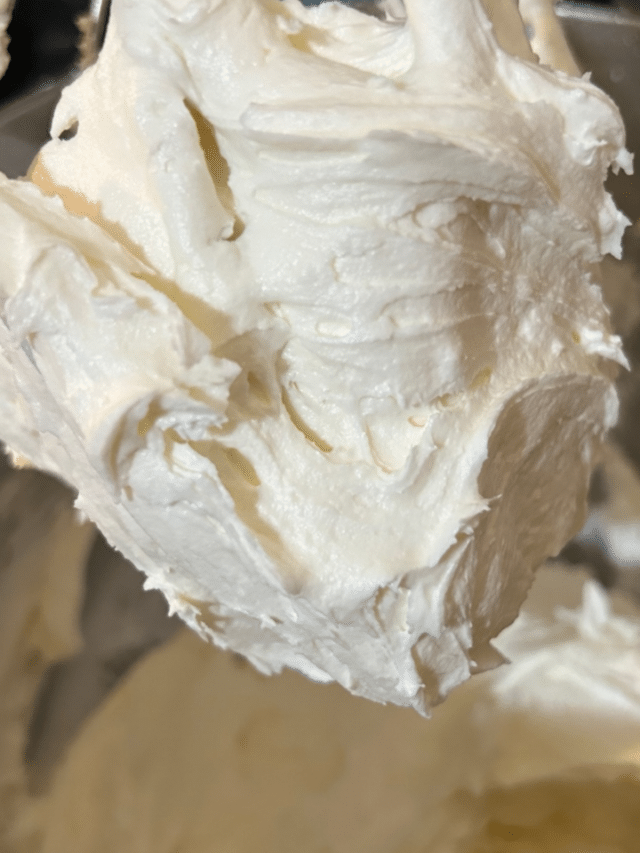
In a stand mixer beat butter and cream cheese until smooth. Add Crisco and mix until incorporated. Add almond and vanilla extracts. Reduce mixer speed and gradually add powdered sugar. Continue mixing until frosting reaches a smooth, pipeable consistency.
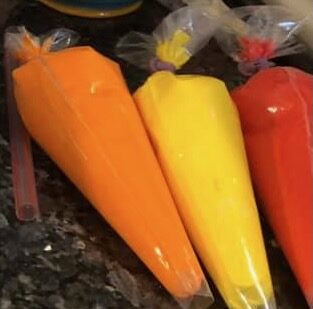
Divide frosting into four equal parts and color red, orange, and yellow. (Leave the 4th part white for the crumb coat.)
Place each color into piping bags.
Assemble the Cake
Stack the Layers
Level the cakes. Place the first layer on a cake board. Pipe alternating rings of red, orange, and yellow frosting across the top. Add the next cake layer and repeat. Continue stacking until all layers are used.
Crumb Coat the Cake
Apply a thin white buttercream crumb coat around the entire cake.
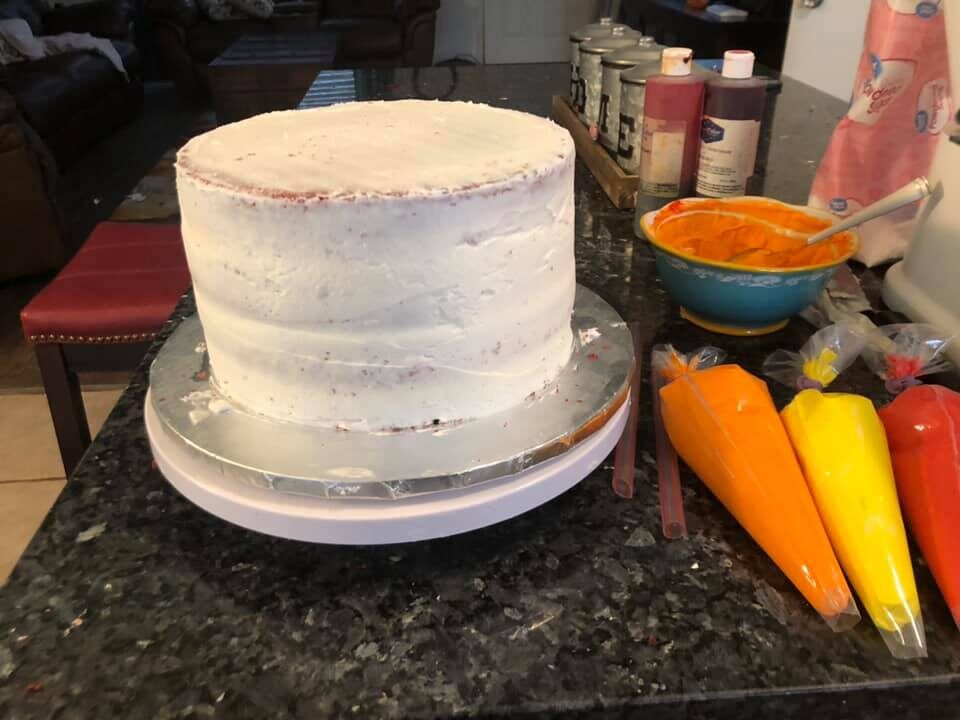
Place the cake in the refrigerator for 30 minutes so the frosting firms up.
Final Frosting Layer
Pipe rings of frosting around the outside of the cake.
Example pattern:
- orange → yellow → orange → red
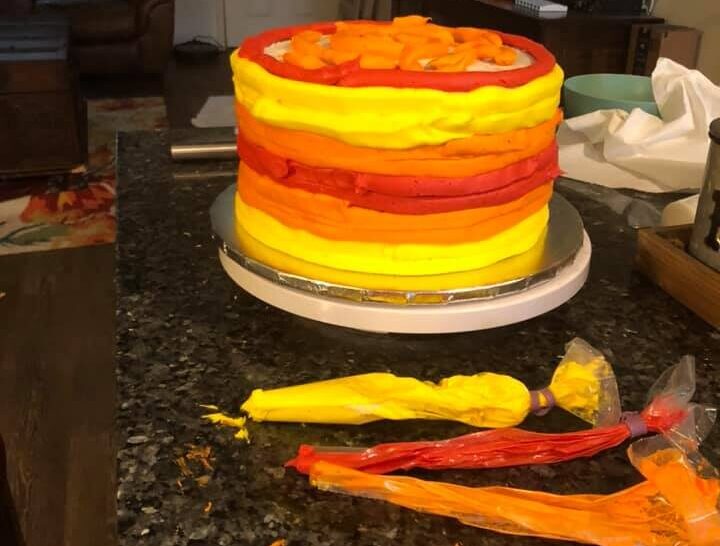
Use a bench scraper to smooth the frosting.
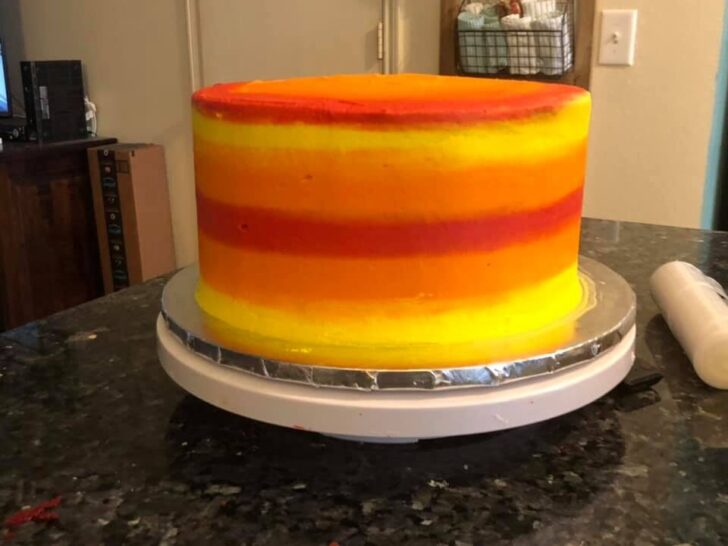
Note: This method is similar to my ombre technique, where rings of color are added one at a time. For more on that method follow this link. You might also find my Fun Buttercream Decorating Techniques to Try post helpful. There's a section devoted to adding rings of color to the outside of a cake.
Add the Drip
Melt the chocolate and oil, then add coloring. Stir until it's smooth and lump-free.
Carefully spoon the royal blue drip around the top edge of the cake.
Allow the drip to run down the sides for a dramatic effect.
You can also spread some across the top of the cake.
Decorate the Cake

Once the drip has cooled, add your decorations.
Some fun ideas include:
- Astros pennant
- Bubblegum balls
- Baseball topper
- Team-colored sprinkles
- Mini baseballs
Have fun with it — this is where the cake really comes to life!
Disclaimer:
This cake design is inspired by a baseball theme. Any branded decorations shown (such as the Houston Astros items) were purchased retail and are used for decorative purposes only. This post is not affiliated with or endorsed by the Houston Astros organization.
Tips for Success

- Chill your cake layers before decorating for easier stacking.
- Do not apply drip while it’s hot — it can melt the frosting.
- Pipe frosting rings before smoothing for clean stripes.
- Using milk instead of water greatly improves cake flavor.
- The extra egg makes the cake richer and more bakery-style.
Storage
Because the frosting contains cream cheese, store the cake in the refrigerator.
Remove the cake 30–60 minutes before serving so the texture softens.
Note: you might consider waiting to add the candies (particularly the suckers) until the last minute. They might get sticky in the fridge.
That's it for this fun tutorial, friends!
If you make this cake I'd love to hear about your experience! Before you go, why not pin some photos to your Pinterest boards?
About the Baker
Hi, I’m Janice, the baker behind Out of the Box Baking! I love creating beautiful cakes that start with simple ingredients — often using cake mixes as a shortcut to delicious, dependable desserts. Whether you’re baking for a birthday, wedding, or ball game celebration, my goal is to help you create cakes that look impressive but are easy enough for home bakers to make.
I have been crucified with Christ. It is no longer I who live, but Christ who lives in me. And the life I now live in the flesh I live by faith in the Son of God, who loved me and gave himself for me.
Galatians 2:20 ESV


