Chocolate-Covered Caramel Bars with Sea Salt
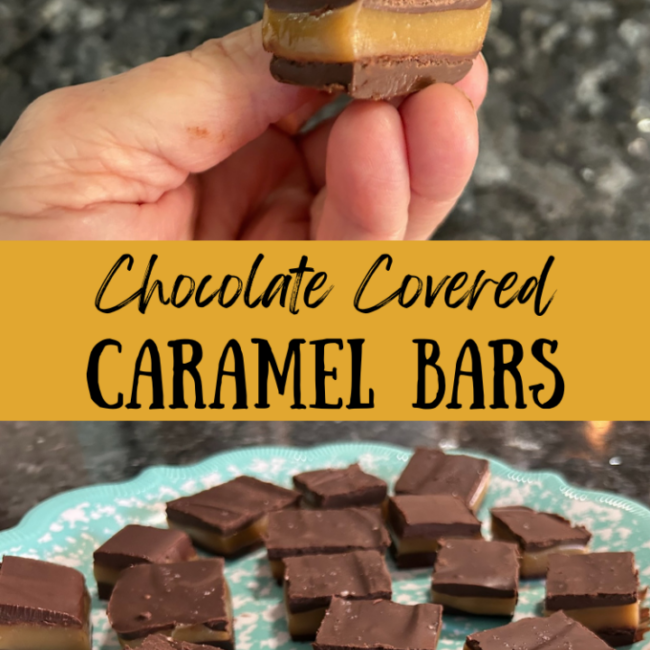
These Chocolate-Covered Caramel Bars feature soft homemade caramel between layers of semi-sweet chocolate, finished with flaky sea salt.
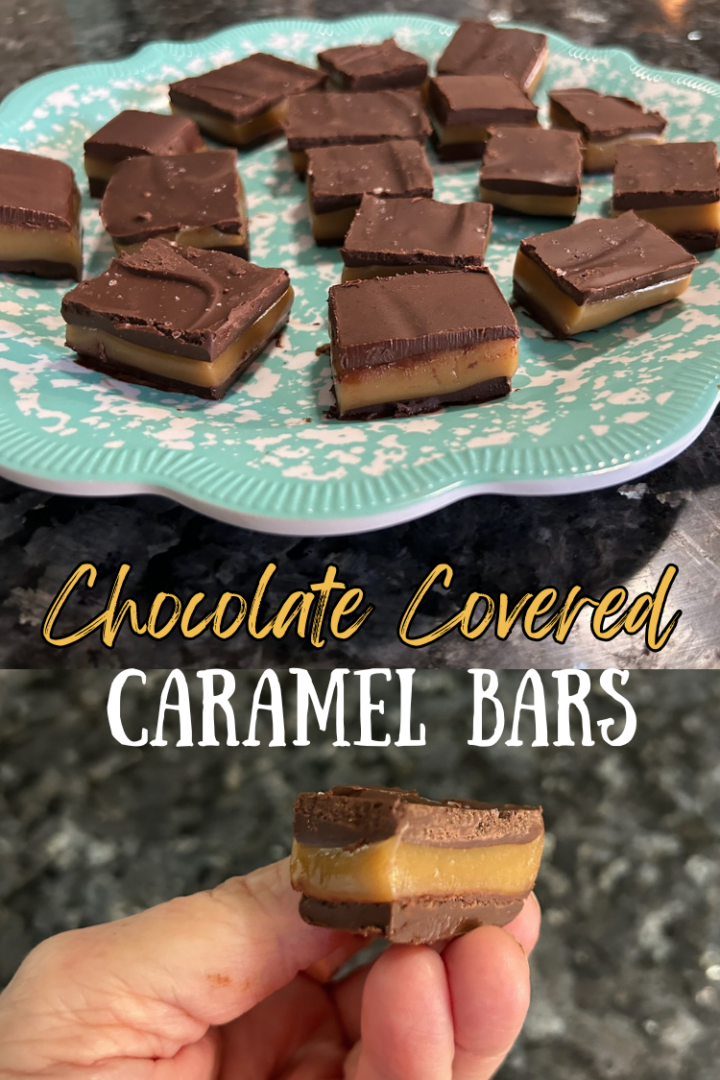
If you love chocolate-covered caramels but don't love the idea of dipping individual pieces of candy into chocolate, you're going to flip over these easy Chocolate-Covered Caramel Bars with Sea Salt.
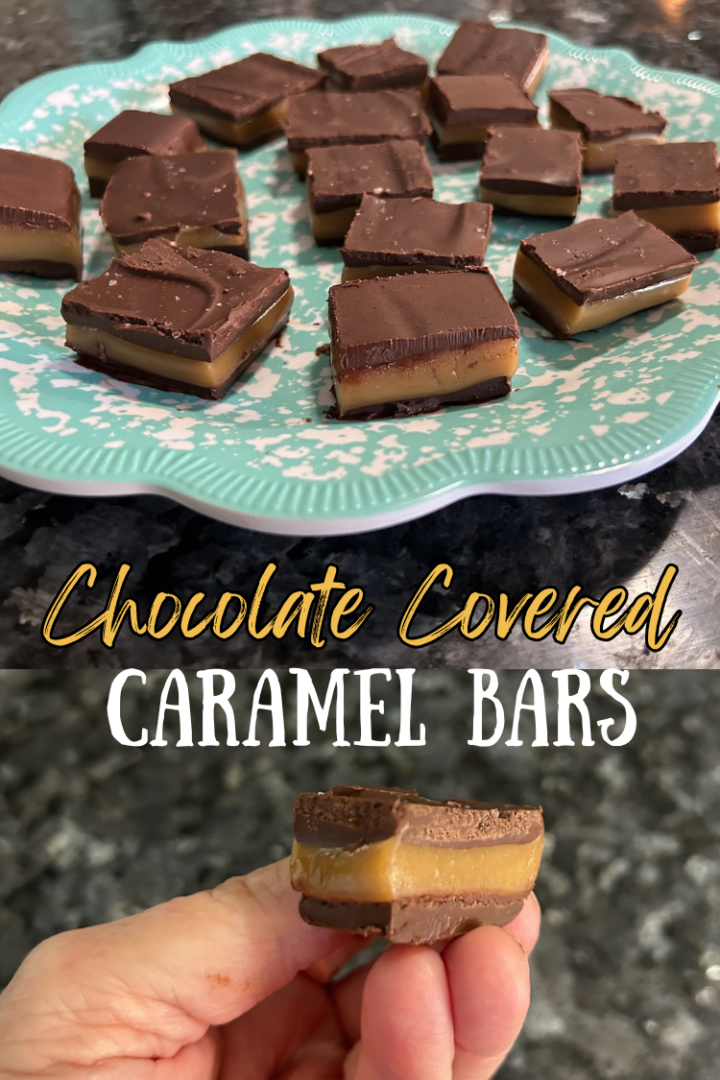
They have a thick layer of homemade buttery caramel sandwiched between two thin layers of semi-sweet chocolate, then they're finished with a sprinkling of flaky sea salt.
And friends, I have to tell you: this might be the best caramel I've ever made.
But before we get to the recipe, I have to tell you how these little candies came to be.
The Story Behind These Chocolate-Covered Caramel Bars
This recipe was born out of a weird combination of grandmotherly sadness and what I can only describe as caramel jealousy.
Two of my precious granddaughters were preparing to leave for college within 24–48 hours of each other. One would be staying here in Texas, while the other would be heading out of state.
Boo.
Before they left, my two daughters, two granddaughters, and I met for a farewell brunch at a lovely boutique and tea room called BLVD in Magnolia, Texas.
It was the perfect place for five girls to gather for a fancy brunch before two of them headed off to their dorm rooms.

One of my granddaughters ordered what I can only describe as a charcuterie martini.
Yes, you read that correctly.
It was basically a charcuterie arranged in a fancy glass, and tucked among all of those goodies was a chocolate-covered caramel sprinkled with sea salt.
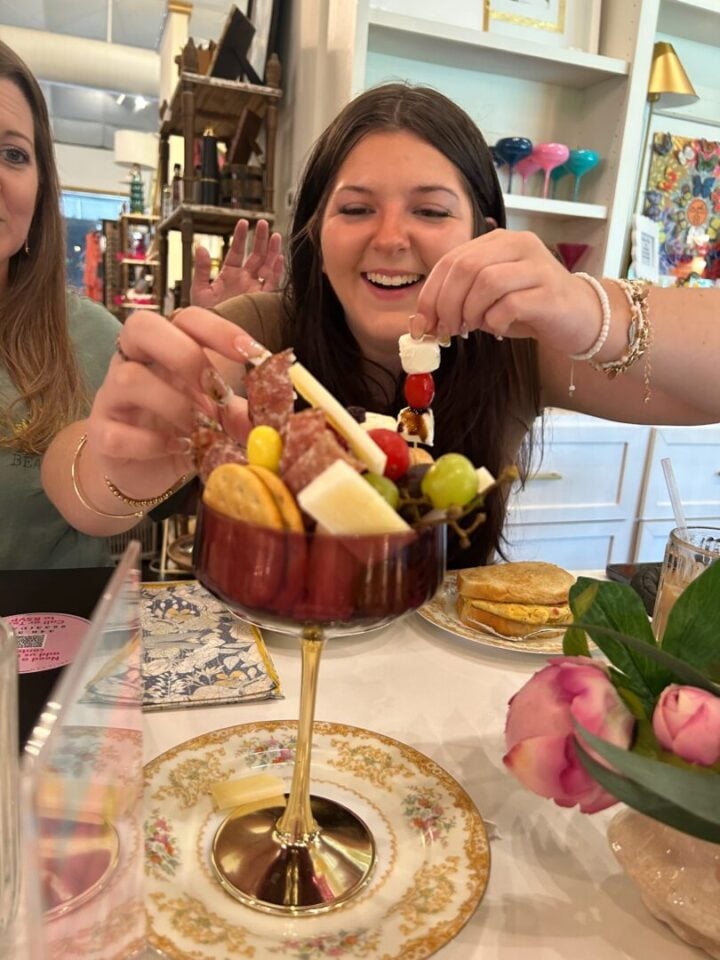
My daughter ended up eating the caramel and was absolutely over the moon about it. She even offered me a bite. I turned her down. Why?
Because I had already put something even better into the girls' going-off-to-college care packages: my homemade pralines. Surely I didn't need a bite of her store-bought chocolate-covered caramel.
The Caramel I Couldn't Stop Thinking About
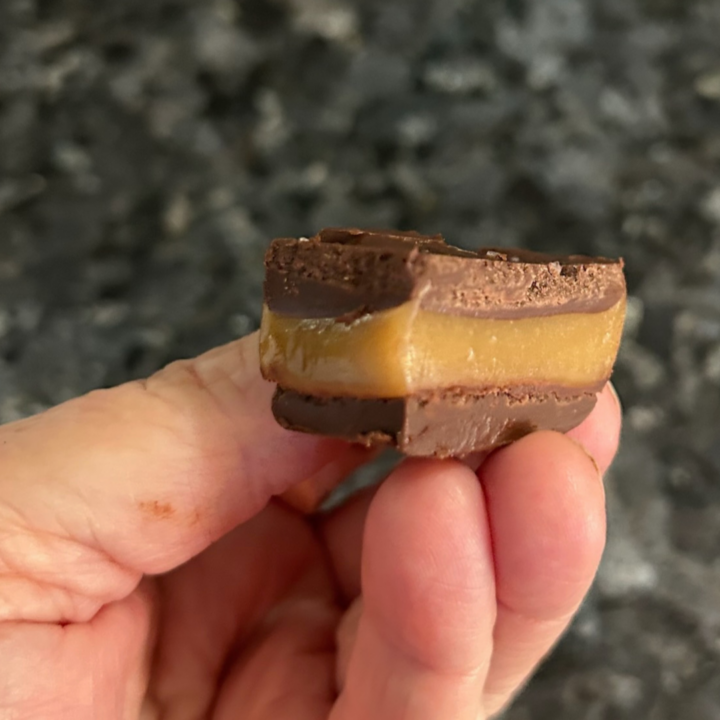
By the time I got home that afternoon, all I could think about was that caramel. Why hadn't I taken a bite? I really, really needed that bite.
So I headed into the kitchen, determined to make something along the lines of my pralines, only this time I wanted caramel, chocolate, and that lovely sprinkling of sea salt.
There was just one problem: I was out of sweetened condensed milk, a necessary ingredient in my pralines. What I did have was heavy cream. And thus, these Chocolate-Covered Caramel Bars with Sea Salt were born. . .out of a weird jealousy craving.
And, if I'm being completely truthful, out of a slightly sad grandmother's heart as two precious girls prepared to leave home for college.
Sometimes you just need chocolate. And caramel. And sea salt. And a good cry.
What Are Chocolate-Covered Caramel Bars?
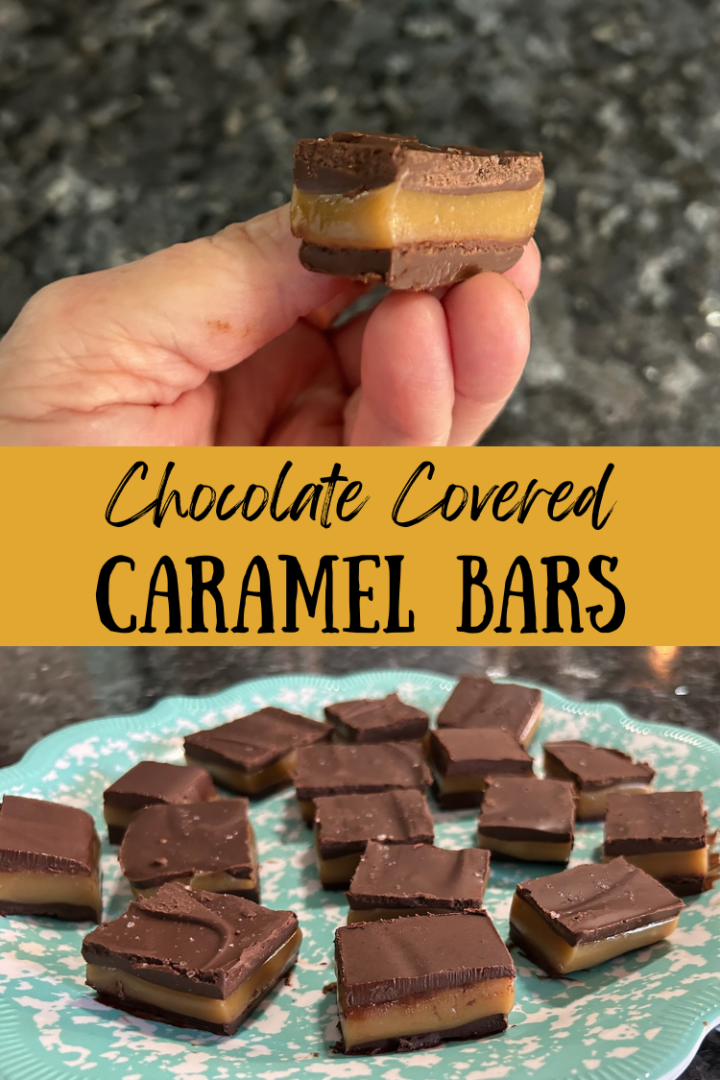
Think of these as one enormous chocolate-covered caramel that you cut into pieces.
Instead of making individual caramels and dipping them one at a time, I spread a thin layer of semi-sweet chocolate into an 8x8-inch pan, covered it with homemade caramel, then added another layer of chocolate and flaky sea salt.
Once everything was thoroughly chilled, I cut the slab into individual pieces.
So simple!
The result is everything I wanted that afternoon: rich semi-sweet chocolate, thick buttery caramel, and just enough salt to balance the sweetness.
What to Expect from These Caramel Bars
If you're expecting a cookie bar, that's not what you're getting here. These are candy.
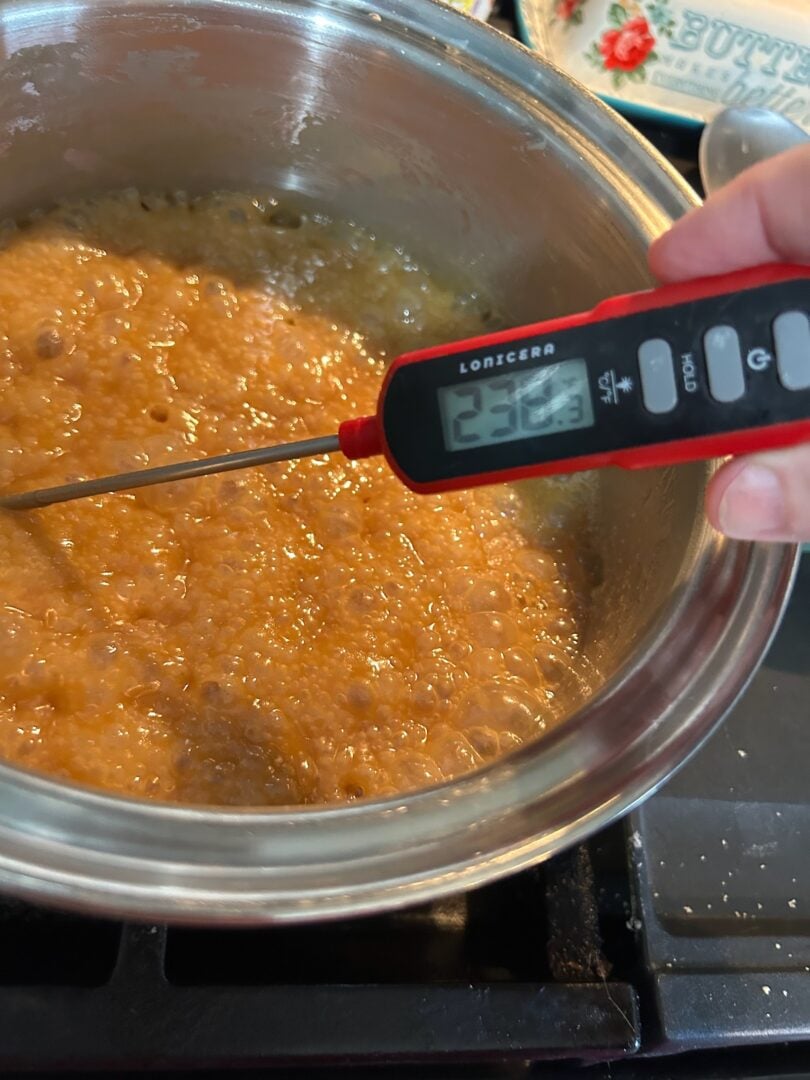
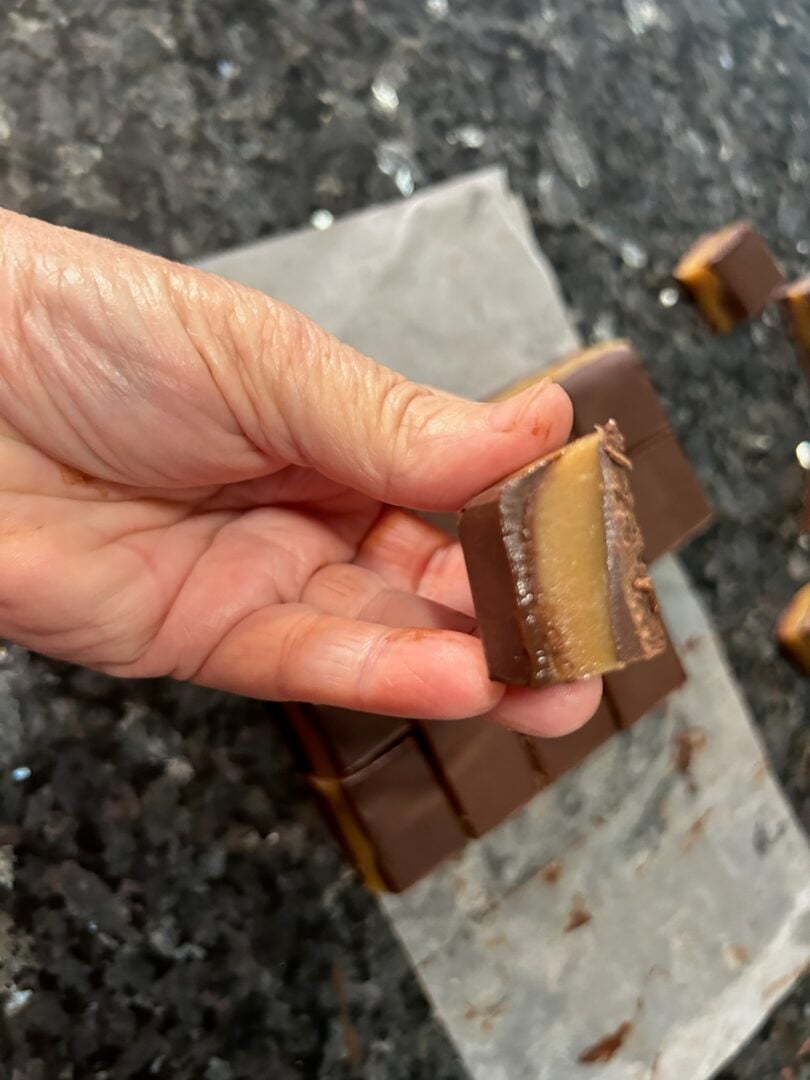
The caramel is thick, buttery, soft, and chewy. Cooking it to 238 degrees Fahrenheit gives it enough structure to hold its shape when chilled without turning it into a hard caramel.
The semi-sweet chocolate helps balance the sweetness, and the flaky sea salt on top brings everything together. They're rich, so a small piece is plenty. Unless you've spent the entire afternoon thinking about the chocolate-covered caramel you didn't eat. Then all bets are off.
Chocolate-Covered Caramel Bar Ingredients
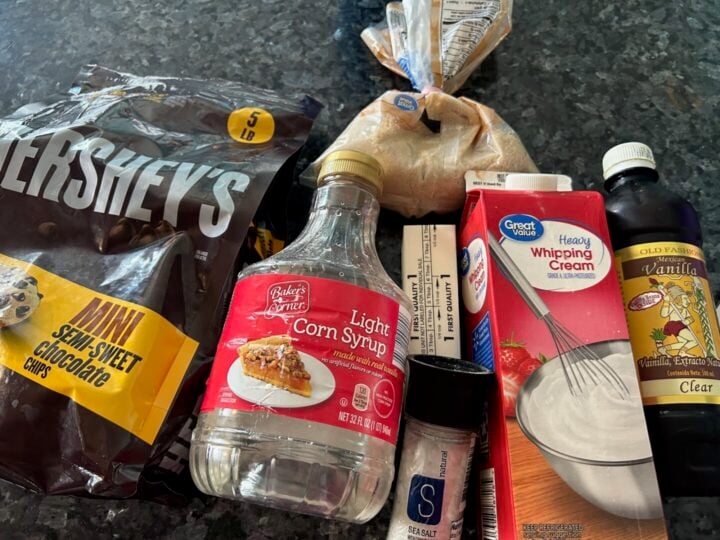
You'll find a full printable recipe card at the bottom of this post, but here's a quick look at what you'll need.
For the Chocolate Layers
- Semi-sweet chocolate chips
- Vegetable oil
For the Homemade Caramel
- Butter
- Brown sugar
- Heavy cream
- Light corn syrup
- Salt
- Vanilla extract
For the Topping
- Flaky sea salt
That's it! No sweetened condensed milk required.
A Note About the Candy Thermometer
For this recipe, I strongly recommend using a candy thermometer. The temperature of the caramel determines how it will set. For these bars, 238°F was the magic number. At that temperature, my caramel was firm enough to slice once chilled but still wonderfully soft and chewy when eaten.
If you cook caramel significantly hotter, you'll end up with a firmer, chewier candy. If you don't cook it enough, it might remain too soft to hold its shape between the chocolate layers.
How to Make Chocolate-Covered Caramel Bars
Prepare Your Pan
Line an 8x8-inch pan with parchment paper, leaving enough parchment hanging over the sides to lift the finished candy from the pan later.
Melt the Chocolate
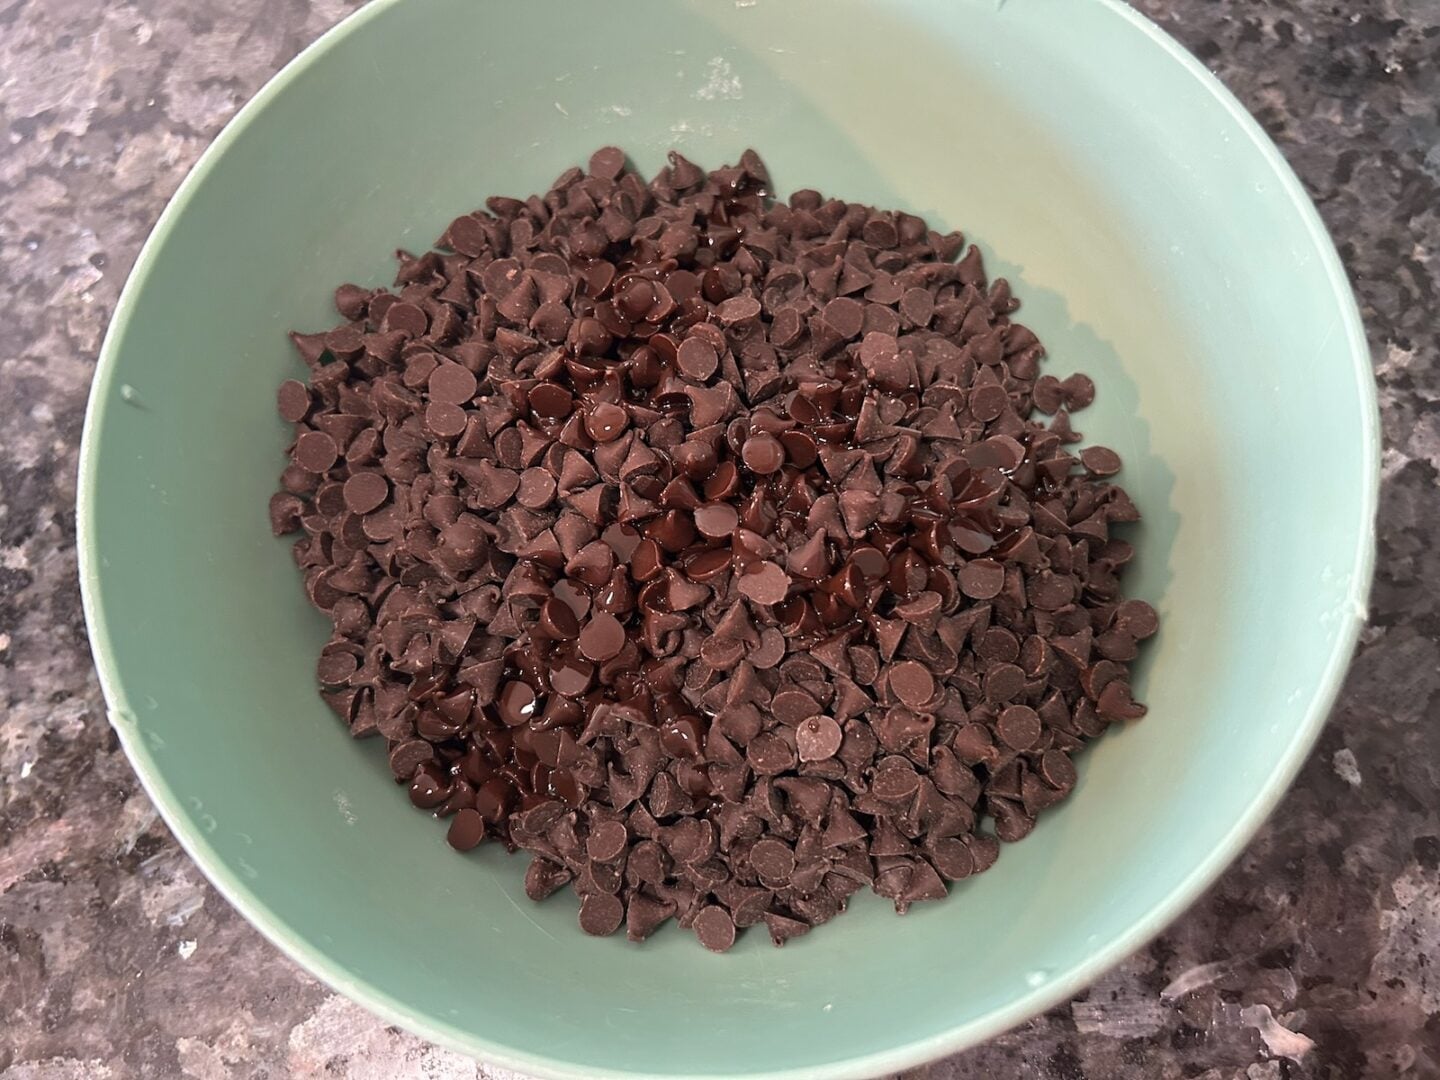
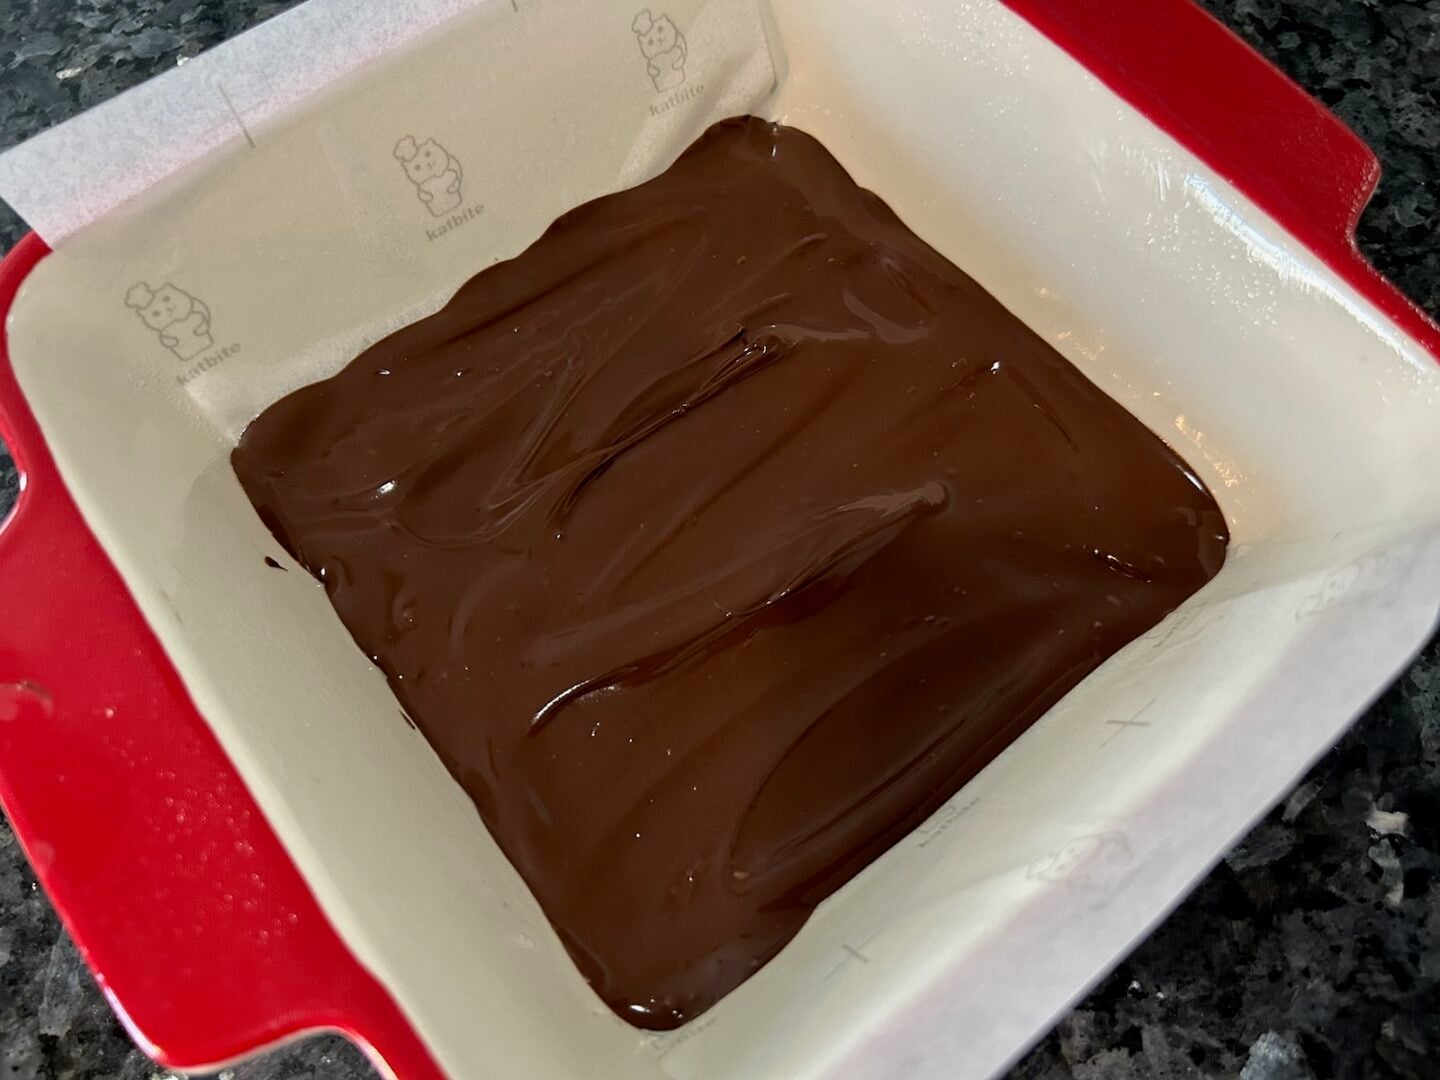
Place the semi-sweet chocolate chips and vegetable oil into a microwave-safe bowl.
Heat in short intervals, stirring well between each one, until the chocolate is completely melted, glossy, and smooth.
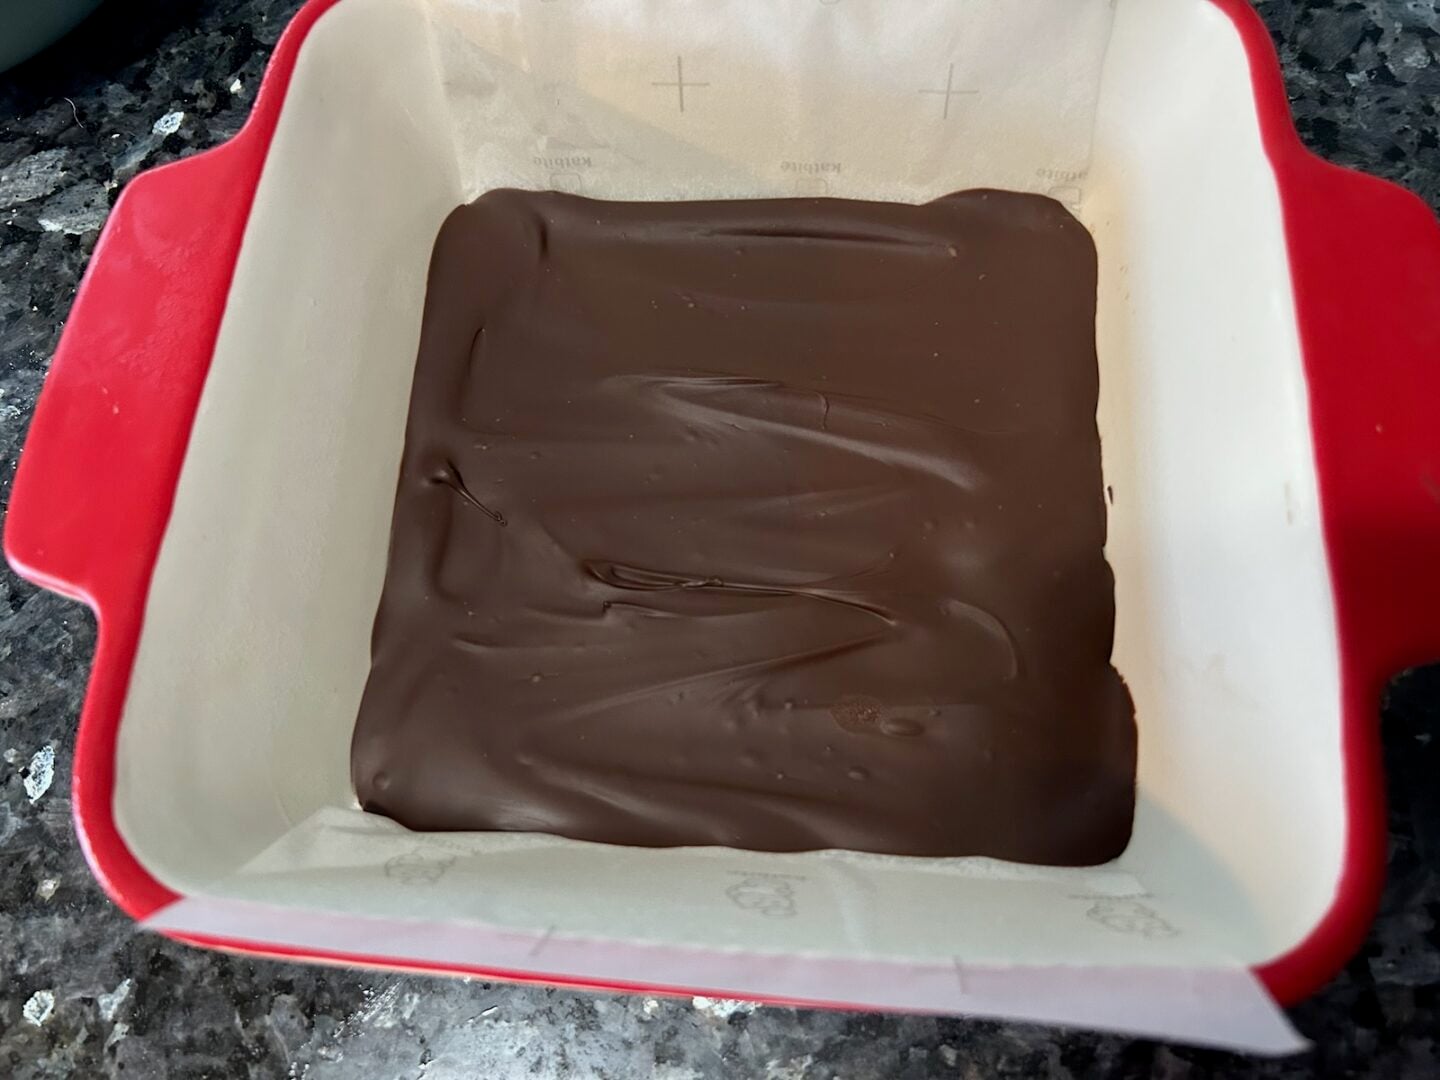
Spread roughly half of the melted chocolate into the bottom of the parchment-lined pan.
You don't need a thick layer here. You just want enough chocolate to completely cover the bottom.
Reserve the remaining melted chocolate at room temperature for the top.
Place the pan in the refrigerator or freezer until the bottom chocolate layer is firm.
Make the Homemade Caramel
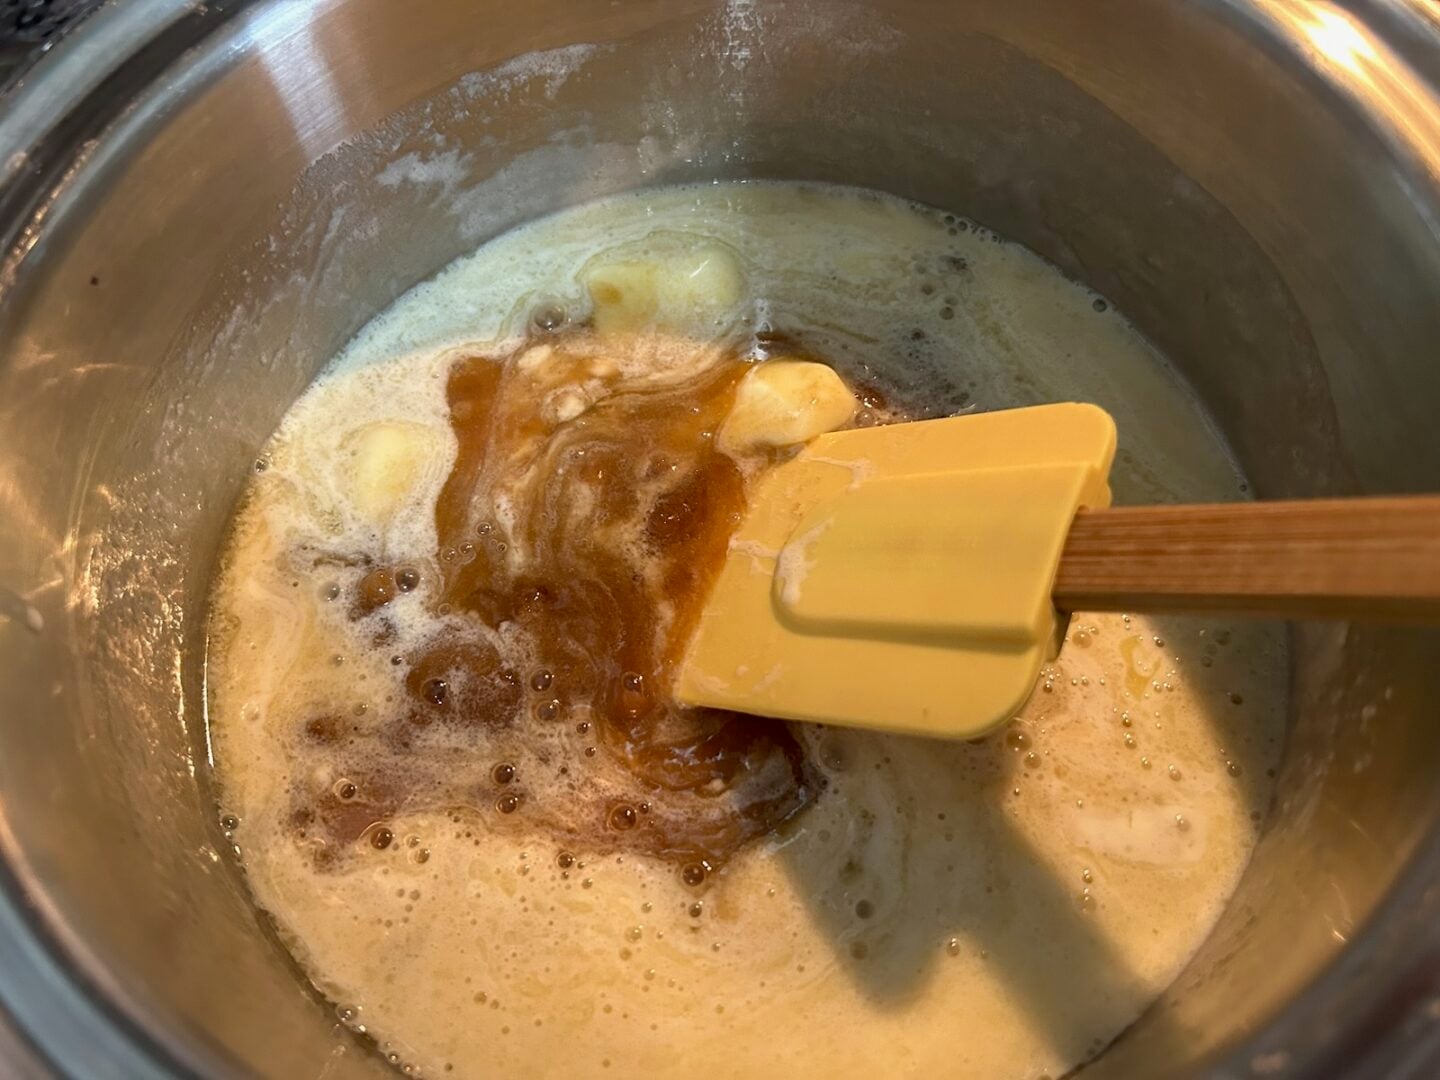
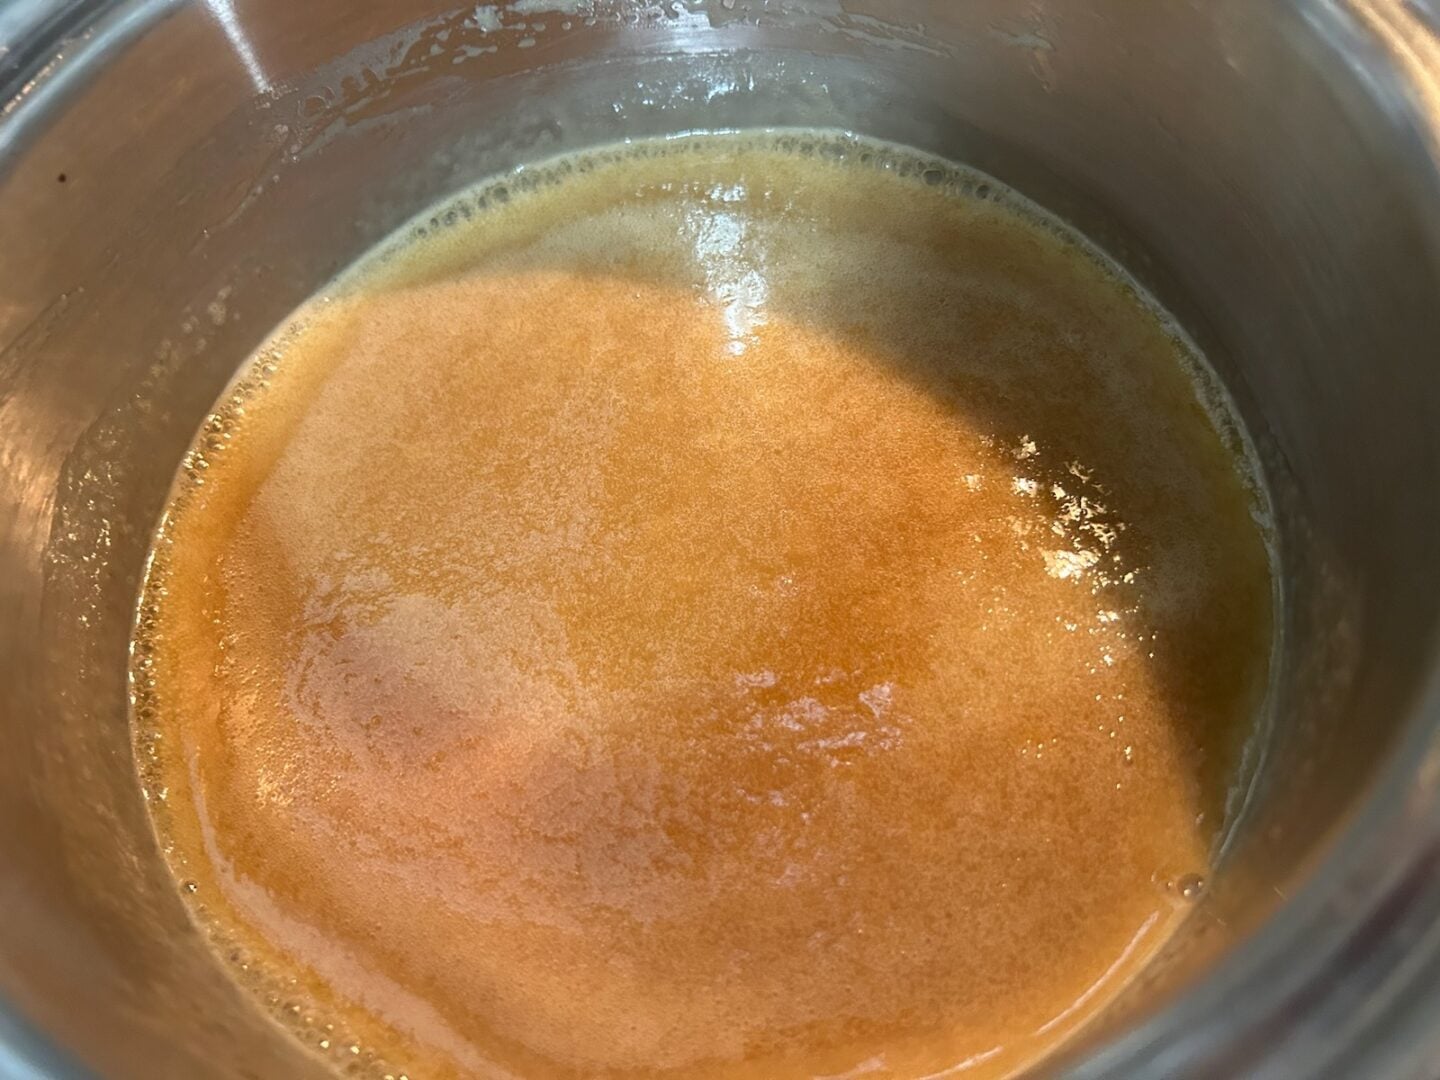
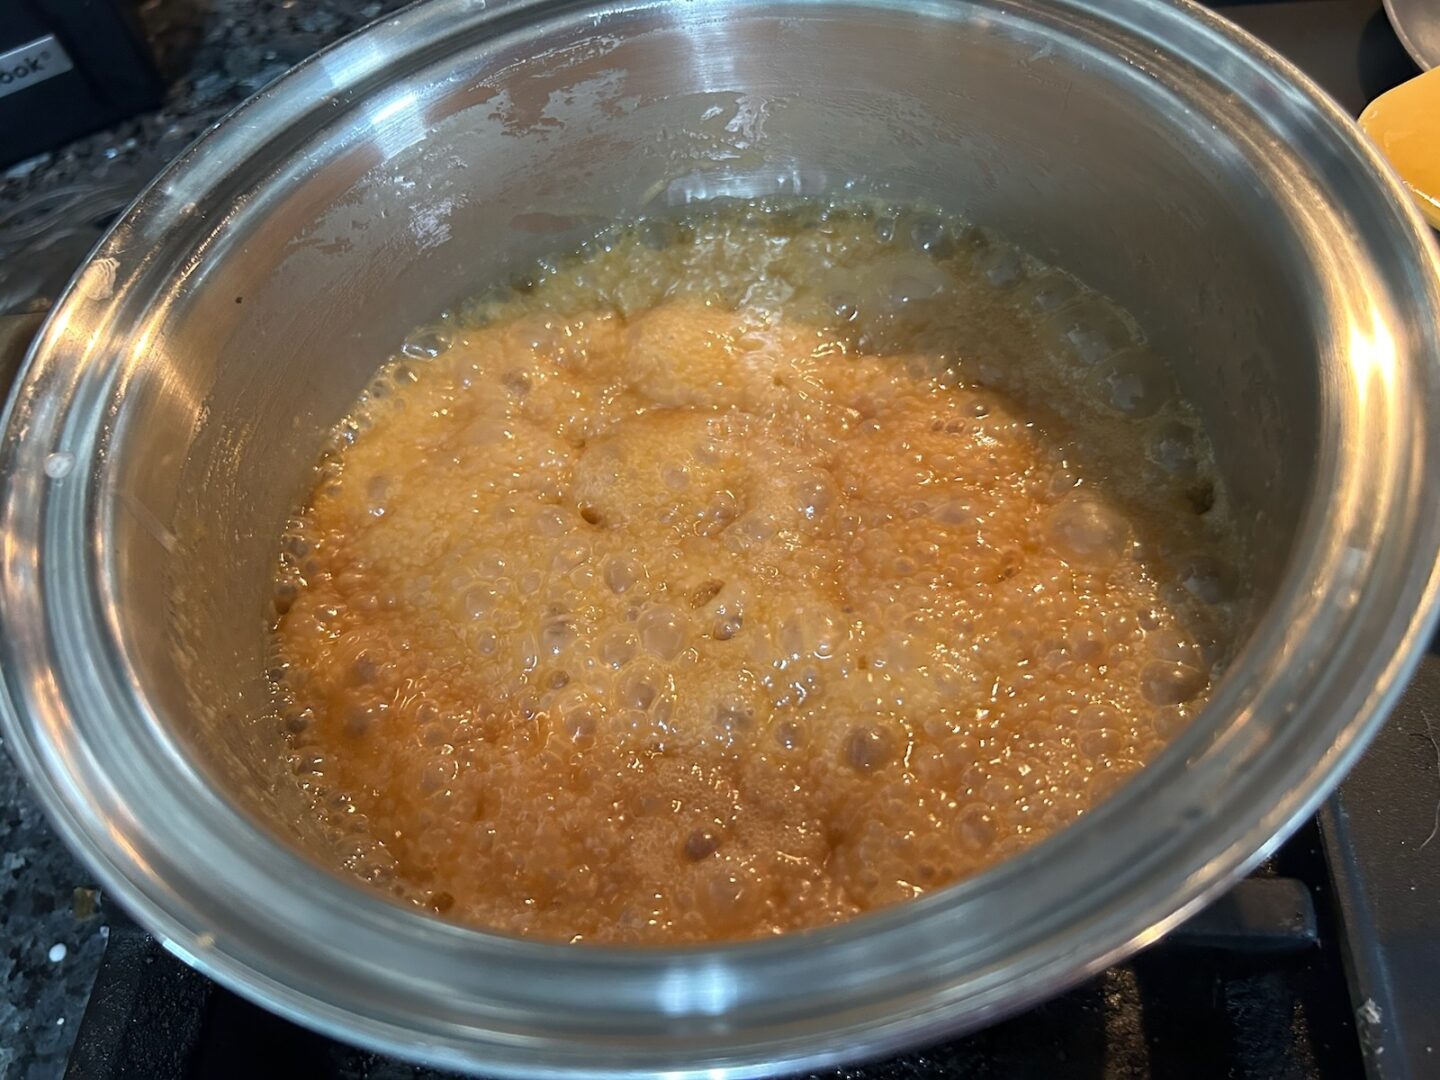
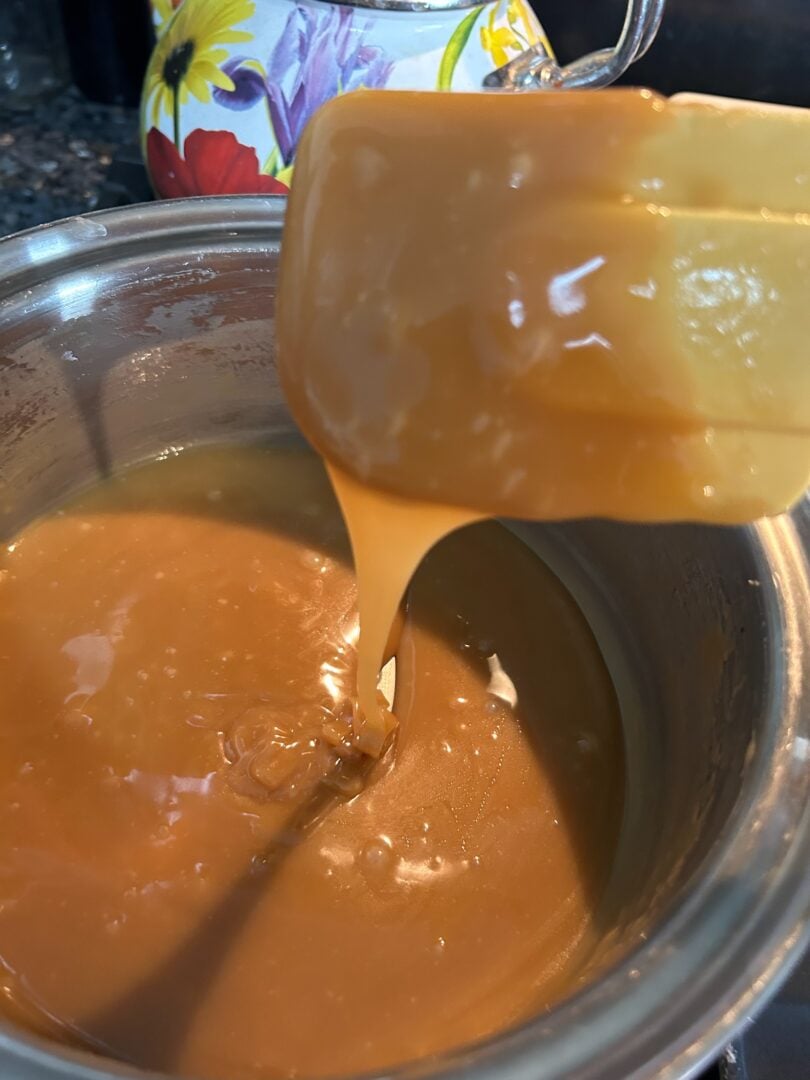
Place the butter, brown sugar, heavy cream, corn syrup, and salt into a heavy saucepan.
Cook over medium heat, stirring as the butter and sugar melt together.
Attach your candy thermometer and continue cooking, stirring regularly, until the mixture reaches 238°F.
Remove the caramel from the heat and stir in the vanilla.
Let it sit for a few minutes. You want the caramel to remain fluid and easy to pour, but you don't want screaming-hot caramel hitting your chilled chocolate.
Add the Caramel Layer
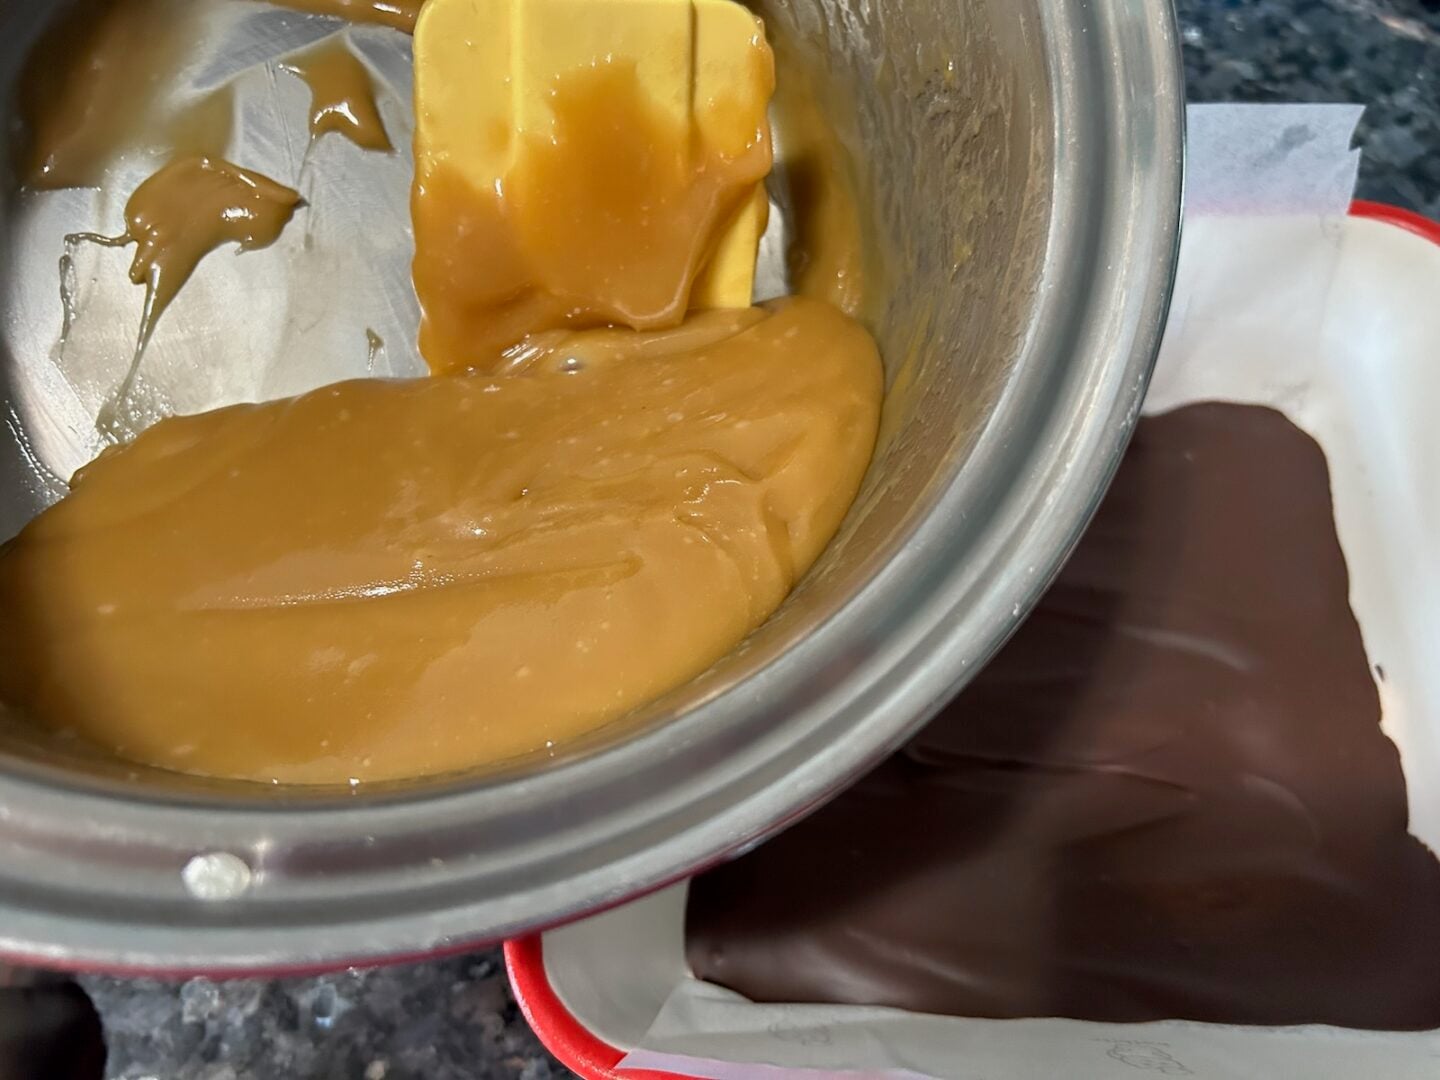
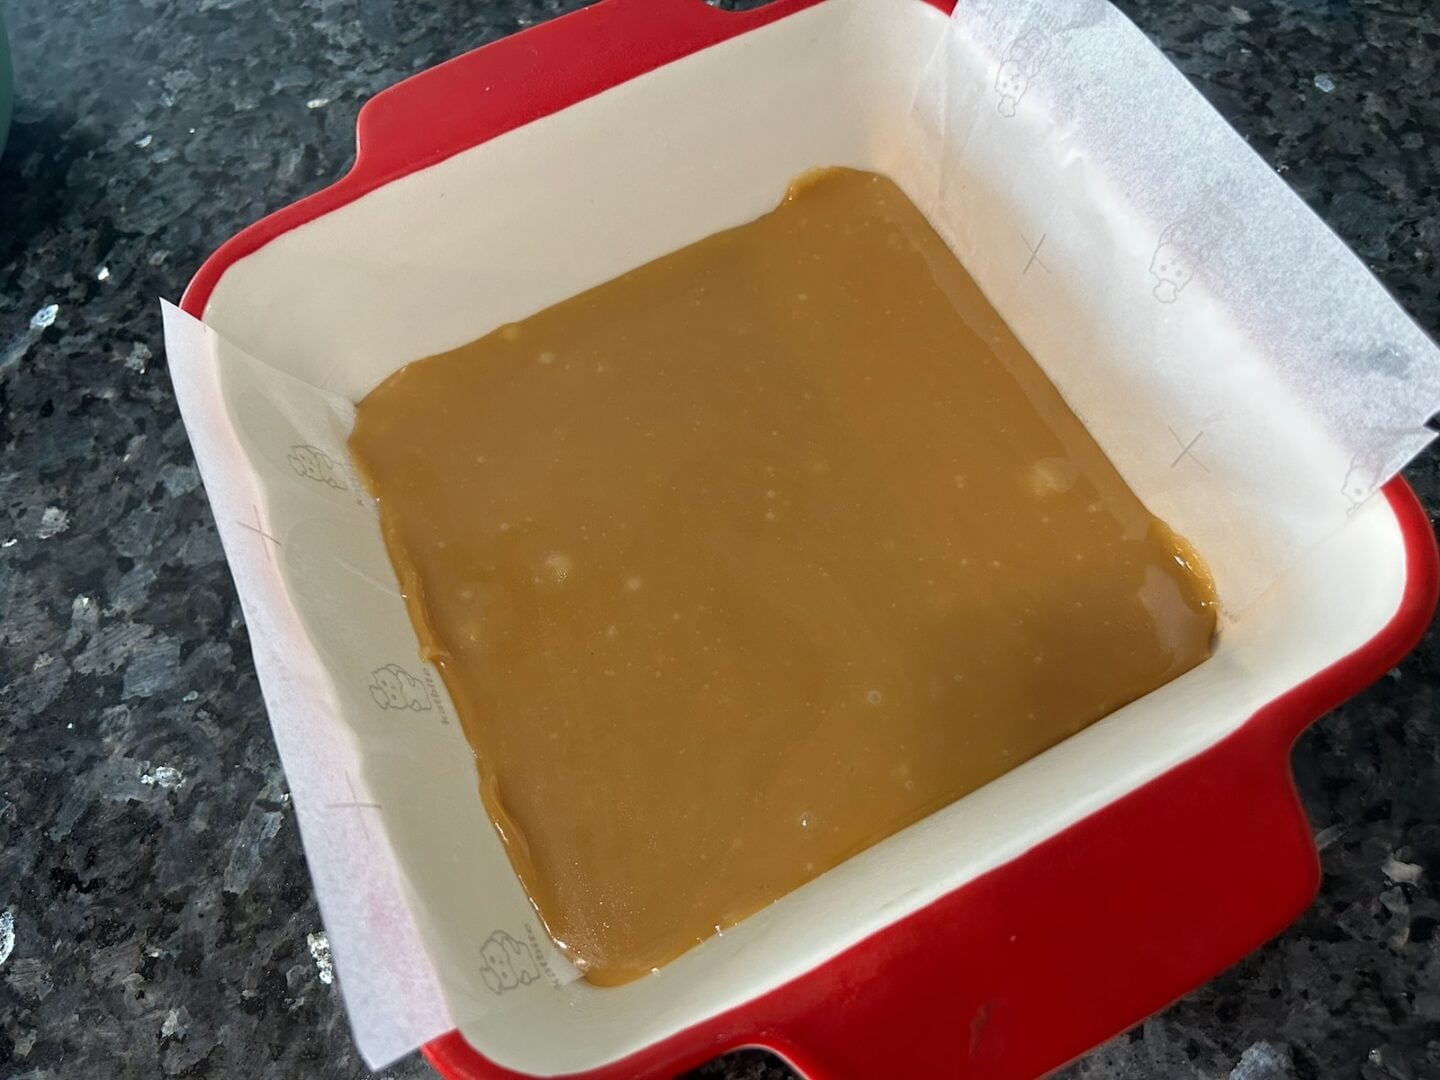
Once the bottom chocolate layer is firm and the caramel has cooled slightly, pour the caramel over the chocolate.
Spread it gently to the edges if necessary.
Now comes the hard part. Wait.
Allow the caramel to cool at room temperature until it is no longer warm and has begun to set.
Don't add the top chocolate while the caramel is still warm or the layers may start melting into each other.
Add the Final Chocolate Layer
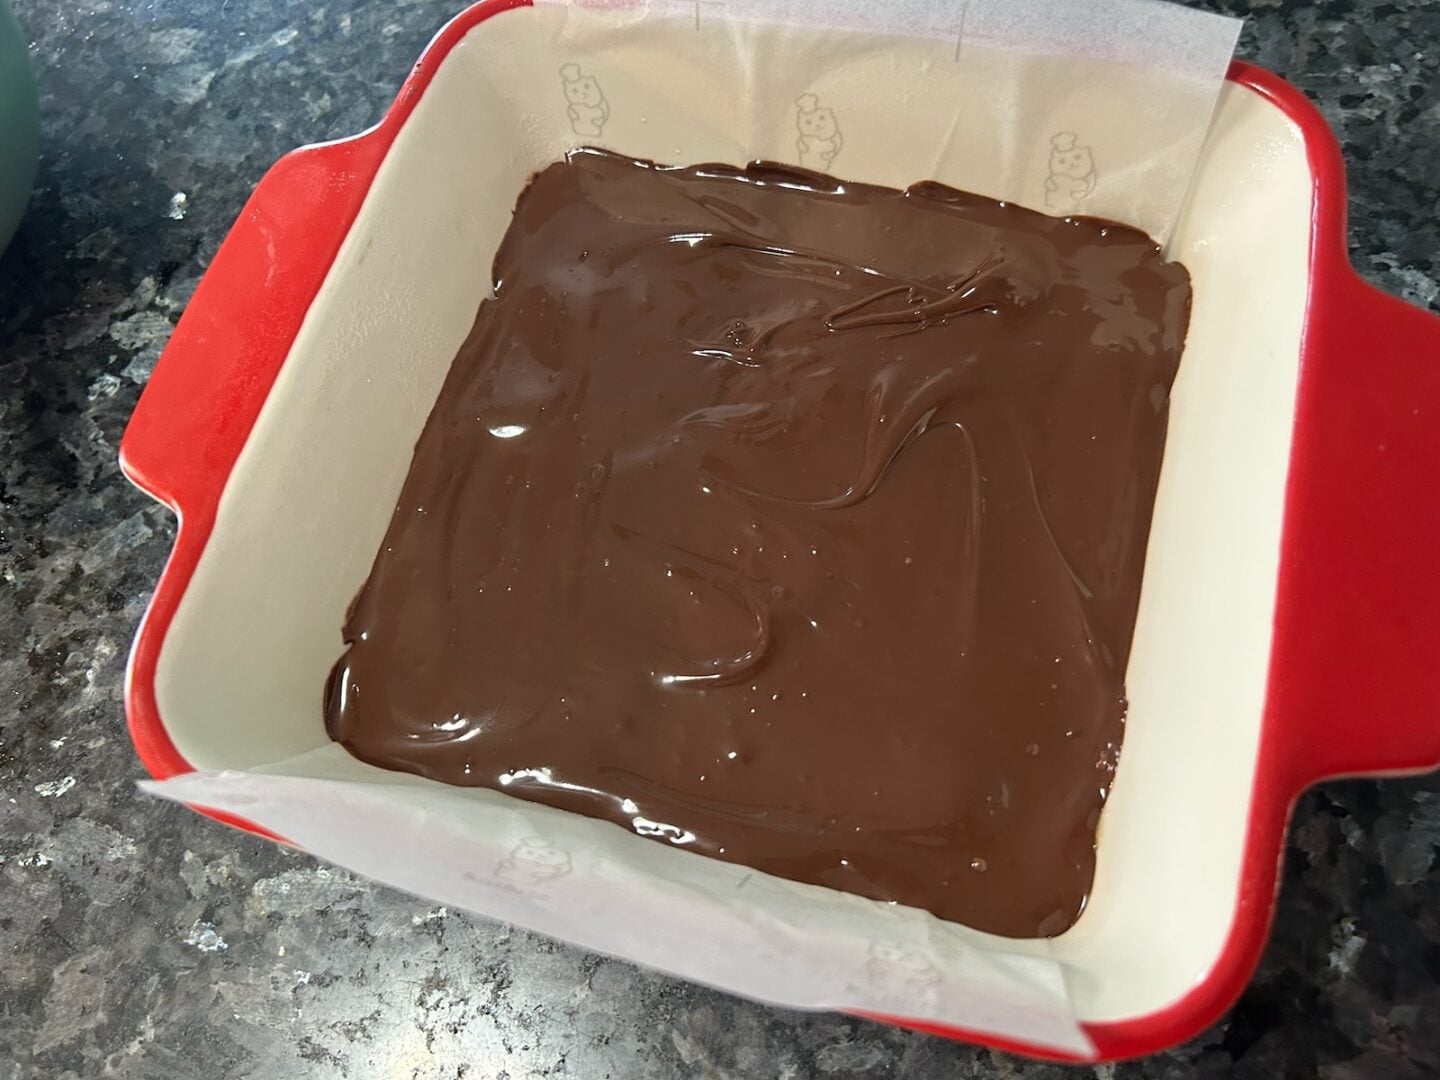
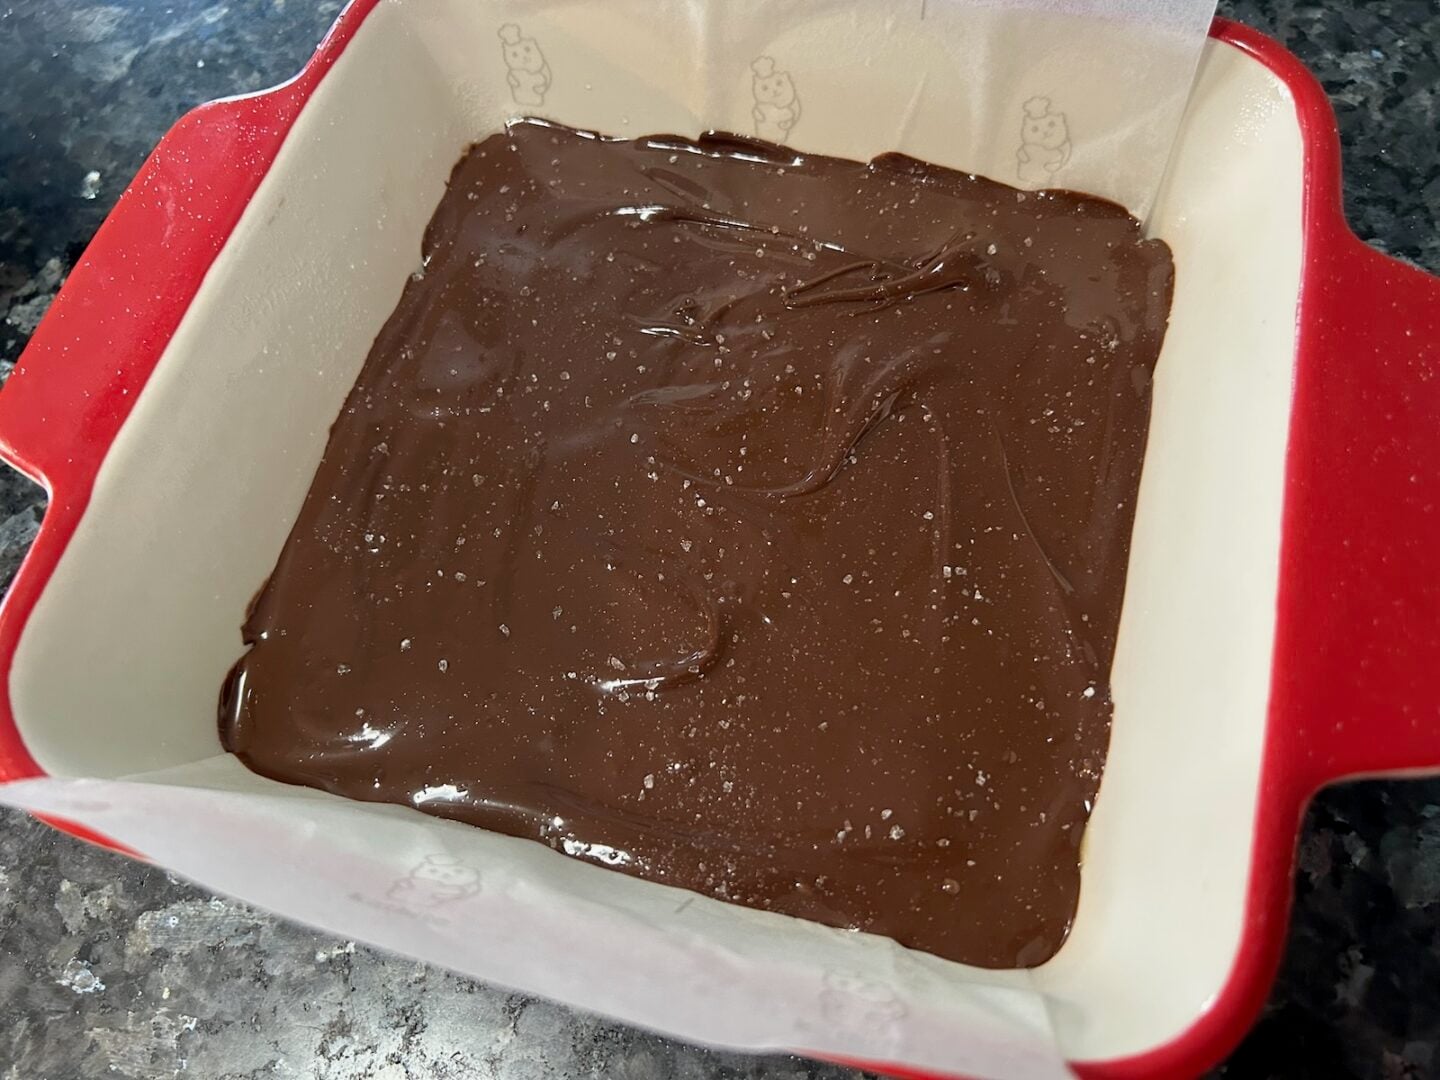
By the time my caramel had cooled, the reserved chocolate was still smooth and spreadable at room temperature, so I didn't even have to reheat it.
If yours has thickened, microwave it very briefly—just long enough to make it spreadable again.
Pour the remaining chocolate over the caramel and gently spread it into an even layer.
Immediately sprinkle the top with flaky sea salt.
Chill and Cut
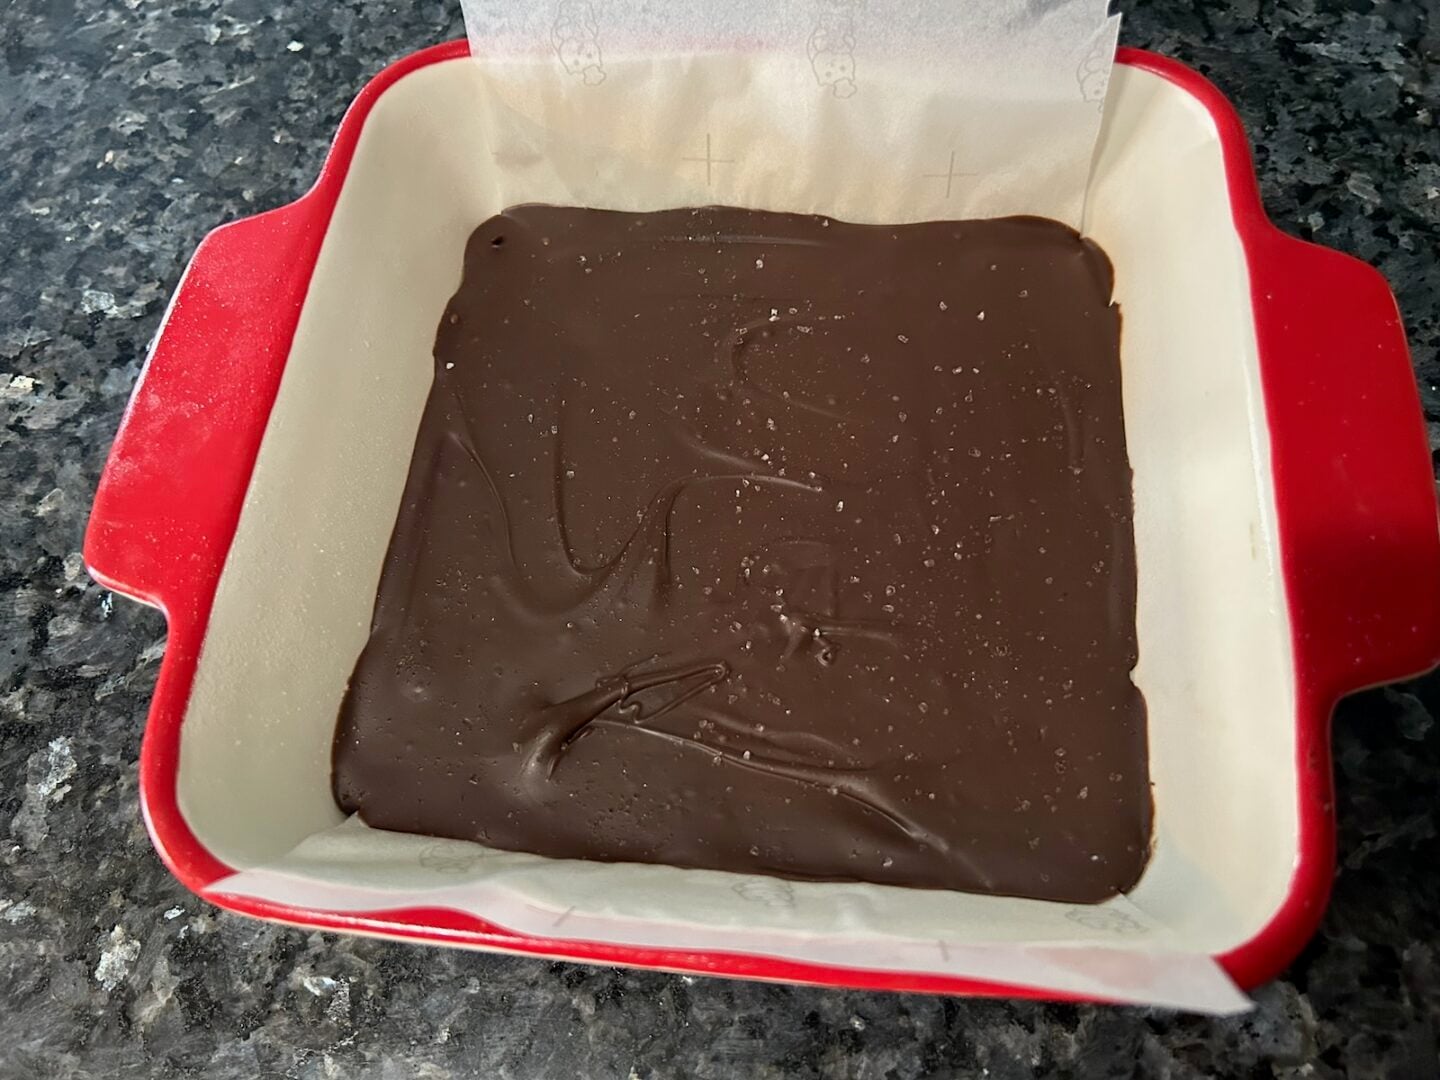
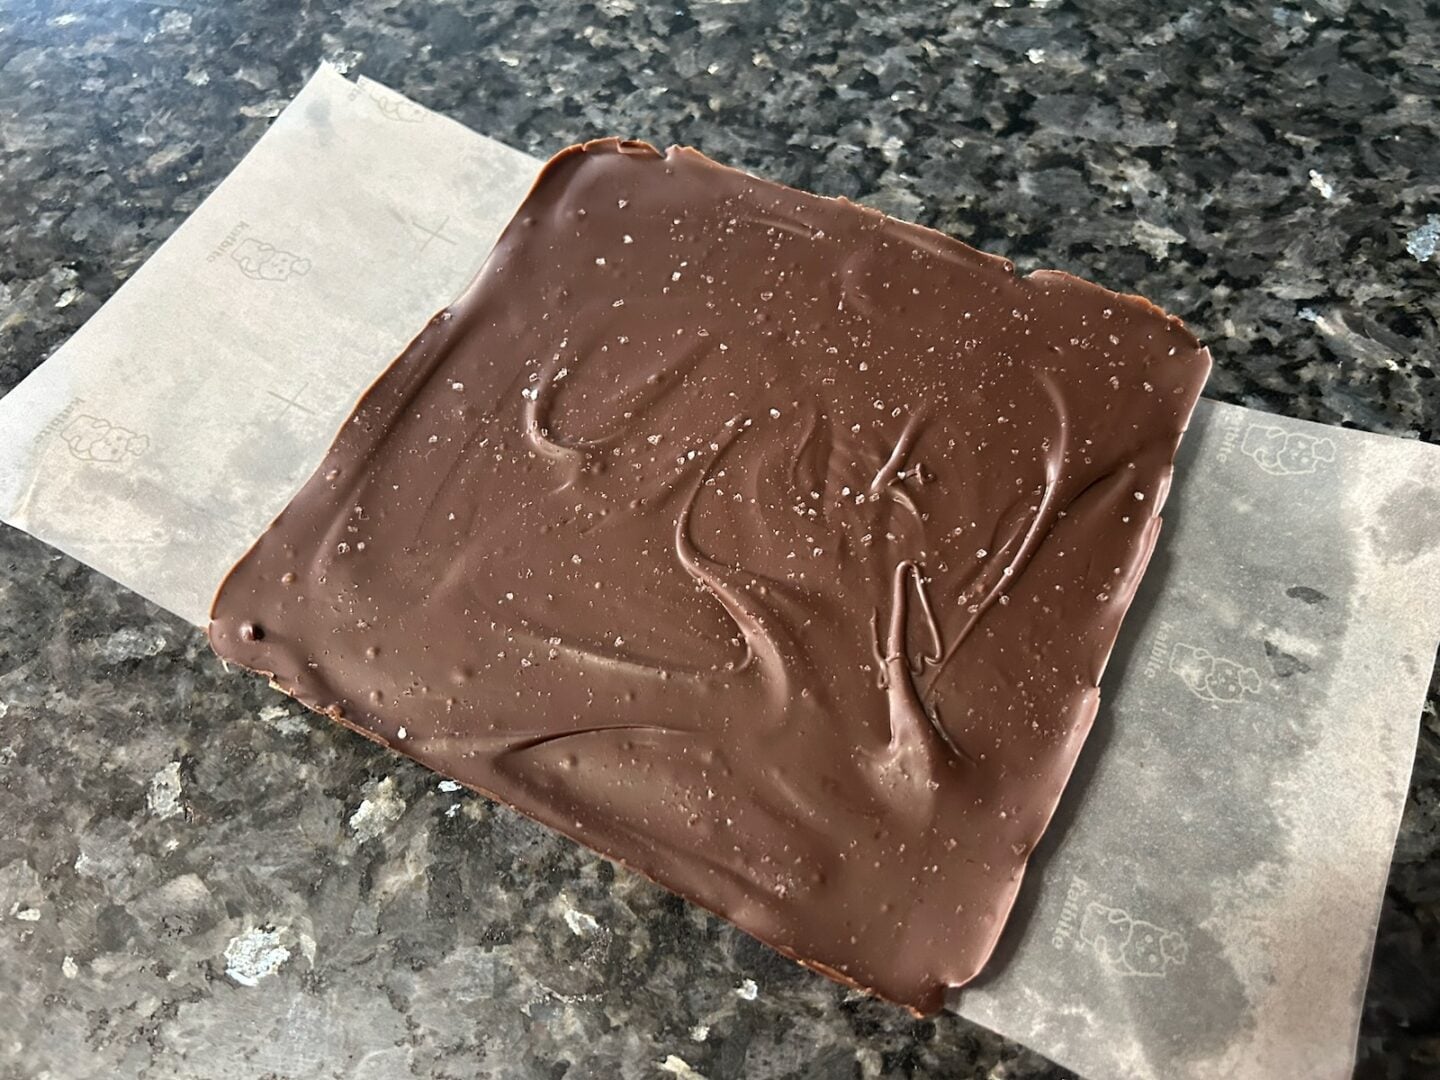
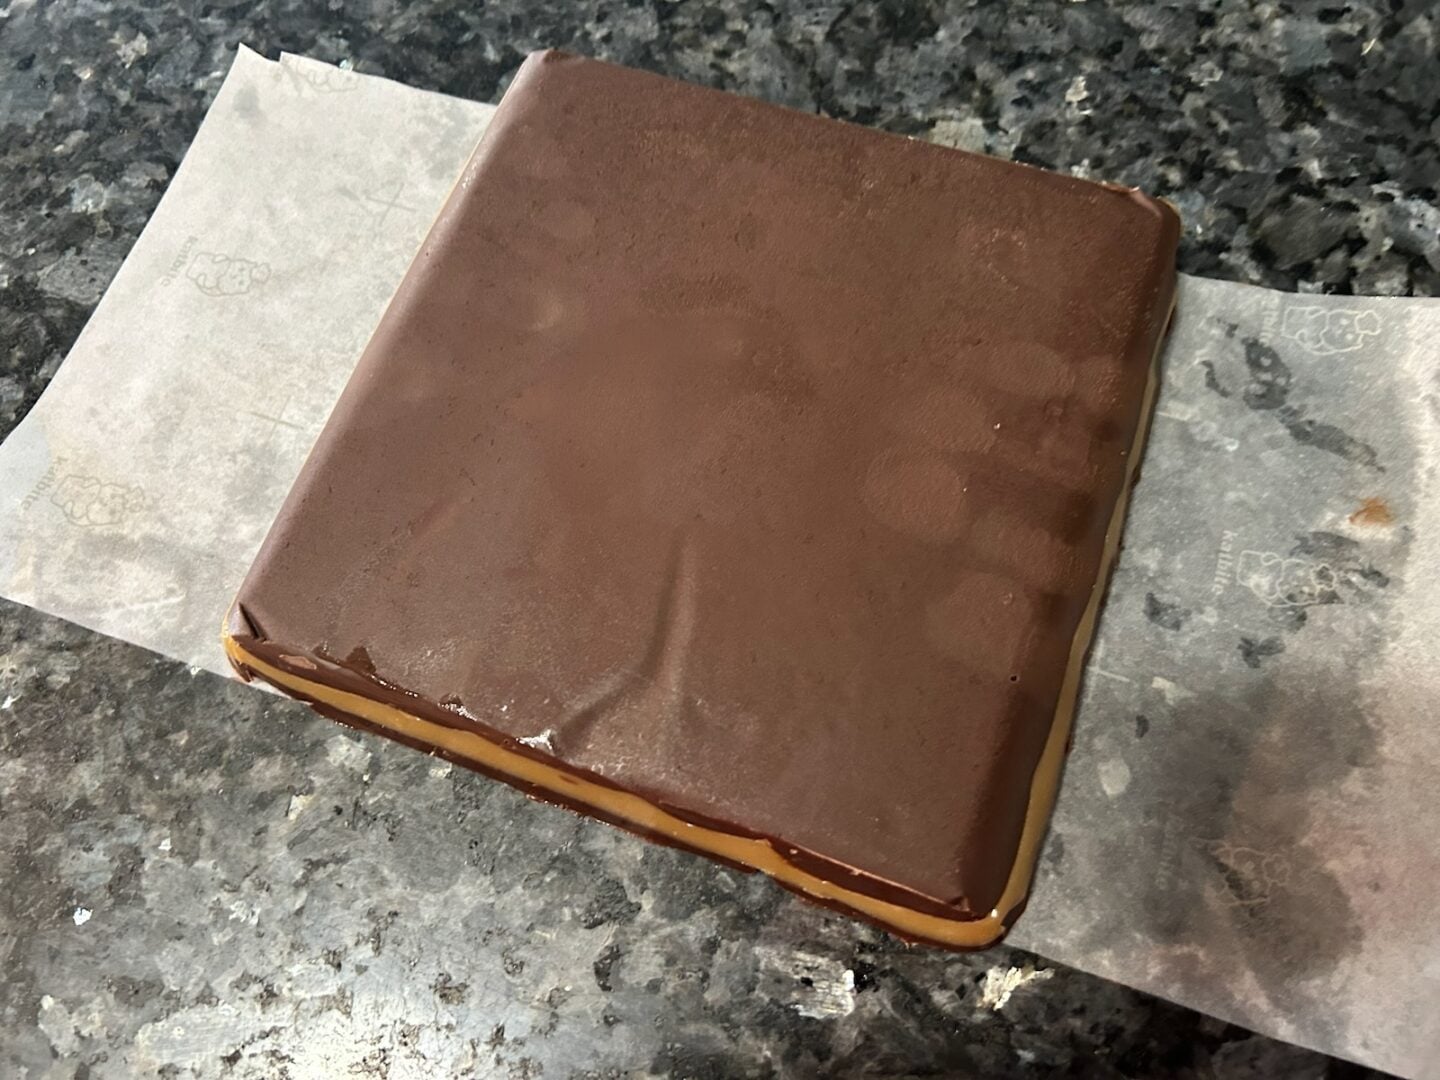
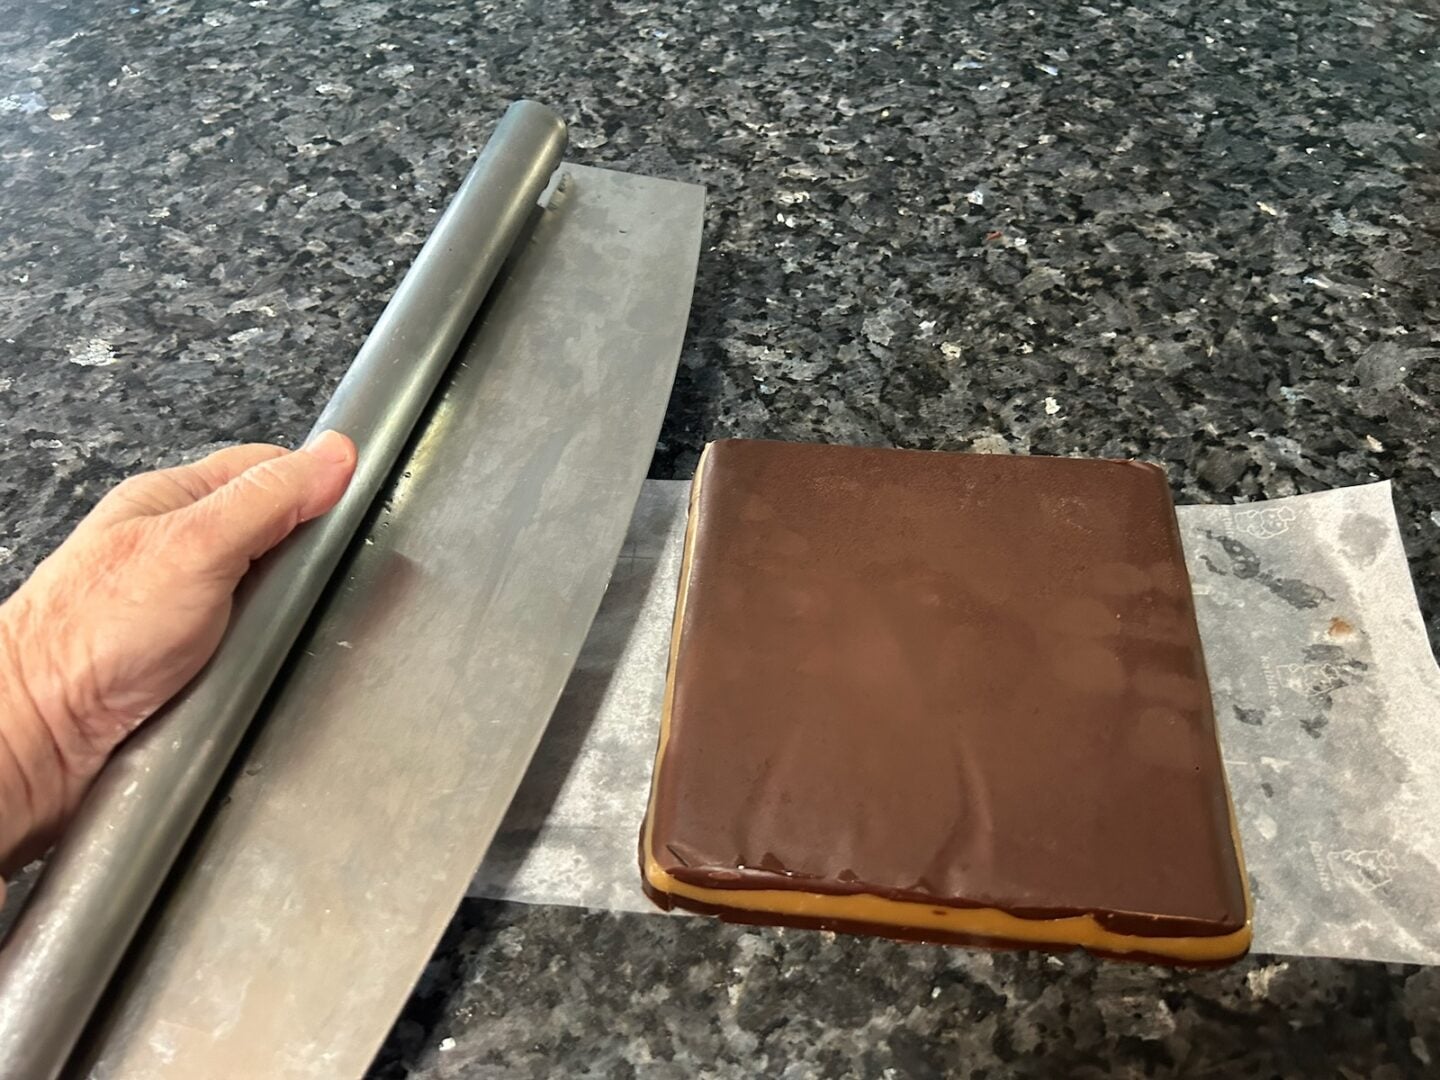
Transfer the finished candy to the refrigerator and chill until completely firm.
Use the parchment paper to lift the entire slab from the pan.
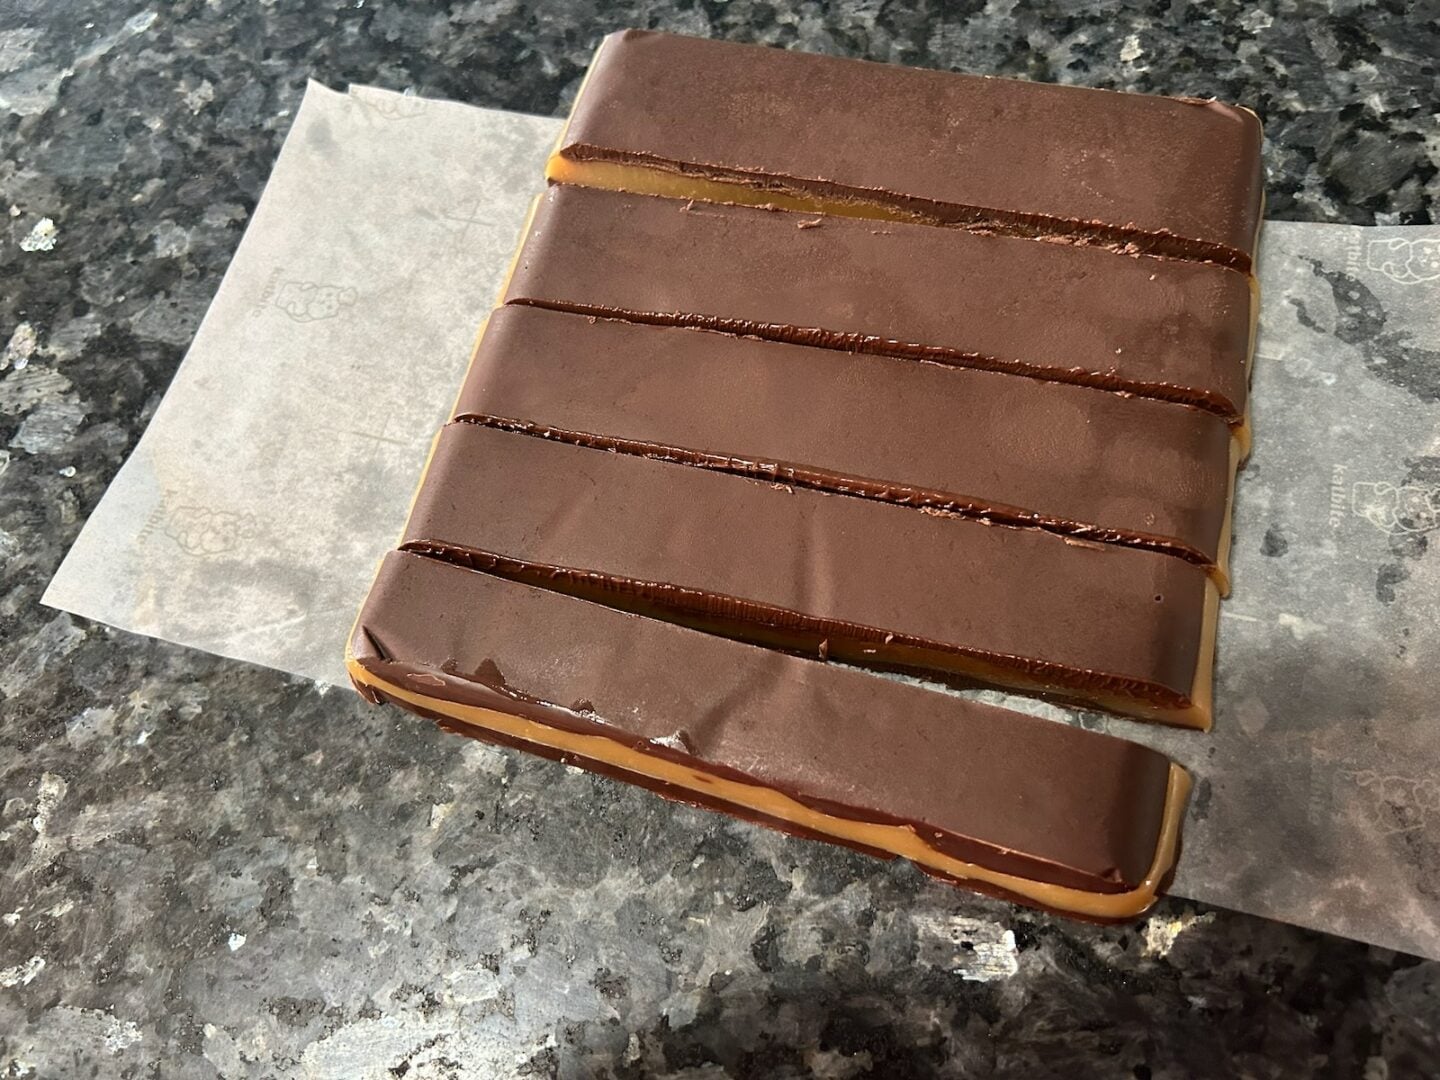
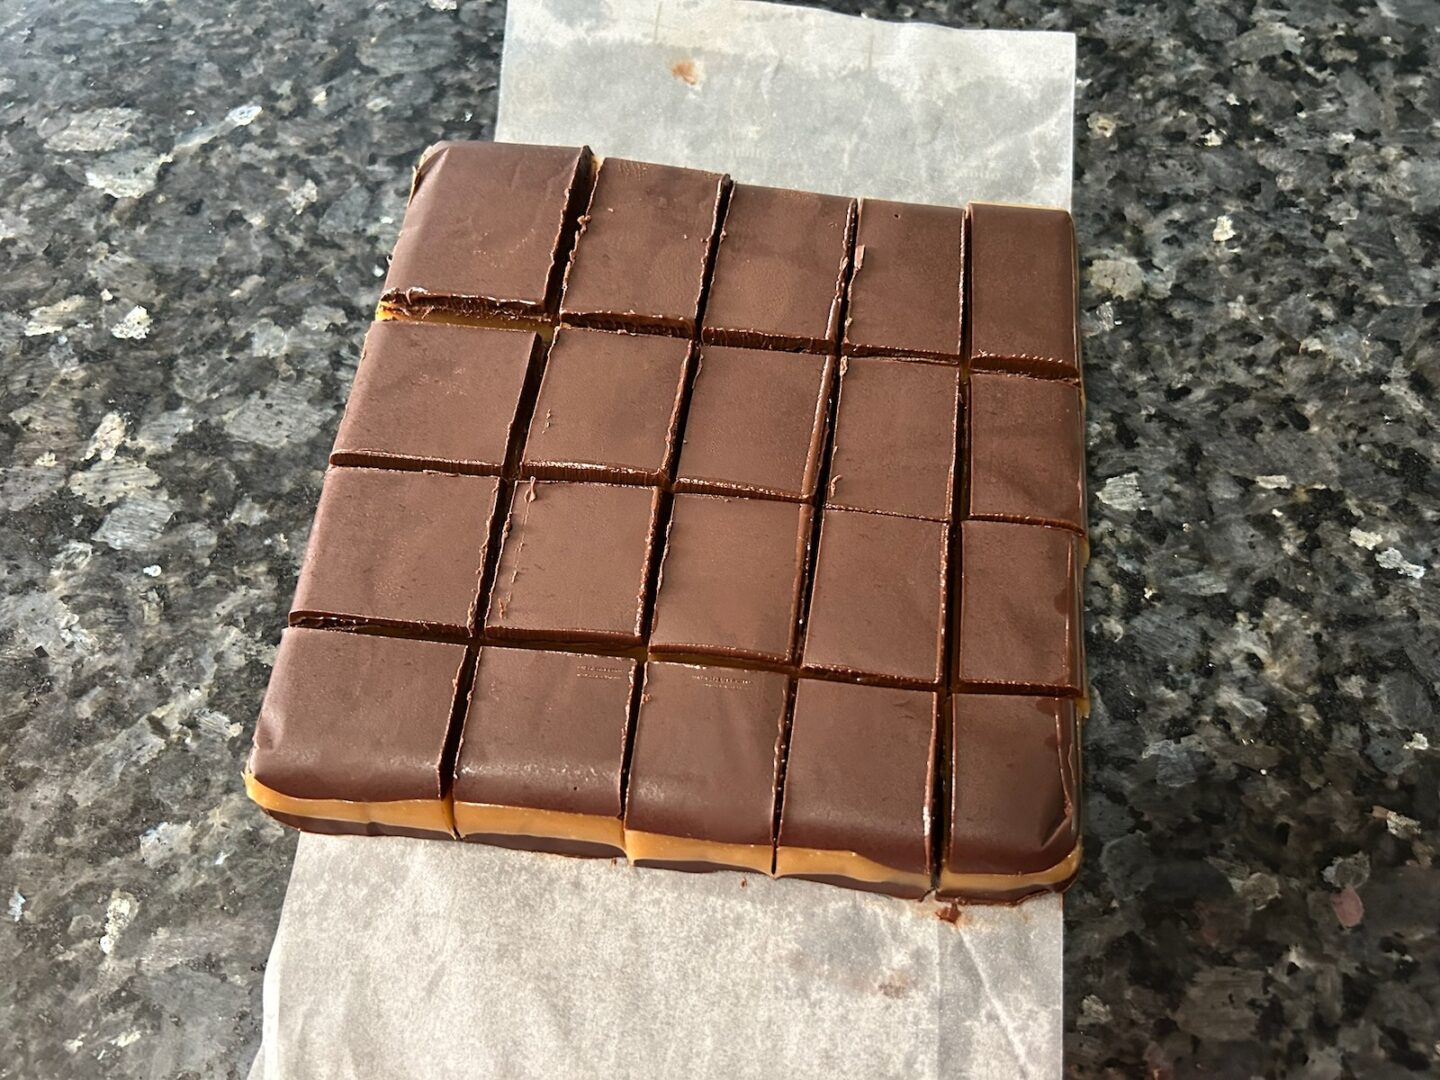
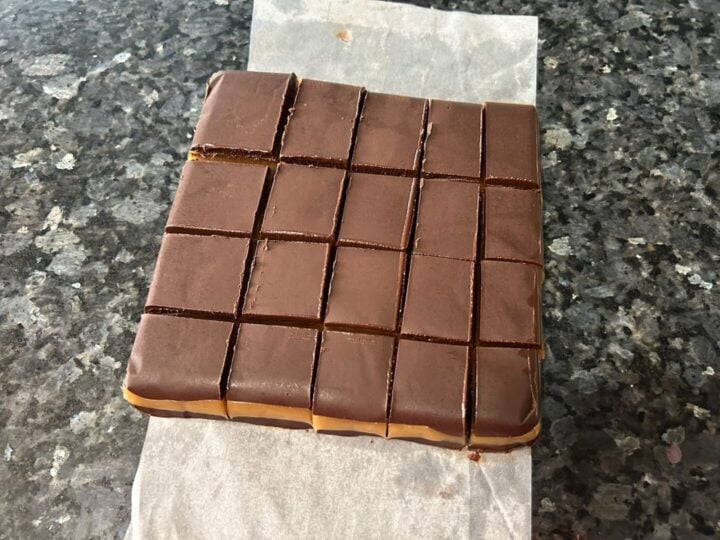
Cut into small squares or bars using a sharp knife, pizza cutter, or bench scraper.
I ended up with about 20 pieces.
Important Storage Information
These candies need to be kept refrigerated for the best texture. The caramel and chocolate both soften as they warm, particularly in a warm kitchen.
Store your Chocolate-Covered Caramel Bars in an airtight container in the refrigerator. You can enjoy them straight from the refrigerator or let them sit out for just a few minutes before serving if you prefer a slightly softer caramel.
I wouldn't leave them sitting at room temperature for an extended period, especially in a warm environment.
Tips for Perfect Chocolate Caramel Bars
Use a candy thermometer. This is the most important tip. Don't try to guess when your caramel has reached the proper stage.
Aim for 238°F. This gave me a beautifully soft, chewy caramel that still held its shape when chilled.
Keep the chocolate layers relatively thin. The caramel should be the star of this candy.
Don't rush the layers. Make sure the bottom chocolate is firm before adding the caramel, and make sure the caramel is cool before adding the final chocolate layer.
Don't forget the salt! That little sprinkling of flaky sea salt makes a tremendous difference against the sweet caramel and semi-sweet chocolate.
Variations on These Chocolate-Covered Caramel Bars
You know me. Once I make something I love, I immediately start thinking about ways to change it up!
Here are a few possibilities.
Snickers-Inspired Caramel Bars
Sprinkle chopped salted peanuts over the bottom chocolate layer before adding the caramel. Add the caramel and top chocolate as directed, then finish with flaky sea salt. Chocolate, caramel, and salty peanuts? Yes, please.
Turtle Caramel Bars
Add chopped toasted pecans between the bottom chocolate and caramel layers. The combination of chocolate, caramel, and pecans will give you all of those wonderful turtle-candy flavors.
Dark Chocolate Caramel Bars
Replace the semi-sweet chocolate chips with dark or bittersweet chocolate for a deeper chocolate flavor and a little less sweetness.
Milk Chocolate Caramel Bars
If you love a sweeter, classic candy-shop flavor, substitute milk chocolate chips for the semi-sweet.
Traditional Chocolate-Covered Caramels
You could also use this caramel recipe to make individual chocolate-covered caramels. Pour the caramel into a parchment-lined pan without the chocolate layers, chill until firm, cut into small pieces, and dip the individual caramels in melted chocolate. Finish each one with a pinch of flaky sea salt.
Of course, that requires dipping every individual caramel. Making one enormous chocolate-covered caramel and cutting it into pieces seems a whole lot easier to me!
Other Candy Favorites from Out of the Box Baking
If you enjoy making homemade candy, be sure to check out some of my other simple candy recipes, especially my homemade pralines.
And if you love chocolate, caramel, pecans, and other rich candy-shop flavors, take a look around. I've got plenty of easy treats to satisfy your sweet tooth!
That's It for This Post, Friends!
Sometimes recipes come from careful planning. Sometimes they come from ingredients that need to be used up. And apparently, sometimes they come from sitting at a fancy farewell brunch, refusing a bite of someone else's chocolate-covered caramel, then spending the rest of the afternoon regretting that decision.
I'm calling this one a happy accident.
More importantly, I'll always associate these Chocolate-Covered Caramel Bars with a bittersweet day: gathering with my daughters and granddaughters for one last fancy brunch before two precious girls headed off to college.
And maybe that's part of why I love this recipe so much. Food has a funny way of holding memories.
I hope you enjoy these rich, buttery, chocolate-covered caramel candies as much as I did.
If you make them, let me know what you think!
And if someone offers you a bite of a really good chocolate-covered caramel?
Take the bite.
Trust me on this one.
Thanks for stopping by, by the way! If you make these bars and enjoy them please leave a comment or review. And before you go, please pin some photos to your Pinterest boards.
Janice Thompson is a professional baker, cake designer, and author with over 20 years of experience creating unique cakes and desserts. She’s the creator of Out of the Box Baking, where she shares her favorite doctored cake mix recipes, tutorials, and baking tips. Learn more →
Chocolate-Covered Caramel Bars with Sea Salt
These homemade Chocolate-Covered Caramel Bars with Sea Salt feature a thick layer of soft, buttery caramel sandwiched between two layers of semi-sweet chocolate and finished with flaky sea salt. Made with heavy cream and cooked to the perfect temperature, the caramel is wonderfully smooth, chewy, and rich. It's like making one giant chocolate-covered caramel and cutting it into pieces!
Ingredients
- Chocolate Layers
- 1½ cups semi-sweet chocolate chips
- 1 tablespoon vegetable oil
- Flaky sea salt, for topping
- Homemade Caramel
- ½ cup (1 stick) butter
- 1 cup packed brown sugar
- ½ cup heavy cream
- ¼ cup light corn syrup
- ¼ teaspoon salt
- 1 teaspoon vanilla extract
Instructions
1. Line an 8x8-inch baking pan with parchment paper, leaving enough overhang on the sides to lift the finished candy from the pan.
2. Place the semi-sweet chocolate chips and vegetable oil in a microwave-safe bowl. Microwave in short intervals, stirring well between each, until the chocolate is completely melted and smooth.
3. Spread approximately half of the melted chocolate in a thin, even layer across the bottom of the prepared pan. You don't have to divide it perfectly; just use enough to completely cover the bottom. Reserve the remaining chocolate at room temperature for the top layer.
4. Place the pan in the refrigerator or freezer until the chocolate layer is firm.
5. Meanwhile, make the caramel. Place the butter, brown sugar, heavy cream, corn syrup, and salt in a heavy-bottomed saucepan over medium heat.
6. Cook, stirring as the ingredients melt together. Attach a candy thermometer and continue cooking, stirring regularly, until the caramel reaches 238° Fahrenheit.
7. Immediately remove the saucepan from the heat and stir in the vanilla extract.
8. Allow the caramel to cool for a few minutes. It should still be warm, smooth, and easily pourable, but no longer bubbling vigorously.
9. Make sure the bottom chocolate layer is firm, then slowly pour the caramel over it. Gently spread the caramel to the edges if necessary.
10. Allow the caramel layer to cool at room temperature until it is no longer warm and has begun to set.
11. Check the reserved chocolate. If it is still smooth and spreadable, use it as-is. If necessary, microwave it very briefly and stir until fluid again. Don't overheat it.
12. Pour the remaining chocolate over the cooled caramel and gently spread it into an even layer.
13. Immediately sprinkle the top with flaky sea salt.
14. Transfer the pan to the refrigerator and chill until completely firm, about 45–60 minutes or longer as needed.
15. Use the parchment overhang to lift the candy slab from the pan. Cut into approximately 20 small bars or squares using a large sharp knife, bench scraper, or pizza cutter.
16. Return the candies to the refrigerator after cutting and keep refrigerated until ready to serve.
Notes
* 238°F is important. This temperature produced a caramel that was firm enough to cut when chilled while remaining soft and chewy when eaten.
* A candy thermometer is strongly recommended for this recipe.
* Melt all of the chocolate at once. Use roughly half for the bottom and reserve the remainder for the top. There's no need to divide it precisely.
* Keep the chocolate layers relatively thin so the homemade caramel remains the star.
* If you prefer an even thinner bottom layer, use only enough melted chocolate to completely cover the parchment and save the extra for the top. You may have a little chocolate left over, and that's perfectly fine.
* Allow the caramel to cool before adding the top chocolate layer so the two don't melt together.
* Don't skip the flaky sea salt. It balances the sweetness of the caramel and chocolate beautifully.
* These candies soften considerably as they warm, so keep them refrigerated in an airtight container for the best texture and structure.
* For a slightly softer bite, let an individual piece sit at room temperature for just a few minutes before eating.
* Because these are rich candies rather than traditional dessert bars, smaller pieces work well.
Nutrition Information:
Yield: 24 Serving Size: 1Amount Per Serving: Calories: 182Total Fat: 11gSaturated Fat: 7gUnsaturated Fat: 5gCholesterol: 17mgSodium: 64mgCarbohydrates: 23gFiber: 1gSugar: 21gProtein: 1g
The nutrition information is a product of online calculators. I try to provide true and accurate information, but these numbers are estimates.