How to Turn a White Cake Mix into Red Velvet Cake (Easy Recipe)
Learn how to turn a white cake mix into red velvet cake with cocoa, milk, vinegar, and red food coloring. Soft, tender, and perfect with cream cheese frosting!
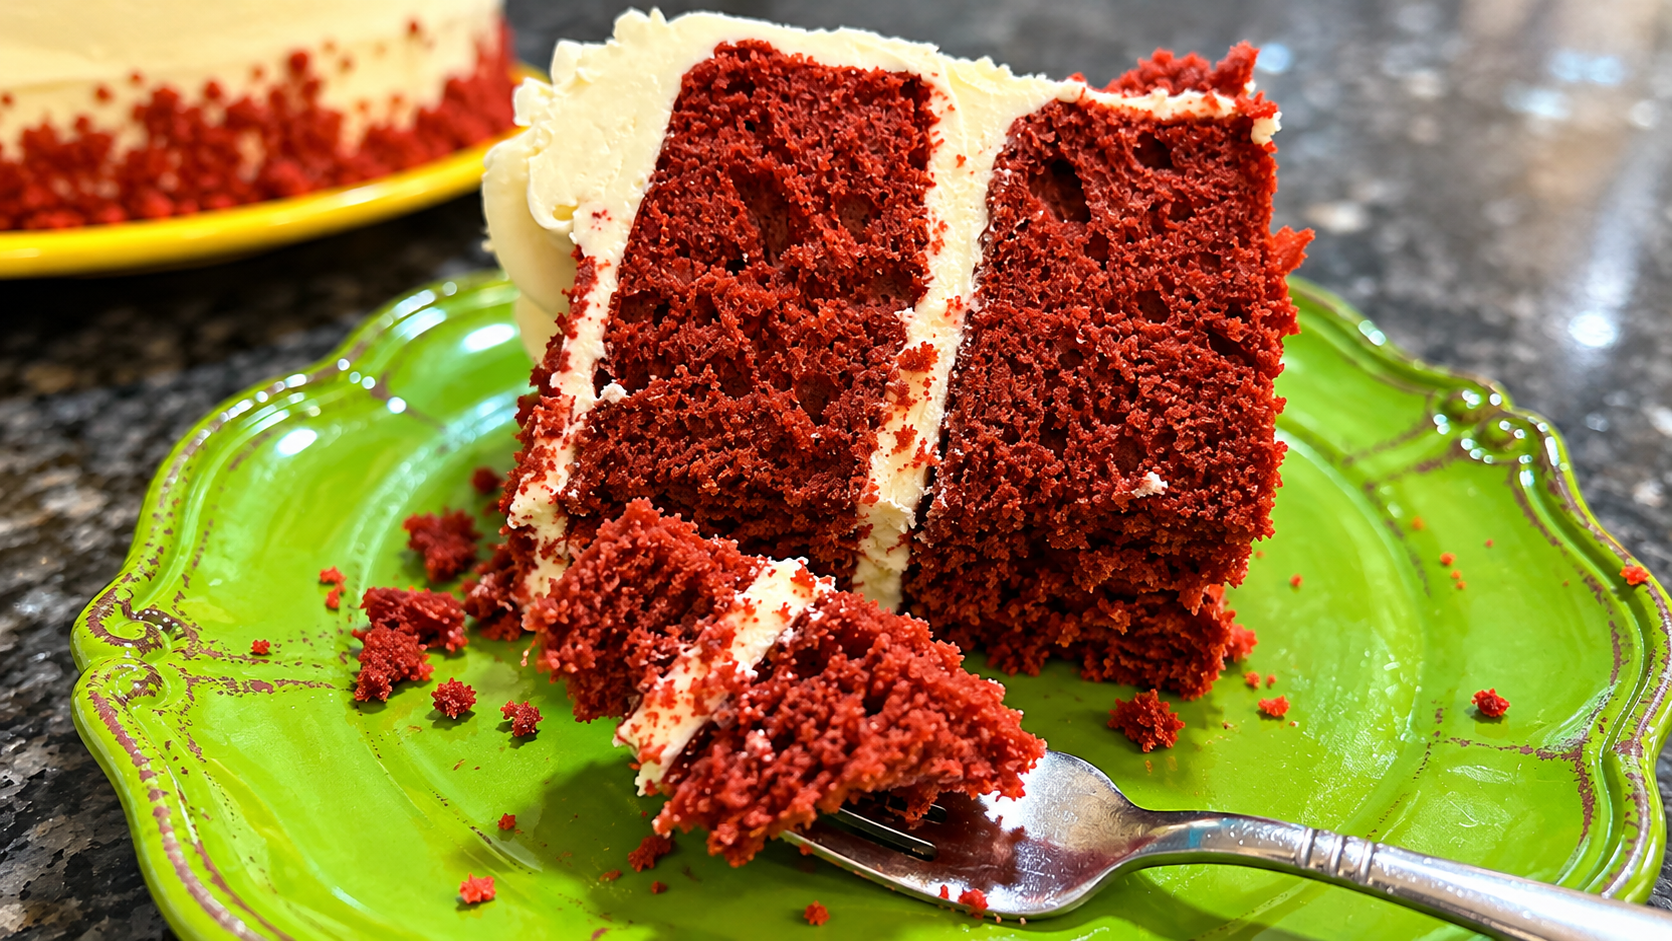
Did you know you can turn an ordinary box of white cake mix into a delicious red velvet cake? With a few simple pantry ingredients, you can transform that plain white cake mix into a soft, tender red velvet layer cake, complete with luscious cream cheese frosting!
If you've been following along here at Out of the Box Baking, you know I've been on something of a cake mix adventure lately.
I've been turning boxed mixes into cookies, brownies, muffins, dessert bars, and just about everything else I can dream up. I've also been experimenting with ways to transform one flavor of cake mix into another.

After all, why buy a different box of cake mix for every recipe when you can start with something you already have?
I've always believed that a white cake mix is one of the most versatile ingredients a home baker can keep in the pantry. I've used it for all sorts of desserts over the years, and I'm constantly discovering new possibilities.
You can see some of those ideas in my 20 Amazing Recipes That Start with a White Cake Mix collection.
But this time, I wanted to tackle something a little different. I wanted to turn an ordinary white cake mix into red velvet cake. And friends, I'm happy to report that this experiment was a delicious success!
Can You Really Make Red Velvet Cake from White Cake Mix?
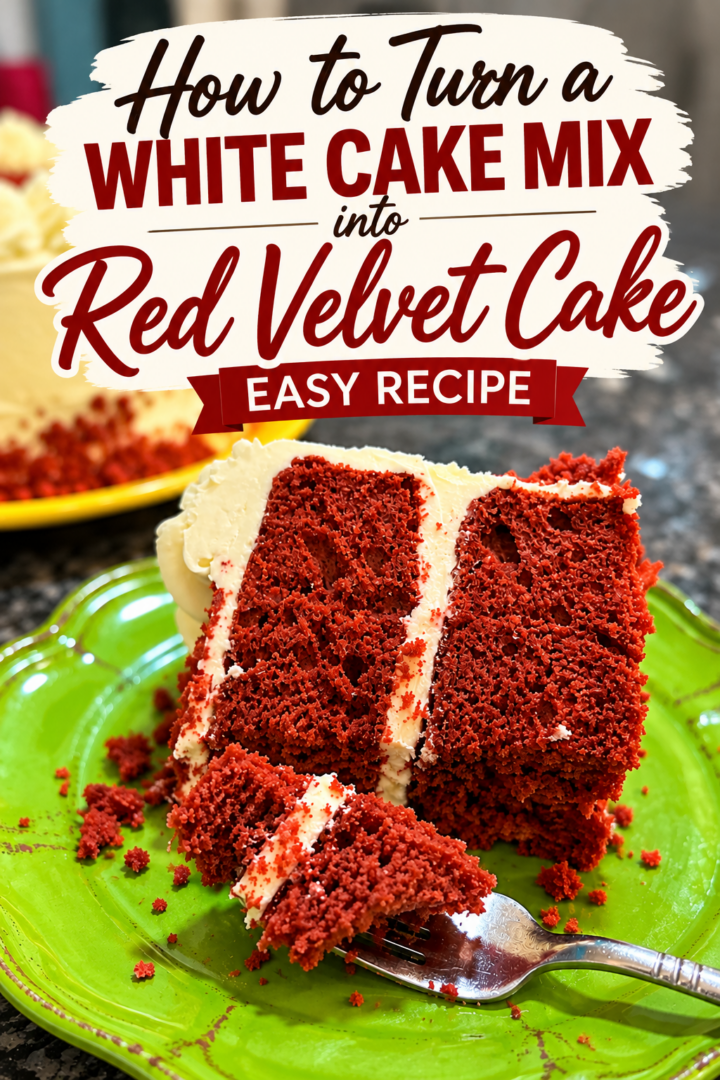
Absolutely! Red velvet cake is traditionally a mildly chocolate-flavored cake with a subtle tang, a tender crumb, and that familiar reddish color.
And while there's nothing wrong with buying a box of red velvet cake mix, you don't necessarily need one.
A white cake mix gives you a neutral starting point. From there, you can introduce the ingredients that give red velvet its distinctive character.
For this experiment, I added unsweetened cocoa powder, red gel food coloring, milk, and a little vinegar. I also used vegetable oil and eggs to keep the cake soft and tender.
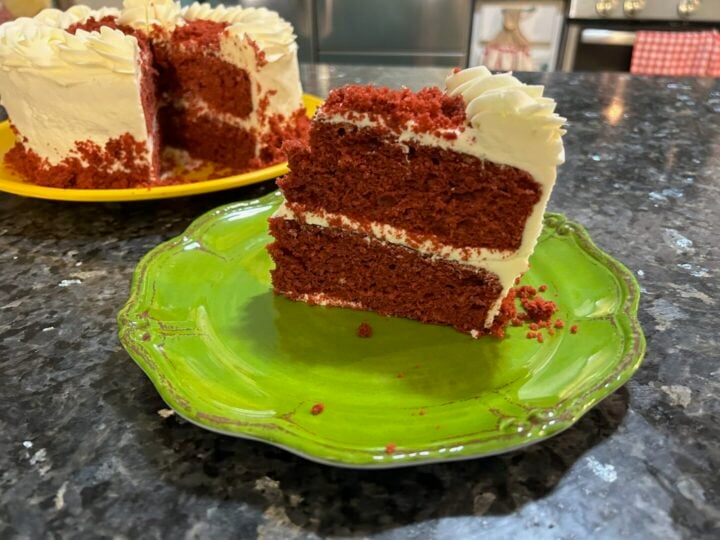
The result? A beautiful two-layer cake with a lovely cocoa flavor, a hint of tang, and an incredibly soft crumb. It wasn't quite as strongly flavored as some commercial red velvet cake mixes, but that wasn't a problem at all. In fact, I thought the cocoa level was just right.
And once I added that luscious cream cheese frosting, the whole thing came together beautifully.
A Little Southern Love for Red Velvet Cake
I'm from Texas, and around here we love our red velvet cake.
You'll find it at church potlucks, birthday parties, family gatherings, Christmas celebrations, and just about any occasion where somebody needs to bring a dessert.
And we don't particularly care whether it starts with a box or is made completely from scratch. We just love our cocoa cakes!
There's something special about the combination of a tender, mildly chocolate-flavored cake and rich cream cheese frosting. It's sweet, but not one-dimensional. The cocoa adds depth, while that little bit of tang keeps the flavor interesting. And that's exactly what I wanted to recreate with this cake mix conversion.
What Makes Red Velvet Cake Different from Chocolate Cake?

This is a question worth answering because red velvet isn't simply chocolate cake with red food coloring.
Traditional red velvet cake has a relatively small amount of cocoa powder compared to most chocolate cakes. That means the chocolate flavor is present, but it doesn't dominate.
Red velvet also typically includes an acidic ingredient, often buttermilk and vinegar, which contributes to its characteristic flavor. The cake should be tender and soft, with a little tang to balance the sweetness.
And, of course, there's the color. Modern red velvet cakes usually get their color from food coloring, although the intensity can vary considerably.
For this version, we're using regular milk and a heaping teaspoon of vinegar rather than purchasing a carton of buttermilk. It's an easy pantry-friendly approach, and it worked beautifully in my cake.
Ingredients for White Cake Mix Red Velvet Cake
You will find a full printable recipe card at the bottom of this post, but let's take a quick look at what you'll need.
For the Cake
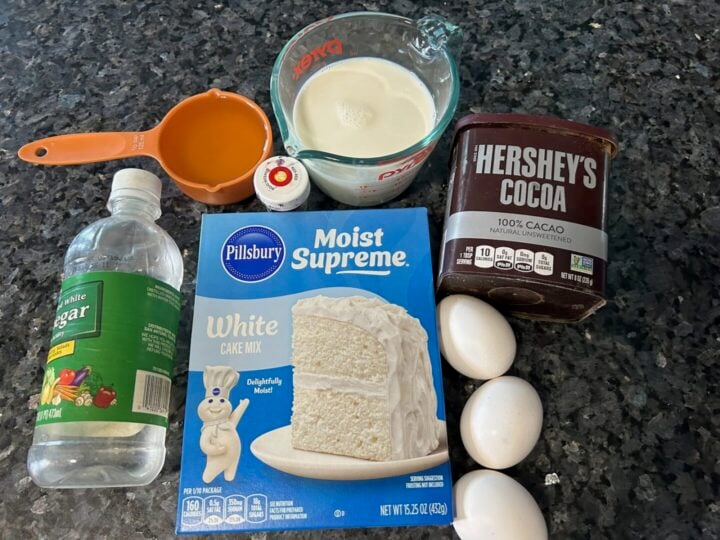
- 1 box white cake mix (approximately 13.25–15.25 ounces)
- 3 tablespoons unsweetened cocoa powder
- 3 large eggs
- ½ cup vegetable oil
- Milk, replacing the water called for on the cake mix box
- 1 heaping teaspoon white vinegar
- Red gel food coloring, enough to reach your desired shade
White Cake Mix: This is our starting point. I love keeping white cake mix on hand because it works with so many different flavors and additions.
Unsweetened Cocoa Powder: I used three tablespoons, and I thought the flavor was lovely. It provided just enough cocoa to give the cake that familiar red velvet taste without turning it into a full-blown chocolate cake.
Eggs: Three eggs give the cake structure and help produce a soft, tender crumb.
Vegetable Oil: I chose oil instead of melted butter for this experiment, and I'm glad I did. The finished cake was exceptionally soft and moist.
Milk: Instead of using the water called for on the cake mix box, I substituted regular milk. This adds richness and contributes to the cake's tender texture.
White Vinegar: Don't skip this! That little bit of tang is important to the red velvet flavor profile. I used a heaping teaspoon.
Red Gel Food Coloring: This is what gives the cake its distinctive color. The amount you'll need depends on the brand and concentration of your coloring.
For the Cream Cheese Frosting
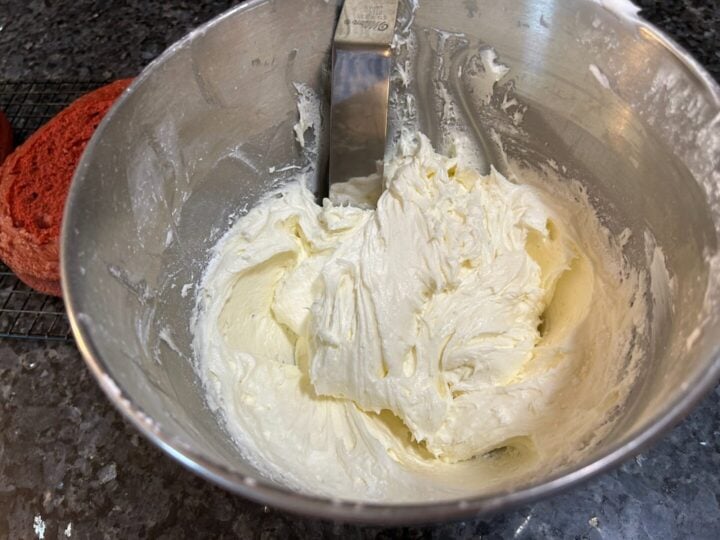
You'll also need your favorite cream cheese frosting to fill, frost, and decorate the cake.
A typical cream cheese frosting uses softened cream cheese, softened butter, powdered sugar, and vanilla extract.
For a layer cake like this one, you'll want enough frosting to fill the center, cover the outside, and pipe a decorative border if desired. Check out my cream cheese frosting recipe here.
How to Turn White Cake Mix into Red Velvet Cake
This is such a fun transformation, and the process couldn't be easier.
Step 1: Prepare Your Cake Pans
Preheat your oven to 350°F, or the temperature recommended on your cake mix box.
Prepare two 8-inch round cake pans with baking spray or shortening and flour.
I also recommend lining the bottoms with parchment paper to make removing the cakes easier.
Step 2: Combine the Cake Mix and Cocoa
Place the white cake mix in a large mixing bowl.
Add three tablespoons of unsweetened cocoa powder.
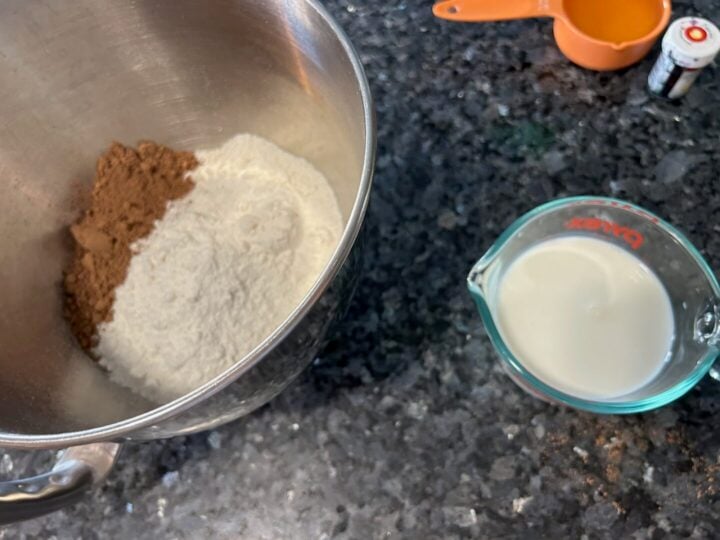
Whisk the dry ingredients together to distribute the cocoa evenly throughout the mix.
Step 3: Add the Wet Ingredients
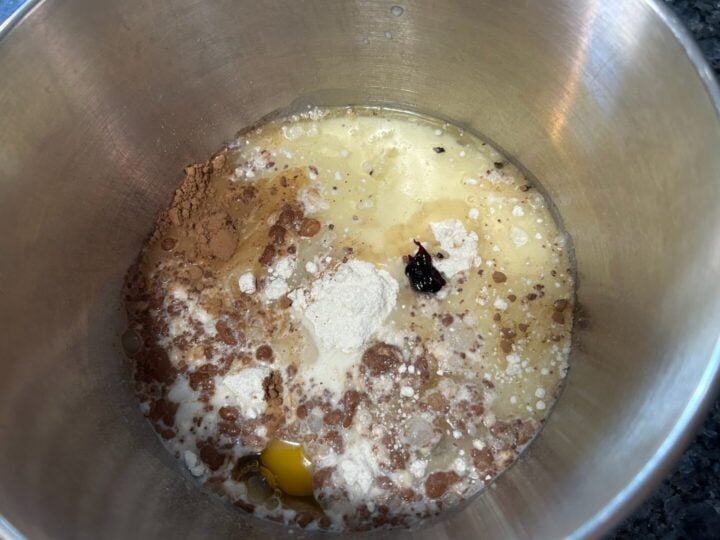
Add three large eggs and ½ cup vegetable oil.
Replace the water called for on your cake mix box with the same amount of milk.
Add a heaping teaspoon of white vinegar.
Mix according to the cake mix package directions, stopping to scrape down the sides of the bowl as needed.
Step 4: Add the Red Food Coloring
Now comes the fun part!
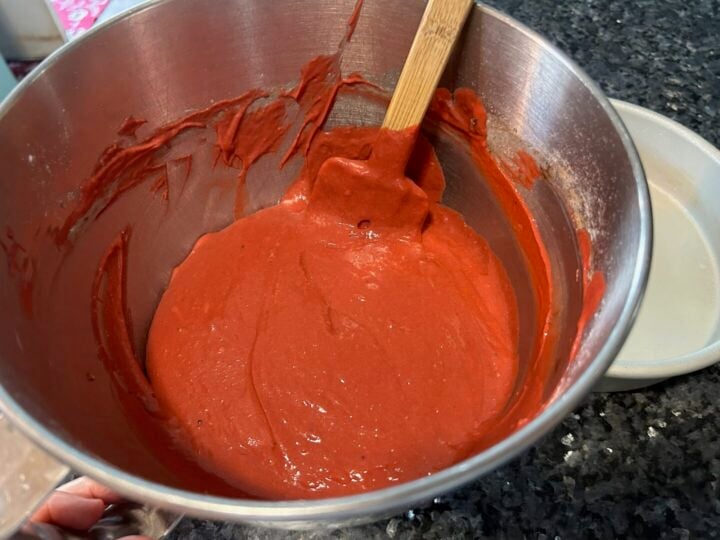
Add red gel food coloring a little at a time, mixing until the batter reaches the shade you want.
Here's something I learned from my experiment: You may need more coloring than you expect.
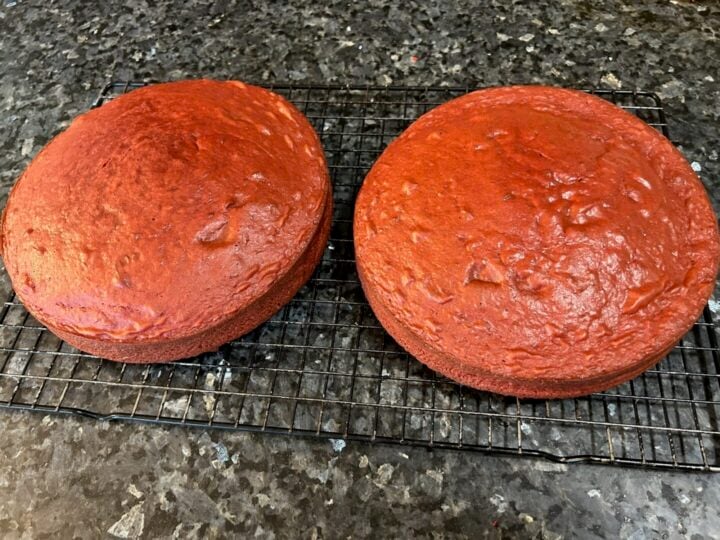
I didn't add quite enough gel to achieve that bright, vibrant red you sometimes see in commercial red velvet cakes.
My finished cake had more of a warm, muted red color. But you know what? It was still beautiful, and it tasted wonderful.
So don't get too caught up in achieving one particular shade of red. Different brands of coloring have different strengths, and the cocoa will naturally darken the batter.
Step 5: Divide and Bake
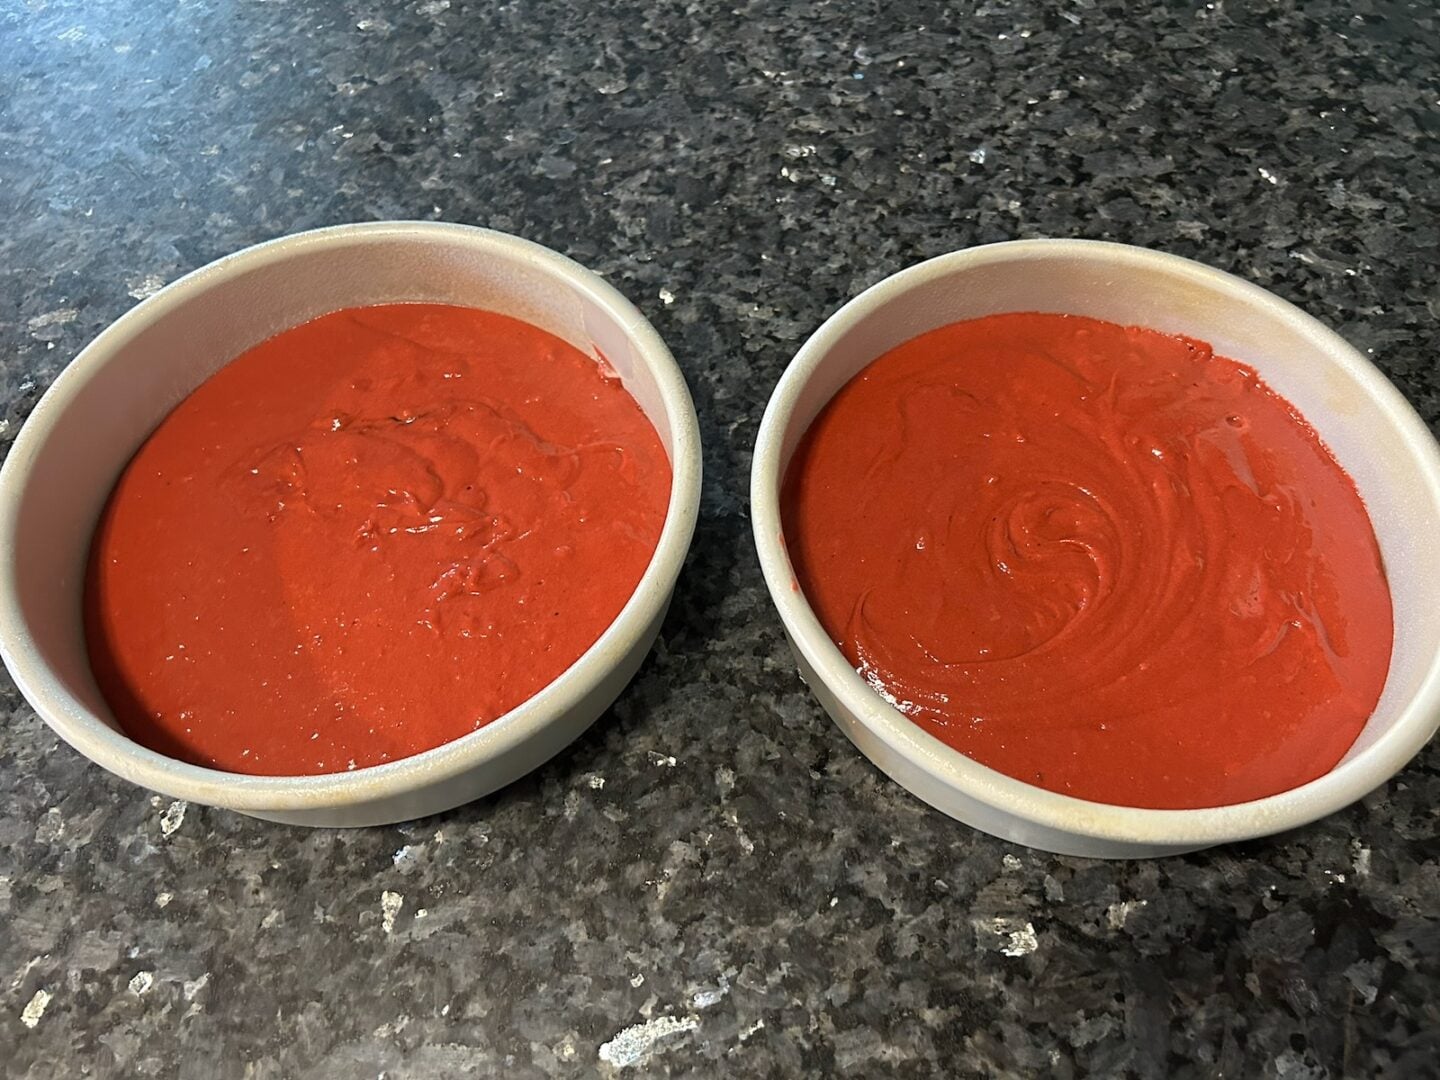
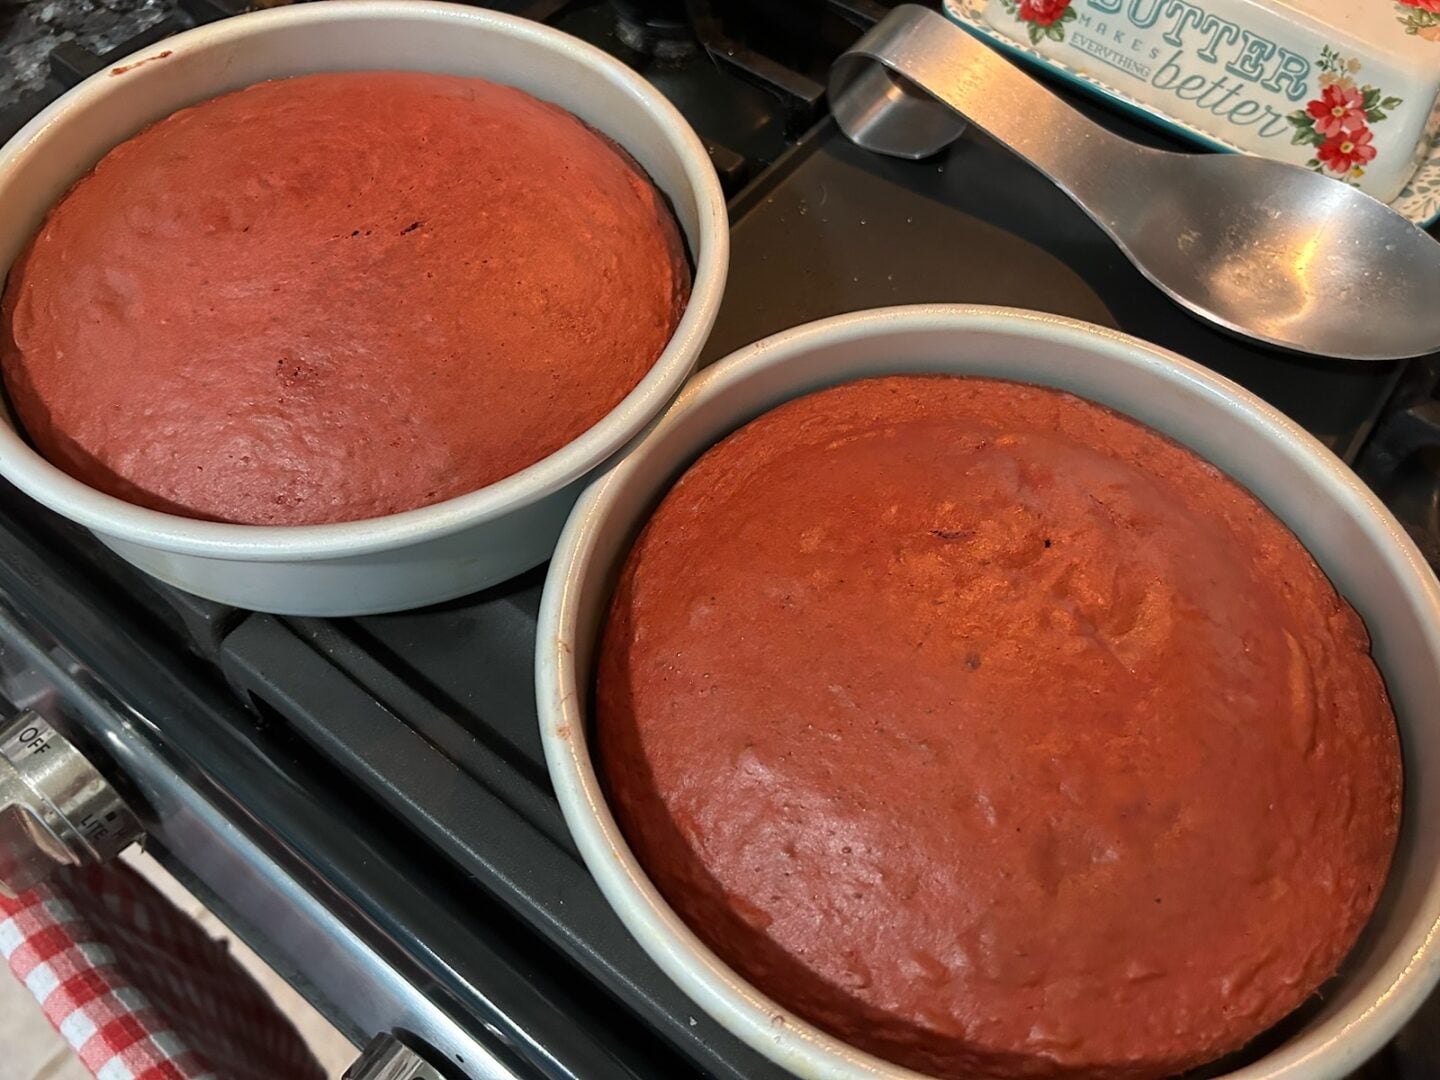
Divide the batter evenly between your two prepared 8-inch cake pans.
Smooth the tops and place the pans in your preheated oven.
Bake according to the approximate time range on your cake mix box for round cake layers, checking for doneness toward the beginning of that range.
The cakes are ready when the tops spring back lightly when touched and a toothpick inserted near the center comes out clean or with a few moist crumbs.
Step 6: Cool the Cake Layers
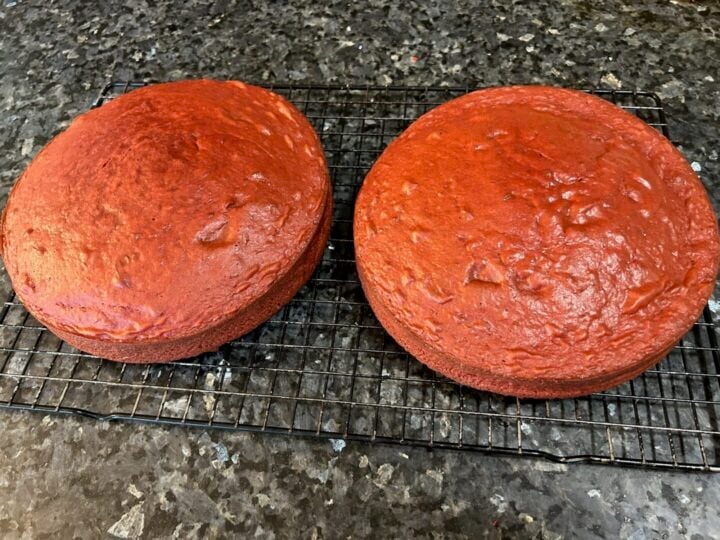
Remove the pans from the oven and place them on wire racks.
Allow the cakes to cool briefly in their pans before carefully turning them out onto the racks.
Let them cool completely before frosting.
This is important! Cream cheese frosting will soften and slide if you try to spread it on warm cake layers.
Step 7: Fill and Frost
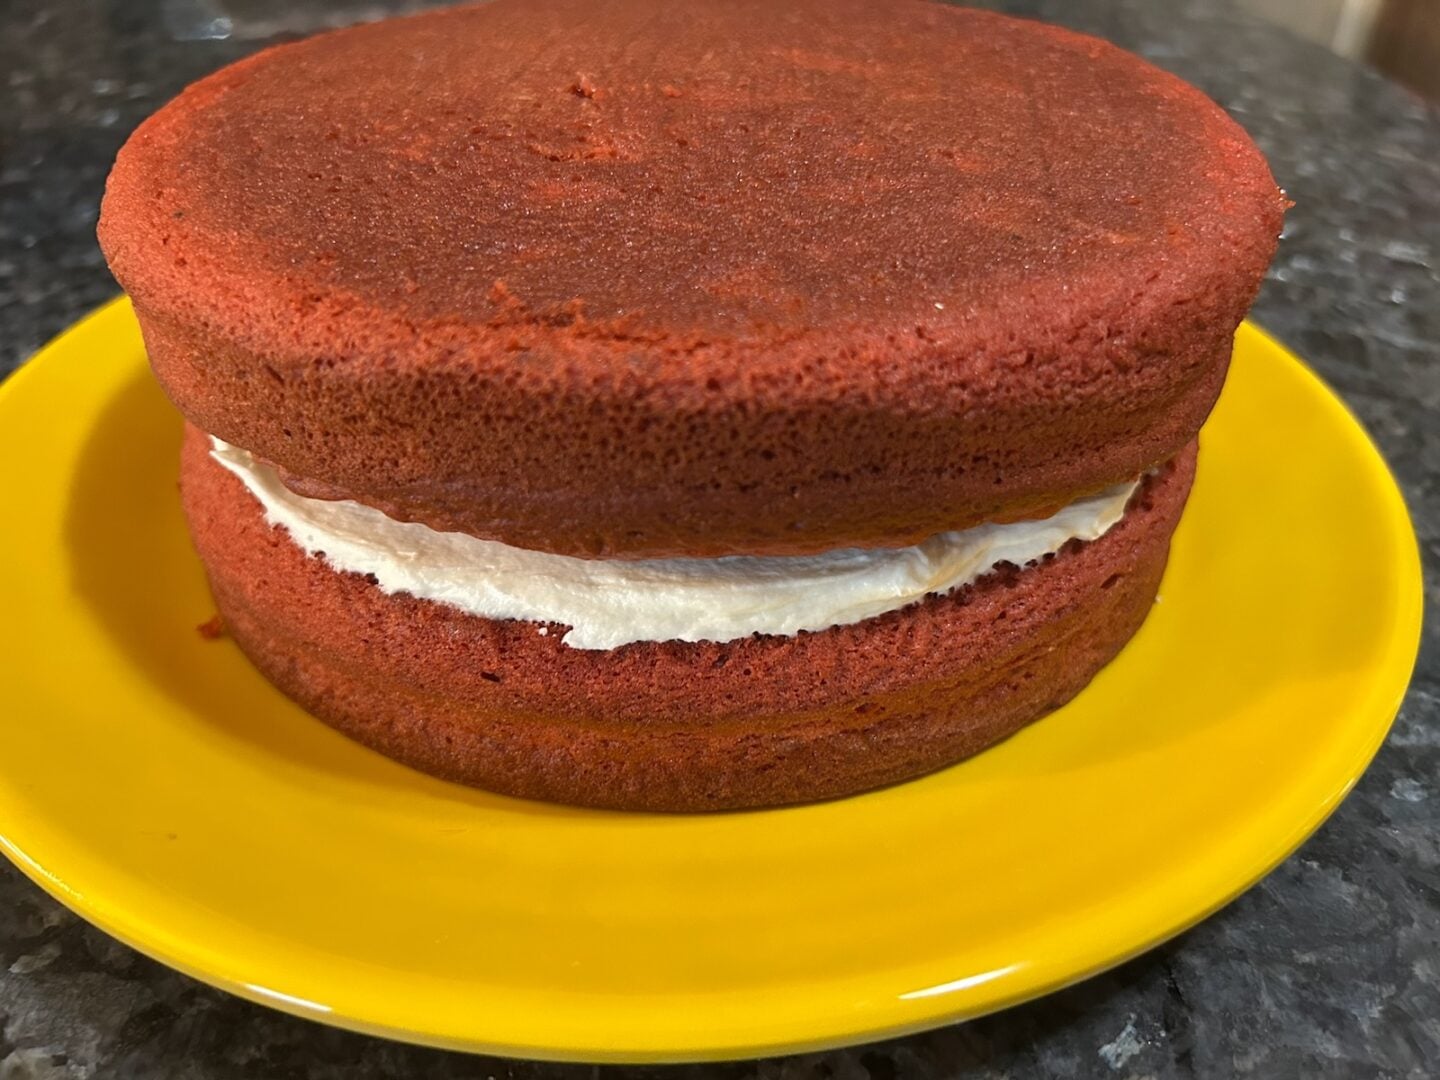
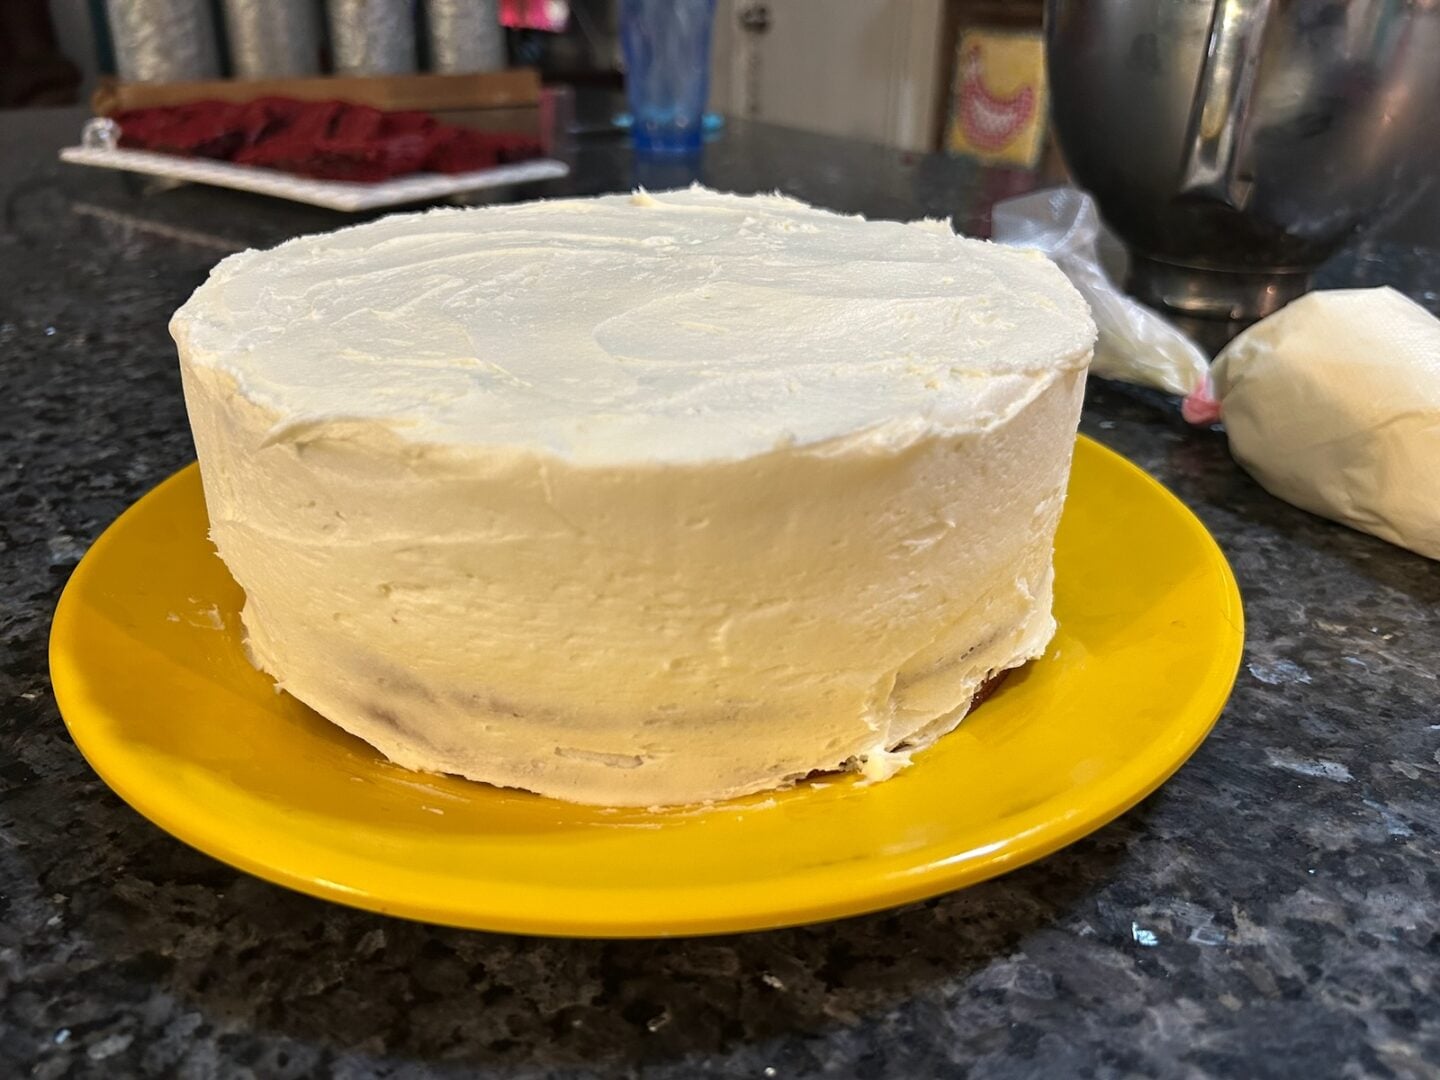
Place one cooled cake layer on a cake plate or serving platter.
Spread a generous layer of cream cheese frosting over the top.
Add the second cake layer and gently press it into place.
Apply a thin crumb coat of frosting over the entire cake.
Refrigerate the cake briefly to firm up that first layer of frosting, then apply the final coat.
Step 8: Decorate Your Red Velvet Cake
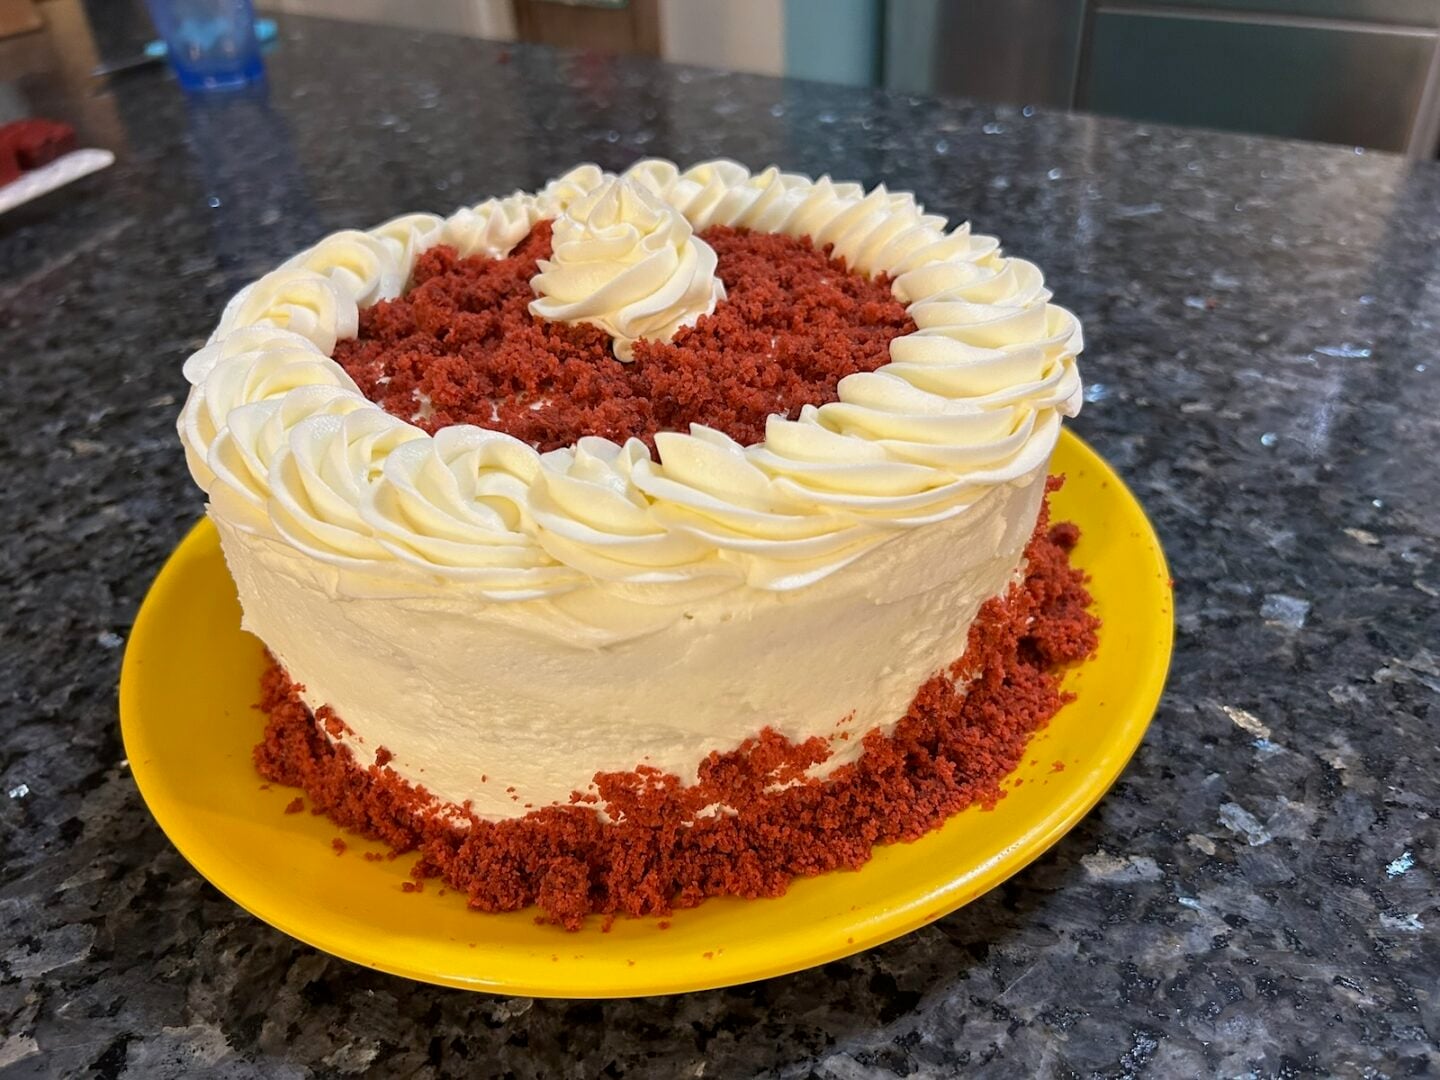
Here's where you can have some fun!
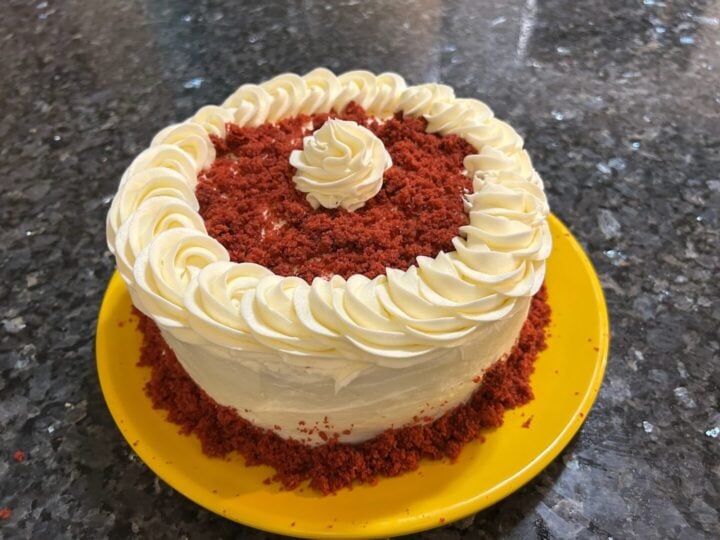
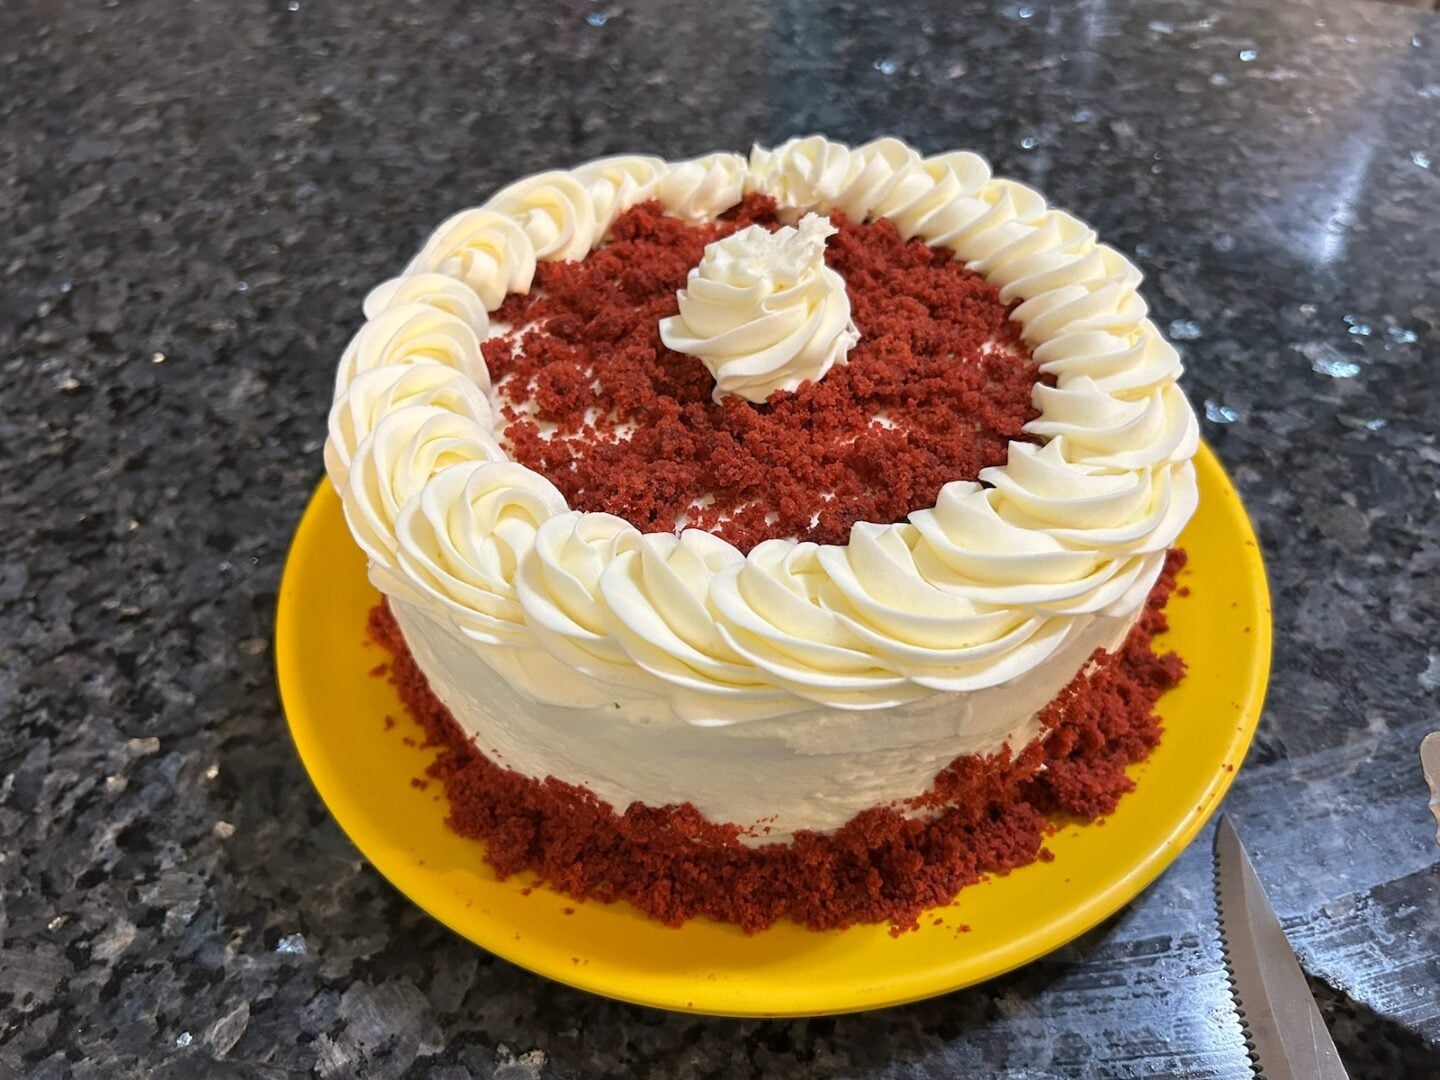
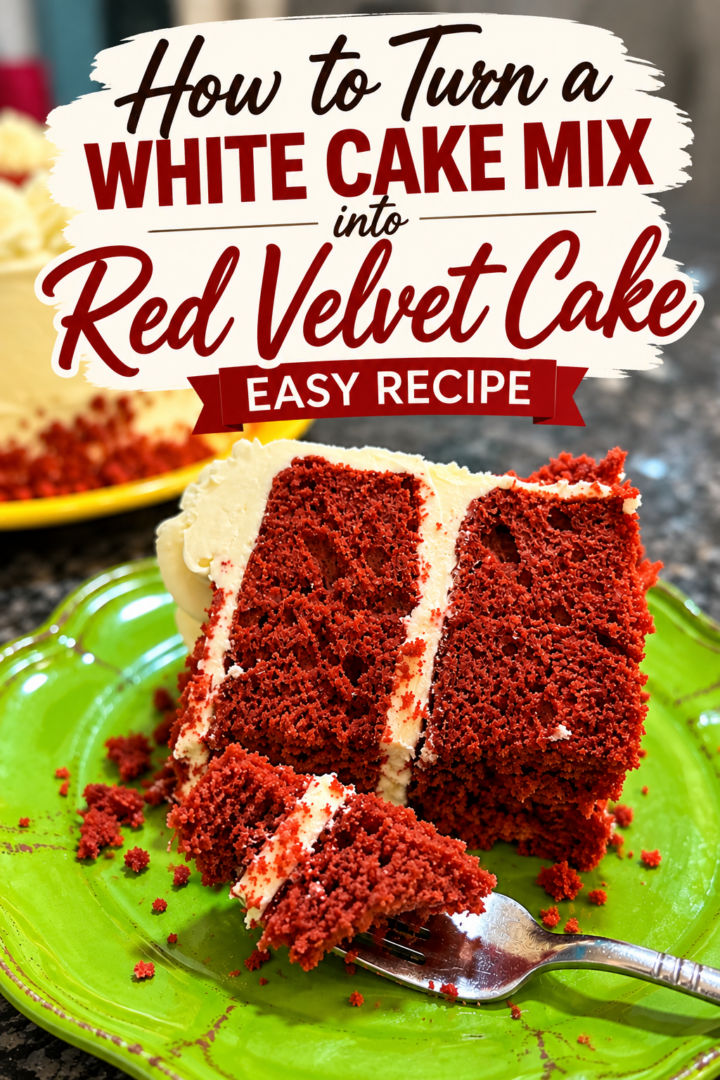
I used cream cheese frosting to create a decorative piped border around the top of my cake.
Then I sprinkled red velvet cake crumbs over the center. I also pressed additional crumbs around the bottom edge of the cake. The contrast between the white frosting and red crumbs was beautiful!
I finished with a little frosting rosette in the center.
You don't have to get fancy, of course. A simple swirl of cream cheese frosting would be just as delicious.
But if you enjoy decorating cakes, this is a lovely opportunity to make something special.
What to Expect from This Red Velvet Cake
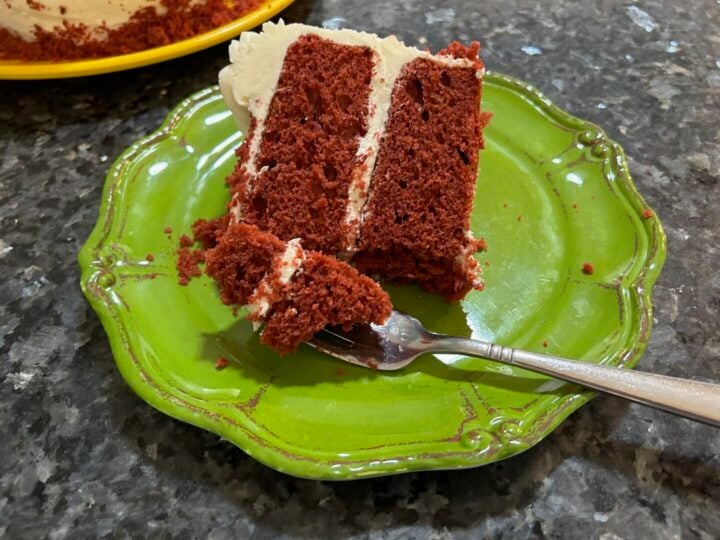
This was the part of the experiment I was most excited about.
- Would the cake actually taste like red velvet?
- Would the cocoa make it too chocolatey?
- Would the vinegar be noticeable?
- And, most importantly, what would happen to the texture?
Well, friends, I couldn't have been happier with the results.
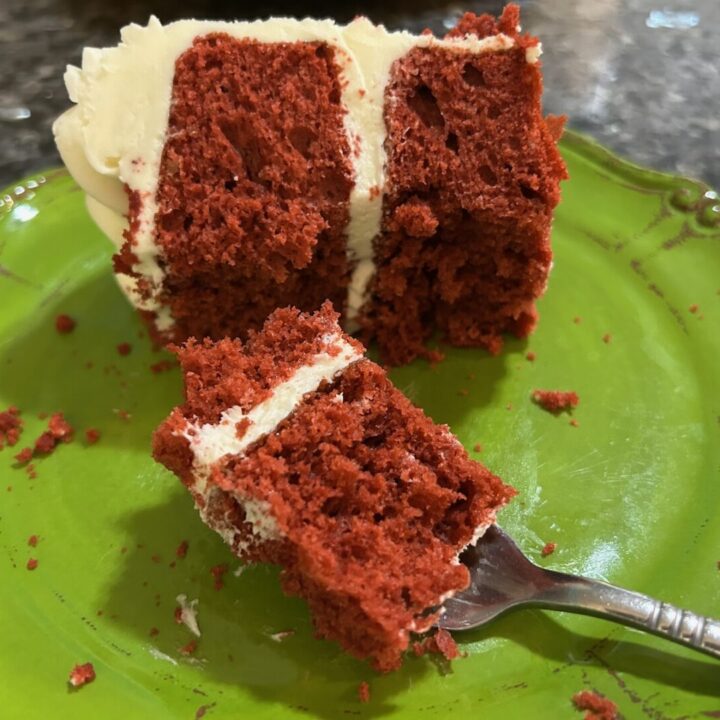
The crumb was SO soft and luxurious.
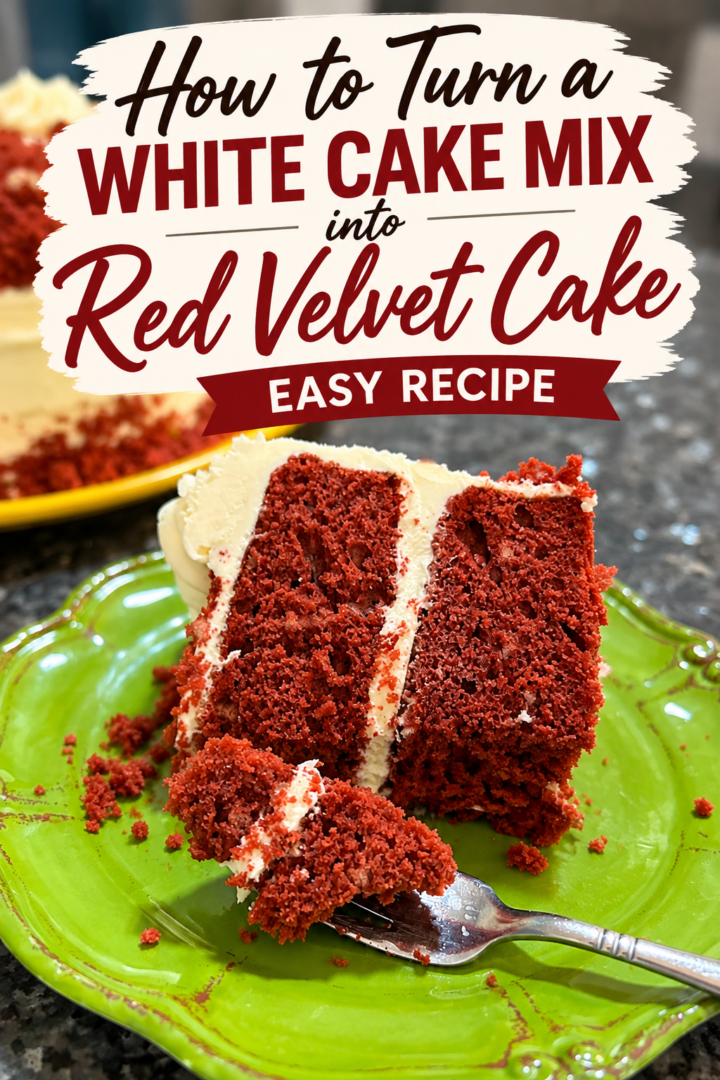
Seriously. That was the first thing I noticed when I cut into the cake.
The layers were beautifully risen, with a soft, even crumb that looked and tasted wonderful.
The cocoa flavor was exactly where I wanted it. Three tablespoons gave the cake a lovely chocolate background without overpowering everything else.
And that little bit of vinegar? It provided just enough tang to help the cake taste like red velvet instead of ordinary chocolate cake.
The flavor was a little milder than a commercial red velvet cake mix, but I didn't mind that at all.
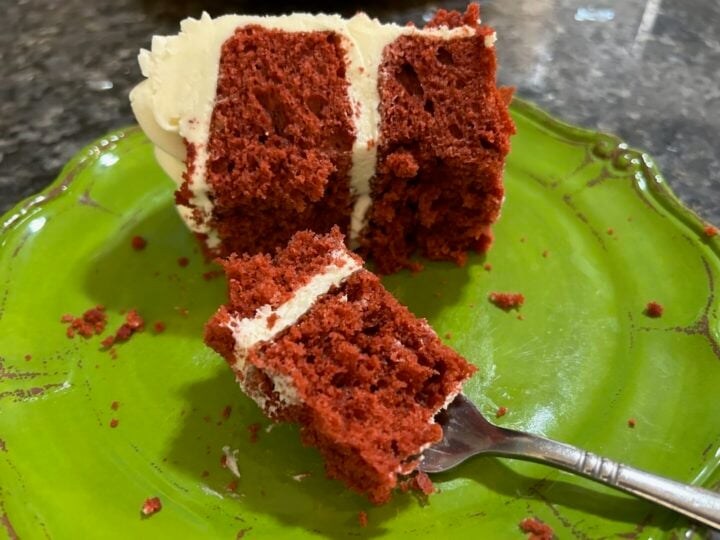
And then there was the frosting.
Oh, that cream cheese frosting!
Rich, creamy, luscious, and absolutely perfect with the soft red velvet layers.
The finished cake was delicious, and I would happily make it again.
Tips for the Best Red Velvet Cake Mix Conversion
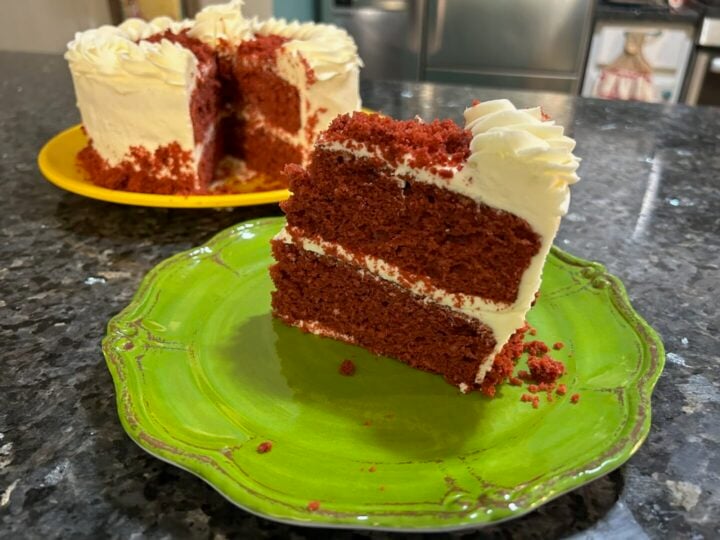
Use white cake mix rather than chocolate cake mix. White cake mix gives you control over the cocoa level and allows you to create a more traditional red velvet flavor.
Don't skip the vinegar. Red velvet is supposed to have a subtle tang. The vinegar helps create that flavor without making the cake taste sour.
Use regular milk instead of water. This simple substitution adds richness to the cake.
Choose gel food coloring. Gel coloring is concentrated, so you can add color without introducing as much additional liquid as some other types of food coloring.
Don't worry if your cake isn't bright red. Mine was a more muted reddish-brown, and it was still lovely.
Cool the cake completely before frosting. This is especially important when you're working with cream cheese frosting.
Save your cake trimmings! If you level your cake layers, crumble the extra cake and use it to decorate the top or bottom edge.
Fun Variations to Try
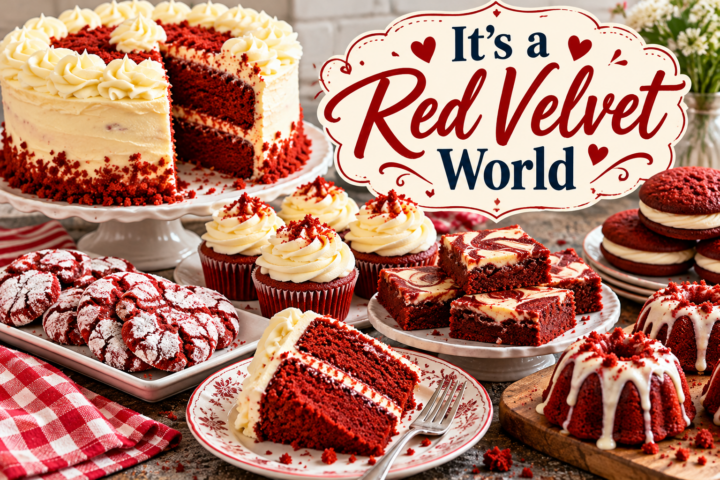
Now that we've established that this conversion works, there are all sorts of possibilities!
Red Velvet Cupcakes
Divide the batter among lined cupcake pans instead of round cake pans.
Bake according to the cupcake timing on your cake mix box, checking for doneness before the suggested time is up.
Finish with cream cheese frosting and a sprinkle of red velvet crumbs.
Red Velvet Bundt Cake
You could experiment with baking this batter in a prepared Bundt pan, provided the pan is appropriately sized for the amount of batter.
Adjust the baking time as needed and check the center carefully.
A cream cheese glaze would be delicious drizzled over the top.
Extra Chocolate Red Velvet Cake
If you prefer a slightly stronger chocolate flavor, you could experiment with a little additional cocoa powder.
Keep in mind that more cocoa can affect the cake's texture and deepen its color.
I personally loved the balance created by three tablespoons.
Red Velvet Cake with White Chocolate Frosting
For something a little different, try pairing the red velvet layers with white chocolate buttercream.
The sweetness of the white chocolate would complement the mild cocoa flavor beautifully.
Red Velvet Cake for Christmas or Valentine's Day
This cake is especially pretty for holiday celebrations.
Add festive sprinkles, white chocolate curls, or heart-shaped decorations to suit the occasion.
Frequently Asked Questions
Can you really turn white cake mix into red velvet cake?
Yes! Adding cocoa powder, red food coloring, and a little vinegar to white cake mix creates a delicious red velvet-style cake.
The result may not taste exactly like a commercial red velvet cake mix, but it's a wonderful alternative.
How much cocoa powder should I add to white cake mix for red velvet?
I used three tablespoons of unsweetened cocoa powder in one box of white cake mix.
I thought the cocoa flavor was just right.
Do I have to use buttermilk to make red velvet cake?
No. For this recipe, I used regular milk in place of the water called for on the box, along with a heaping teaspoon of white vinegar.
The finished cake had a lovely soft texture and a subtle tang.
Why do you add vinegar to red velvet cake?
Vinegar contributes a little acidity and tang, both of which are associated with traditional red velvet cake.
It may also interact with the leavening ingredients in the mix, although the cake mix already contains its own leavening system.
Why isn't my red velvet cake bright red?
The color depends on the amount and concentration of your food coloring, as well as the cocoa powder.
My cake was more of a warm brick-red color because I didn't add enough gel coloring to make it especially vibrant.
It still looked beautiful and tasted delicious!
Can I use liquid food coloring instead of gel?
You can, but liquid food coloring is generally less concentrated, so you may need more of it.
Adding a large amount of liquid coloring can also affect the batter's consistency.
For this reason, I prefer gel coloring.
Can I use yellow cake mix instead of white cake mix?
You could experiment with yellow cake mix, but the finished color and flavor may be a little different.
White cake mix provides a more neutral starting point, which is why I chose it for this recipe.
Can I make this cake ahead of time?
Yes! You can bake the cake layers in advance, allow them to cool completely, wrap them tightly, and refrigerate or freeze them until you're ready to decorate.
How should I store red velvet cake with cream cheese frosting?
Because this cake is covered in cream cheese frosting, store it in the refrigerator.
Keep it covered to prevent it from drying out, and enjoy it within about 3–4 days.
For the best texture, allow individual slices to sit at room temperature briefly before serving.
Can I freeze leftover red velvet cake?
Yes. Wrap individual slices tightly and place them in a freezer-safe container.
Freeze for up to 2–3 months for best quality.
Thaw in the refrigerator before serving.
More Cake Mix Transformations You'll Love

If you enjoyed this little experiment, I've got plenty of other ways to transform an ordinary boxed cake mix.
20 Amazing Recipes That Start with a White Cake Mix: White cake mix is one of my favorite pantry staples, and this collection shows just how many different desserts you can make with it.
How to Doctor a Boxed Cake Mix: The Ultimate Guide: Learn how to improve the flavor, texture, and versatility of ordinary boxed cake mixes with simple pantry ingredients.
Got a Box of Yellow Cake Mix? Here's What to Make With It!: From cookies to cakes and dessert bars, this collection is full of ideas for using yellow cake mix in creative ways.
Easy Red Velvet Brownies from Cake Mix: These easy brownies have tender, fudgy centers, crackled tops, and little pockets of chocolate. They're another fun way to enjoy red velvet flavor.
And keep an eye out for my upcoming collection, Got a Box of Red Velvet Cake Mix? Here's What to Make With It! I'll be gathering even more red velvet ideas into one convenient place.
Final Thoughts

I have to tell you, this experiment was a real winner. I started with an ordinary box of white cake mix, added a few pantry ingredients, and ended up with a beautiful red velvet layer cake.
The cocoa flavor was lovely, the crumb was exceptionally soft, and the cream cheese frosting brought everything together. And while my cake wasn't quite as bright red as some of the boxed versions, I wouldn't change a thing about the way it tasted.
That's one of the things I love most about baking: Sometimes you start with a simple idea, experiment a little, and discover something worth making again and again.
So the next time you're craving red velvet cake but only have white cake mix in the pantry, don't make a special trip to the grocery store. You might already have everything you need!
Thanks for Stopping By!
Thanks for spending a little time with me here at Out of the Box Baking.
I hope this recipe inspires you to try something new with that box of cake mix in your pantry.
And if you give this white-to-red-velvet conversion a try, I'd love to hear how it turns out!
Happy baking, friends!
Before you go, why not pin some photos to your Pinterest boards? I love it when people share my recipes!
Janice Thompson is a professional baker, cake designer, and author with over 20 years of experience creating unique cakes and desserts. She’s the creator of Out of the Box Baking, where she shares her favorite doctored cake mix recipes, tutorials, and baking tips. Learn more →
How to Turn White Cake Mix into Red Velvet Cake
Transform an ordinary white cake mix into a soft, tender red velvet layer cake using cocoa powder, milk, vinegar, and red gel food coloring. Finish with cream cheese frosting for a delicious homemade-style dessert that's perfect for any occasion.
Ingredients
- Red Velvet Cake
- 1 box white cake mix (approximately 13.25–15.25 ounces)
- 3 tablespoons unsweetened cocoa powder
- 3 large eggs
- ½ cup vegetable oil
- Milk, in the same amount as the water called for on the cake mix box
- 1 heaping teaspoon white vinegar
- Red gel food coloring, to desired shade
- Frosting
- Enough prepared cream cheese frosting to fill, cover, and decorate one two-layer 8-inch cake
Instructions
1. Preheat oven to 350°F, or the temperature specified on the cake mix box. Prepare two 8-inch round cake pans with baking spray and parchment paper.
2. Place the white cake mix and cocoa powder in a large mixing bowl. Whisk to combine.
3. Add eggs, vegetable oil, milk (using the same amount as the water called for on the box), and vinegar.
4. Mix according to the cake mix package directions until well combined.
5. Add red gel food coloring gradually, mixing until the batter reaches your desired shade.
6. Divide batter evenly between the prepared pans.
7. Bake according to the package's approximate timing for round cake layers, checking for doneness. The cakes should spring back lightly when touched, and a toothpick inserted near the center should come out clean or with a few moist crumbs.
8. Cool briefly in the pans, then turn the layers out onto wire racks to cool completely.
9. Place one cake layer on a serving plate. Spread with cream cheese frosting and top with the second layer.
10. Apply a thin crumb coat and chill until firm.
11. Add the final coat of cream cheese frosting.
12. Decorate with piped frosting and reserved red velvet cake crumbs, if desired.
Notes
* Three tablespoons of cocoa powder provided a lovely mild chocolate flavor in the tested cake.
* The vinegar contributes a subtle tang that helps distinguish red velvet from ordinary chocolate cake.
* The finished color depends on the type and amount of gel food coloring used.
* Use the amount of milk specified by your cake mix box for water; brands may vary.
* Cream cheese frosting should be refrigerated. Store the finished cake covered in the refrigerator for approximately 3–4 days.
* The cake recipe was tested with vegetable oil, not melted butter.