
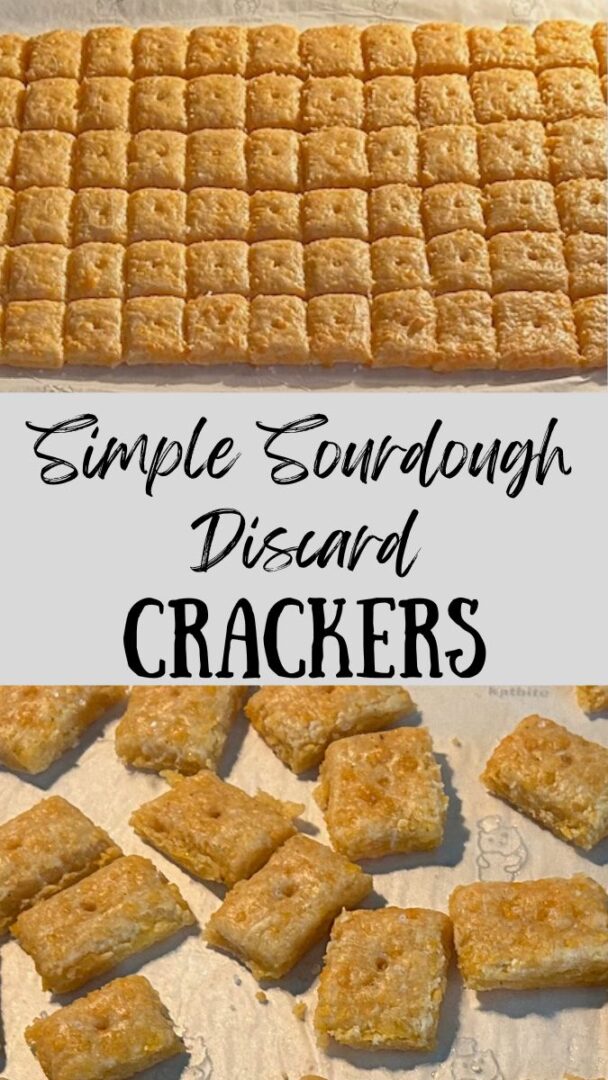
These homemade sourdough discard Cheez-Its are crispy, cheesy, and packed with flavor! A fun and easy no-waste recipe that turns extra starter into the ultimate crunchy snack.

Cheez-Its. . .Without the Preservatives
Yep, it’s true! You really can make crackers at home, using your starter discard, and end up with something as delicious as a Cheez-It. . .without the extra ingredients you don’t want to put in your body.
I’ve been on a roll making discard recipes lately. I recently baked some simple discard crackers that were parmesan-based. Trust me when I say they are delicious and I will be making it again. But whenever I would type “discard recipes” into my search engine, I kept landing on websites promoting these simple discard Cheez-Its.
I found the same (or similar) recipe at a variety of recipe blogs but one of them (Country Roads Sourdough) had an extra ingredient: Ranch Dressing. That sounded intriguing to me, so I tossed it in!
Can I Change this Up?
You can! You can use any type of cheese you like, as long as it’s a “hard” cheese and not, say, cream cheese. Or Ricotta. I preferred cheddar and happened to have it on hand. You might like Parmesan, Swiss, or Gouda. Really, the possibilities are endless!
Side note: While researching for this post I stumbled across a fascinating cheese post, which I’m tickled to share with you.
One last thought before we get going: All of the recipes call for rolling the dough really thin. I can’t stress this enough. I didn’t roll mine thin enough (should have divided it between two trays) and I paid a price. I had to add extra baking time because mine didn’t seem to want to crisp up.
Are you ready to bake some crackers? Let’s get going!
Simple Sourdough Cheez-Its Ingredients
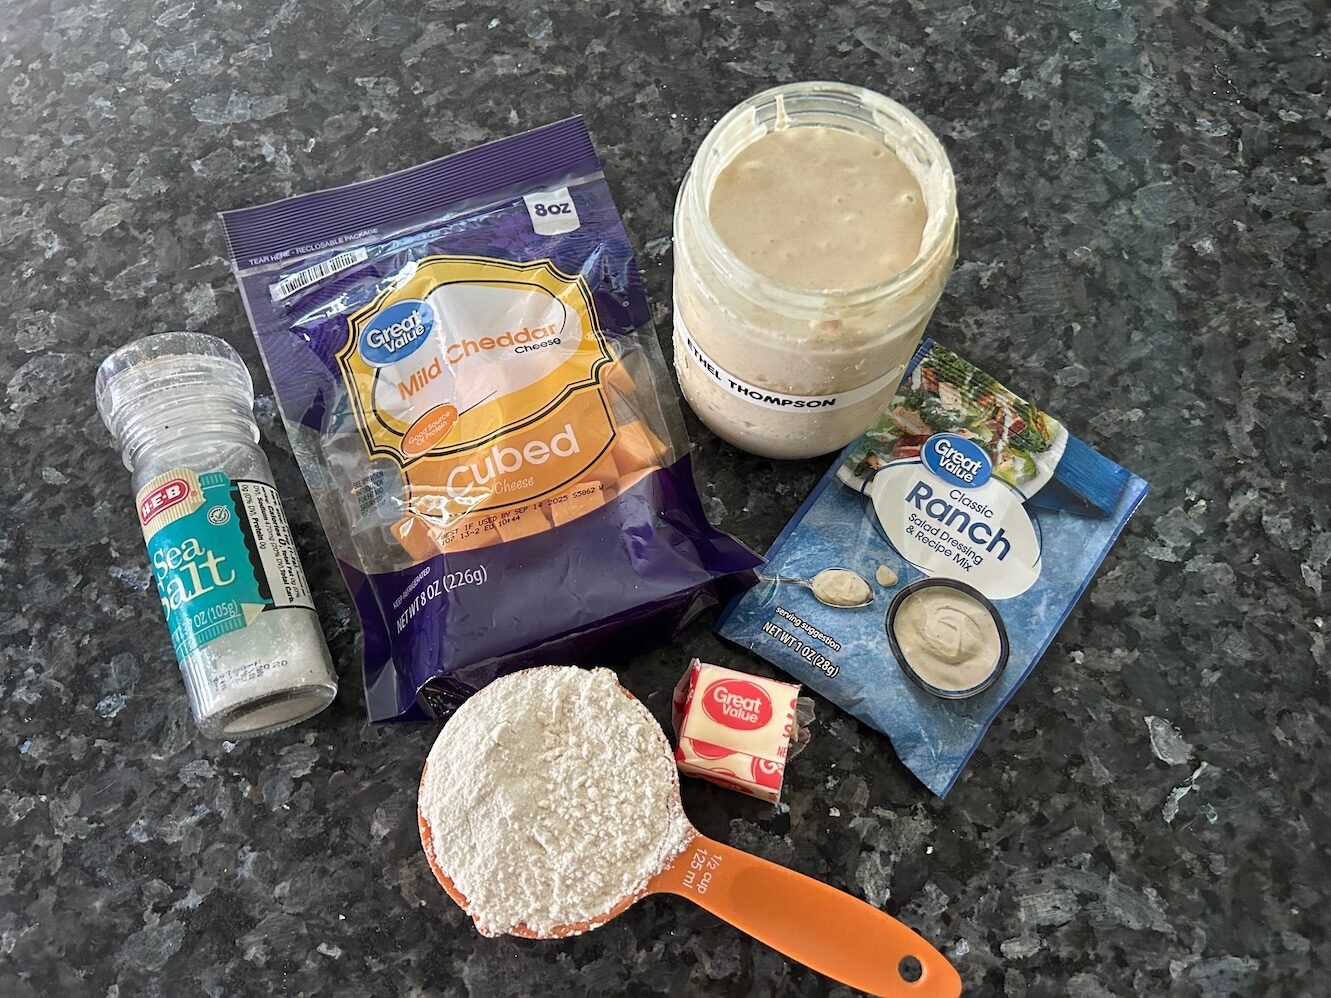
You will find a full printable recipe card at the bottom of this post but here’s a peek at what you’ll need to make these delicious crackers. These are simple ingredients you might already have in your pantry or refrigerator. (Note: If you don’t have ranch dressing, you can DIY it with a combination of onion powder, garlic powder, dill, salt, pepper, parsley, and chives.)
- 8 ounces of cheddar cheese (grated is preferable)
- ⅓ cup inactive discard
- 2 tablespoons butter (salted or unsalted, your choice)
- 2 teaspoons Ranch seasoning
- 1 teaspoon salt (less, if you’re not a salt fan)
- ½ cup all-purpose flour
- Sea salt to top crackers (optional)
How to Make Simple Sourdough Cheez-Its
Start by placing all of the items except the sea salt in your food processor.
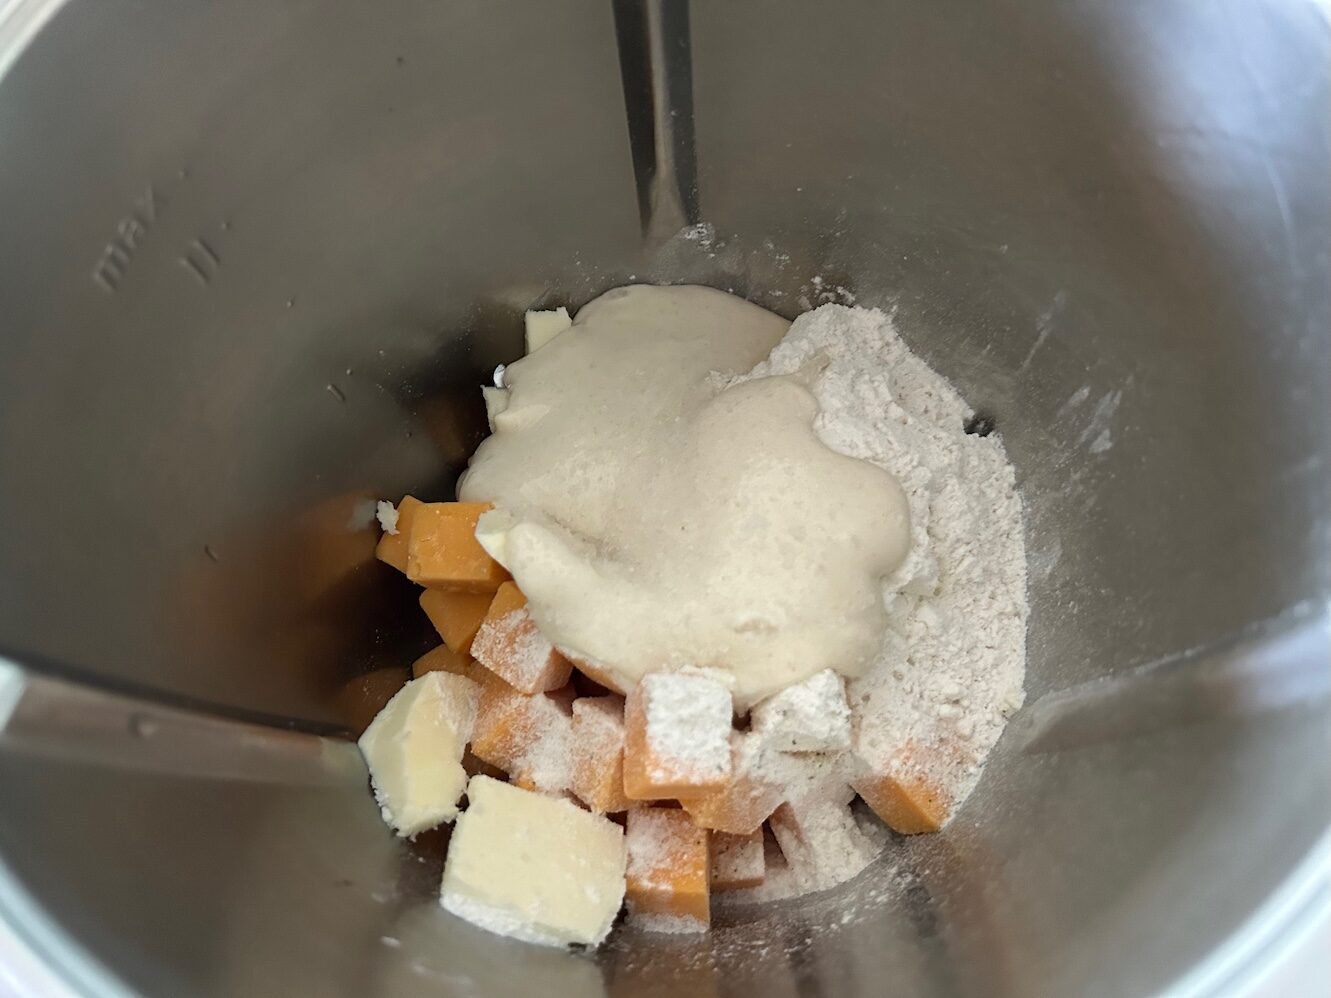
Work it into a dough.
Mine looked a bit chunky but that’s because I was working with cubed cheese.
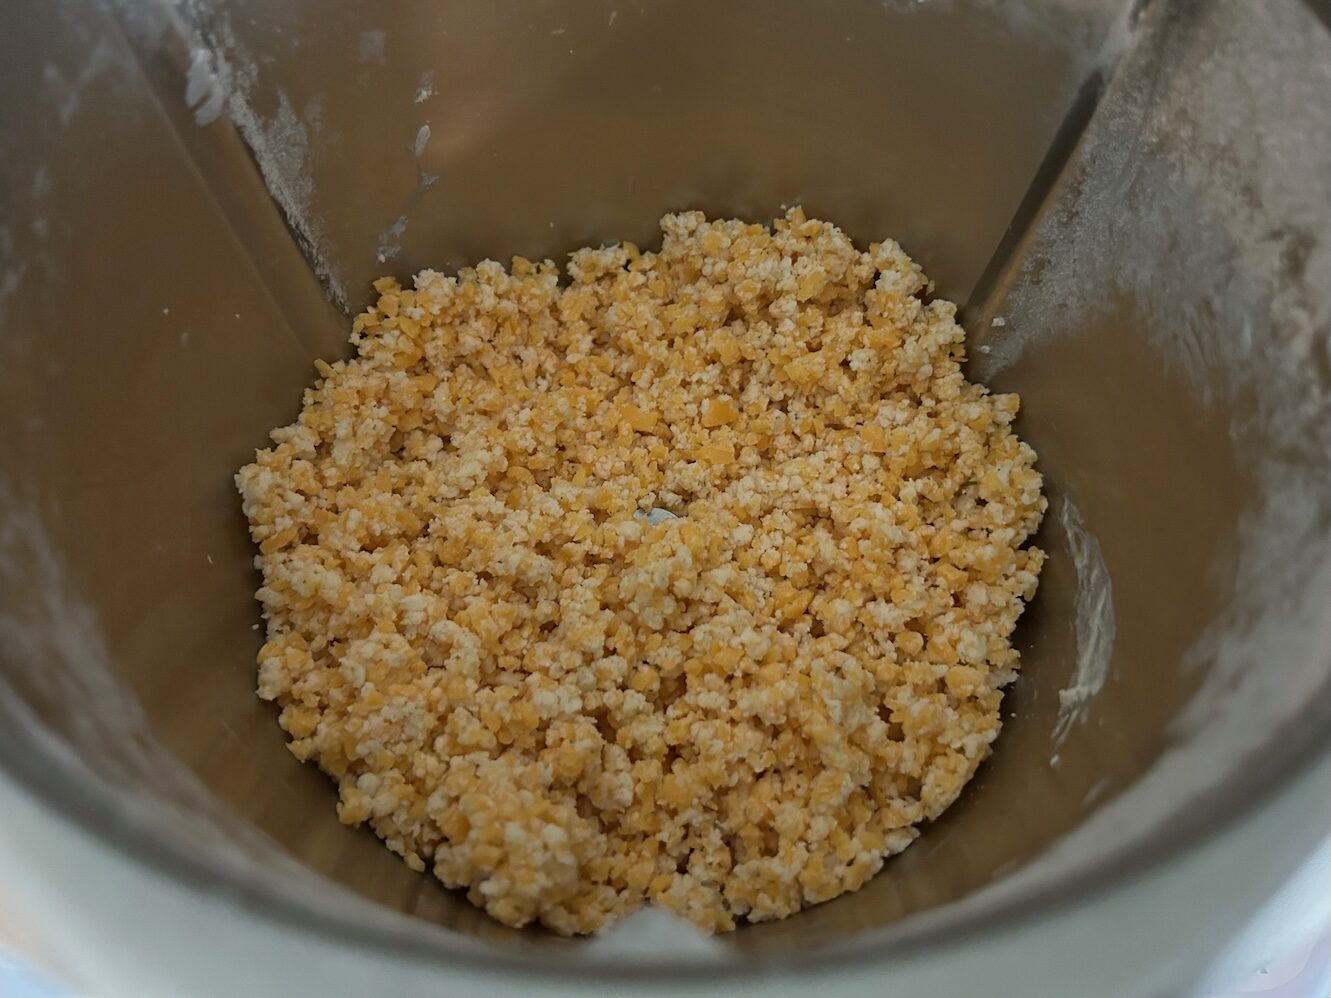
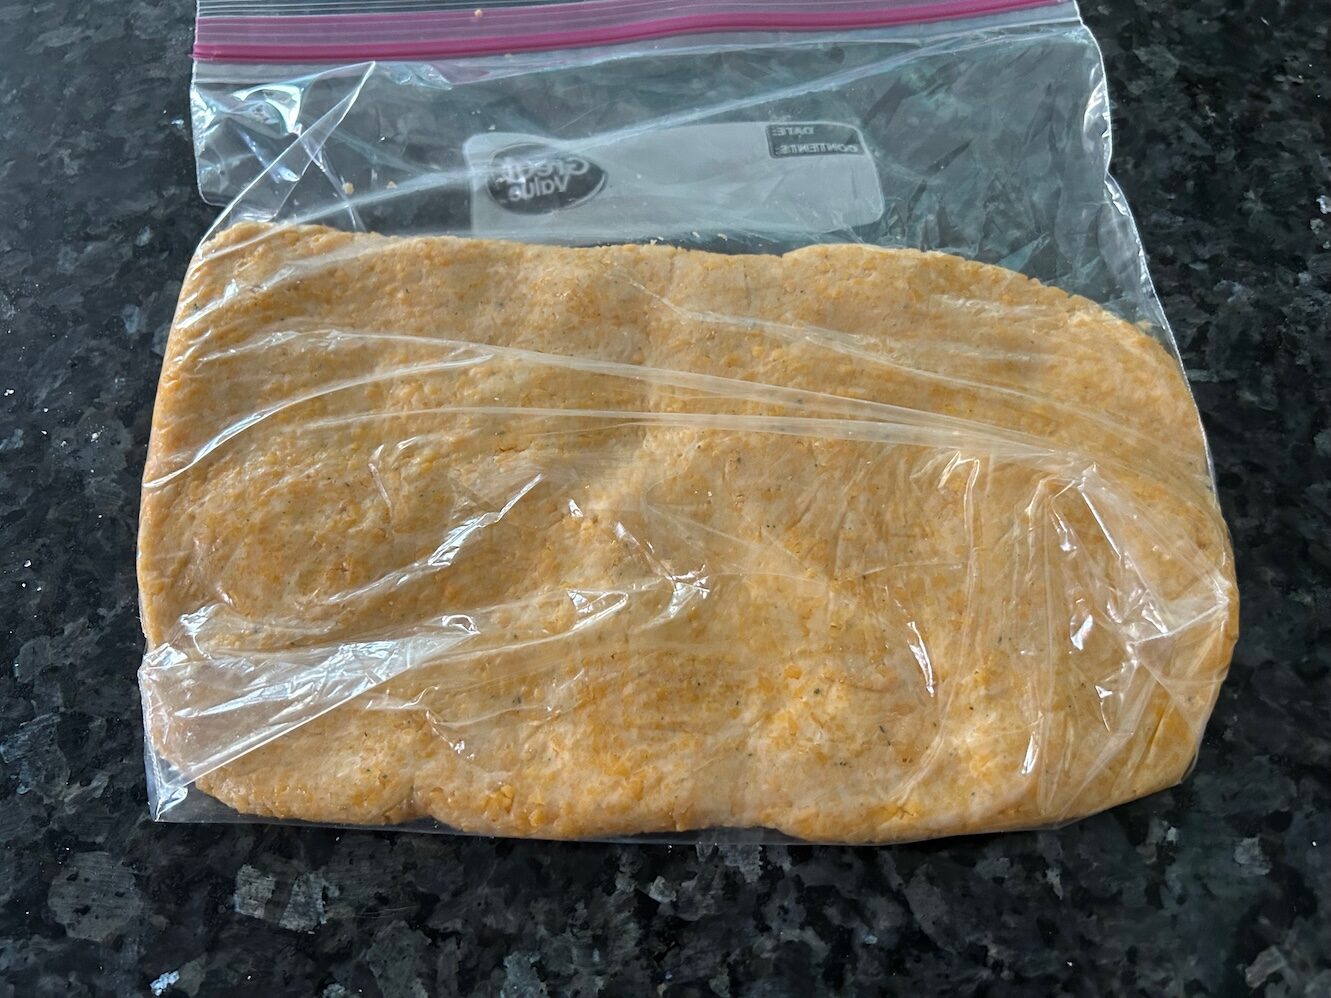
Place in a bag and knead until it forms a smooth dough.
Press out about half an inch thick and put the bag in the fridge for 20 minutes.
Preheat the oven to 350 degrees Fahrenheit.
Remove the dough from the fridge.
Remove from baggie and place directly on a sheet of parchment paper (or silicone mat, your choice)

Place a piece of waxed paper on top.
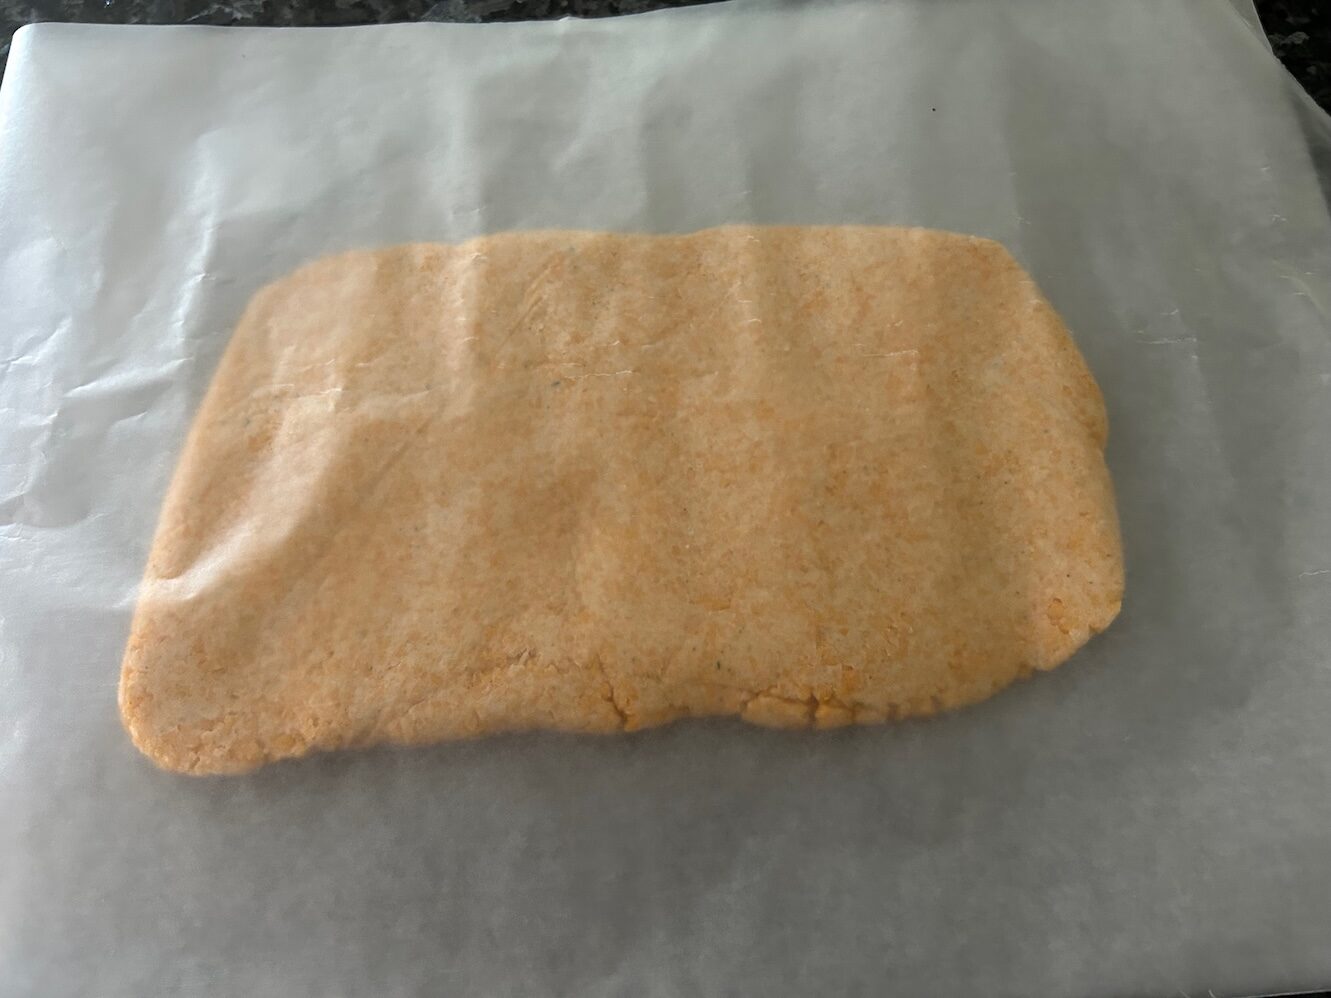
Roll until thin. You’re looking for a rectangular shape so you might have to trim off the edges as you go.
Use a pizza cutter or pasta cutter to cut into one-inch squares.
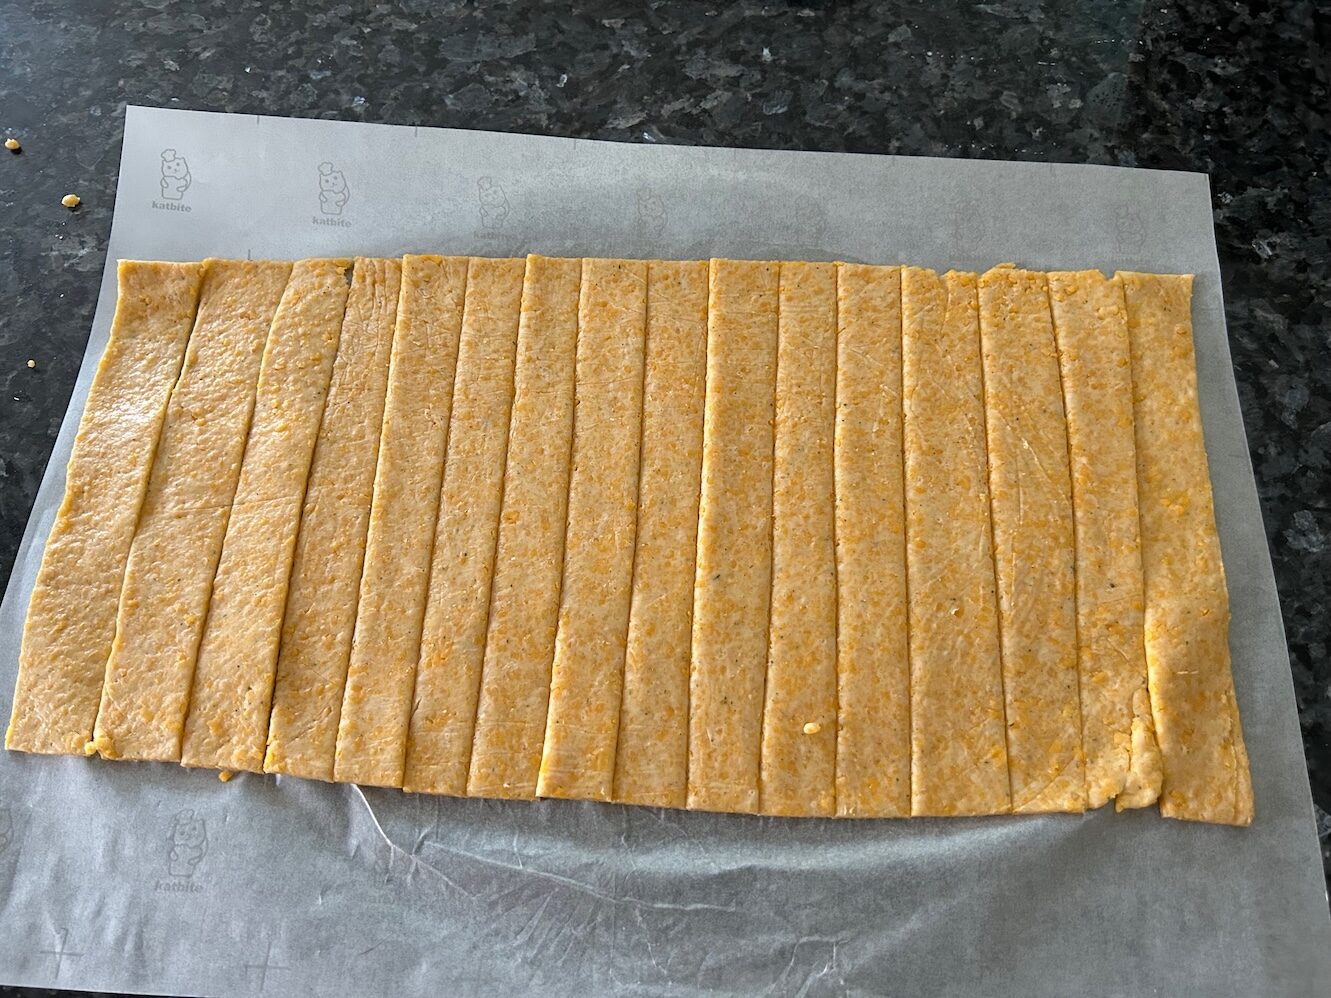
First go one way. . .then go the other.
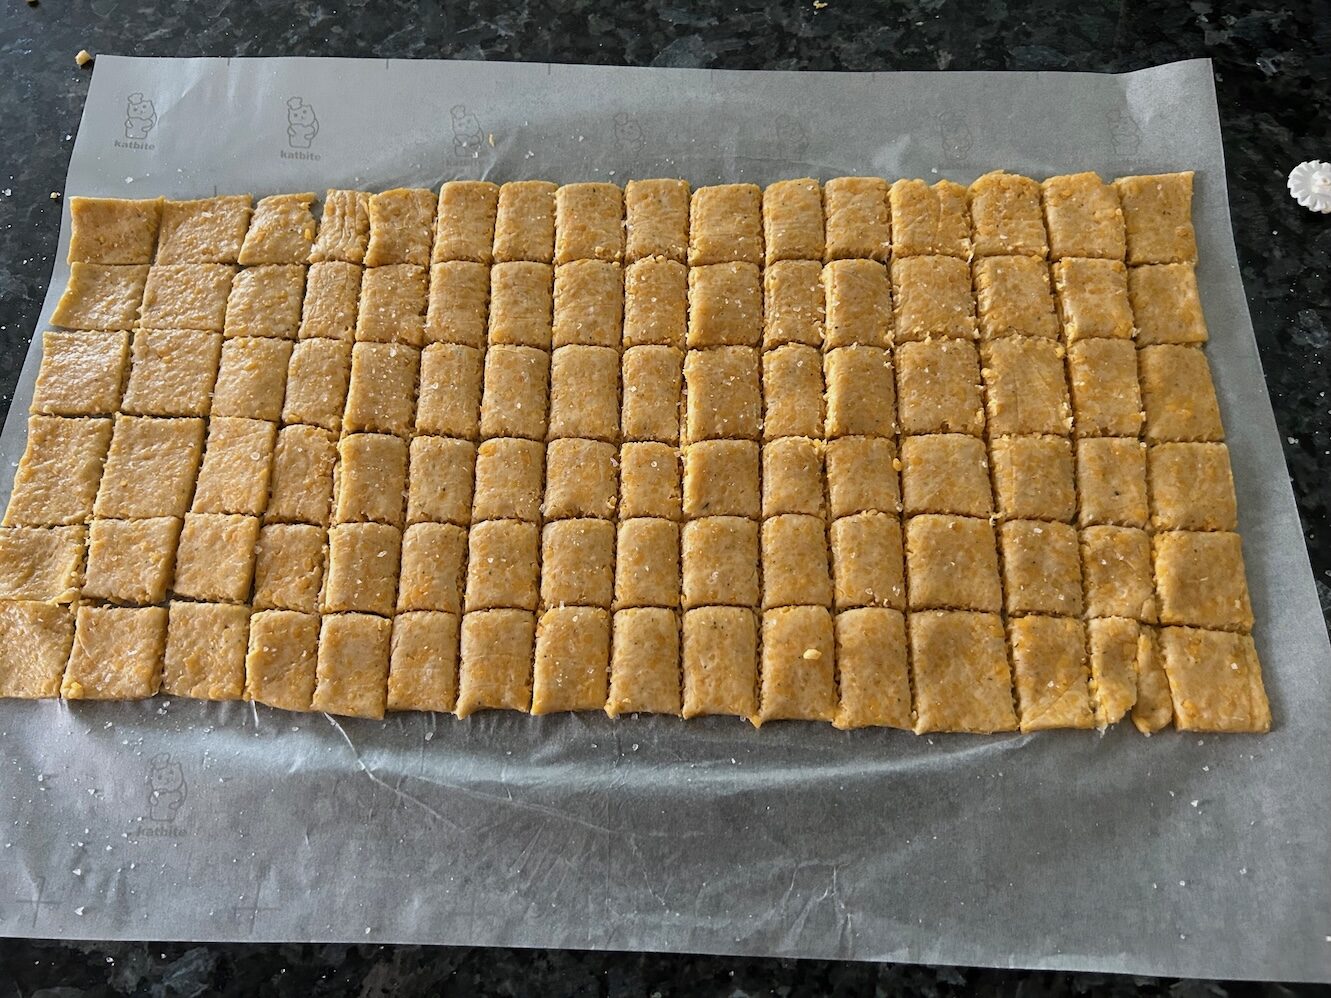
Use a toothpick to poke a hole in the center of each cracker. Bonus points if you locate the row that I inadvertently skipped. (((Janice slaps herself on the forehead)))
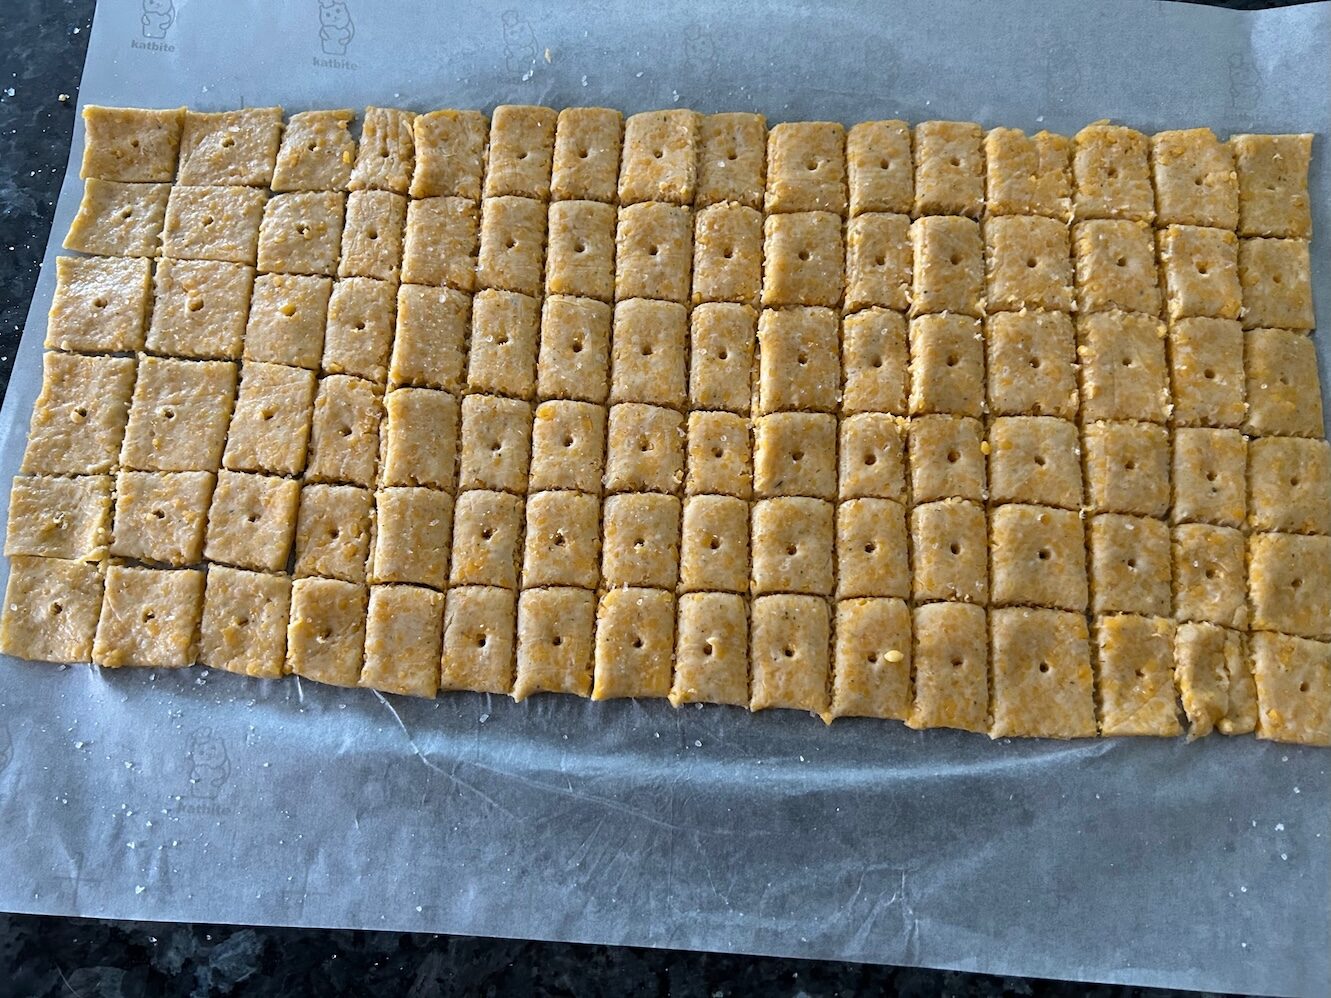
Sprinkle the top with sea salt.
Gently glide the parchment paper onto a large cookie sheet. Don’t worry about separating them.
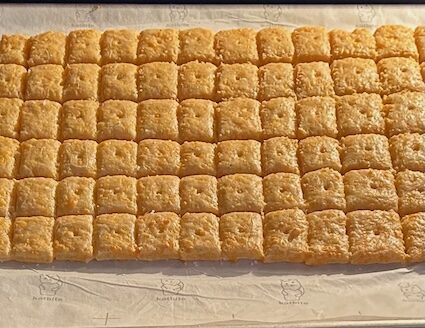
Place in preheated oven and bake for 15 - 20 minutes or until the crackers crisp up and start to have a golden sheen.
Turn off the oven and crack the door, but leave the cookie sheet inside so the crackers can continue drying.
Test one of the crackers. If it’s not crisp, don’t fret. Just separate the crackers and put them back in the (preheated 350 degree) oven for another 3+ minutes. (I had to do this because my cookies were too thick.)
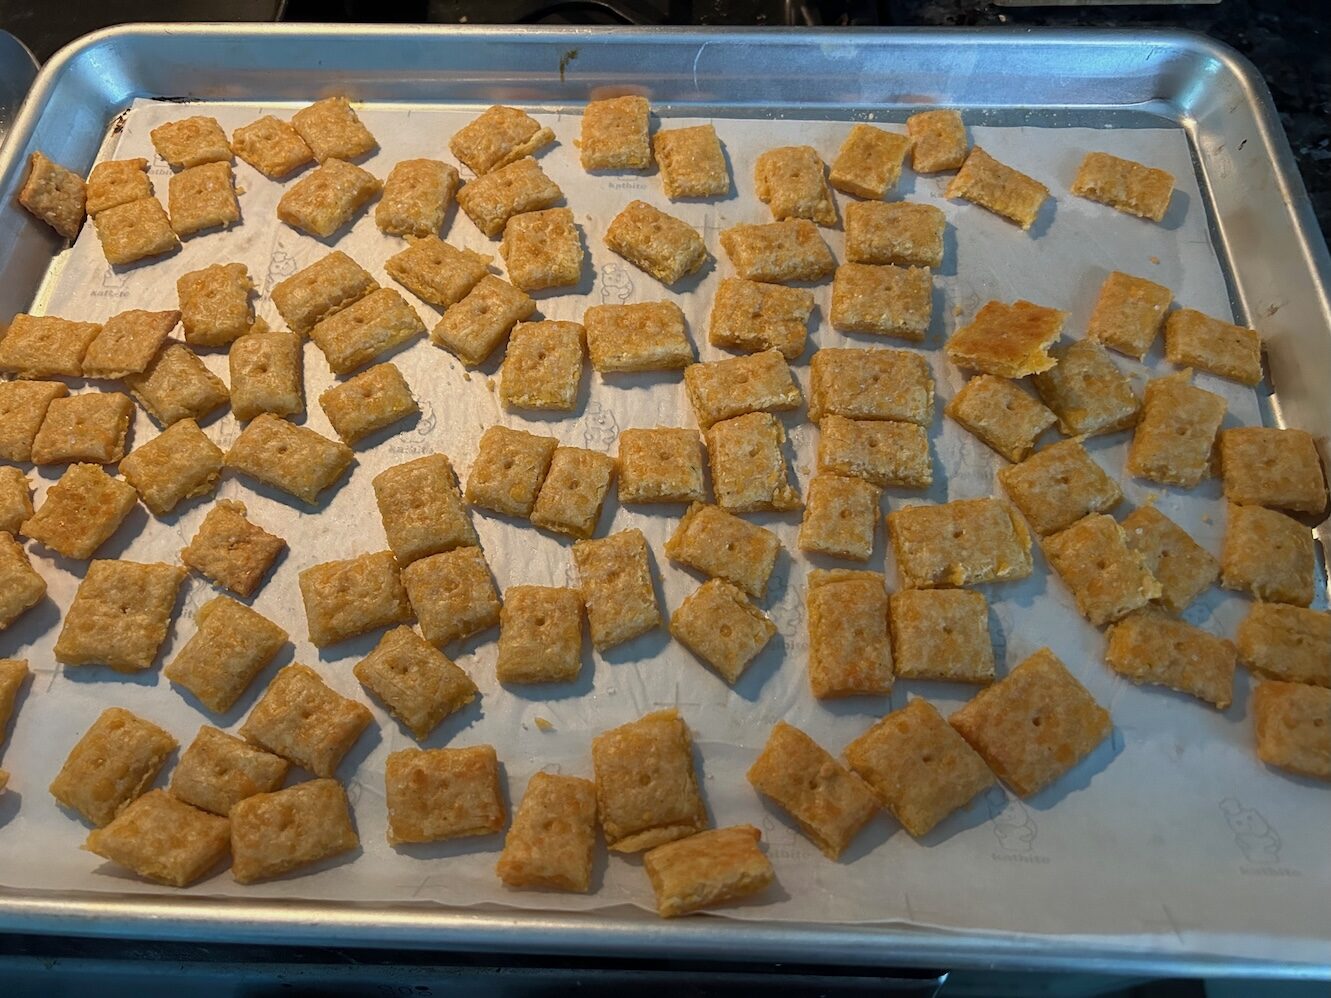
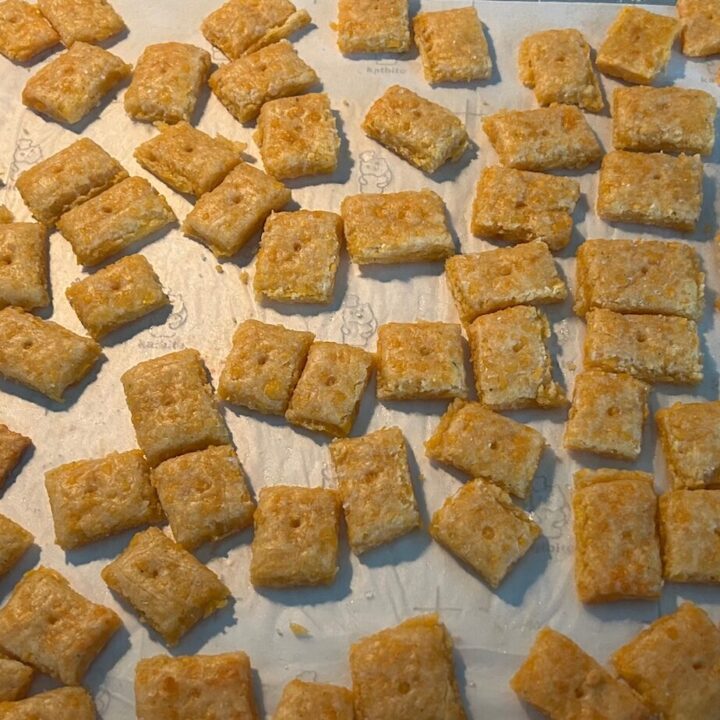
Once cooled, remove and place on wire rack for a few minutes to continue drying out.
It’s time to serve your crackers!
Store them in an airtight container. Rubbermaid is fine, but a glass jar works, too.
What to Expect from these Crackers
First, the negatives: As I mentioned above, I didn’t roll my dough thin enough, and paid a price for it.
My crackers spent a total of 21 minutes in the oven and several minutes after-the-fact once the oven was turned off. They still weren't crisp. I didn't give up. Instead, I let them dry at room temperature. In the end they did dry out and turn crisp but it's important to note that they have to be completely cool before this happened.
Why didn't I roll them thin enough? Because the dough was too firm. Why was it too firm? I think my discard was too thick, to be honest. I usually weigh my ingredients but this time I just measured out a third of a cup of that very thick refrigerated discard and used it like that. I should have known better. All that to say, make sure your discard isn't thick as paste, like mine. I probably should have cut back on flour. (Speaking of which, I noticed that several online recipes for these crackers don't include flour. . .at all!)
Now for the positive: I love the flavor of these. They’re so delicious and taste just like Cheez-Its. . .but better, if that’s possible. I’m so happy that I happened to have eight ounces of cheddar on hand. (I had a bit of a panic attack when I thought I was out of cheese, something that rarely happens in my house.) But in the end I found it hiding in the crisper drawer of my fridge. Whew! I’m so glad I did because I loved these. In fact, I can’t wait to make these for my grandkids. I think they’re going to love them! You can be assured I'll roll them super thin next time!
Other Discard Recipes from Out of the Box Baking
If you liked these sourdough crackers and you’re looking for other ways to use up your discard, we’ve got you covered. Here are some fun discard recipes.
That’s it for this post, friends! I hope you enjoyed this delicious recipe.
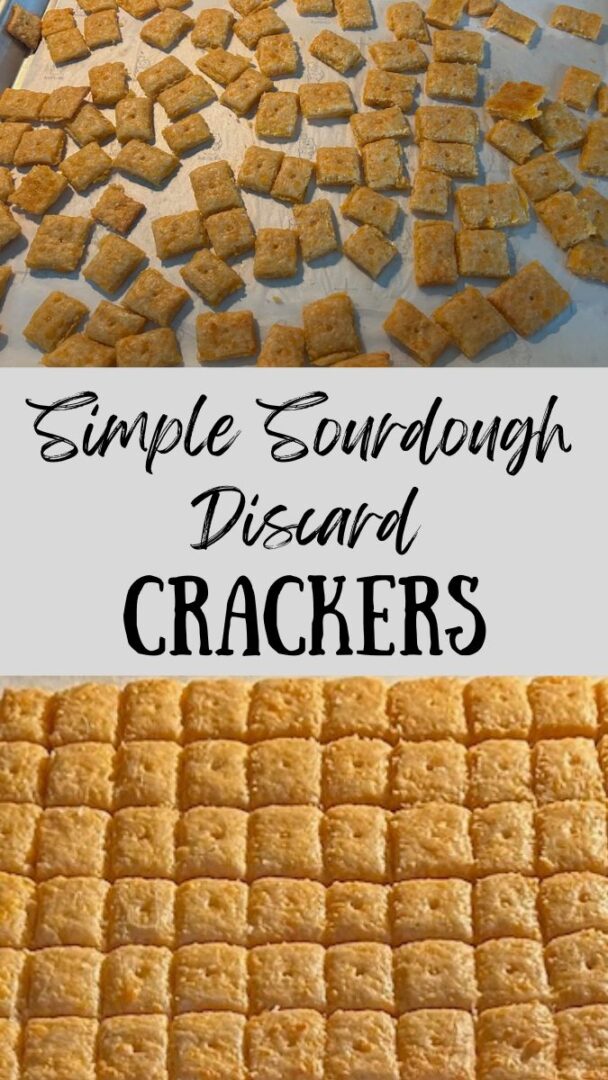
If you make this recipe and love it, don’t forget to leave a review and a comment below. And while you're at it, go ahead and pin some photos to your Pinterest boards!
Loved this recipe? Get more like it straight to your inbox. Sign up for our newsletter now!
Looking for my master list of sourdough discard recipes? I've got 'em--sweet, savory, breakfast items, and breads!
About the Author
Janice Thompson is an author, baker, and all-around mischief maker! She has overcome a host of baking catastrophes, including a toppled wedding cake, to learn more about the baking process. Janice has published over 165 books for the Christian market but particularly enjoys writing recipes and baking devotions. To learn more about Janice or to drop her a note, visit her About the Author page.
Simple Sourdough Discard Cheez-Its
These homemade sourdough discard Cheez-Its are crispy, cheesy, and packed with flavor! A fun and easy no-waste recipe that turns extra starter into the ultimate crunchy snack.
Ingredients
- 8 ounces of cheddar cheese (grated is preferable)
- ⅓ cup inactive discard
- 2 tablespoons butter (salted or unsalted, your choice)
- 2 teaspoons Ranch seasoning
- 1 teaspoon salt (less, if you’re not a salt fan)
- ½ cup all-purpose flour
- Sea salt to top crackers (optional)
Instructions
- Start by placing all of the items except the sea salt in your food processor.
Work it into a dough. - Mine looked a bit chunky but that’s because I was working with cubed cheese.
- Place in a bag and knead until it forms a smooth dough.
- Press out about half an inch thick and put the bag in the fridge for 20 minutes.
- Preheat the oven to 350 degrees Fahrenheit.
- Remove the dough from the fridge.
- Remove from baggie and place directly on a sheet of parchment paper (or silicone mat, your choice)
- Place a piece of waxed paper on top.
- Roll until thin. You’re looking for a rectangular shape so you might have to trim off the edges as you go.
- Use a pizza cutter or ridge cutter to cut into one-inch squares. (I started with my pizza cutter then came along behind it with this fondant cutter I happened to have.)
- First go one way. . .then go the other.
- Use a toothpick to poke a hole in the center of each cracker.
- Sprinkle the top with sea salt.
- Gently glide the parchment paper onto a large cookie sheet. Don’t worry about separating them.
- Place in preheated oven and bake for 15 - 20 minutes or until the crackers crisp up and start to have a golden sheen.
- Turn off the oven and crack the door, but leave the cookie sheet inside so the crackers can continue drying.
- Test one of the crackers. If it’s not crisp, don’t fret. Just separate the crackers and put them back in the (preheated 350 degree) oven for another 3+ minutes. (I had to do this because my cookies were too thick.)
- Once cooled, remove and place on wire rack for a few minutes to continue drying out.
- It’s time to serve your crackers!
- Store them in an airtight container. Rubbermaid is fine, but a glass jar works, too.
Nutrition Information:
Yield: 10 Serving Size: 1Amount Per Serving: Calories: 139Total Fat: 10gSaturated Fat: 6gTrans Fat: 0gUnsaturated Fat: 3gCholesterol: 29mgSodium: 495mgCarbohydrates: 6gFiber: 0gSugar: 0gProtein: 6g
The nutrition information is a product of online calculators. I try to provide true and accurate information, but these numbers are estimates.