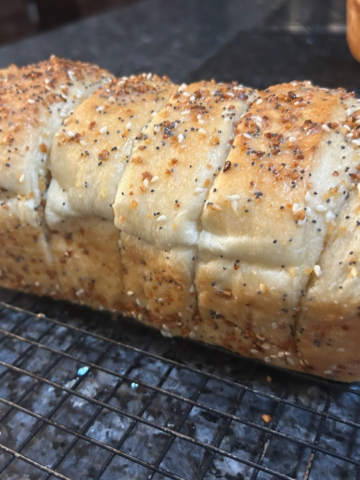
Easy Homemade Sandwich Bread from Frozen Dough

Learn how to turn Rhodes frozen bread dough into homemade sandwich bread with easy sesame seed and honey-oat variations, plus rising and baking tips.
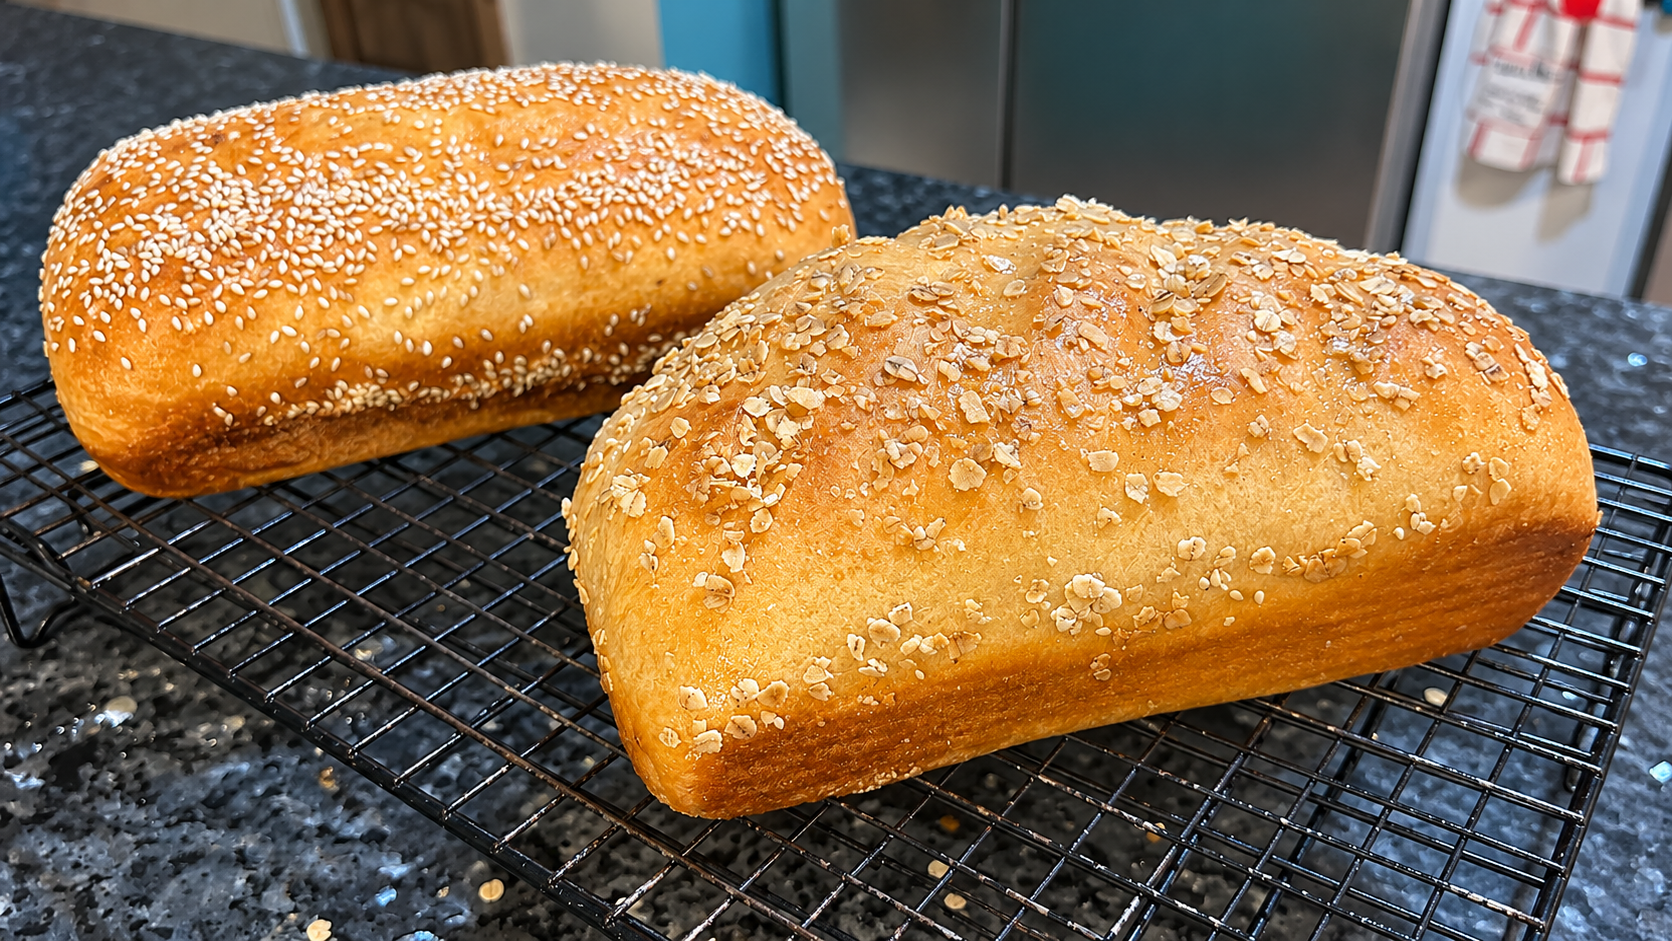
Want to make beautiful homemade sandwich bread without mixing or kneading dough?
In this easy tutorial, I'll show you how to transform frozen Rhodes bread dough into two delicious loaves: sesame seed sandwich bread and honey-oat bread. It's a simple shortcut with wonderful results!
Homemade Sandwich Bread the Easy Way

There's something special about a freshly baked loaf of bread.
The smell alone is enough to make a house feel like home. And when you slice into that first loaf and discover a soft, tender interior surrounded by a beautiful golden crust? Well, that's pretty hard to beat.
But here's a little secret: You don't have to make bread dough from scratch to enjoy homemade sandwich bread.
I recently picked up a package of Rhodes frozen bread dough and decided to experiment with a couple of simple ways to dress it up.
My plan was to turn two ordinary frozen loaves into something a little more special.
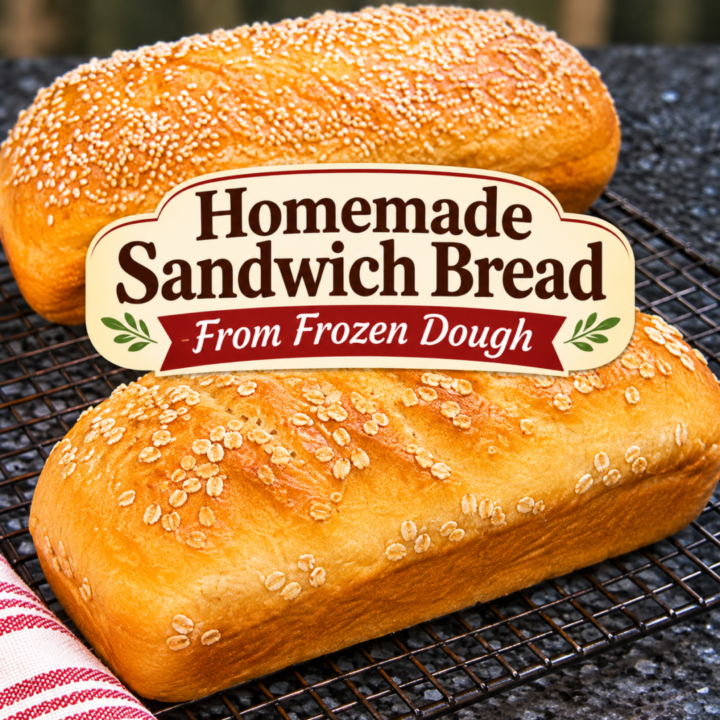
One would become a sesame seed sandwich loaf, complete with decorative scoring across the top.
The other would become a honey-oat loaf with a lightly sweetened finish.
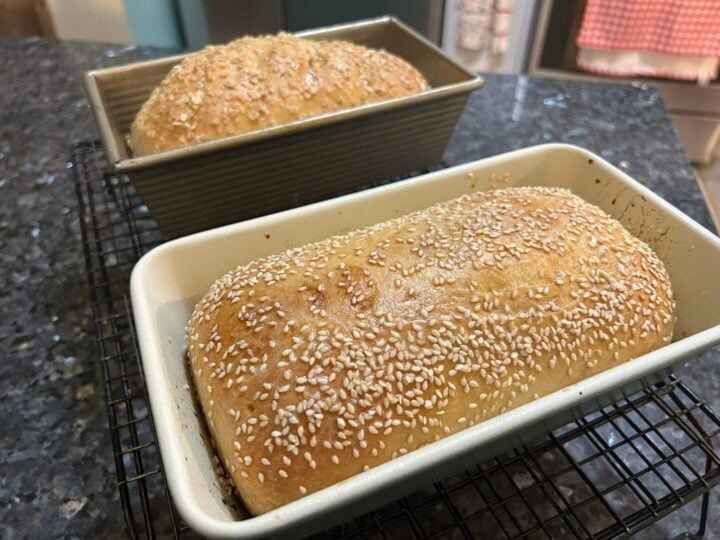
Both turned out beautifully, and I learned a few things along the way that I can't wait to share with you.
Especially one important lesson: patience is a virtue when you're working with frozen bread dough!
Why Start with Frozen Bread Dough?
I love baking from scratch, but I also love a good shortcut.
And that's exactly what frozen bread dough offers.
All of the measuring, mixing, and kneading have already been done for you. The dough is ready to thaw, rise, and bake.
That means you can concentrate on making your loaf special without spending a lot of time preparing the dough.
Here are a few reasons I love this method:
- It's convenient. No stand mixer or kneading required.
- It's beginner-friendly. You don't have to be an experienced bread baker.
- It's versatile. You can customize the tops with seeds, oats, or other simple finishes.
- It's perfect for sandwiches. The finished loaves can be sliced for everyday meals.
- It makes wonderful toast. And, as I discovered, incredible French toast!
Best of all, you get that wonderful fresh-bread aroma filling your kitchen.
What You'll Need
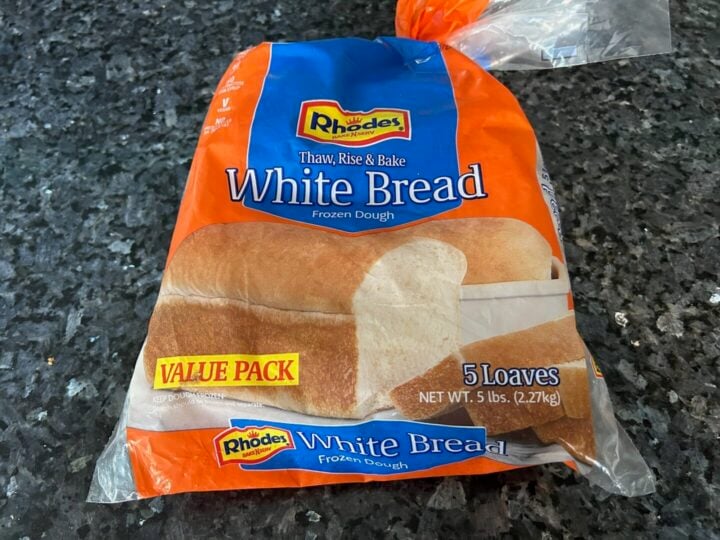
You won't need many ingredients to make these easy sandwich loaves. Wait till you see how simple this is!
For the Bread
- 2 frozen Rhodes white bread dough loaves
- Cooking spray or softened butter for greasing the loaf pans
- A little oil or melted butter for the surface of the dough, if needed
- Sesame seeds for one loaf
- Old-fashioned oats for the other loaf
- Honey and melted butter for the honey-oat finish
Equipment
- 2 loaf pans, approximately 8½ × 4½ inches
- Plastic wrap or reusable bread covers
- A sharp knife or bread lame, if scoring
- A pastry brush
- A wire cooling rack
- A serrated bread knife for slicing
You can make both variations or simply choose the one that sounds best to you.
How to Make Sandwich Bread from Frozen Dough
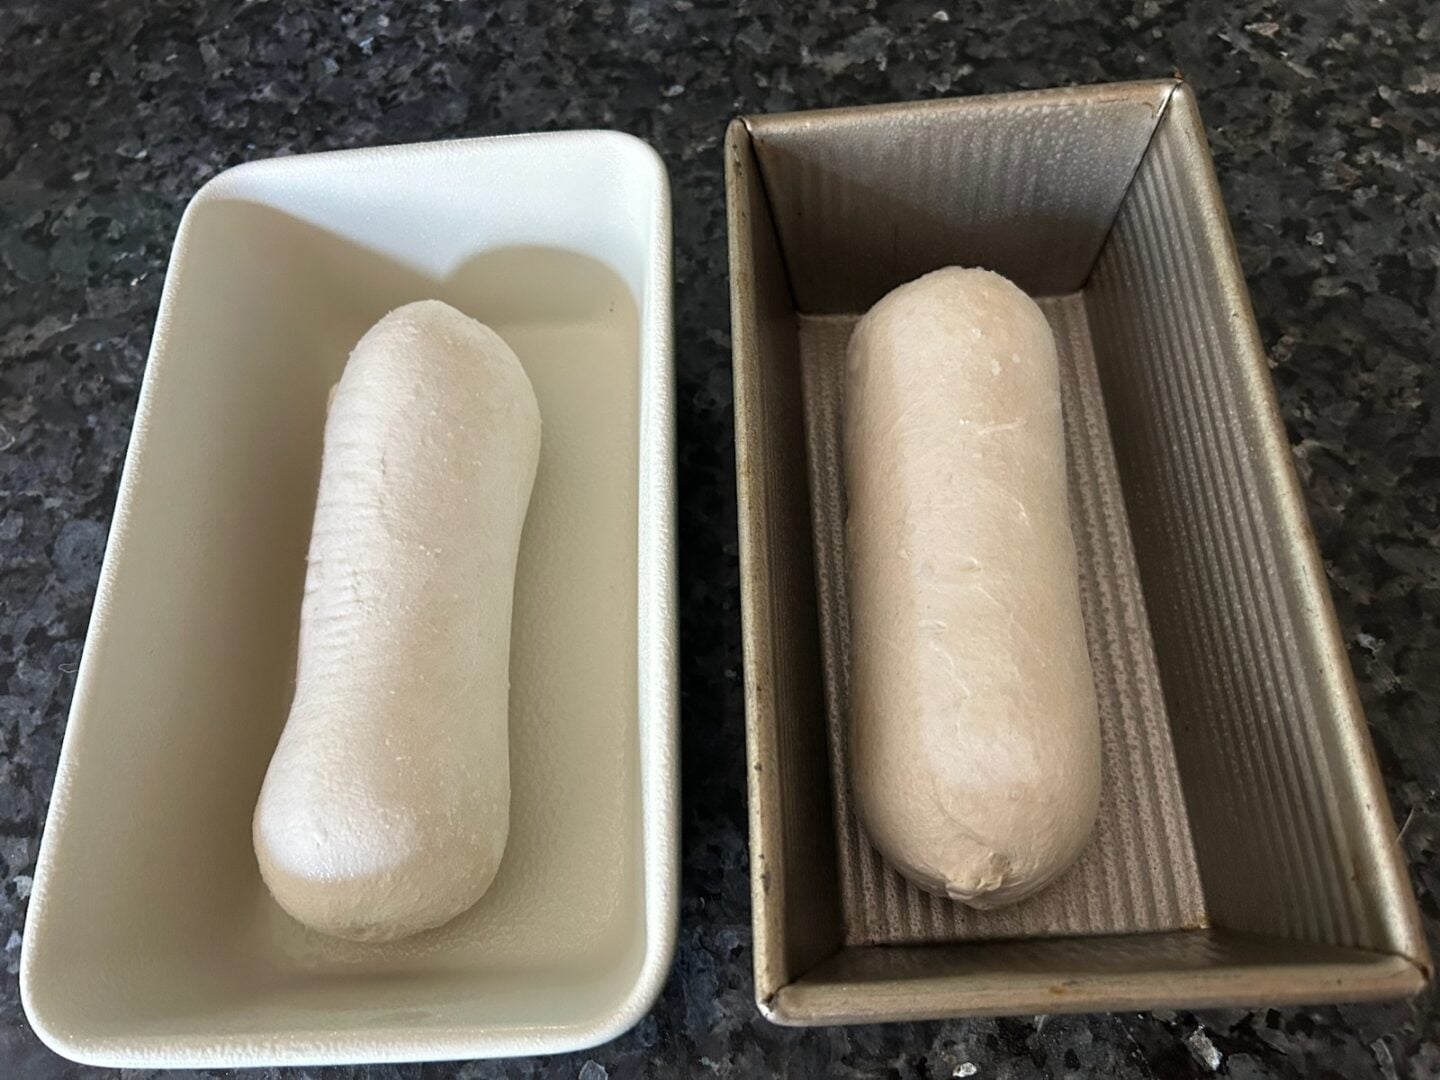
Step 1: Prepare the Loaf Pans
Lightly grease two loaf pans with cooking spray or softened butter.
Remove the frozen bread dough from its packaging and place one loaf in each prepared pan.
Make sure there's enough room for the dough to expand as it rises.
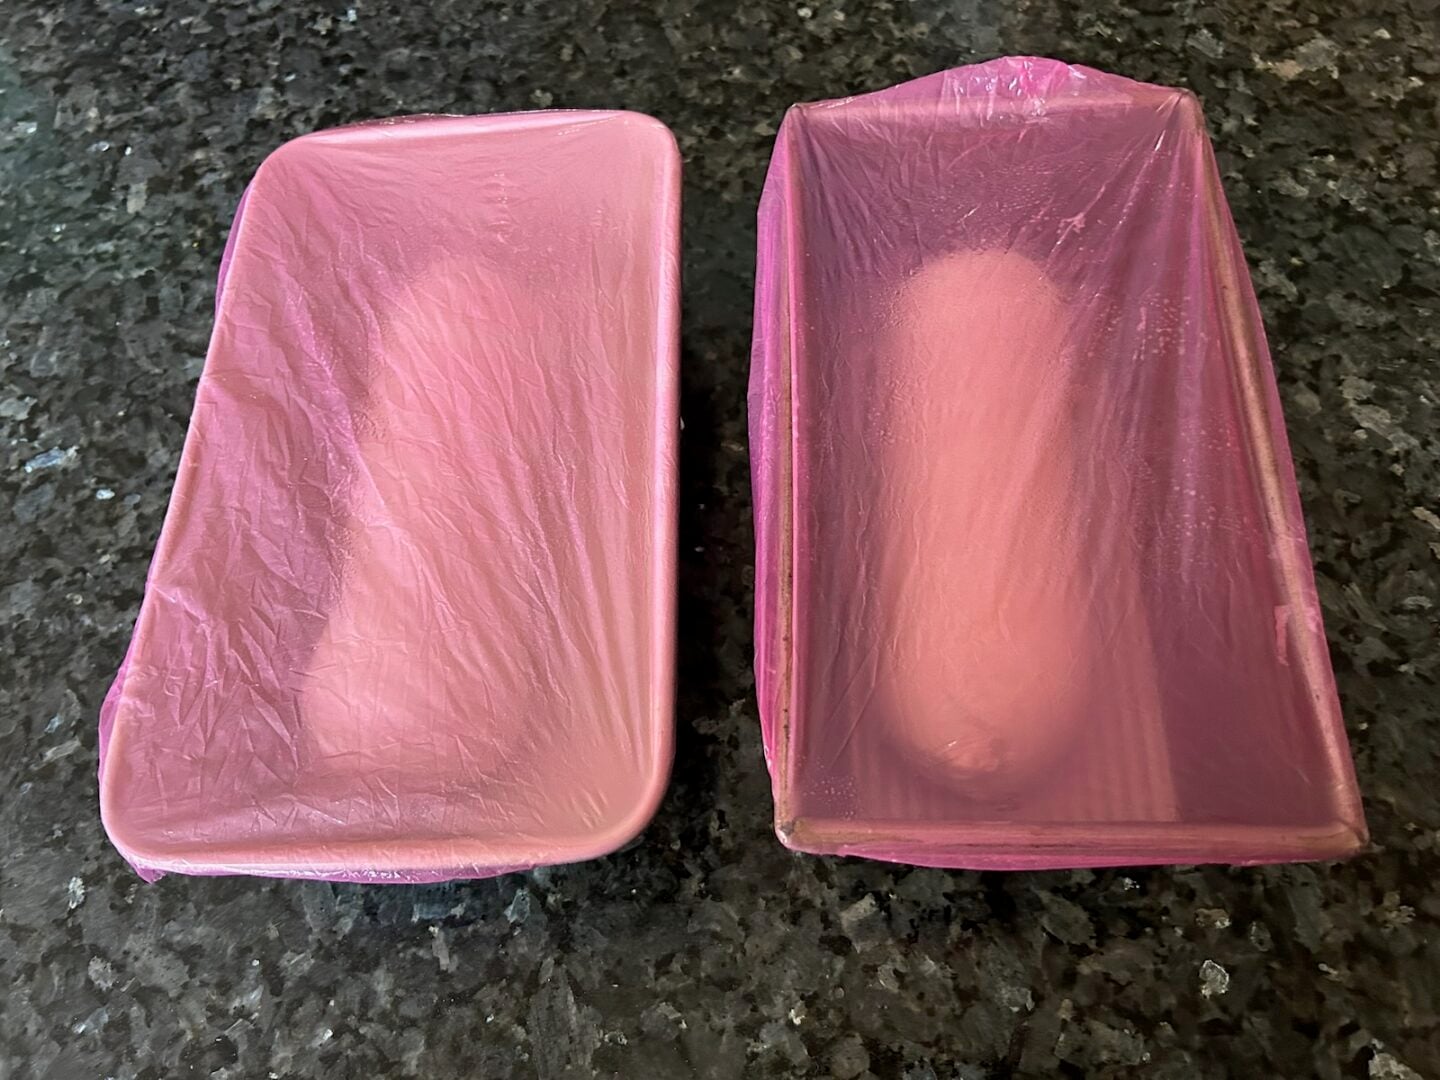
Step 2: Cover and Let the Dough Rise
Lightly grease the plastic wrap or reusable bread covers so they won't stick to the dough as it expands.
Cover both pans and place them in a comfortably warm, draft-free location.
Now comes the part that requires patience! According to Rhodes, the dough can take approximately 4–7 hours to thaw and rise, depending on the temperature of your kitchen.
Ideally, the dough should rise to about an inch above the rim of the loaf pan. Don't be surprised if this takes longer than you expect. Mine took more than four hours, and I finally decided to bake them before they had reached their full height.
The finished bread was still delicious, but next time I'll give the dough more time to do its thing.
My advice? Start early, keep the dough covered, and don't rush the rising process.
Step 3: Add the Sesame Seed Topping
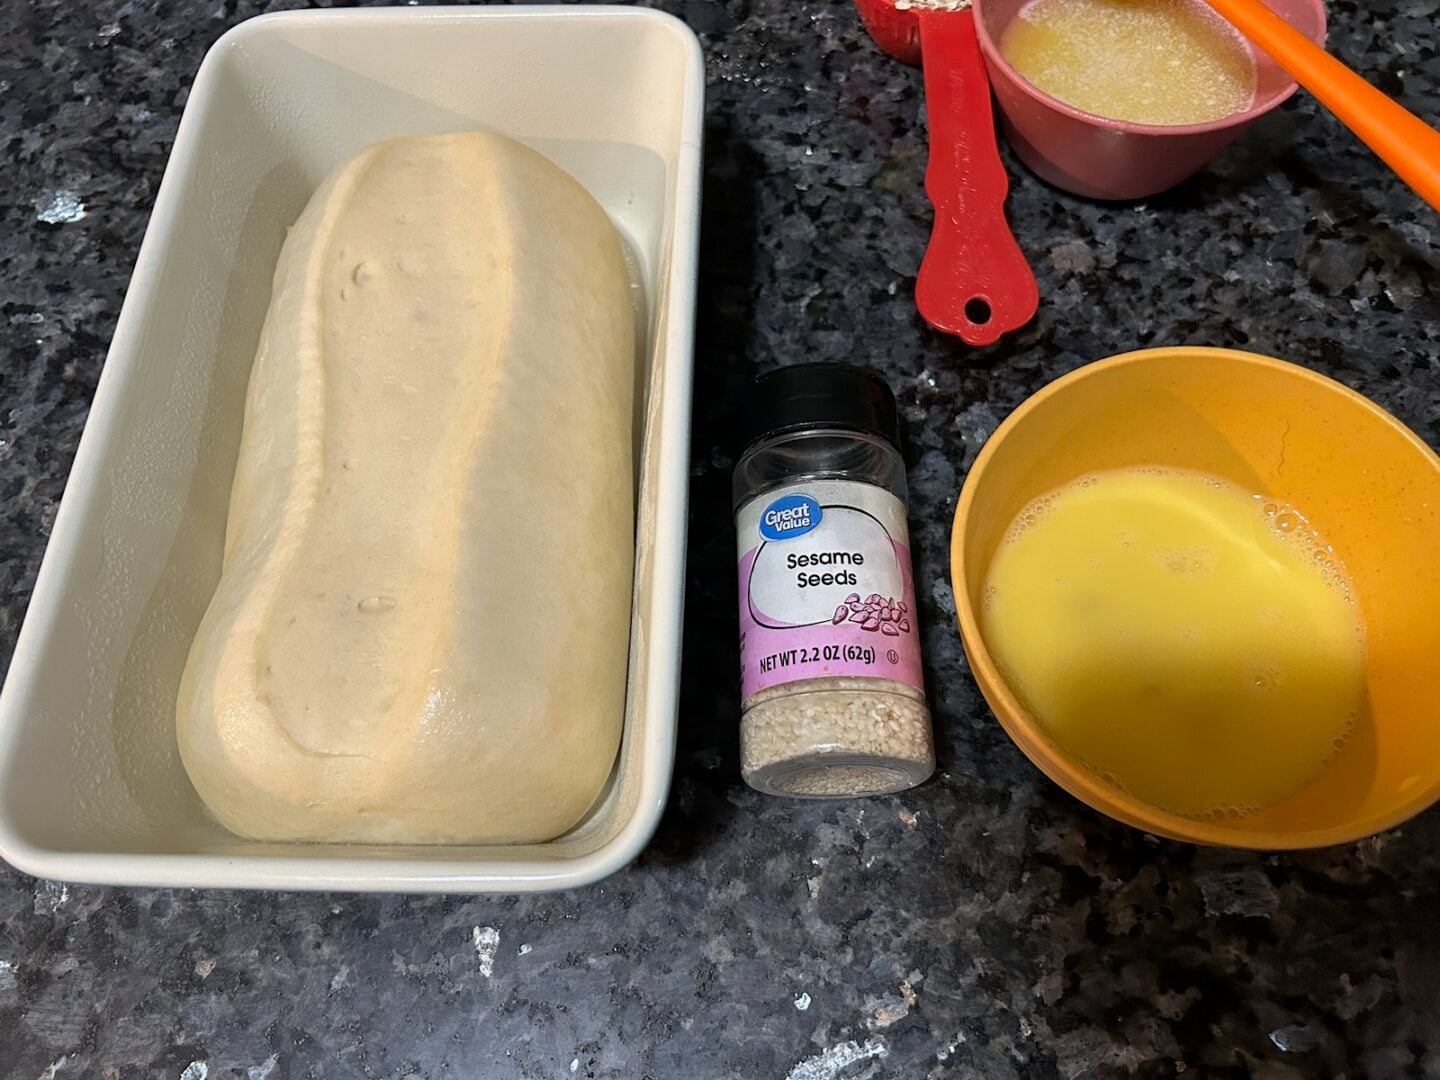
Once the dough is nearly finished rising, it's time to dress up the first loaf.
If you'd like decorative lines across the top, use a very sharp knife or bread lame to make a few shallow diagonal cuts.
Here's something important I learned:
Don't score the dough too early!
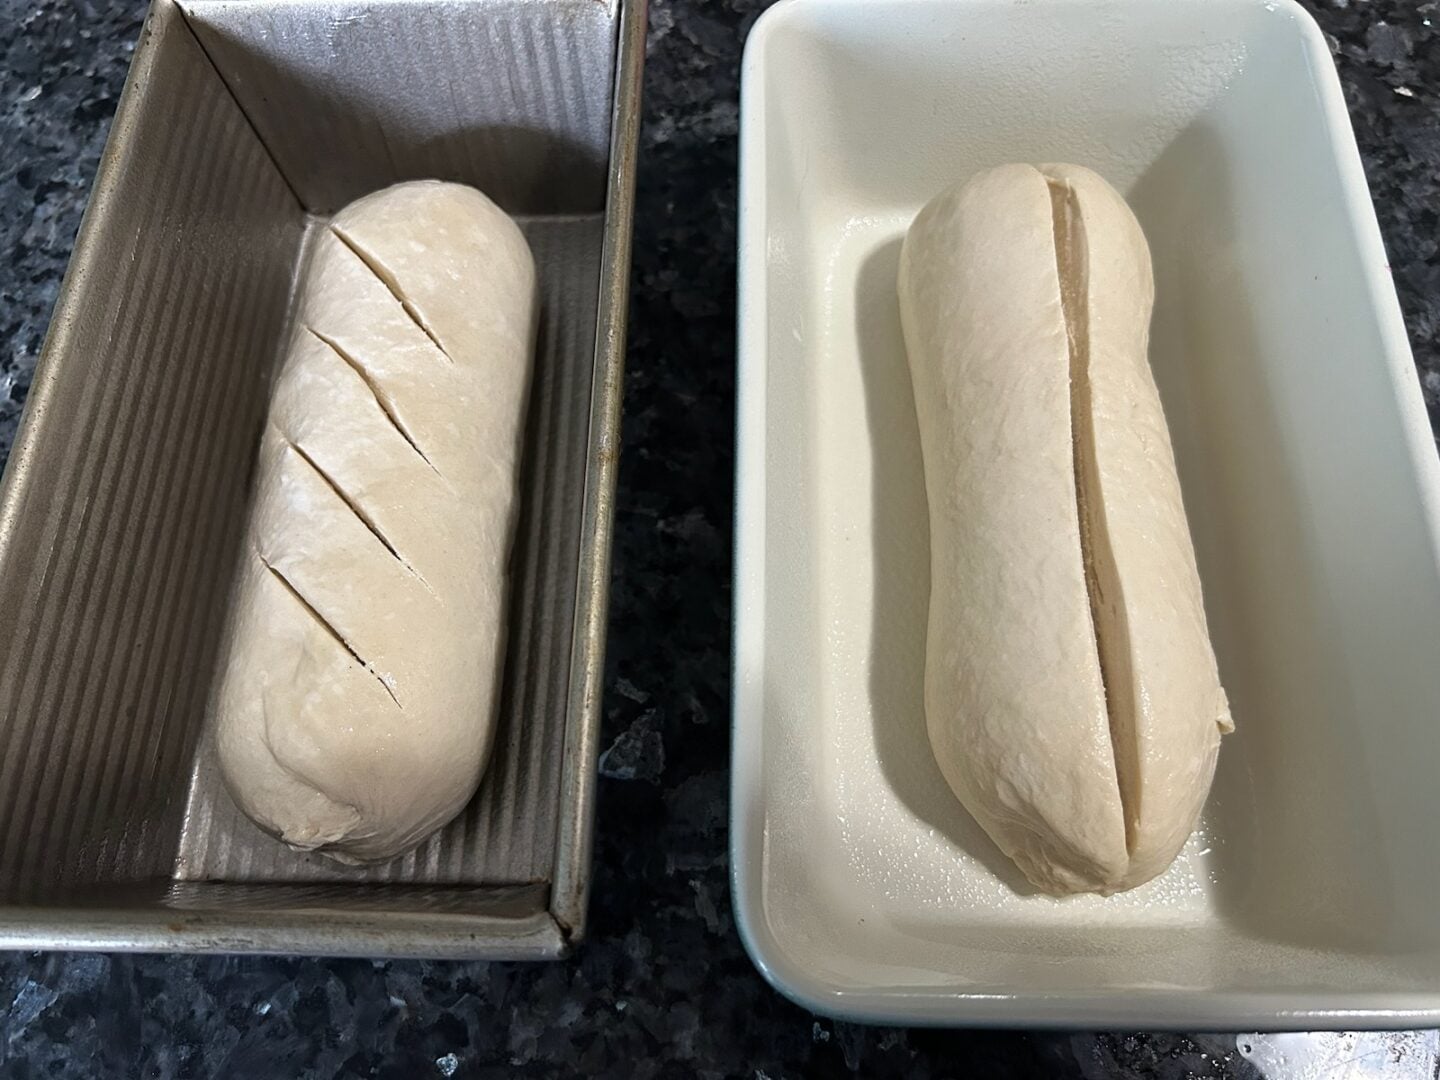
I made my cuts while the dough was still in the early stages of rising. As it continued expanding, those pretty lines gradually disappeared.
For the best chance of keeping your decorative pattern, wait until the dough is almost ready to go into the oven.
Be gentle, too. Fully risen dough can be delicate, and deep cuts may cause it to deflate.
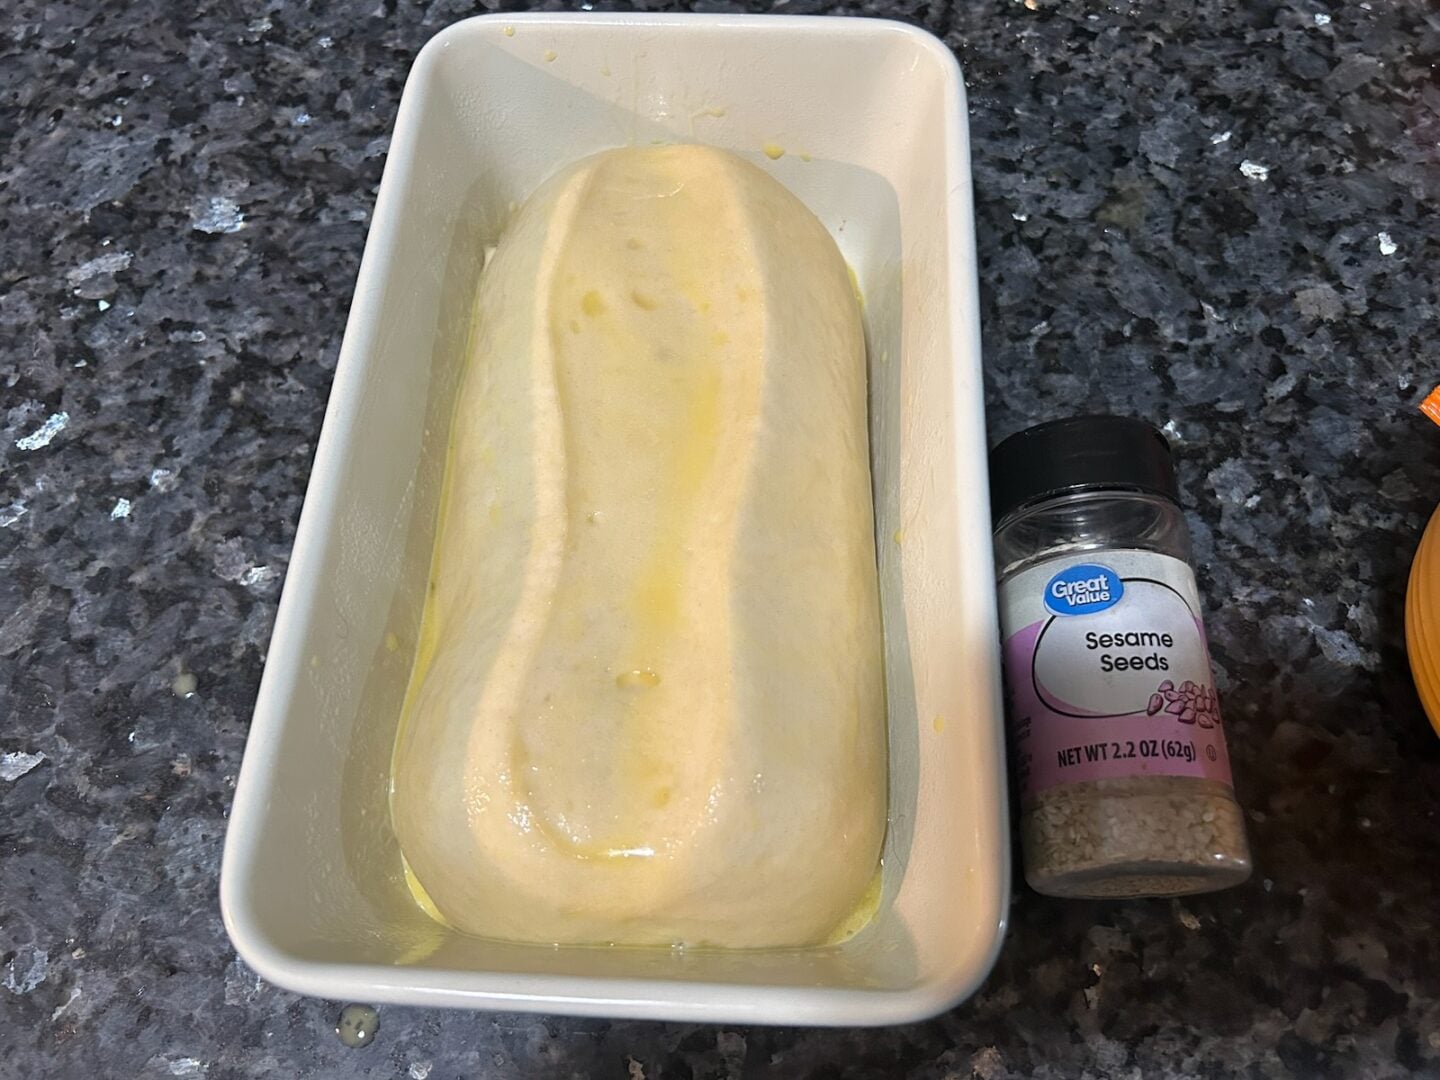
Lightly brush the top with water or a little melted butter and sprinkle with sesame seeds.
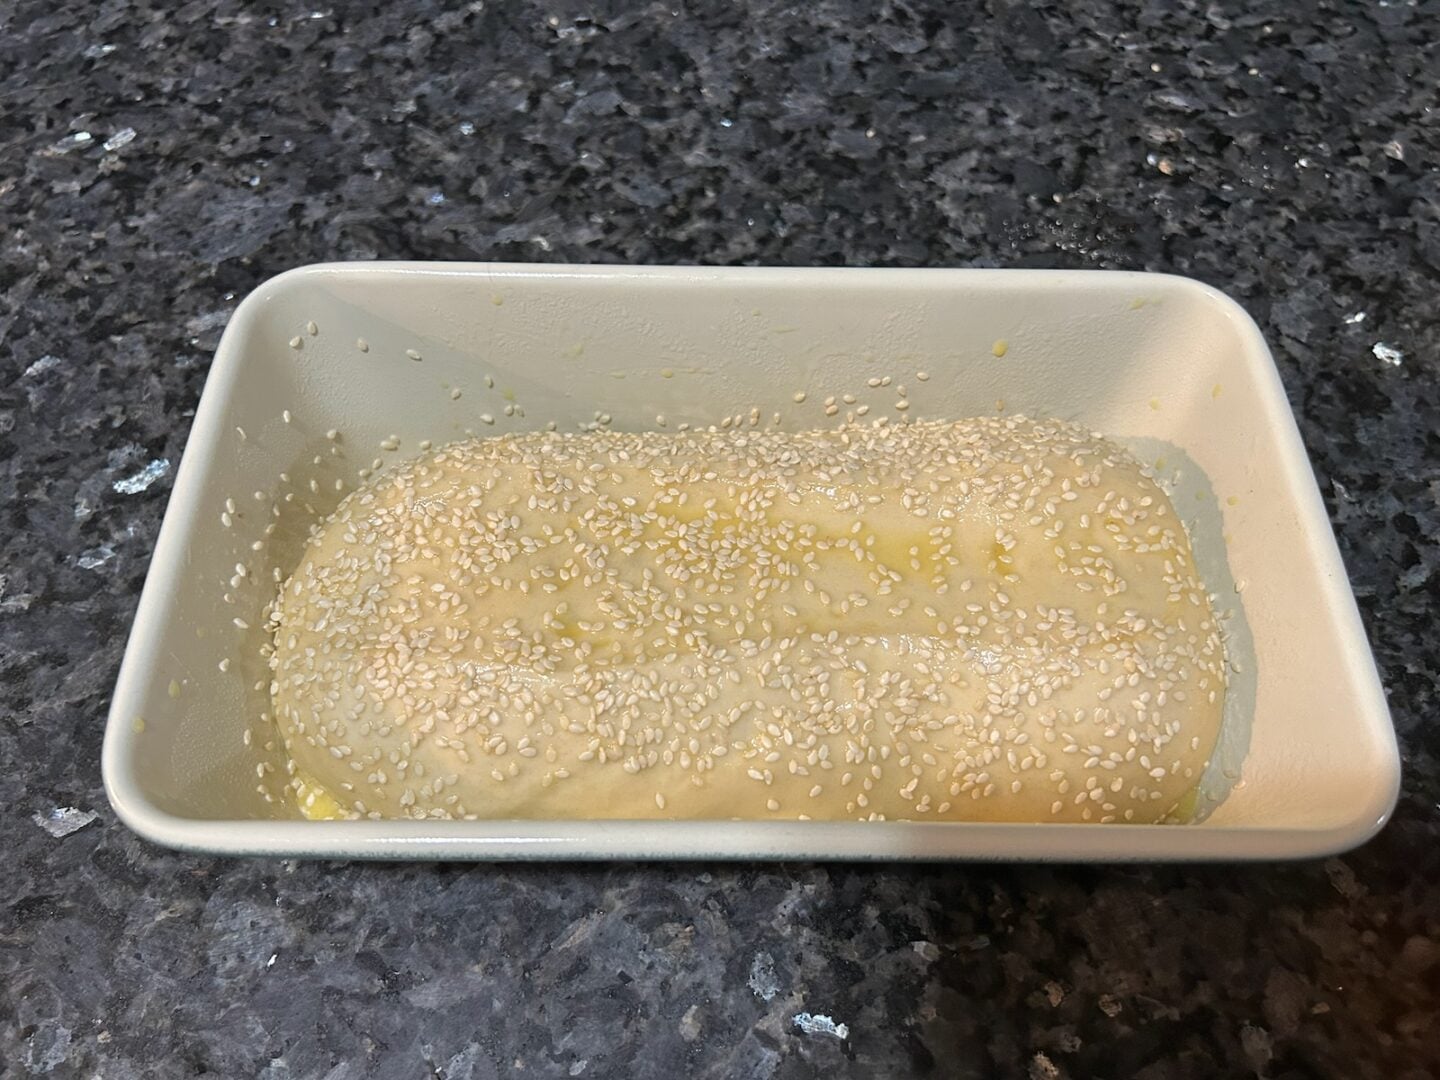
And if you'd rather skip the scoring altogether, that's perfectly fine! A simple sesame seed topping is lovely on its own.
Step 4: Prepare the Honey-Oat Loaf
For the second loaf, I decided to go in a slightly different direction. I wanted a beautiful honey-oat finish.
Once the dough is nearly ready to bake, gently brush the top with a little water and sprinkle with old-fashioned oats, pressing them very lightly so they'll adhere.
There's no need to score this loaf unless you want to. The oats give it a rustic, bakery-style appearance.
We'll add the honey-butter finish toward the end of baking.
Step 5: Bake the Bread
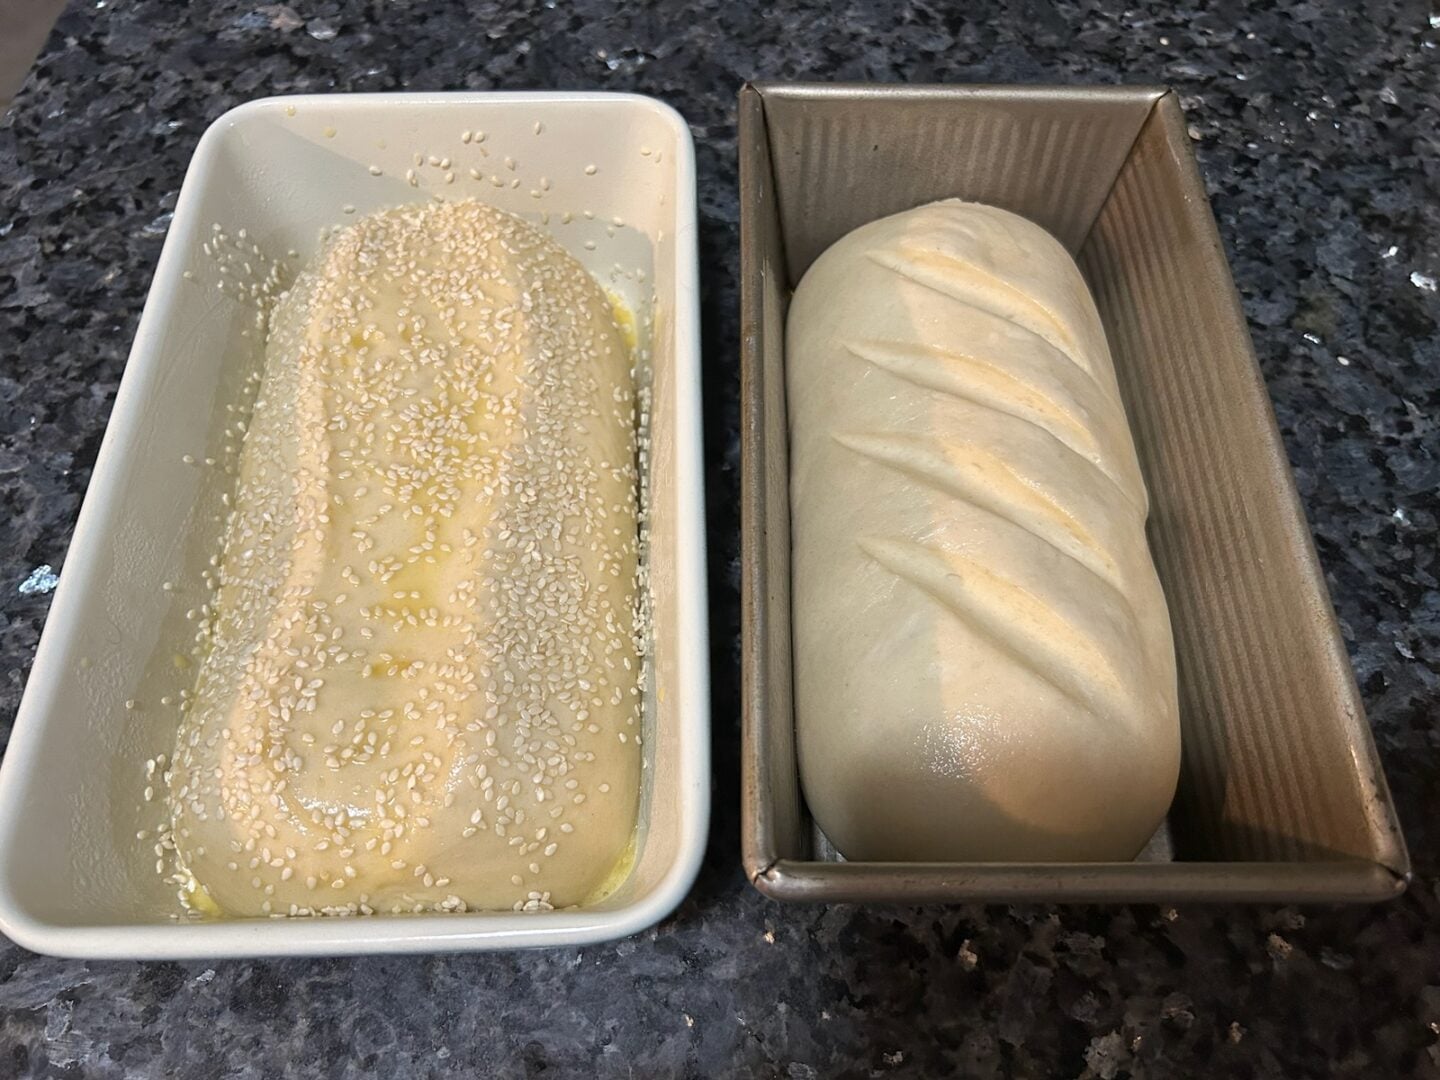
Preheat your oven to 350°F.
Remove the covers and place the risen loaves in the oven.
Rhodes recommends baking its white bread loaves for approximately 20–25 minutes, or until golden brown and baked through.
Ovens and loaf sizes can vary, so watch the bread carefully.
The tops should become a lovely golden color, and the loaves should feel firm enough to hold their shape.
If you have an instant-read thermometer, the center of a fully baked lean sandwich loaf will generally be around 190–200°F.
Step 6: Add the Honey-Butter Finish
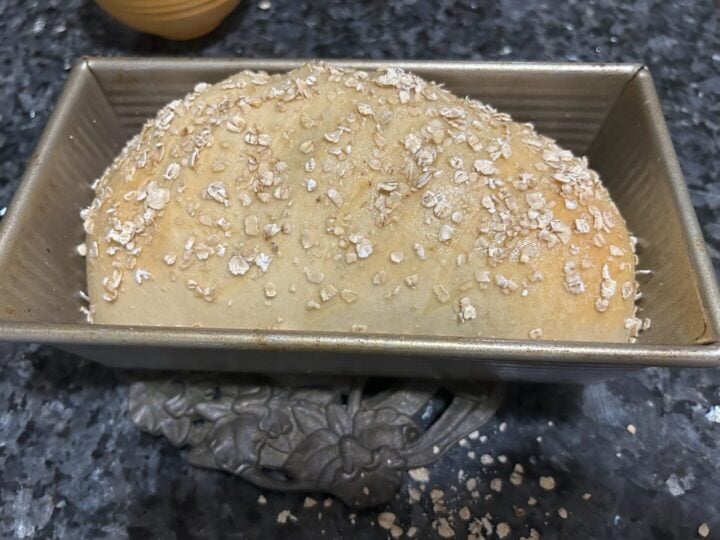
During approximately the final 10 minutes of baking, gently brush the honey-oat loaf with a little melted butter mixed with honey.
Return it to the oven to finish baking.
Keep an eye on the top because honey can brown quickly.
This adds a hint of sweetness and a beautiful finish to the loaf.
Step 7: Cool Before Slicing
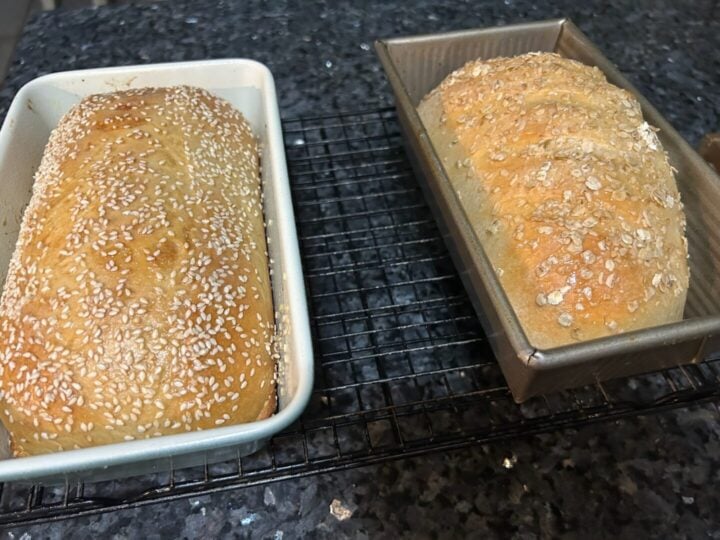
Remove the bread from the oven and let it rest briefly in the pans.
Then transfer the loaves to a wire rack.
Turn out loaves directly onto the rack.
I know it's tempting to slice into fresh bread immediately, but allowing it to cool will help the interior set and make it easier to cut into neat sandwich slices.
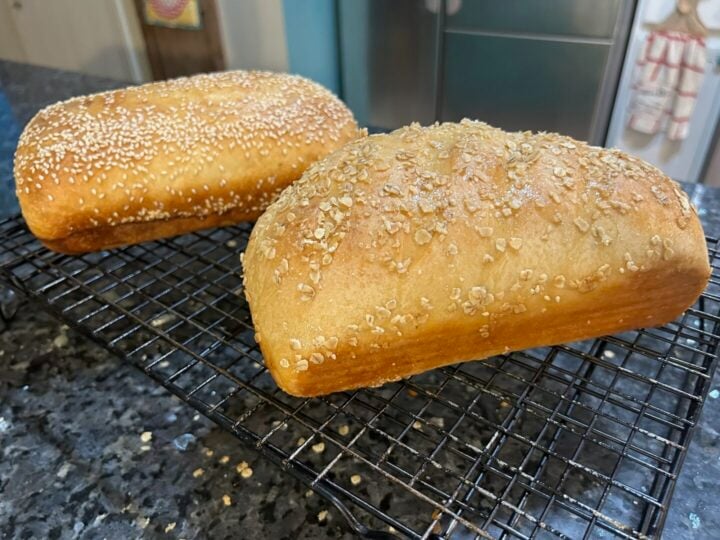
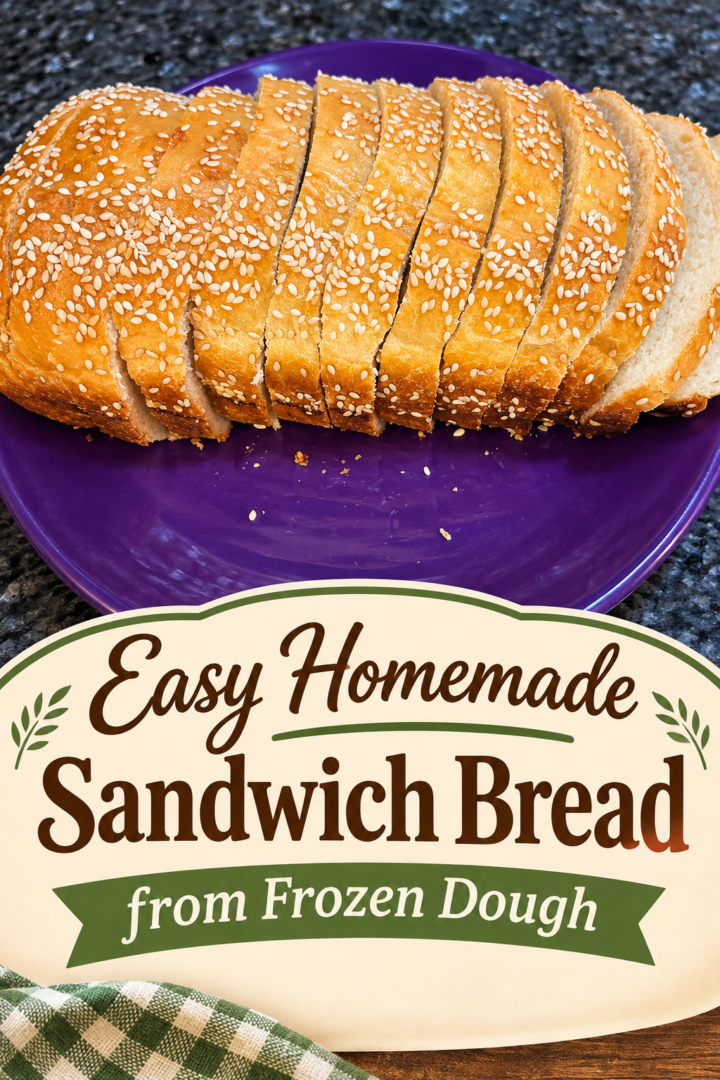
Once cooled, use a sharp serrated knife to slice the bread to your preferred thickness.
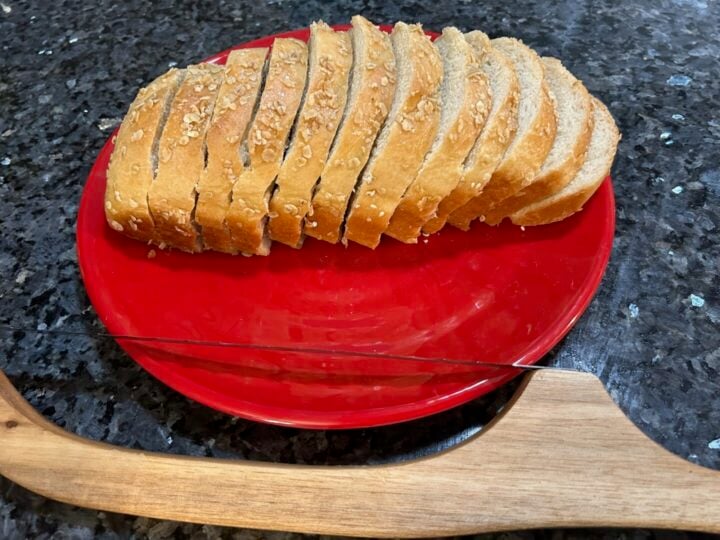
And just like that, you've got homemade sandwich bread without ever mixing a batch of dough!
What to Expect from This Bread
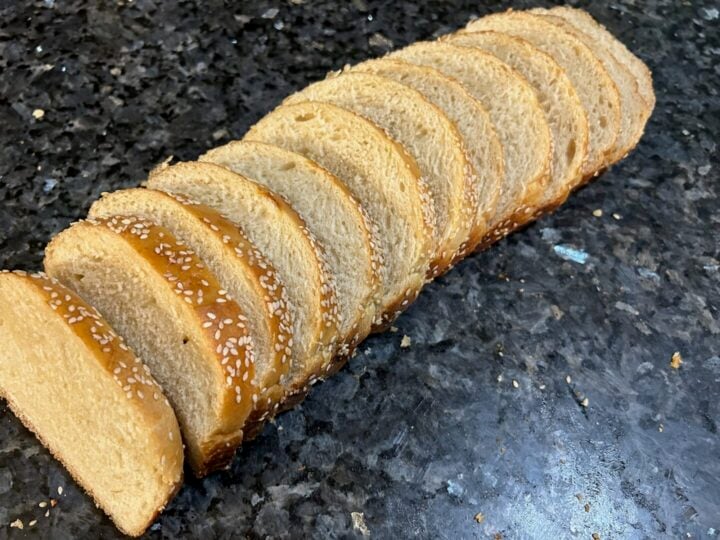
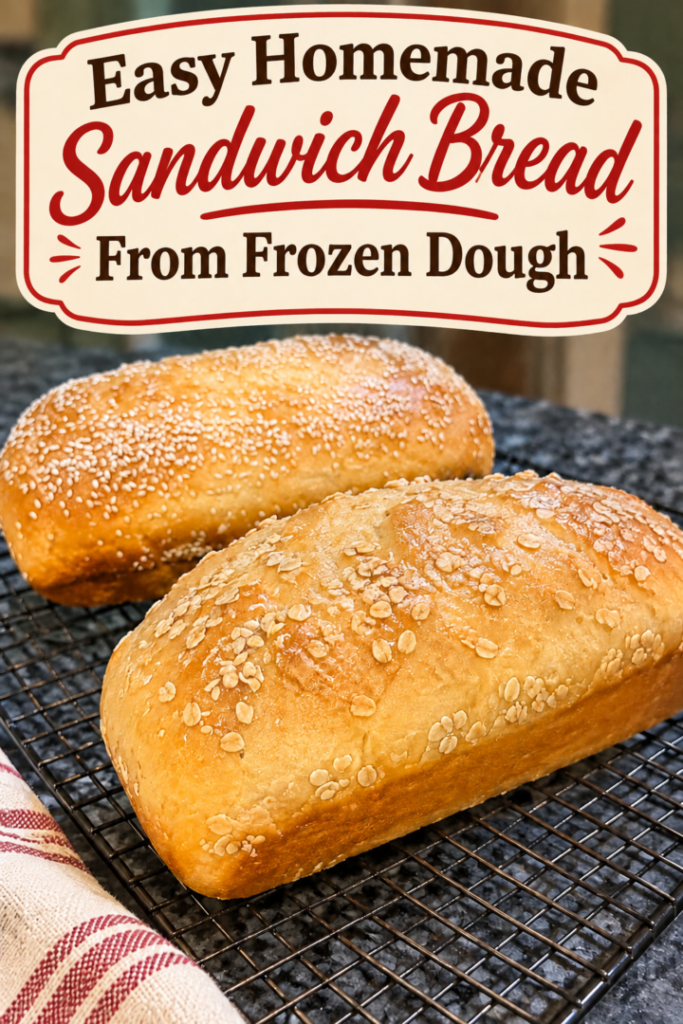
The finished loaves have a soft interior and a lovely golden exterior.
The sesame seed version is especially nice for savory sandwiches, toast, and grilled sandwiches.
The honey-oat version has a slightly sweeter finish and would be delicious with butter, jam, or honey.
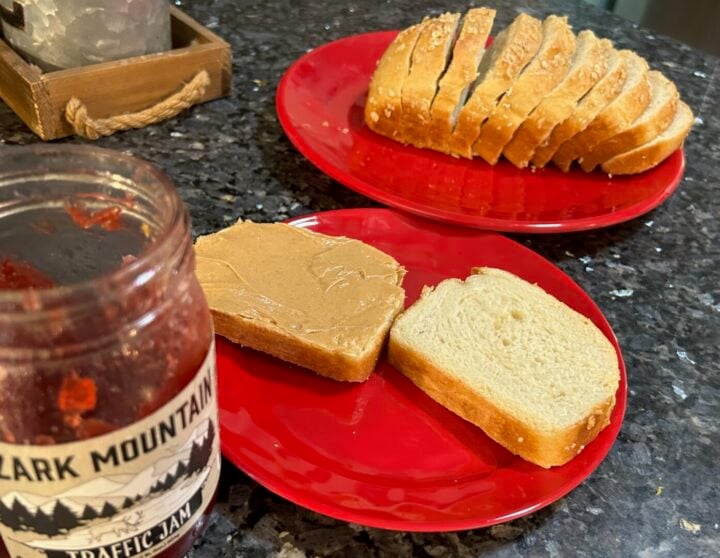
Neither loaf requires complicated techniques or special bread-baking experience.
And even though mine didn't rise quite as high as I'd hoped, they turned out to be incredibly useful in the kitchen.
In fact, I ended up putting that sesame seed loaf to work in several delicious ways!
One Loaf, So Many Possibilities
One of my favorite things about homemade sandwich bread is how versatile it can be.
I started with a simple sesame seed loaf, but before long I was finding all sorts of ways to use it.
Everyday Sandwiches

There's nothing wrong with a simple deli sandwich made with freshly baked bread.
Add your favorite meats, cheeses, and condiments, and you've got a wonderful lunch.
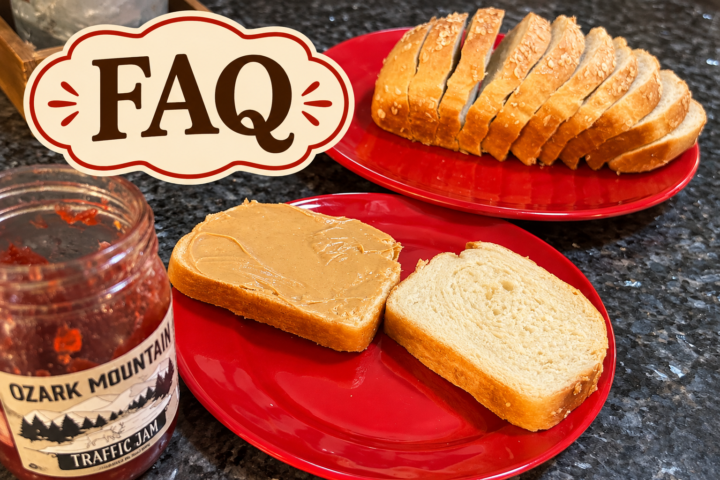
My favorite, by far, was peanut butter and jelly (my favorite "Traffic Jam" from the Ozarks) on the Honey Oat bread.
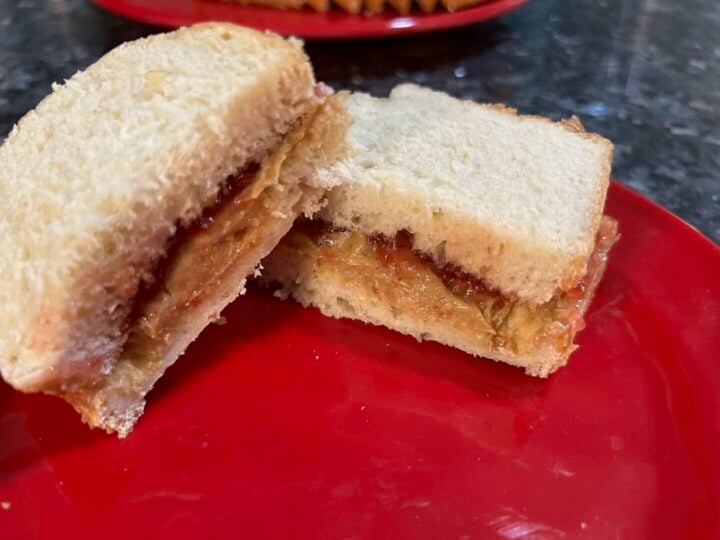
Oh, friends. You've got to try it. By far the best PB&J I've ever had! (I could almost eat it for dessert!)
Grilled Ham and Cheese

Freshly sliced homemade bread is also perfect for grilled sandwiches.
A little butter, ham, and melted cheese can turn an ordinary lunch into something special.
Homemade French Toast

Now, this one surprised me!
I used some of my sesame seed bread to make French toast, and it was honestly some of the best French toast I've ever had.
The inside was beautifully soft, while the outside developed just enough firmness in the skillet.
Who knew a loaf of frozen bread dough could turn into something so wonderful?
Holiday Chicken and Cranberry Monte Cristo Sandwich

And then I got a little adventurous!
Using leftover rotisserie chicken, homemade cranberry compote, and sliced Swiss cheese, I created a holiday-inspired Monte Cristo sandwich.
I assembled everything between two slices of my homemade sesame bread, dipped the sandwich in an egg-and-milk mixture, and cooked it in butter until golden.
It was a fun way to use leftovers and a delicious reminder that homemade bread can turn simple ingredients into something special.
You could make a similar sandwich with leftover Thanksgiving turkey, too!
Tips for Success
After making these two loaves, I have a few suggestions that will help you get the best results.
1. Give yourself plenty of time. Frozen bread dough needs several hours to thaw and rise. Start earlier than you think you'll need to.
2. Keep the dough covered. Greased plastic wrap or reusable bread covers help protect the surface from drying out.
3. Don't force the rise. A comfortably warm, draft-free location is best. Avoid excessive heat, which can interfere with the dough's structure.
4. Wait to score the top. Decorative cuts made too early can disappear as the dough continues rising. Score gently near the end of proofing, if desired.
5. Keep toppings simple. Sesame seeds and oats add visual appeal without making the recipe complicated.
6. Watch the honey-butter finish. Honey can brown quickly, so add it toward the end of baking.
7. Let the bread cool before slicing. This helps preserve the texture and makes cleaner slices.
Variations to Try
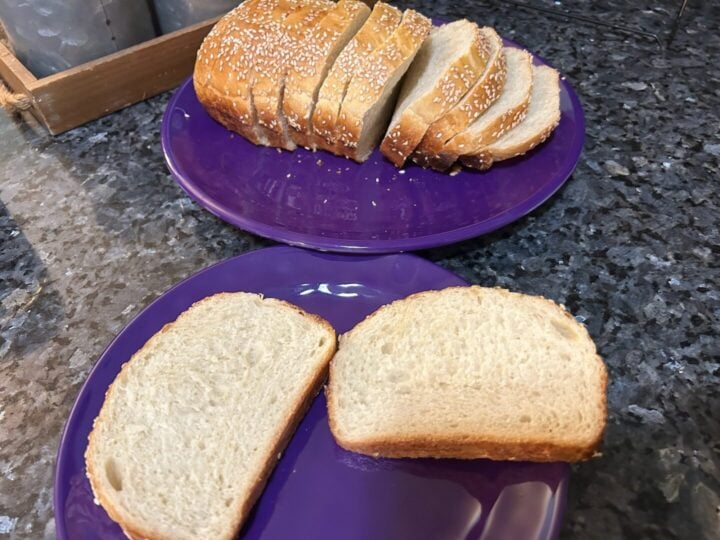
Once you get comfortable using frozen bread dough, there are plenty of ways to customize it.
- Everything Bagel Bread: Sprinkle everything bagel seasoning over the top before baking.
- Garlic Herb Bread: Brush with garlic butter and sprinkle with Italian herbs.
- Poppy Seed Bread: Use poppy seeds instead of sesame seeds.
- Parmesan Herb Bread: Add a little grated Parmesan and dried herbs to the top.
- Simple Butter-Top Bread: Skip the toppings and brush the finished loaf with melted butter.
- Cinnamon Sugar Bread: Add a light cinnamon-sugar finish for a sweeter loaf.
These are fun ideas to experiment with, though baking results may vary depending on the toppings.
How to Store Homemade Sandwich Bread
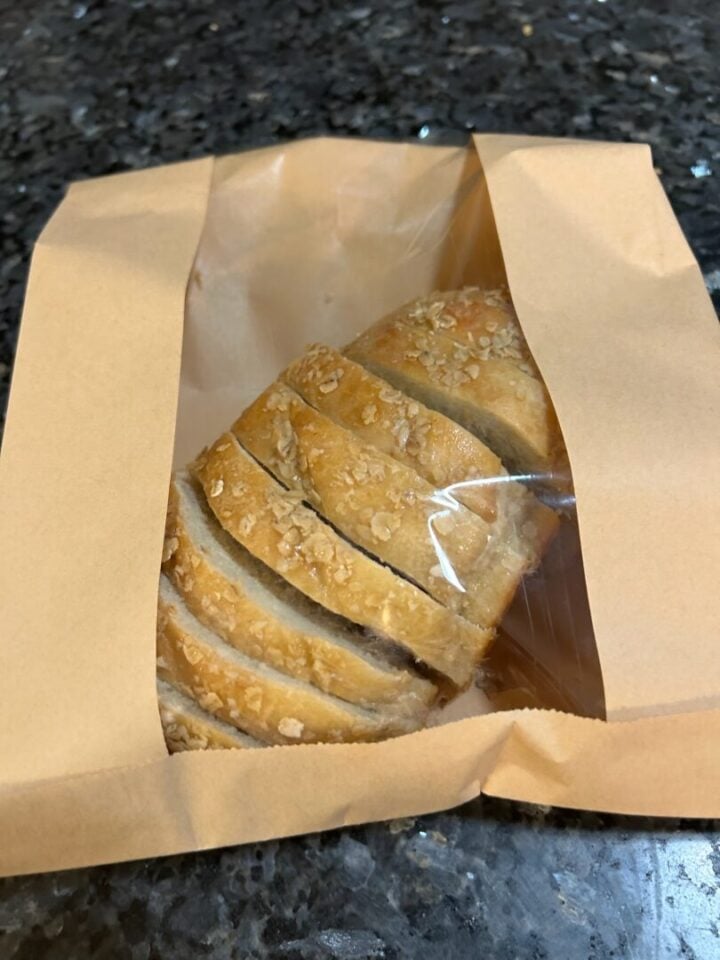
Freshly baked bread is wonderful, but it doesn't stay fresh forever.
Because these loaves don't have the same storage characteristics as many commercially packaged sandwich breads, it's best to enjoy them fairly quickly or freeze what you won't use.
At Room Temperature
Once completely cooled, store the bread in a tightly closed bread bag or airtight container at room temperature.
For best quality, plan to use it within about 2–3 days.
In the Refrigerator
Refrigeration can actually make bread become stale more quickly, so it's generally not my first choice for storing plain sandwich bread.
In the Freezer
Freezing is a wonderful option!
You can freeze an entire cooled loaf or slice it first.
I especially like the idea of freezing individual slices so you can take out exactly what you need for toast or sandwiches.
Wrap the bread well, place it in a freezer-safe bag, and freeze for up to 2–3 months for best quality.
Thaw at room temperature or toast slices directly from frozen.
Frequently Asked Questions
Do I have to thaw Rhodes frozen bread dough before baking?
Yes. The frozen dough needs time to thaw and rise before baking. For Rhodes white bread dough, this typically takes approximately 4–7 hours, depending on the conditions in your kitchen.
Why didn't my frozen bread dough rise very high?
The dough may simply need more time. A cool kitchen can slow the rising process considerably. Keep the dough covered and allow it to rise according to the package directions rather than relying on a fixed number of hours.
Should I score frozen bread dough before or after it rises?
For decorative scoring, wait until the dough is thawed and nearly finished rising. Score lightly just before baking, taking care not to deflate the loaf. Scoring is optional for sandwich bread.
Can I make sandwich bread without scoring the top?
Absolutely! Most sandwich bread doesn't require scoring. The loaf can bake with a smooth, rounded top.
How do I get sesame seeds or oats to stick to the bread?
Lightly brush the surface with water or a little melted butter before adding the toppings. Press very gently if needed.
Can I make French toast with homemade sandwich bread?
Yes! In fact, this was one of my favorite discoveries. The sesame seed loaf made especially delicious French toast with a soft interior and a lightly firm exterior.
Can I freeze homemade sandwich bread?
Yes. Cool the bread completely, wrap it well, and freeze it whole or sliced. Sliced bread is particularly convenient because you can remove only what you need.
Final Thoughts
Sometimes the simplest kitchen experiments turn into the most useful recipes.
I started with two frozen loaves of Rhodes bread dough and a plan to make them a little prettier.
Along the way, I learned that frozen dough requires more patience than I expected, that decorative scoring is best saved until later in the rising process, and that a few simple toppings can make ordinary bread look extra special.
But the biggest surprise was just how much I enjoyed using that finished bread.
From sandwiches to French toast to a holiday-inspired Monte Cristo, one loaf opened the door to all sorts of delicious possibilities.

And that's what I love about baking!
You don't always have to start from scratch to make something wonderful.
Sometimes all you need is a good shortcut, a little creativity, and enough patience to let the dough rise.
Happy baking, friends!
Thanks for Stopping By!
If you make this delicious sandwich bread and enjoy it, please leave a comment or review. And before you go, why not pin some photos to your Pinterest boards?
Janice Thompson is a professional baker, cake designer, and author with over 20 years of experience creating unique cakes and desserts. She’s the creator of Out of the Box Baking, where she shares her favorite doctored cake mix recipes, tutorials, and baking tips. Learn more →
Easy Homemade Sandwich Bread from Frozen Dough
Turn frozen Rhodes bread dough into beautiful homemade sandwich bread with two easy variations: sesame seed and honey-oat. No mixing or kneading required!
Ingredients
- For Both Loaves
- 2 frozen Rhodes white bread dough loaves
- Cooking spray or softened butter for greasing pans
- A little water or melted butter for brushing the dough
- For the Sesame Seed Loaf
- Sesame seeds, enough to sprinkle over the top
- For the Honey-Oat Loaf
- Old-fashioned rolled oats, enough to sprinkle over the top
- Melted butter and honey, mixed together for a light finishing glaze
- Note: Topping quantities can be adjusted to taste. The original experiment used simple toppings rather than precisely measured amounts.
Instructions
1. Grease two approximately 8½ × 4½-inch loaf pans. Place one frozen bread dough loaf in each pan.
2. Cover with lightly greased plastic wrap or reusable bread covers. Place in a comfortably warm, draft-free area.
3. Allow the dough to thaw and rise for approximately 4–7 hours, or until about 1 inch above the rims of the pans, following the Rhodes package guidance.
4. Preheat the oven to 350°F when the loaves are nearly ready.
5. For the sesame loaf, optionally make shallow decorative cuts in the nearly risen dough with a sharp blade. Lightly moisten the top and sprinkle with sesame seeds.
6. For the honey-oat loaf, lightly moisten the surface and sprinkle with rolled oats.
7. Bake at 350°F for approximately 20–25 minutes, or until golden brown and baked through.
8. During approximately the final 10 minutes, gently brush the honey-oat loaf with a little melted butter mixed with honey. Watch carefully to prevent excessive browning.
9. Remove the loaves from the oven. Let rest briefly in the pans, then transfer to wire racks.
10. Cool before slicing and serving.
Notes
* Rising times depend on room temperature. Don't rush the process.
* Keep dough covered throughout the thawing and rising period.
* Wait until near the end of rising to add decorative scoring.
* Scoring is optional and isn't required for sandwich bread.
* For best quality, store at room temperature for 2–3 days or freeze well-wrapped bread for longer storage.
* Use the finished bread for sandwiches, toast, grilled cheese, or French toast.
Nutrition Information:
Yield: 24 Serving Size: 1Amount Per Serving: Calories: 105Total Fat: 2gSaturated Fat: 0gUnsaturated Fat: 0gCarbohydrates: 19gFiber: 0gSugar: 0gProtein: 2.5g
The nutrition information is a product of online calculators. I try to provide true and accurate information, but these numbers are estimates.